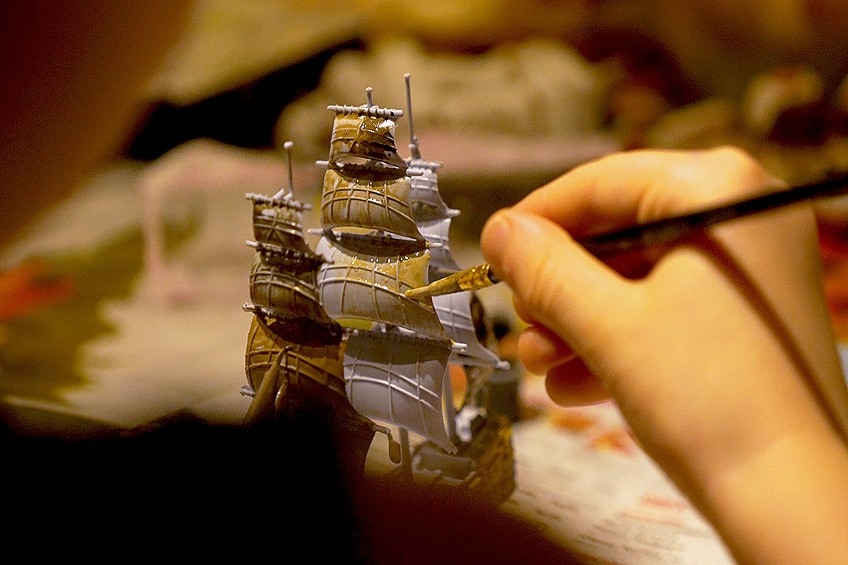
Best Miniature Paint – The Best Paints for Miniatures and Models
This post may contain affiliate links. We may earn a commission from purchases made through them, at no additional cost to you.
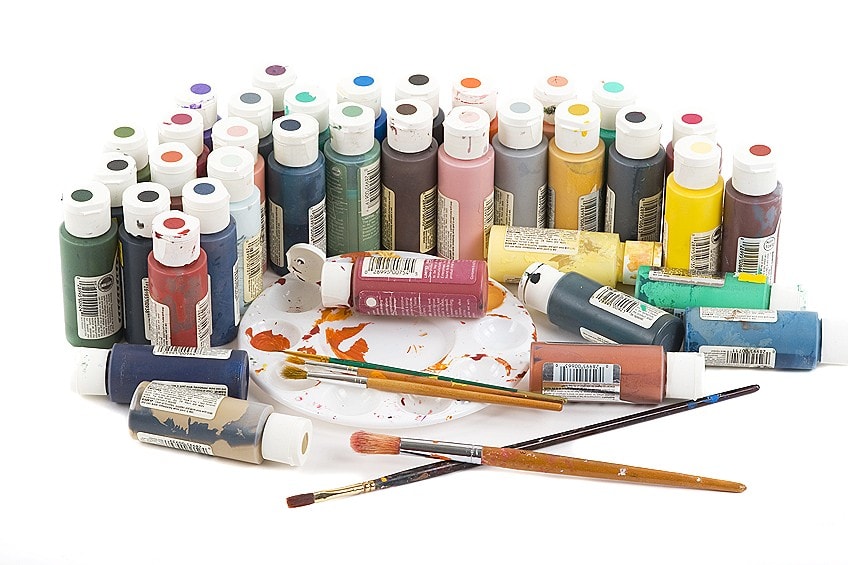
There are so many options when it comes to paints for models and miniatures that is can be very hard to choose which one to use. What follows is a useful guide that will offer insight into a few available options to help you make the right decision when picking your paints. By providing more information about the different paint types and their results, you should be able to make an educated decision as to what paint to use for your next miniature or model paint project.
Acrylic-Based Paint
The most widely used form of paint for plastic models and miniatures is acrylic-based paint, which will give you the best finish for most projects. Acrylic-based paint is made up of an acrylic polymer, to which you simply add a color pigment. This combination is then emulsified with water, and all of these elements together will give you the final paint product. You are able to add a variety of fillers to acrylic paint that can impact the overall outcome of the product.
Current-day acrylic paints are of such a high standard that they now even offer a finish that is almost as good as that of oil-based paints. There are many advantages of using acrylic paint, such as a quick drying time and the fact that you are able to alter the viscosity and flow of the acrylic paint without decreasing the overall color saturation. Alternatively, you are also able to alter the overall transparency of the paint and in no way affect the consistency. It is also a bonus that acrylic paints are non-toxic and very easy to clean up.
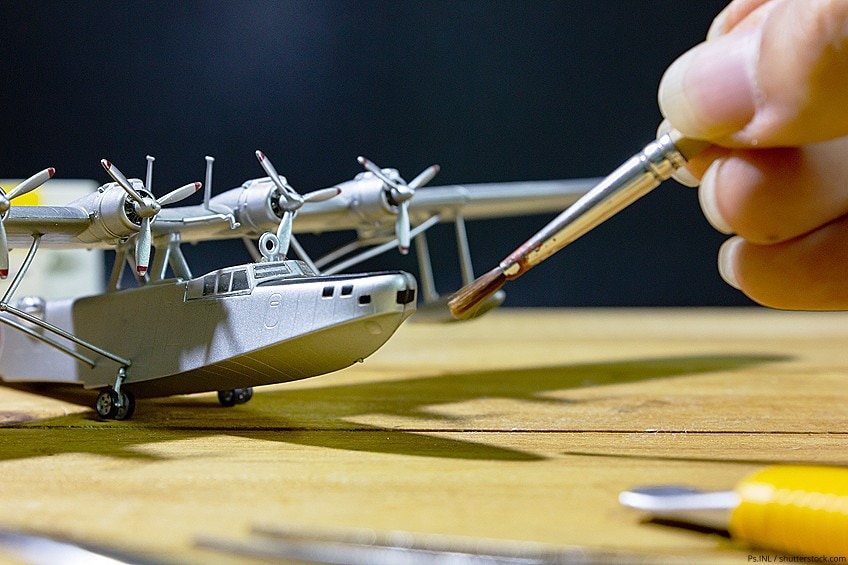
For the majority of projects, acrylic paints are the best option when doing scale models or miniatures. Your application techniques for acrylic paints are abundant: You can spray it onto the surface, brush it on, or you can use paint markers. What is also great is that you can purchase acrylic paint in a number of different finishes, such as matte or glossy.
Best Overall Acrylic Paint for Miniatures: VALLEJO Basic USA Colors Paint Set
Vallejo’s Basic USA Colors Paint Set is an amazing kit to use when working with miniatures. While it might be a thick and rich form of paint, it goes across the surface with ease and spreads smoothly. Overall, it is a great, consistent paint that can be applied in several coats whilst still ensuring a smooth, uniform finish.

- All colors are completely lightfast and opaque
- Extremely smooth and uniform paint film
- The water-based formula adheres to difficult surfaces
This set can be used on a number of different surface types and materials. It is particularly good to use on the materials that most miniatures are made of, such as polyesters and plastics. This acrylic paint’s options do not stop there, however, as it can be used on stucco, metal, and wood as well. This versatility makes it great to use on different types of dioramas or to paint miniature models.
Vallejo’s Basic USA Colors Paint Set is the perfect option for painting miniatures and, thanks to its versatility, it can be used on an assortment of other projects. In addition, your color options are varied with this set. For these reasons alone, this particular set comes out at the top when compared to similar products on the market. We can strongly recommend the Vallejo Basic USA Colors Paint Set for your miniature project.
Pros
- Smooth and even finish
- Easy application
- Incredibly versatile
- Lightfast colors
- Specially formulated to adhere to tough surfaces
Cons
- Relatively expensive
- May not always bond well, and can be scraped off with ease
Best Beginner Miniature Paint Set: THE ARMY PAINTER Miniature Painting Kit
If you are new to working with miniature paints, we highly recommend using The Army Painter’s miniature painting set. This kit comes with everything you will require to get started, including a variety of colors, a paintbrush, and even a handful of technical paints and washes. When comparing this paint set with that of Vallejo’s, the Vallejo is of higher quality, but The Army Painter set is still good enough to use.

- Complete set of 50 acrylic paints and detail paint brush
- Fantastic consistency and color pigment
- For beginners and veterans alike
The Army Painter set provides an assortment of colors which will help you make a number of different miniatures in a varied color palette. This is a great way to ensure that you have a variety of different looking soldiers for your next wargame setup.
Occasionally, the paint that comes with this set may begin to separate in their containers. In order to avoid this, you can add a tiny ball bearing into the bottle, which will help to combine the paints when you shake up the container.
Pros
- Large selection of acrylic-based paints
- Great for beginners
- Great value for money
- Great paint consistency, coverage, and pigment
- Easy to use
Cons
- Paints need to be mixed before use
Oil-Based/Enamel Paint
Before acrylic paint quality increased, your only option on the market was oil-based paints. Now many acrylic paints perform on the same level as oil-based paints. An oil-based paint, also referred to as an enamel paint, is combining a drying oil such as linseed as a binder with a pigment. When you use oil-based paints the oil in the paint actually reacts to the air once the paint is applied, causing it to dry with a very hard finish.
This finish is then very hardy and with certain formulas, you can even get a glossy sheen to the item. You are also able to change the flow and viscosity of oil-based paints by adding some form of thinners or turpentine. The fact that oil-based paints can bond with almost any surface and its gorgeous luminous quality make oil-based paints very attractive to use for many artists.
There are some negatives to oil-based paints such as unlike with acrylic which has an easy cleanup, you have to use turpentine to clean up oil-based paints. This can be a little bit of a hassle to do and it is important to remember that the turpentine itself is in fact toxic. Oil-based paints also take a long time to dry but this is not always a bad thing, as it allows you time to layer the paint gradually and create more depth to your work.
Best Oil-Based Paint: TESTOR Enamel Paint
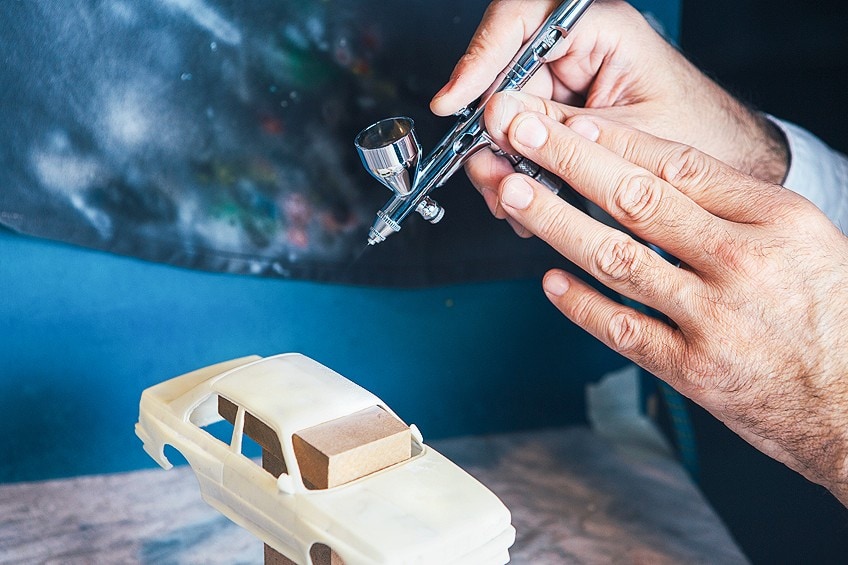
Testor’s enamel paint is a great oil-based paint that has been a go-to for scale model enthusiasts for years due to the glossy, durable finish it provides. Not everyone likes using enamel paints, but if you specifically wish to use an oil-based paint, we recommend Testor’s enamel paint. A great advantage of this paint is that it works well with airbrushing, and is often viewed as the best option for model airbrush paint.

- Maximum coverage and extremely durable
- Luxurious, high gloss finish
- Can be used in a wide variety of projects
Testor’s enamel paints will adhere to almost any type of surface, giving it an amazing rich-colored finish. An advantage of the slow-drying nature of this paint is that it dries without showing the brush strokes. You are also able to create a light wash simply by thinning the paint with oil-based thinners.
Pros
- Vibrantly and rich colors
- Can be used on almost any surface
- Great for using with an airbrush
- Results in a hard and long-lasting finish
Cons
- Can be difficult to work with
- Difficult to remove the paint
Paint Markers
Paint markers are a great option if you are looking to cover a large surface area with the same color and you have room for error. Paint markers are often used for painting a number of war soldiers or battle minions to be used in wargames, for example.
Paint markers are very convenient, but they do not provide the user with much precision or versatility. They are a great option if you are looking to make touch-ups without having to get out your whole painting set. It is recommended to get yourself a few of these in your most-used colors to use for touchups when necessary.
Best Paint Marker: MOLOTOW One4All Acrylic Paint Marker Set
Molotow’s One4All markers have a thick tip that provides a top-quality and consistent acrylic-based formula. The paint released from the markers offers great overall coverage, despite it being quite thick and opaque. It is an added bonus that these particular paint markers are in fact refillable.

- Premium acrylic-based pigment paint
- UV- and weather-resistant
- Solvent-free and dilutable
These acrylic-based markers use a patented pump technology that will produce a paint that is resistant to UV rays and all kinds of weather, maintaining a high color opacity. You can dilute the colors with ease by adding water or acetone, and you can replace the tips as needed.
Pros
- Vibrant, bright colors
- Can be used on different materials with great results
- Patented Capillary pump technology
- Offers a reliable product with consistent results
- UV- and weather-resistant
- Replaceable tips
- Colors can be diluted
Cons
- No storage case or box
- Can be cumbersome to mix
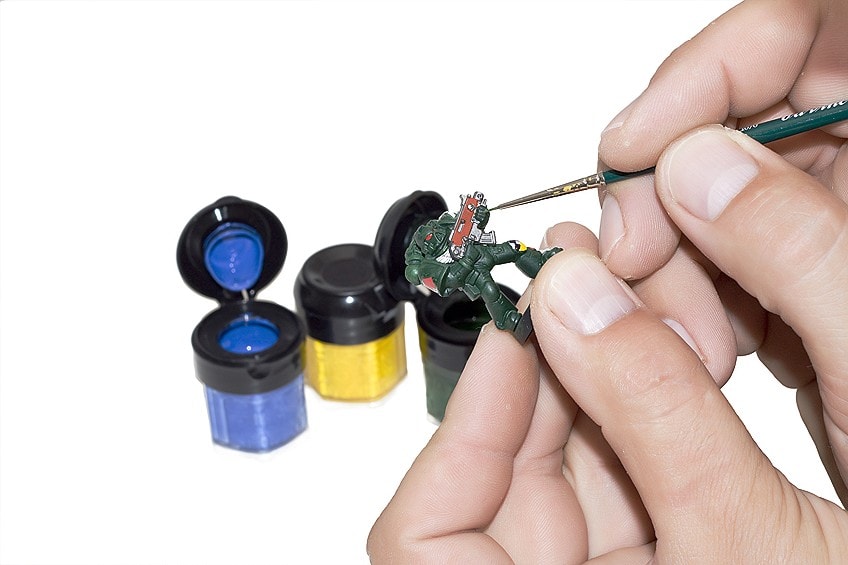
Different Characteristics of Miniature Paint
When selecting the best brand for your miniature painting project, it is important to keep these important characteristics in mind, as they will have an effect on the final outcome of your piece.
Lightfastness
A lightfast rating defines how likely a particular color is to shift or fade as a result of exposure to light. Most high-quality paints will have some form of lightfast rating. If you wish to ensure a long-lasting paint finish, look for paints that state this quality.
Opacity
The opacity of a paint refers to how transparent or opaque the paint is once it has been applied to the relevant surface. The paint’s opacity can determine how the overall color will show up on the material. If you are working on a dark surface, you will require a paint which is more solid and opaque. This is to ensure that the paint shows up on top of the darker color and is more vibrant. Alternatively, you can apply additional coats of the paint to build up more of an opaque color. We suggest you take note of a paint’s transparency rating before making your purchase.
If you are working on a lighter colored surface, you can use paints that are opaque or transparent. You will find that the tint of the paint is lightened by the lighter colored surface. Alternatively, you can look at an additive such as a flowable extender, which works to slow down the overall drying time and improves a paint flow.
Drying Time
For this particular hobby, a faster drying time is not usually a good thing. You may find that an acrylic paint that dries quickly can become full of clumps as it begins to dry out on the brush. It can also be hard to create a blended effect or mix colors due to the limited time you have to work with the paint.
Paint Body & Viscosity
The application of your paint is directly impacted by the consistency and the overall body of the paint. If you wish to use an airbrush or are looking for more of a watercolor consistency to your paint you would then look to use a thinner, body-less paint. You will find that the majority of opaque paints or color-rich paints will contain some form of pigment and binder, as well as a small quantity of water.
On the other hand, if you want a paint’s final texture to be raised above the surface when completely dried, you would look towards heavy-bodied paint. The great thing is that you will be able to achieve your desired consistency by using different additives. A great option for if you are looking to give more flow to your paint is simply to add a little bit of water. It is important to remember that any form of additive will have an impact on the opacity of the acrylic paint particles.
Different brands offer a number of different acrylic additives that have the capacity to slow the overall drying time or adjust the flow of the paint. It is definitely worth looking at an additive if you would like to get a particular effect.
Color Shift
Color shift refers to when a color naturally darkens as it dries. Acrylic resin is something that is normally white and will dry darker than it initially appears. We therefore recommend that you always test your paint before you tackle your project. When using artist-quality acrylic paint, you will use a clear resin that will result in an imperceptible color shift, where any color shift is a result of a several factors, such as the paint’s opacity and the actual surface color.
Artist Paints vs Miniature Paints
You can expect the highest paint quality when you purchase artist-quality paints, as they also offer you the highest concentration of pigment. If paint is sold as a “miniature paint” or “model paint”, you can expect a product of a similar quality to that of artist’s paint. The most noticeable differences are the auxiliary additives you may find in the “model paint”, which can be used to add effects such as slowing down the drying time.
Despite paint manufacturers keeping their individual formulas a closely-guarded secret, you can assume that artist-quality paints are of the higher quality. There will be a never-ending debate about which paint type is better, but we recommend you use which ever you find works best for you and your projects.
There is a case for both artist paints and model paints, and if you are an artist who already has an assortment of artist’s paints, there is no need to go out and purchase further model paints. If, however, you are starting out, you can buy a model paint set to receive a variety of premixed colors, which will offer great results even if you are a beginner. If you are going to go with artist-grade paints, we strongly recommend you choose light-bodied lines or, alternatively, you can thin them out before using them.
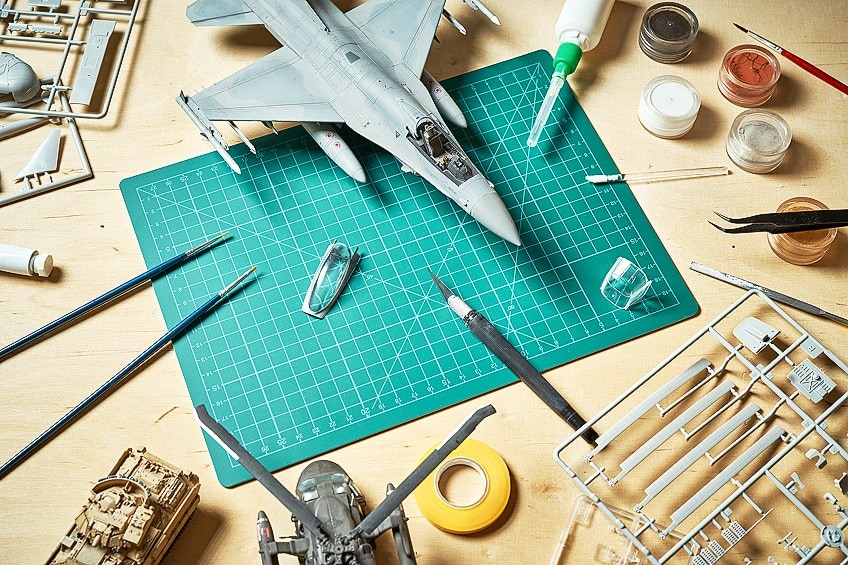
A Step-by-Step Guide on How to Paint Miniatures
If you are just beginning to start painting miniatures and models, we recommend following our step-by-step instructions on all that needs to be done to ensure a beatifully finished piece.
1. Prepare and Clean the Miniature
Manufacturers often use a release agent when making a miniature, as this substance allows the miniature to be released from the mold with ease. Unfortunately, the leftover residue of this substance stops any paint from sticking to the model easily. This makes it imperative to clean the model thoroughly before you begin painting it.
2. Remove the Flash and Mold
Most molds are actually made up of two parts, which when placed together create the relevant miniature. These types of mold, even if it is of the highest quality, will always leave a mold line that is seen where the two separate parts meet. To have the best finish, remember to remove this mold line before you begin painting.
3. Apply a Primer
If you are concerned that your paint will not adhere correctly to the mold, you can apply a primer before you begin painting. A primer not only helps the paint stick to the miniature, but it also has the added bonus of helping you to achieve the right color and tone, as it forms an undertone for the paint.
4. Attach to the Base
Most miniatures actually come with a base that is used to help the model stand. Normally, this base is separate from the miniature. Before you begin the painting process, you will need to use a strong glue to attach the miniature to the base.
5. Prepare the Colors
Unless you wish to be spontaneous, it is advisable to prepare a color scheme before beginning your miniature project. If you would like, you can even mix two or more paints to create a particular tone or color.
6. Apply a Basecoat
Once you have selected a color scheme, you are ready to start painting. You will need to then add the relevant base coat. By adding a little water, you can thin down the paint if you find it a little too thick. Please ensure that your base coat has completely dried before adding your second coat. Continue with this process until you have completely covered your miniature.
7. Apply a Wash
If you wish to have your figure looking more detailed and complex, we suggest adding a wash once you have finished painting. In using a thin mixture of paint that is ever so slightly darker than the base coat, this will then fill in any crevices, cracks or creases of the miniature figure. This will create the effect of shadows, further enhancing your figure.
8. Drybrush and Blend
You can then apply a small quantity of paint that is a lighter tone than your actual base coat. This will allow you to highlight areas of your miniature figure or model. You can do this by carefully and gently applying the paint to any protruding or raised areas of the figure.
Frequently Asked Questions
What is a Wash or Shade?
A shade or a wash is actually the exact same thing; you can use the two references interchangeably. It is a paint of a thin consistenct that is used to go over thee detailed edges of a miniature. It creates more depth and definition on the model.
What is a Base Coat?
The base coat can be classified as a first coat of the relevant color you will be using. If you wish to use a base coat, you would apply it after applying the primer. To apply a base coat, you simply apply a properly-thinned layer of color to your miniature, creating a base.
What is Priming in Miniature Painting?
Like any other form of painting, you can also prime miniatures simply by beginning your painting process with whereas a white primer will make your top coat a little lighter. You can also use a grey coat, which will give a result somewhere in-between.

Larissa Meyer is a 32-year-old mother from Michigan and creative spirit since childhood. Her passion for painting and drawing has led her to an education as an illustrator and a career as a freelance graphic designer. She has a Bachelor of Fine Arts in Illustration and a degree in Graphic Design. Larissa is a talented artist who is able to master a wide range of styles and techniques to bring her artistic vision to life. Her greatest passion is currently fluid painting and epoxy resin art. As a mom of two kids, Larissa also understands the importance of fostering creativity in early childhood. She uses her experience and knowledge to help other parents inspire their children and develop their artistic skills as well.
Learn all about Larissa Meyer and Fluid Painting.