How to Seal Glitter – Choosing and Using the Best Glitter Sealer
This post may contain affiliate links. We may earn a commission from purchases made through them, at no additional cost to you.
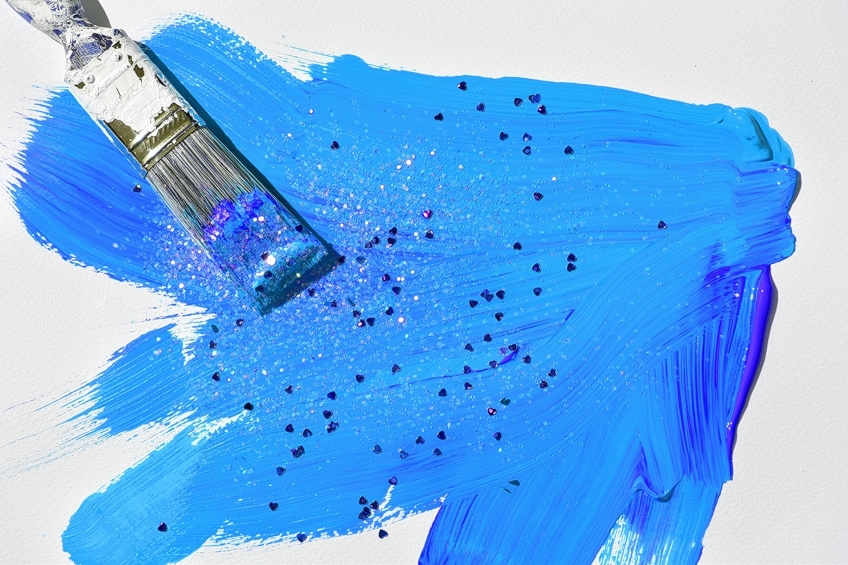
If you are like us and love glitter but hate the mess, you have come to the right place. Glitter is a fantastic addition to almost any craft project, from decorating vases to clothing. However, if you do not seal it properly, you may be living in a sea of glitter forevermore. In this tutorial, we give you all of our top tips for sealing glitter so that you can have the sparkle without the mess.
Finding Quality Supplies
Are you a crafter extraordinaire, or are you looking into working with glitter for the first time? Regardless of your experience, you need good-quality craft supplies to create beautiful projects. We have collected some of the best glitter sealers and glitters to give you some ideas.
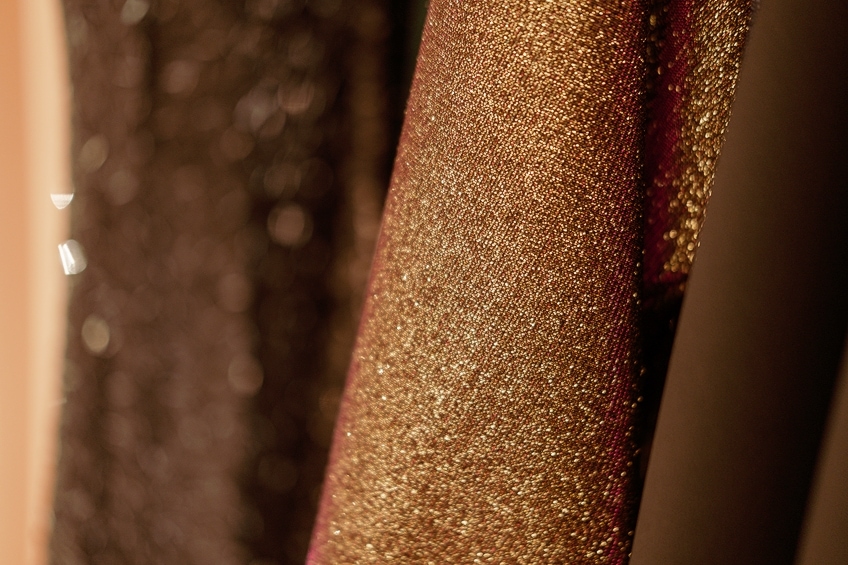
The Best Glitter for Your Sparkle
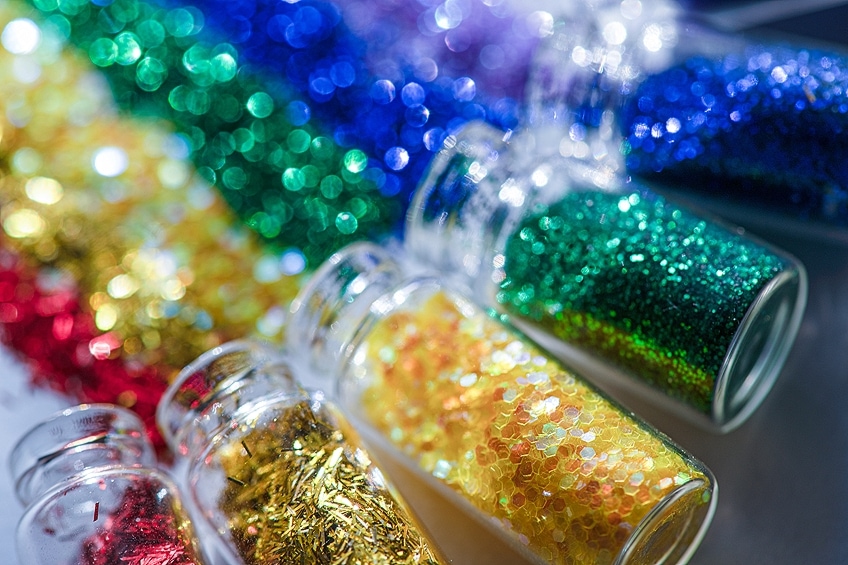
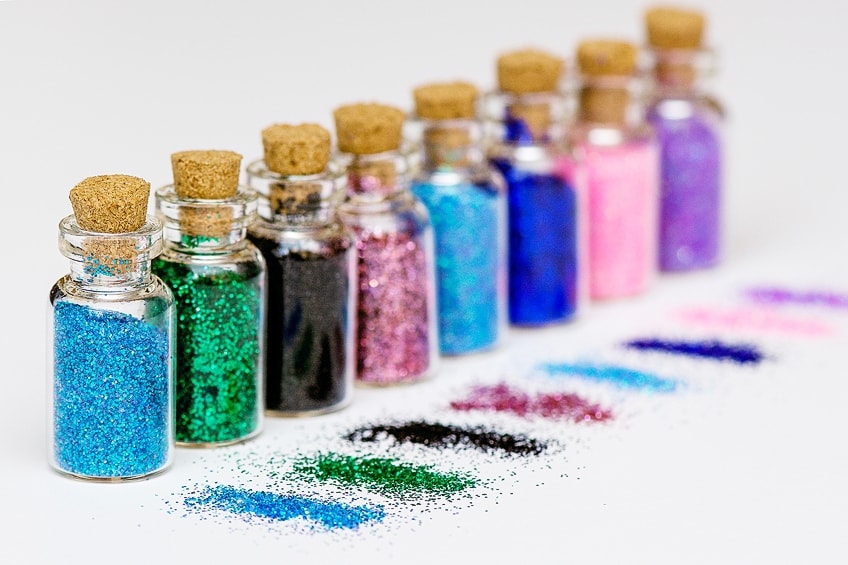
There are thousands of different types and brands of glitter available, and it can be tricky to know how to choose between them. The size of your glitter particles will influence the final look of your project. There are generally six different sizes of glitter available.
Ultra-Fine Glitter
The smallest available, ultra-fine glitter becomes a sparkling haze when thrown into the air. The particles are so small you cannot see them, and using this glitter on any project will give a sparkly but smooth appearance. Typically, we would suggest using ultra-fine glitter for projects that you will look at closely. You may lose the dazzling beauty of your glitter work from across the room.
You can find ultra-fine glitter in every shade of the rainbow. Despite its beauty, ultra-fine glitter can be pesky to handle because it goes everywhere. Ultra-fine glitter is one of the more expensive types of glitter, but it goes a long way.
Extra-Fine Glitter
Slightly larger than ultra-fine glitter, this glitter size is still incredibly small. At first glance, it can be tough to tell the difference between extra- and ultra-fine glitter. You can see the difference most clearly in the price tag. Extra-fine glitter is much more economical. We suggest using extra-fine glitter when you want your project to shimmer without seeing obvious glitter particles.
The fashion industry often uses extra-fine glitter for accessories like hair clips, belts, bracelets, and handbags, among other things.
Fine Glitter
The particles are more visible in fine glitter. Fine glitter is by far the most popular type of glitter. The ease of use, great coverage, easy cleanup, and broad color selection make this glitter the best option for arts and crafts projects, party decorations, and more. Fine glitter is much easier to clean up than the extra- and ultra-fine varieties, but you lose the incredible sheen that these smaller options offer.
Medium Glitter
If you are looking to cover a larger area in glitter, like costumes or theatre props, medium glitter is the best option. The bigger particles mean that you can see the glittery sheen from up to ten feet away. The color range is lower for medium glitter, but it is so much easier to clean up, and the price tag is lower.
Large Glitter
Large glitter is perfect for projects that people will see from a distance. The sparkle of these larger glitter particles is similar to the reflection of light on water. For floats, street signs, and large-scale performances, you cannot go wrong with large glitter. Just like the medium glitter, the color range is smaller, but the price is low, and this glitter has fantastic visibility.
Extra-Large Glitter
When we say this glitter is big, it really is. Each particle is a quarter-of-an-inch square, and this glitter has the appearance of tiny mirrors. You cannot apply this extra-large glitter in the same way as you would the smaller sizes. You can scatter the glitter on a flat surface or stick each particle on separately. It is possible to see the stunning glitter effect from up to 20 feet away. Event planners love to use this extra-large glitter as confetti, and it is great for outside applications. Clean-up is by far the easiest with extra-large glitter.
Our Recommendation for the Best Glitter Brand: HALOBIOS Glitter Set
This 48-color glitter set, with 36 extra fine glitters and 12 chunky glitters, offers a vibrant range of options for creative projects. Each 12g jar provides ample material for resin accessories, DIY slime, candles, and more. Perfect for nail art, body decoration, and face makeup, this versatile set adds a touch of sparkle to any craft or beauty routine.

- This glitter set includes 48 vibrant colors, featuring 36 extra fine glitters and 12 chunky glitters
- Each of the 48 jars contains 12 grams of glitter, ensuring you have plenty of material for multiple uses
- Perfect for nail art, body decoration, hair, and face makeup, this glitter set is ideal for adding a touch of sparkle to any project
Pros
- Wide selection of colors, sizes, and shapes
- Good quality
- Affordable
- Generous Quantity
- Versatile Application
Cons
- Potential for Mess
- Storage Space
- Sensitivity Concerns
The Best Sealant
There are a few different ways that you can both stick your glitter to your project and then seal it to prevent any fall-out. You can use a mod podge glue, a pour-on epoxy coating, or a spray-on glaze to seal in your glitter. We have provided our best suggestions for each of these options below.
Our Recommendation for Mod Podge: MOD PODGE Gloss
This water-based all-in-one sealant, glue, and finisher has so many uses besides getting your glitter to stick. You can use a traditional mod podge to seal in your glitter, but this gloss finish adds that extra bit of sparkle to your finished product. If you are familiar with mod podge, you will know that the milky glue dries clear. You can use mod podge on almost any surface, including paper, wood, plastic, and paintings.
Mod podge has a water-based formula, and when it dries, it is permanent and water-resistant. Mod podge typically dries within one hour, and because the formula is water-based, you can easily clean up any mess with soap and water. You can color the mod podge by adding acrylic paint, watercolors, or dry pigment. Sometimes, mod podge can dry with a little bit of tackiness, but you can apply an acrylic sealer over the top to eliminate this.

- Multipurpose, all-in-one sealant, glue, and finish.
- Dries clear with a gloss finish
- Quick-drying for multiple coat build up
Pros
- An affordable option
- Multiple uses for a single product
- Fast-drying
- Dries clear with a gloss finish
- Water-resistant when dry
- Easy to clean up
- Can be colored
- Suitable for a range of surfaces
Cons
- Can sometimes dry tacky
Our Recommendation for Pour-on Epoxy Sealant: ENVIROTEX Lite Pour-On High-Gloss Epoxy
A high-quality epoxy coating, this pour-on sealant is perfect for glazing almost any flat surface. The finish is professional, glass-like, and smooth with only a single pour. This sealant is heatproof, water-resistant, and solvent-free. You can protect your glittery surface in indoor or outdoor environments with this sealant. A single pour is comparable to around 60 coats of varnish, making this a very effective product. After some time, however, this Envirotex coating can begin to yellow if it has been in direct sunlight.

- Pour-on clear epoxy coating with a high gloss finish
- Waterproof, heatproof, and alcohol-resistant
- Solvent-free formula preserves and beautifies
Pros
- Quick and easy to use
- Versatile for use on multiple surfaces
- Heat- and water-resistant
- Free from solvents
- High gloss finish
- Suitable for the outdoors
Cons
- Requires mixing two parts
- Can yellow if exposed to sunlight
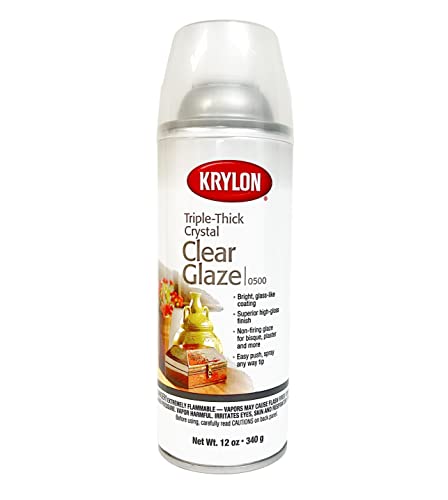
Our Recommendation for Spray-On Glaze Sealant: KRYLON Triple-Thick Crystal Glaze Spray
If you are looking for an easy-to-use, high-gloss finish glitter sealer spray, you will not regret using the Krylon Triple-Thick Crystal Glaze spray. This glaze is so versatile that you can use it on pottery, papier mache, and collage, among other things. The glaze is incredibly fast-drying, being dry to the touch within only 15 minutes. In two hours, the glaze will be fully dry.
When dry, this glaze sealant is permanent and will not crack. A single coat is equivalent to around three coats of other spray sealants. You also use less of this sealant because the spray tip creates less overspray, and you do not need to press it as hard as you do with other brands. This single 11 oz spray can cover up to 20 square feet of the surface.
- Quick-drying and crack-resistant
- Permanent finish with extra high gloss
- Gives illusion of depth
Pros
- Easy to use
- Versatile
- Fast-drying
- High gloss finish
- Will not crack
Cons
- Might be a little more pricey
A Step-by-Step Guide to Adding and Sealing Glitter
The way that you apply and seal glitter to your project depends greatly on the medium that you choose. Are you adding a glittery sheen to a glass vase, or do you want to jazz up an old item of clothing? Everything from the preparation of your project to the aftercare will depend on this question.
First Things First: Preparing Yourself for the Glitter
Before you even get the pot of glitter out of the cupboard, there are some things you can do to make the whole process much cleaner. Choose a designated workspace that you can easily clean after using your glitter. We suggest using a smooth surface, as there is nothing more infuriating than having bits of glitter stuck in the grooves of your table.
Also, make sure that your workspace has got a floor that is easy to clean. Steer away from carpet. An essential element of your glitter workspace should be a tray of some sort. You can use this tray to catch any glitter that does not adhere to your project as you are sprinkling. A tray also allows you to save any excess glitter for the next time.
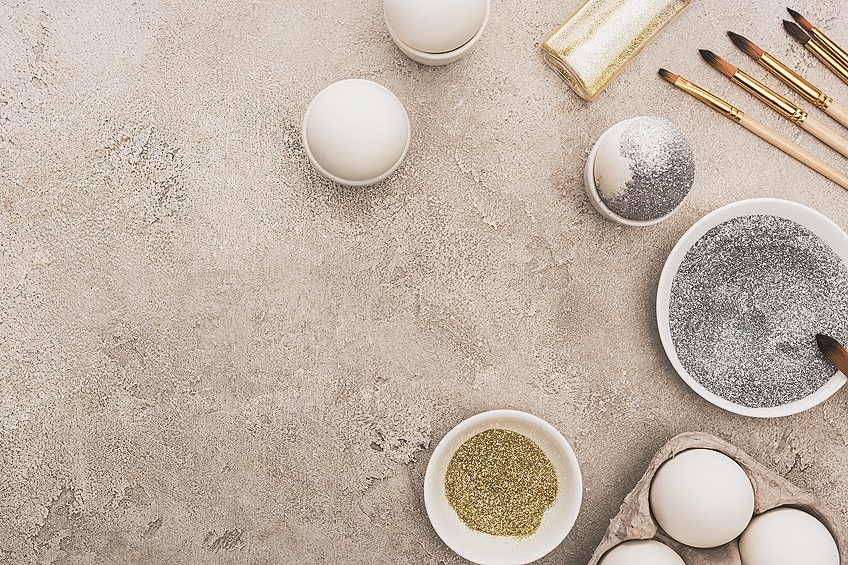
How to Seal Glitter on Glass and Other Solid Surfaces
A little glitter is such a fun way to revamp an old vase, but only if the glitter stays where it is. In this section, we are going to give you all the tips and tricks for applying and sealing glitter onto your glass project. If you want to know how to seal glitter on glass, there are a couple of different methods you can use.
Painting with Glitter Mod Podge
This method of adding and sealing glitter onto glass is quick and easy. You can also avoid a lot of the mess that comes with sprinkling glitter by using this method. You can use this glitter paint for glass and many other surfaces. For this project, you will need:
- Your favorite glitter in any shape and thickness
- A good quality mod podge
- A foam brush
- Your cleaned glass object
Mod podge is the best glue for glitter, and this method really is as simple as it could be. Just mix your mod podge and glitter until it looks like glittery paint. The greater the ratio of glitter to mod podge, the better your shimmer and coverage. Then, with your foam brush, paint the glittery mod podge mix onto the surface of your glass, making sure to cover the entire surface evenly. This method of adding glitter to glass works just as well for any other smooth surface, including wood and plastic.
You may need to apply a few coats depending on how much glitter you added to your mod podge and the level of coverage you want. If you do want to add more layers of glitter paint for glass, wait until each layer has dried fully before adding the next. Mod podge can sometimes have a tacky finish when it is dry.
Additionally, the mod podge can sometimes make the glitter sheen dull. If this is the case, and you do not like it, you can use a clear spray-on sealant like the one from Krylon to give your project a beautifully smooth and glossy finish.
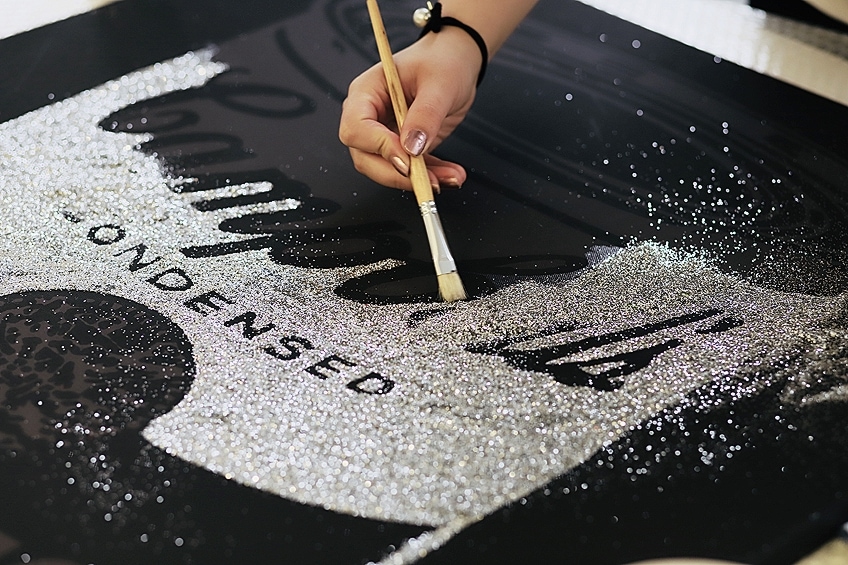
Sprinkling Glitter onto Your Project
The other method of glitter adhesion and sealing also uses mod podge or a similar glue. You will need the same equipment for this method as you will for the one above, and you will definitely need a tray to catch the glitter. This method of glitter application creates a much smoother finish with more sheen because you are not mixing your glitter into the glue.
Begin by using your foam brush to brush mod podge or your chosen glue onto the surface of your object. Place your glue-covered object onto your tray, and sprinkle your chosen glitter over the glue-covered area. Make sure that all the mod podge is covered with glitter, and let this layer dry.
If you would like your glitter coverage to be strong and opaque, you can repeat the process with another layer of mod podge and glitter. Ensuring that your first layer is dry before adding the second is very important.
Once you are happy with the level of coverage and sheen that you have achieved with your glitter application, it is time to seal it up. You can use a final layer of mod podge to seal in your glitter, as this glue does dry clear. If you are using the high gloss mod podge, you can get a really nice and shiny finish. As we have said before, however, the mod podge can dry a little tacky, so we suggest using a spray-on glaze sealant to finish your piece.
How to: Adding and Sealing Glitter on Fabric
Adding glitter to an old pair of jeans or jacket is a fun way to give it a new life. Making sure that your glitter stays on the fabric is a little harder than sealing glitter onto glass, however. The main reason as to why it is tough to add glitter to clothing is that when you wash it, this can disrupt the glitter. The products that you use on your fabric will make or break the permanence of your glitter work. There are two options for how to seal glitter on fabric.
Using a Permanent Fabric Glitter Spray
Our first and most secure option for sealing glitter onto fabric is to use a permanent fabric glitter spray. Manufacturers create these fabric glitter sprays specifically for use on fabric. As a result, they are much more effective than other options. You simply need to follow the instructions on the package, and you are set!
Our Recommendation for Permanent Fabric Glitter Spray: TULIP Glitter Spray Paint
The permanent fabric glitter spray from Tulip can be sprayed, spritzed, or splattered onto any fabric. Available in a range of differently colored glitter, this method of sealing glitter onto fabric is much less messy than sprinkling glitter. The color and glitter do not disappear, even after repeated washes, which is a significant benefit. This product is like glitter and a glitter sealer spray in one.
Using a permanent fabric glitter spray like this one also means you can very easily use a stencil to create a unique pattern. All of Tulip’s glitter fabric sprays are eco-friendly and non-toxic. The glitter spray dries quickly and produces a really beautiful sparkle and shimmer. This method of sealing glitter to fabric does work best on light-colored fabrics.

- Colors work best on light-colored fabrics
- Can be spritzed, splattered, or sprayed
- Soft, flexible, and will not disappear after repeated washes
Pros
- Less mess
- Eco-friendly and non-toxic
- Easy to use
- Can spray, spritz, or splatter
- Permanent even after multiple washes
- Vibrant colors
- High shine sparkle
Cons
- Works best on light fabrics
Sealing Glitter with Hairspray
If you have a glittery top or another item of clothing that is dropping glitter all over your home, you can use fabric glue or hairspray to quickly seal in the glitter. If you need a quick fix, hairspray is a fantastic option for sealing glitter onto fabric. It is likely that you already have hairspray in your house, and it dries quickly. You can use hairspray as a quick fix to seal glitter to fabric, but it does come out with dry cleaning, so it is not a permanent option.
Be sure to take your item of clothing into a well-ventilated space. Lay your fabric out on a clean and flat surface and spray a light layer of hairspray onto the glitter you want to seal. It is best to hold the hairspray can around ten inches away from the fabric to get the best coverage. The hairspray dries pretty quickly, but it will not hold up in the long term.
Sealing Glitter with Fabric Glue
For a more permanent glitter sealer option, you can use long-lasting fabric glue. The process is very similar to that used with mod podge on other surfaces. Lay your item of clothing on a clean and flat surface. If you are adding glitter and sealing it, paint your fabric glue onto the fabric in your desired pattern and sprinkle it with glitter. Leave your glittered fabric to dry for a good amount of time (around 24 hours) before painting on your sealing layer of glue.
Our Recommendation for Fabric Glue: ALEENE’S OK to Wash-It Fabric Glue
This American-made fabric glue is a great option for sealing glitter onto fabric. The fabric glue is permanent, fast-drying, and resistant to washes. The glue takes around 24 hours to dry fully, and you must wait seven to ten days after first gluing your fabric to wash it in order to give it ample time to dry. We also suggest only washing these items of clothing turned inside-out and in gentle cycles to maintain longevity. Unfortunately, this fabric glue is not suitable for very thin fabrics like satin, silk, and rayon.

- Permanent and fast-drying
- Can be washed on a gentle cycle after 7-10 days
- Not intended for thin fabrics such as rayon, silk, and satin
Pros
- Fast-drying
- Permanent
- Can be washed
Cons
- Must be washed on delicate
- Not suitable for thin fabric
Now You Know How to Seal Glitter, But What Can You Add Glitter To?
The items that you can add a little sparkle to are absolutely endless. From party hats to Christmas decorations, we think that a little glitter can make a world of difference. You can spice up some old hair clips with a glitter mod podge mix, or create fantastic glitter wrapping paper in the same way. Add a little extra zing to your phone case with a unique glitter pattern, or make your bulletin board more exciting with some glitter thumbtacks.
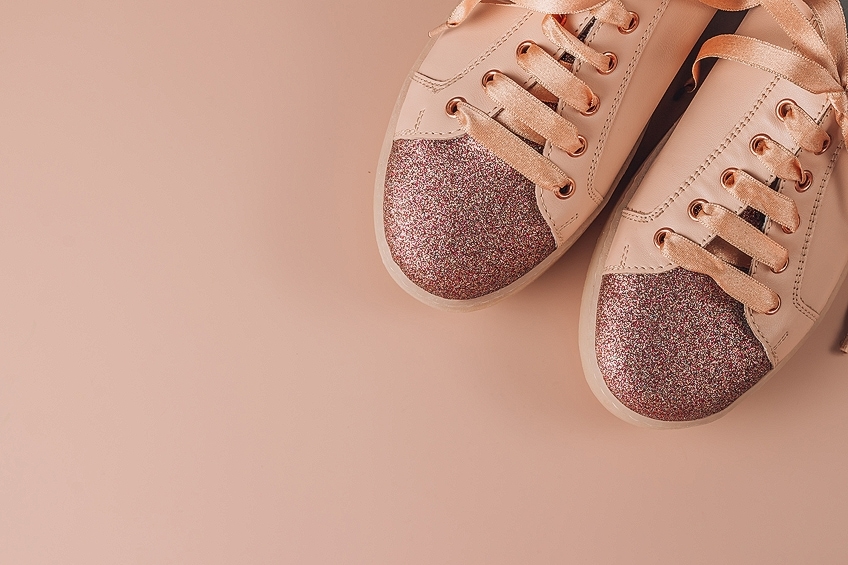
Add a Dazzling Sparkle to Your Step
Our favorite DIY glitter suggestion is to amp up an old pair of shoes with some glitter. You may be wondering how to seal glitter on shoes. You can make the glitter paint from mod podge and glitter and paint it onto the shoes. You can also paint the mod podge directly onto the shoe and sprinkle it with glitter.
You can use this second option to create some beautiful patterns by painting the mod podge for different sections of colored glitter at different times. Once you have applied your glitter to your shoes, you can seal it with more mod podge, or you can use the Krylon sealant spray. The possibilities are endless once you know how to seal glitter on shoes.
Frequently Asked Questions
How Can I Keep Glitter on Christmas Decorations?
Lots of our favorite Christmas decorations have a lovely sparkle that can begin to fall off. Luckily, it is very easy to seal the glitter onto your ornament. You can paint a thin layer of a glossy mod podge over the areas of glitter and let that dry. Alternatively, you can use a glitter sealer like Krylon’s glaze spray for a high-gloss permanent finish.
Can You Seal Glitter on Wood with Hairspray?
No, we do not recommend using hairspray to seal glitter onto a wooden project. Although this will work in the short term, hairspray is not a permanent option, and it does start to yellow over time. Try using spray-on glitter sealants like that from Krylon, or a thin layer of mod podge for a more effective and long-lasting seal.
Does Mod Podge Seal Glitter?
Mod podge is a fantastic and affordable option for sealing glitter onto almost any surface. You can stick the glitter onto your project with mod podge and use a second thin layer to seal it in. If you want a shiny finish, we suggest trying mod podge with a gloss finish.
What Is the Best Glue for Glitter?
The answer to this question depends on what you want to stick glitter to. If you want to stick and seal glitter onto fabric, we suggest using Aleene’s permanent fabric glue. If you are adding glitter to an old pair of shoes, glass, wood, or almost any other surface, we suggest using mod podge. Mod podge is highly effective and keeps your glitter firmly in place.

Larissa Meyer is a 32-year-old mother from Michigan and creative spirit since childhood. Her passion for painting and drawing has led her to an education as an illustrator and a career as a freelance graphic designer. She has a Bachelor of Fine Arts in Illustration and a degree in Graphic Design. Larissa is a talented artist who is able to master a wide range of styles and techniques to bring her artistic vision to life. Her greatest passion is currently fluid painting and epoxy resin art. As a mom of two kids, Larissa also understands the importance of fostering creativity in early childhood. She uses her experience and knowledge to help other parents inspire their children and develop their artistic skills as well.
Learn all about Larissa Meyer and Fluid Painting.