Best Paint Sprayer for Walls – Including In-Depth Tutorial
This post may contain affiliate links. We may earn a small commission from purchases made through them, at no additional cost to you.
When it comes time to finally paint the walls of your home, we know that it can be a daunting task. It is time-consuming, expensive, and labor-intensive. While you can put it off for a while, it will eventually reach the point where it can no longer be ignored, and when that day comes, you will be glad that we wrote this article. Let us take a look at how choosing the best paint sprayer for walls can make the painting process easier.
The Benefits of Using a Wall Paint Sprayer
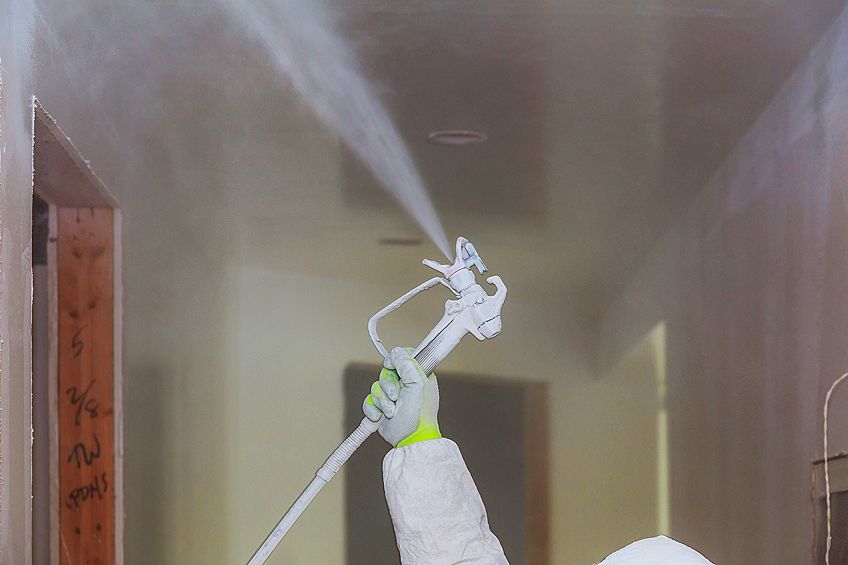
Instead of investing in a ton of rollers and spending hours working on the same spot, you can simplify this process by making use of a wall paint sprayer. You also do not need to buy paint trays or waste time trying to clean up the mess that they make. By using a sprayer, you reduce the mess, clean-up, and effort that goes into painting both internal and external walls.
Using an indoor paint sprayer not only simplifies the process, but it can be used on a wide range of surfaces. An indoor paint sprayer is ideal for any home project that requires a quick paint job.
When it comes to selecting an interior paint sprayer, there are a lot of factors to consider, and you will need to do your research beforehand. We will assist you with some in-depth research and information to help you choose the option that best meets your painting needs.
Choosing Between a Paint Roller and a Wall Sprayer
When it comes to taking on your home painting jobs, the classic paintbrush and roller setup have become the go-to, and when you head to your local hardware store, they will more than likely agree with you. The walls are often packed with a ton of brushes and rollers that have been created to meet all your painting needs. However, this is not your only option.
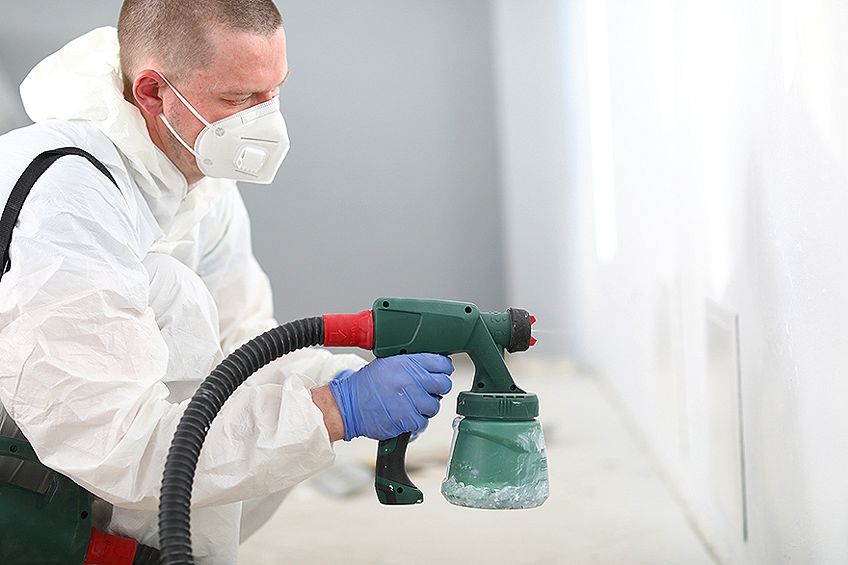
A paint sprayer is an easier and more effective way to paint your walls. While this is a skill that you are yet to acquire, it is easy to figure it out and once you get going, you will be able to figure out your own tricks to get the job done.
Both options require proper preparation, skill, and painting techniques to apply the paint in a way that ensures the best possible finish. So, at the end of the day, it is about weighing your options and going with the solution that best fits.
The Pros and Cons of Using a Paint Roller
PROS
- Suitable for most painting projects
- Does not require skill and ideal for beginners
- Provides an even coat of paint
- Can reach most areas – an extension pole can easily be fitted
- Easy to clean and maintain
- More cost-effective in the short term
CONS
- Rollers can shed hair and lint in your paint
- The core is known to dissolve
- Not suitable for textured surfaces
- Can be time-consuming
- Painting can be messy
The Pros and Cons of Using a Wall Sprayer
PROS
- Offers a beautiful finish and even coating
- Quick and easy to use
- Effortless painting
- Ideal for large areas
- Perfect for textured surfaces and filling gaps
- Can be used for detailed work
- Provides long-term cost savings
CONS
- You need practice and experience
- Area requires proper preparation
- Fine paint mist can leave residue on nearby surfaces
- Requires maintenance and cleaning
- Can be a costly setup
- Not suitable for small paint jobs
Types of Interior Paint Spray
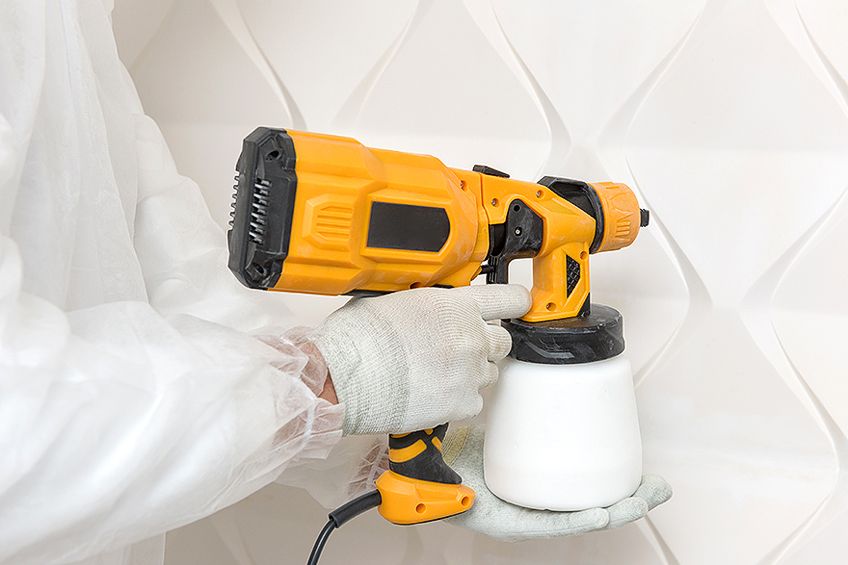
If you are looking to paint the inside of your home with interior paint spray, there are a few things that you should know. The first is that there are three interior painting sprays to choose from, namely HVLP sprayers, handheld spray guns, and airless sprayers. Each interior painting spray has its own pros and cons, so at the end of the day, it is up to you to decide which option works for you.
Airless Wall Paint Spray
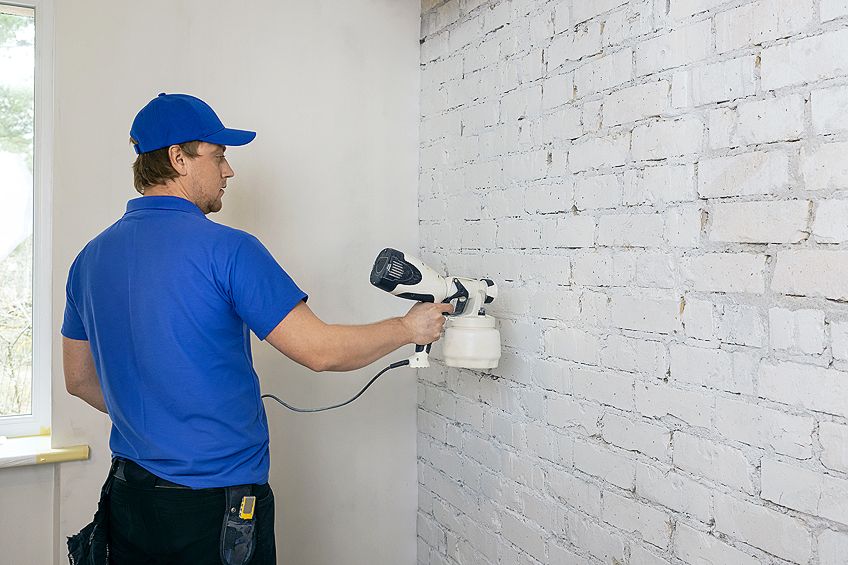
This option is most commonly used for DIY projects as it is the most efficient option available. This wall paint sprayer does not need a compressor and is powered electronically. This means that the setup is not as bulky and can easily be moved around.
HVLP Interior Wall Sprayer
If you are looking for an affordable solution that simply needs to be plugged in and is ready to go, you will want to look for a high-volume low-pressure (HVLP) sprayer. The only downside is that this option has a short lifespan, although it certainly packs a punch during its active years. This does come in handheld options as well.
Best Paint Sprayer for Home Use
When you make the decision to invest in a wall paint sprayer, you need to be sure that the product you end up buying is able to meet your needs effectively instead of being the salesperson’s go-to option for earning a commission. In addition to that, you will need to navigate your way through a sea of options, which can become overwhelming. To assist you, we will be sharing our top three interior paint sprayers. These are merely a guide to help you make an informed decision by showing you what to look out for.
Best Performance House Paint Sprayer: GRACO Magnum X5 TrueAirless Paint Sprayer
We would be lying if we said that performance did not matter when selecting a house paint sprayer. Not only does Graco’s airless paint sprayer deliver on performance, but it is also powerful enough to use your chosen paint directly from the can without thinning. You also do not need to decant the paint, as the suction tube can be placed directly in the paint can.
- Fully adjustable pressure to give you ultimate control of paint flow
- Piston pump allows you to spray unthinned paint at high pressure
- Power flush adapter connects to a hosepipe for fast and easy cleaning
PROS
- Easy to adjust settings
- Use paint as is without thinning or decanting
- Easy to clean
- Easy to unclog
CONS
- Cannot be used with textured paints
Best Value for Money House Paint Sprayer: WAGNER Spraytech HVLP Stain Sprayer
When you first decide to give a house sprayer a go, you do not want to be spending a lot of money on the initial set-up. While we are firm believers in investing in a quality product, which is often reflected in the price, we have found that Wagner’s Spraytech Stain Sprayer delivers on both performance and affordability.
- Sprayer offers control and efficiency when spraying thin materials
- Nozzle sprays a smooth, consistent finish with light-bodied paints
- Simple design allows for set-up and clean-up within minutes
PROS
- Spray gun is easy to maneuver
- Ideal for outdoor painting projects
- Gets the job done quickly and effectively
- Offers three spray patterns
- Quick clean-up
CONS
- Spray gun needs to be refilled quite often
- Sprayer is easily clogged
Best HVLP Sprayer: HomeRight FinishMax
Most people will opt for a HVLP wall sprayer when it comes to painting your interior walls. This is due to its high-volume intake and low-pressure output that results in reduced wastage. The HomeRight FinishMax is ideal for projects that require that extra details. It is worth mentioning that it is more time consuming to use a HVLP when compared to the airless options currently on the market.
- An easy-to-use electric paint sprayer that applies a smooth finish
- Easily adjustable settings on air cap and material flow control knob
- Simple to set up and comes with a viscosity cup for easy measuring
PROS
- Less wastage
- Ideal for detailed projects
- Brass tip prevents corrosion
- Suitable for amateurs and pros alike
CONS
- More time consuming to use than other spray guns
Best Metal Spray Gun: CAMPBELL HAUSFELD General Purpose HVLP Paint Spray Gun
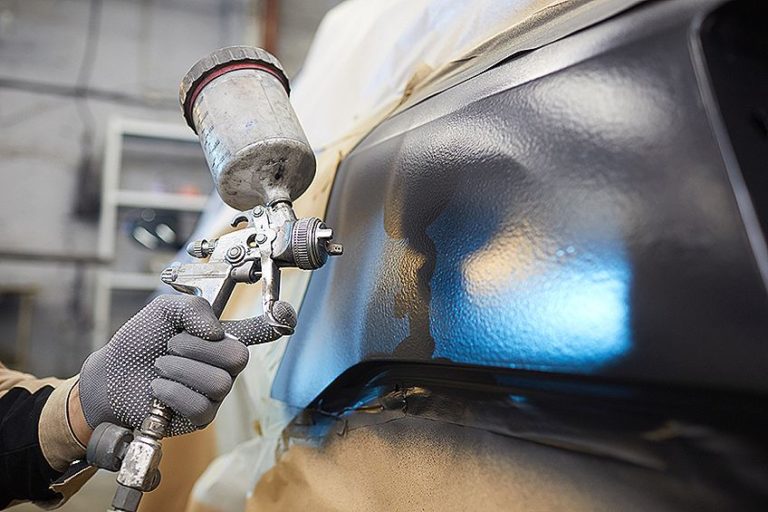
We are venturing out to a bit of a different area with this gun, but with good reason. If you need to spray metal items such as doors or finishes, you will need a spray gun that is able to do so. Campbell Hausfeld offers affordability and performance in this general purpose spray gun, which is suitable for use on multiple surfaces and textures.
- A gravity feed spray gun for easy clean-up and minimal waste
- Easy and simple-to-use kit with low overspray and fine atomization
- Can be used with lacquers, base coats, and polyurethane topcoats
PROS
- Incredibly versatile
- Has several settings for optimal coverage
- Consistent performance
- Can be used on multiple surfaces with a wide range of liquids
CONS
- Tip is not removable
How to Use a Wall Sprayer
While painting your walls is a fairly straightforward task, there are a few things that you can do to ensure the best possible result. While this topic can easily become its own article, we are going to give you a brief yet concise outline of what you should be doing.
The first thing you will need to do is invest in a paint sprayer; you can use the guideline above to assist you in doing so. Once you have your interior paint spray, you will need to select the correct paint – in the color you have selected – as well as the gear needed to complete the job. This can include masks, goggles, plastic sheeting and masking tape.
If the area being painted has any furniture or decor items in the space, remove them to create space for painting. This will also help to prevent any items from being damaged or accidentally painted on during the painting process.
Once the room is clear, you can lay down the plastic sheeting to protect your floor and mask off all light fittings, lights, windows and doors. You can now begin to spray the area. Apply your first paint layer and give it time to dry.
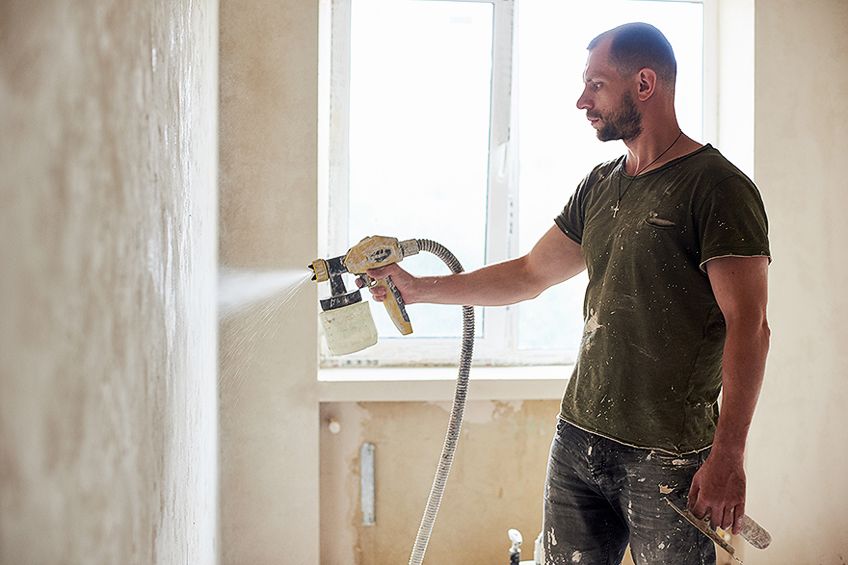
Our Tips for Painting Your Home
Whether this is your first time painting your walls or the hundredth time, a quick refresher on how to get the job done right the first time will go a long way. Not only will it improve the quality of your paint job, but it will also ensure that the paint lasts for years to come.
Do Not Let the Paint in Your Paint Can Dry Out
While you should let the paint on your walls dry, it is important to prevent the paint in your can from drying out. This is a common problem for paint cans that have half of the liquid left. To work around this, we recommend popping a few golf balls into the can to take up the extra space. You can also seal off the can by placing some plastic wrap under the can’s lid and storing the paint upside down. Make sure that the lid is closed properly and is secured before doing so.
Primer Is a Must
When painting on a new surface, or any surface for that matter, using a primer can assist in hiding imperfections and marks. It also acts as a base coat that can enhance the color of the paint being applied. Water-based primers are best suited for drywall projects, while an oil-based primer works best on paneling, smoke-saturated, or water-damaged walls.
Mix Well Before Use
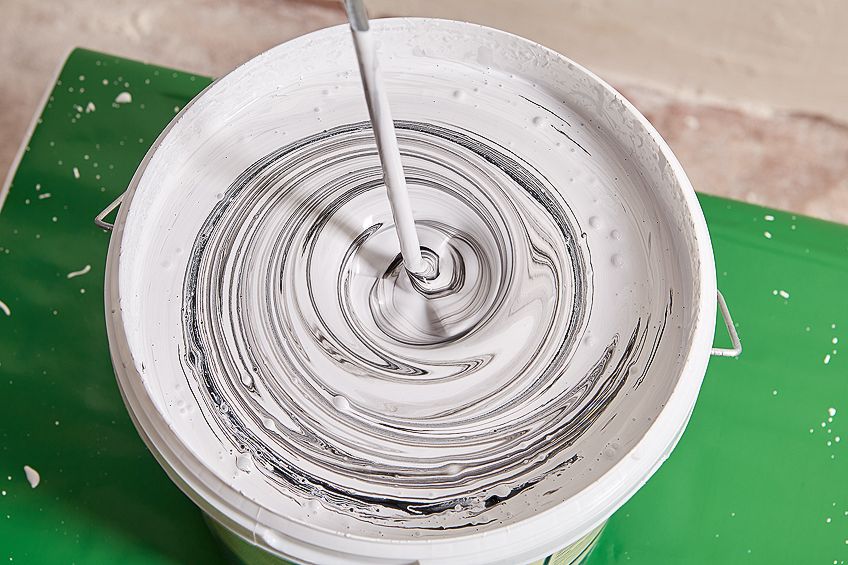
Before reaching for your paintbrush, roller, or spray gun, ensure that the paint has been properly stirred. To help the paint mix, drill holes in the stirrer to aerate the paint and allowing the paint to flow through and mix more evenly.
Do Not Let the Paint Overlap
When paint begins to overlap, you are almost guaranteed to have a stripey finish. This happens when the paint is applied and has time to dry before the next stroke or layer. To prevent this from happening, try to keep the edge of each layer wet and have the next layer or stroke touch the previous. You will also need to work fast to ensure that the paint does not have time to dry in-between.
Know When to Wash Your Painting Gear
If the paint job is going to take more than a day to complete, you may be able to get away with not cleaning your equipment between the different days. Of course, you are more than welcome to wash your spray gun or rollers as often as you like – we are merely stating that you can save time by not doing so. Latex paints take longer to dry in colder temperatures, so leaving your gear overnight when using a latex paint should be okay. All you need to do is pack your gear into plastic bags or wrap it in tinfoil, and pop it in the fridge. Make sure that you let them warm up and thaw out before reusing them.
Do Not Let Old Tape Slow You Down
If your masking tape is old, it can be difficult to loosen and peel off without breaking off into smaller pieces. Painter’s tape can be popped in the microwave for 10 seconds to loosen the strips and make peeling it off a lot easier.
Know What Paint Is Currently on the Surface and How to Paint Over It
If you are not sure about the paint currently on the wall, we have a quick trick to help you figure it out. Wet a cotton ball with isopropyl alcohol or another rubbing alcohol that you may have in your home and wipe it across the wall. If the cotton ball has a color residue on it, then the paint is more than likely latex. If there is no paint residue, then it is probably an oil-based paint, and you will need to apply an oil-based primer before the first coat of paint.
Ever Heard of a Paint Pen?
This nifty little tool allows you to store some paint in the cartridge. This means that if your wall needs a quick touch up later, you can simply reach for the pen and fill in the gap. These pens will keep the paint fresh for a year, although we recommended shaking the pen thoroughly before use.
Always Prepare Your Surfaces and Surrounding Area
Before you start painting, you will need to properly prepare the surface and surrounding areas. This can include laying down plastic sheeting or drop cloths and properly masking off any hardware, door frames, windows, or light fittings, as well as any other objects that may be in the painting space. Unless you want to have it repainted, rather cover it up. Keep your pets and children out of the area to prevent any marks on wet paint or accidental paint spillage that can be tracked through the rest of your home.
Suit Up for the Occasion
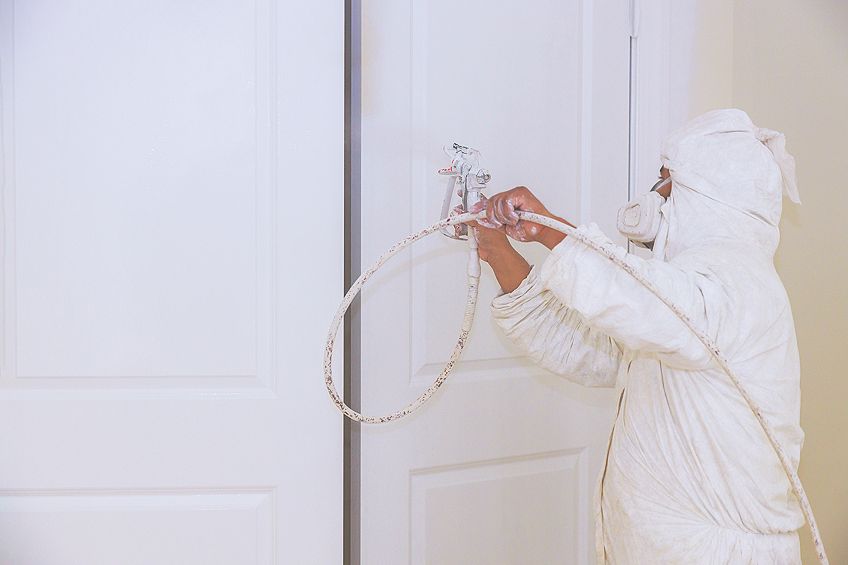
When it comes to painting, especially with a spray gun, protective clothing should be a standard. Paint particles can easily become airborne and float onto your hair or clothing. You will want to wear overalls or a protective suit as well as goggles, gloves, and a mask. Essentially, keep all your important bits covered and only leave the areas you are happy to have paint on exposed.
Use Your Paint in Accordance with the Sprayer Manual
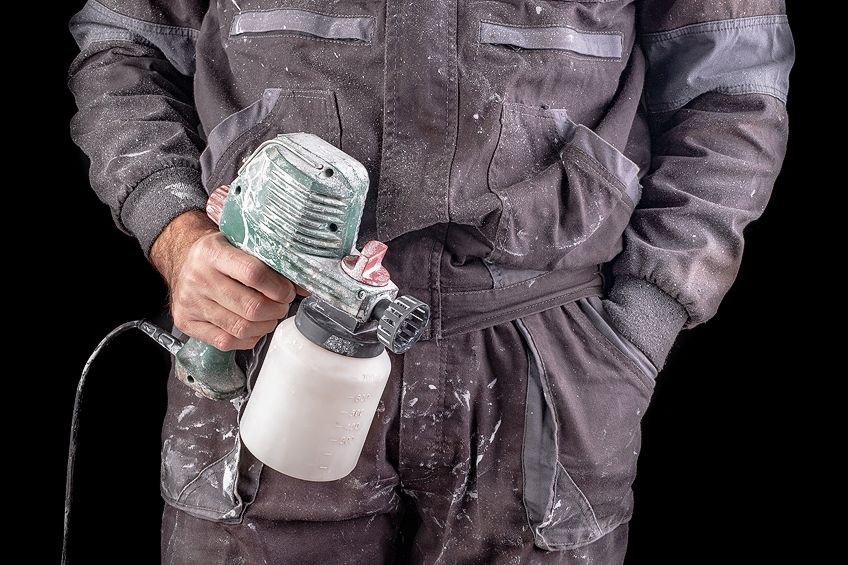
While some sprayers offer the ability to simply pop a suction tube into your paint can, there are still many options that require the paint to be decanted and thinned out before being loaded into the spray gun. Follow the given guidelines and recommendations for your intended project, add the correct amount of paint, and choose the most appropriate tip for spraying. This will ensure proper coverage and the best possible finish.
Test Your Skills Beforehand
Before you start painting the wall, rather test out your painting technique on a smaller surface beforehand. This will help you determine if your paint is the right consistency and that your brush or spray gun tip is the best tool for the job. If you are using a spray gun, it will also be worth determining how far you need to stand from the wall to ensure a beautiful, even finish. We recommended finding an old cardboard box, piece of wood, or hidden piece of wall to experiment on.
Work in a Well-Ventilated Space
Paint fumes can easily build up and have catastrophic health consequences. Having air flowing through the space will also assist in drying the paint quicker, although you will want to make sure that the breeze is not tracking in dust or other particles that can become lodged in the wet paint. When in doubt, a fan or two will also suffice.
Start from the Top
When you start painting, you will want to start at the ceiling or top of the wall, and slowly work your way down to the floor in a sweeping motion. Try to avoid straight lines, as this will become more prominent as the paint dries. If you see any runs in the paint, you may want to adjust the setting of your spray gun or the amount of paint on your roller. Be sure to smooth out any runs before it has the chance to dry.
For the best finish, you will need to apply more than one coat of paint. It is, however, important that you wait for each layer to dry before moving on to the next application. While paint applied using a spray gun will dry quickly, ensure that you give it enough time to dry before applying the next coat.
Frequently Asked Questions
Are Paint Sprayers Suitable for Use Indoors?
Yes. In fact, our entire article is centered on the indoor use of spray guns. Wall paint sprayers are easy to use and can be used indoors and outdoors. If you have the option, rather look for a spray gun that does not need to use a compressor, as it can become a bulky setup. When in doubt, read the product label or box to ensure that the spray gun you are being is able to meet your DIY needs.
How Do I Choose Between Using a Paint Roller or Wall Paint Spray Gun?
The easiest way to decide is to look at the area being painted. If it is on the small side, setting up your spray gun may be more effort than it is worth. However, if you do choose to use a spray gun, you can rest assured knowing that the paint job will have the best possible finish. Spray gun paint jobs will also dry a lot quicker and generally will not produce overlap marks.
Is It Really Worth Investing in a Spray Gun?
In our unbiased opinion, yes. In some cases, a spray gun may seem like overkill, especially in smaller spaces. However, when it comes to painting your home’s wall, you can halve the time needed to complete the job as well as the labor costs involved.
Larissa Meyer is a 32-year-old mother from Michigan and creative spirit since childhood. Her passion for painting and drawing has led her to an education as an illustrator and a career as a freelance graphic designer. She has a Bachelor of Fine Arts in Illustration and a degree in Graphic Design. Larissa is a talented artist who is able to master a wide range of styles and techniques to bring her artistic vision to life. Her greatest passion is currently fluid painting and epoxy resin art. Larissa’s love for art and her knowledge and experience in illustration make her the perfect Creative Director for our fluid-painting.com team. She is the creative head of our team and shares her passion and knowledge with our community through articles and tutorials.
As a mother of a 2-year-old daughter, Larissa also understands the importance of fostering creativity in early childhood. She uses her experience and knowledge to help other parents inspire their children and develop their artistic skills as well.
Learn more about Larissa Meyer and about us.

