Airbrush Clothing – How to Airbrush T-Shirts and Fabrics
This post may contain affiliate links. We may earn a commission from purchases made through them, at no additional cost to you.
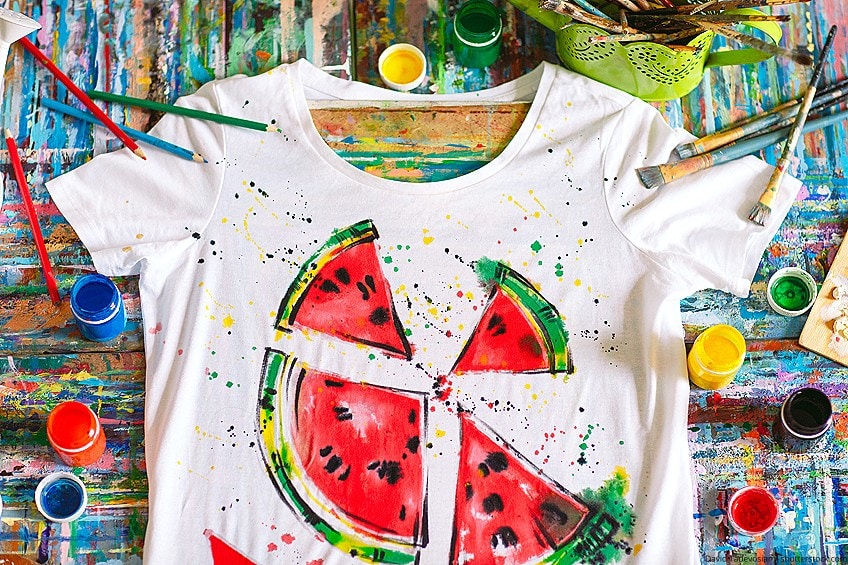
Airbrushed T-shirts are a trend that has once again become very fashionable and popular, despite the fact that these items of clothing are not the easiest to create. What makes the process so difficult is handling the airbrush itself. Once you have mastered the technique of applying even strokes of paint, you will then be able to airbrush clothing using both freehand patterns and stencilled designs onto almost any cotton T-shirt.
Supplies and Materials
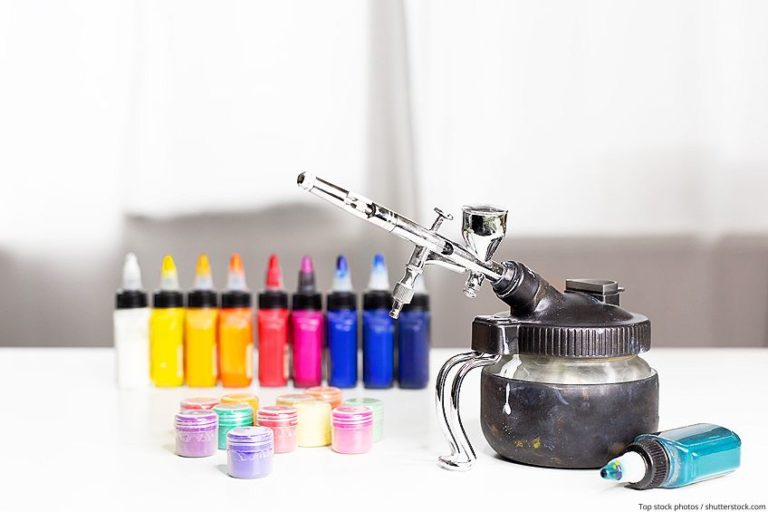
In order to begin airbrush painting your T-shirts and other items of clothing, you will require some basic materials. You will need an airbrush and an airbrush compressor, suitable airbrush paints, and T-shirts of your choice.
Airbrush
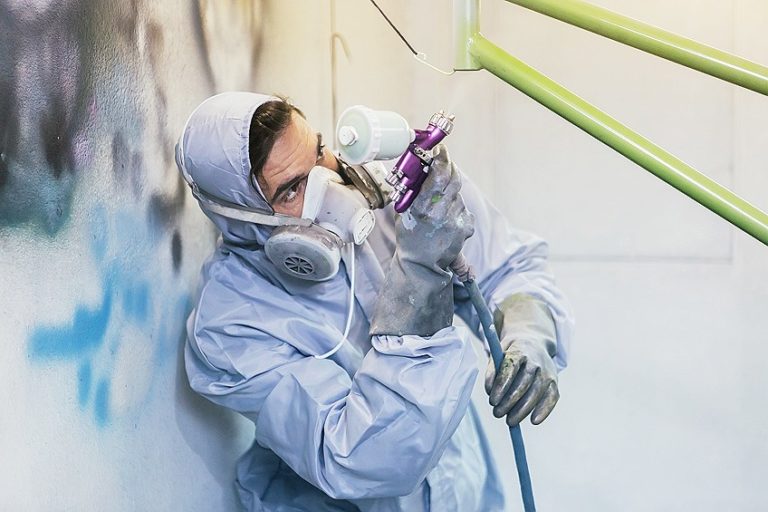
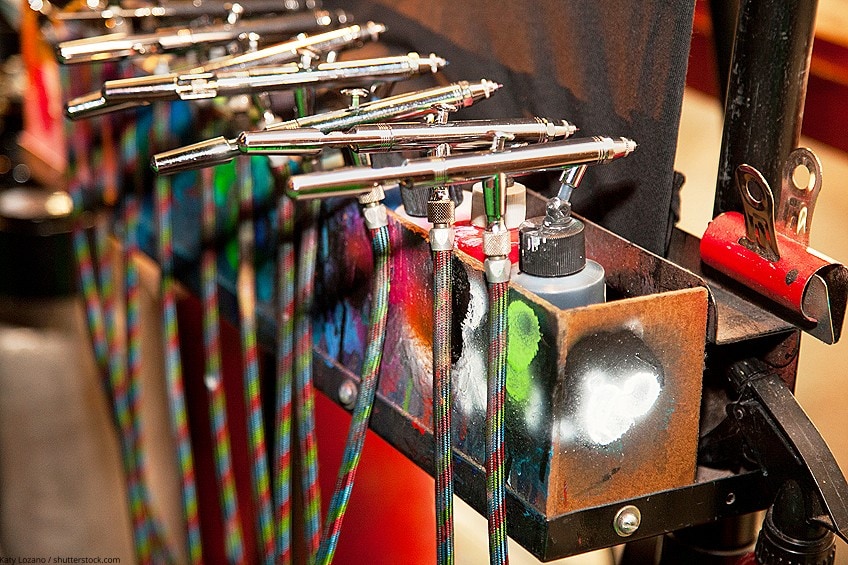
There are a variety of different airbrush kits you can use to airbrush clothing, the most common of which is the siphon-feed airbrush. The siphon-feed airbrush is ideal for airbrushing t-shirts, as it handles the higher viscosity textile paint that you will need with ease.
These are also a great tool for quick color changes, which is really useful when airbrushing t-shirts. The best thing to do is to use individual bottles for each color, thus making it very efficient to change colors quickly. You can also use an airbrush holder for a secure place to put your airbrush down when you are not using it.
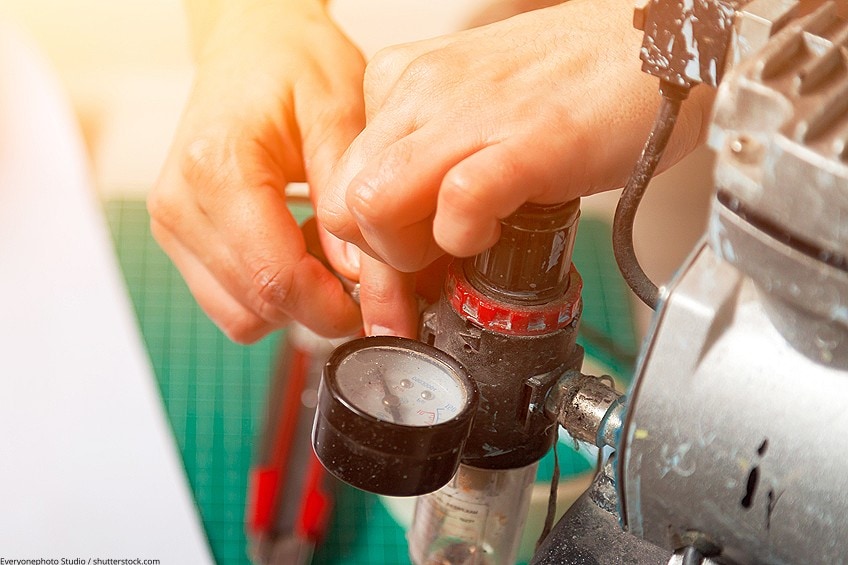
Airbrush Compressor
The best type of compressor should give you 40-60 psi working pressure. In doing so, you will then have a consistent airflow. If you are just airbrushing a few t-shirts for a hobby, any basic air compressor that is sold primarily for airbrushing will be sufficient. If you are going to be airbrushing a lot of t-shirts, however, we would recommend getting a commercial compressor. These are available at suppliers like Sears, Home Depot, or Lowes.
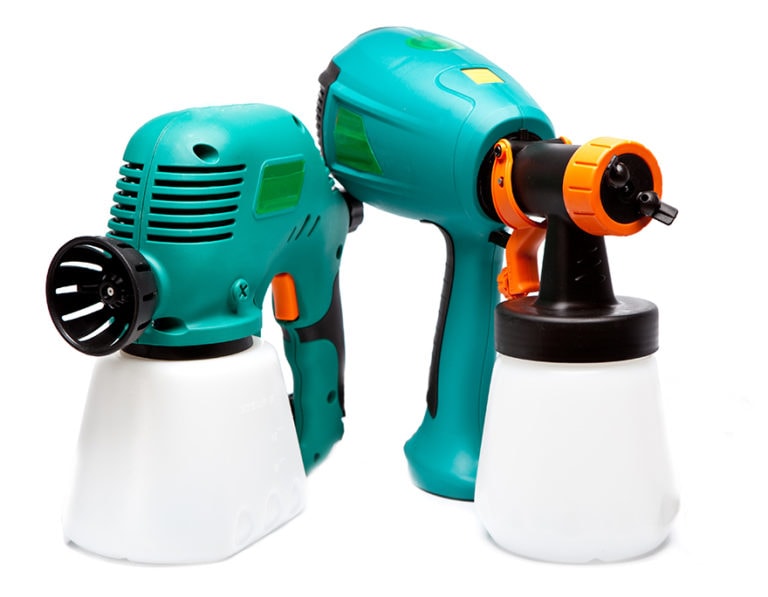
Best Airbrush and Compressor Set: MASTER AIRBRUSH Multi-Purpose Airbrushing System Kit
This product includes both a siphon-feed airbrush as well as a dual-fan compressor, resulting in an airbrush that can be used for longer periods of time without overheating. You will also receive a pressure regulator and gauge, an air hose, a airbrush holder with space for two pens, as well as a starter guide.

- Dual-action siphon-feed airbrush
- Powerful compressor with two cooling fans
- Versatile and easy to use
This kit is ideal for those wanting to start airbrushing T-shirts, and will produce great results. You will achieve high precision and airr control as a result of the pressure regulator. Both the airbrush and compressor are lightweight and easy to use. With an air-on-demand system, you will not have to worry about the machine running while it is not in use. Enjoy a year-long warranty for your airbrush pen and a five-year warranty on your compressor.
Pros
- High precision, dual-action siphon-feed airbrush
- Air-on-demand system
- Maintenance-free and lightweight
- Easy to use
- Great value for money
Cons
- Instruction manual is not detailed
- Compressor can be noisy
Airbrush Textile Paint
In order to make sure your paint does not wash out, and that your airbrushed artwork is long-lasting, it is important to use the correct paint. It is best to use an airbrush paint that is made specially for airbrushing textiles and fabrics. The majority of these types of paints need to be heated in order to set the design or pattern onto the T-shirt once you have finished airbrushing.
Best Airbrush Paint for Textiles: US ART SUPPLY Set of Acrylic Colors
This 24-color kit includes 12 primary and 12 secondary opaque colors, a bottle of airbrush cleaner, reducer, and a color mixing wheel. All of these colors are ready to be sprayed straight out of the bottle, although they can be reduced too if necessary.

- Outstanding airbrush flow characteristics
- High-quality, non-toxic, and lightfast pigments
- Set of 24 different opaque colors
The colors included in this set are of a high quality and will not fade when exposed to sunlight. These pigments are non-toxic due to their water base. This is a great starter pack for individuals wanting to build up their collection of textile paints for airbrushing their T-shirts.
Pros
- Wide range of opaque colors
- Kit includes a reducer to extend your paint
- Pigments are non-toxic and lightfast
- Easy to clean
Cons
- Poor packaging
Best Fabric-Painting Medium: GOLDEN ARTIST COLORS GAC 900
You can use this product as a heat-setting medium for using acrylic paints on fabrics and T-shirts. It can be used as a clear coat on the top of your design as well and will need to be heat set.

- Heat-setting medium for modifying acrylic paints on fabric
- Suitable for brushing, airbrushing, or screen-printing
- Provides a soft hand and increased launderability
If you use GAC 900 before airbrushing, you will decrease the overall fuzziness of the surface, which often catches a lot of the over-spray. Try applying two coats of GAC 900, after which you can heat set it according to the manufacturer’s directions.
You will be left with a very smooth surface to work on. If you are only doing a simple design, this initial process may not be necessary. However, if you are doing a more intricate design it might be worth your time and effort doing this additional step.
Pros
- Allows for the airbrushing of acrylic paints on clothing
- Keeps the fabric soft
Cons
- Has to be heat set
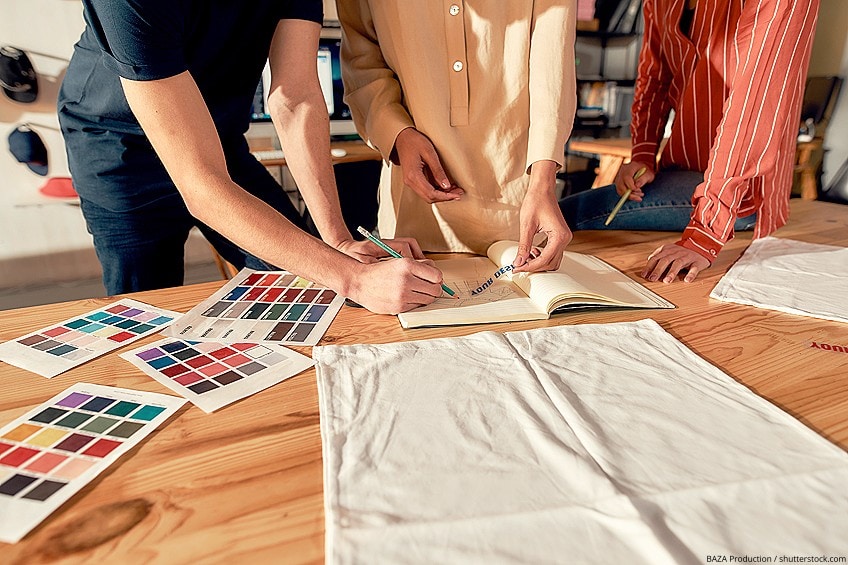
T-Shirts
Naturally, you will require T-shirts. You can choose to use 100% cotton or a 50/50 blend T-shirt, as either option will be ideal for airbrushing. Using a 50/50 blend results in significantly less shrinkage and tends to fade less with time. You do not have to wash your T-shirt prior to airbrushing your design.
Tutorial for Creating Your Own Airbrush T-Shirt
Airbrushing a T-shirt or piece of clothing can be complicated for beginners. We have provided detailed steps as to how to airbrush a T-shirt.
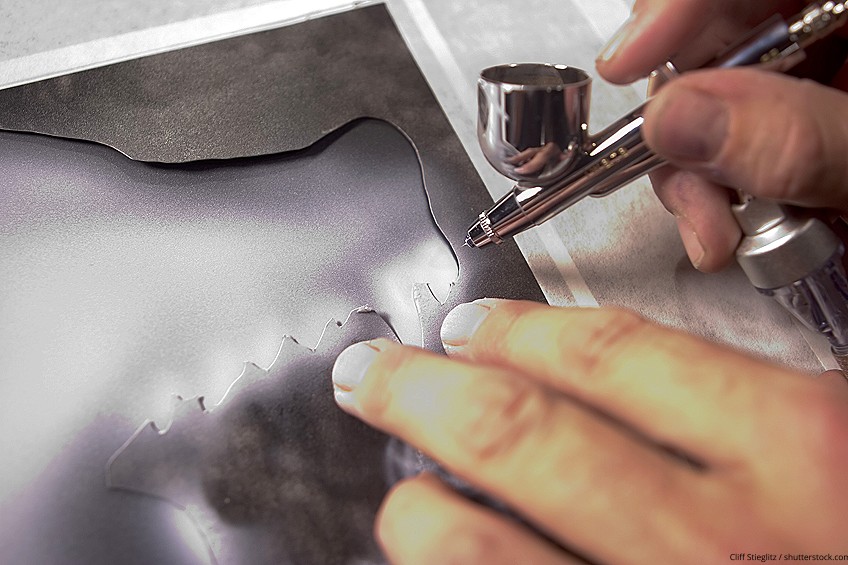
Preparing the Airbrush Stencil
The best part about using an airbrushing T-shirt stencil is that this stops you from having to worry about getting any excess paint on your t-shirt. To make an airbrushing T-shirt stencil, the best material to use is pennant felt. This is particularly good material should you need to use the airbrushing t-shirt stencil repeatedly. Pennant felt is a very affordable material and is great to use several times without having to clean it each time in-between.
You do have the option to use other materials such as cardstock, photo paper, or even freezer paper, but using these options can lead to messier results.
Choose a design. There are many options when selecting your design. Another option is simply to draw your own design, to try to make a design on digital imaging software, or even just to use a pre-made design
- The simplest option is for you to utilize a ready-made stencil. However, this particular option gives you a limited number of designs to select from.
- When using a digital design, remember to print it out before using it. Use a heavy paper to print it on, as this will give you the best results.
- When choosing to draw your design by hand, remember to use a heavy paper to sketch on and do not just simply draw onto your stencil material.
It is now time to transfer the design over to the pennant felt. Whichever of the above design methods you choose, your next step would be to place the design over a piece of pennant felt. Next, you can use a pencil to transfer the design onto the felt by tracing it.
- If you choose to use a ready-made stencil, you can simply trace the design without having to do any additional steps.
- Pennant felt will absorb any additional paint, making it a great material to use. In addition, it is very durable.
- If you have chosen to use your own image, you will have to cut around the traced lines so as to create a temporary stencil. You can then trace onto the felt.
Cut out the stencil. Once you have completed the above steps, your next step would be to use a cutting mat and place it underneath the pennant felt. You would then carefully cut along the lines you have traced. Remember to remove any leftover scrap material, and your stencil is complete.
You can use a hobby knife or a utility knife to do the cutting for most designs. If you are doing a more detailed design, we suggest using a stencil burner.
Temporary adhesive can be applied as a thin coat. It is important to spray the adhesive onto the back of the stencil.
- For the best results, ensure that the spray adhesive has dried before going on to the next step. This will stop any excess adhesive remaining on the T-shirt when you remove the stencil.
- You can ensure that the T-shirt does not move by using the adhesive. However, it is very important to use repositionable or temporary adhesive. It is very important not to use any permanent adhesive
Position the stencil. You can then place the stencil where you wish the design to be, ensuring that you put the adhesive side down onto the T-shirt. In order to ensure that the stencil sticks to the T-shirt, you will need to press firmly.
- We suggest that you secure the sides of the stencil using painter’s tape. This will help to protect the exposed area of the T-shirt from any over-spray. It will also help to keep the stencil steady.
- After a few minutes, double check to ensure that the stencil is securely stuck in place.
The Spraying Process
Before placing the T-shirt on an easel, you will have to place a T-shirt board inside of the T-shirt.
- Doing this will help to stretch the T-shirt material. By stretching the T-shirt, you will stop dimples, wrinkles, and folds from ruining your overall design. This is also great in stopping paint from seeping on to the other side of the T-shirt.
- The majority of T-shirt boards are made of materials such as thick cardboard, foam board, or even Masonite.
- Make sure that you are able to work freely and that the easel is set up in a practical way. We suggest that the easel hold the shirt at least 32 inches (81 cm) above the ground.
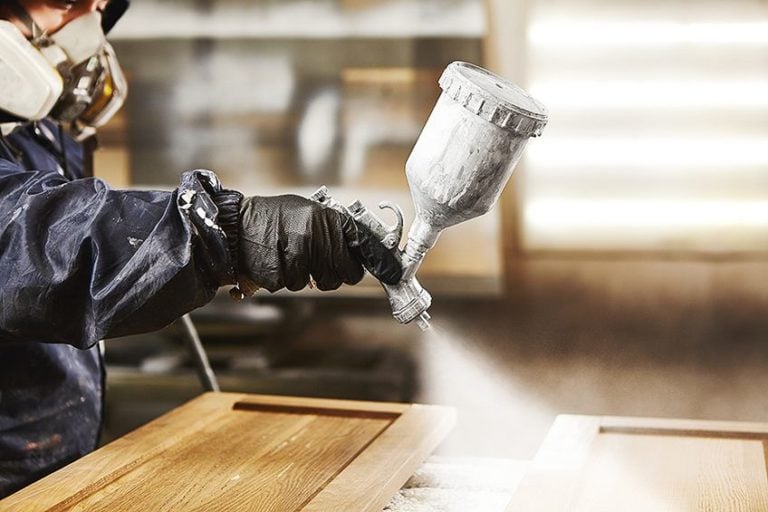
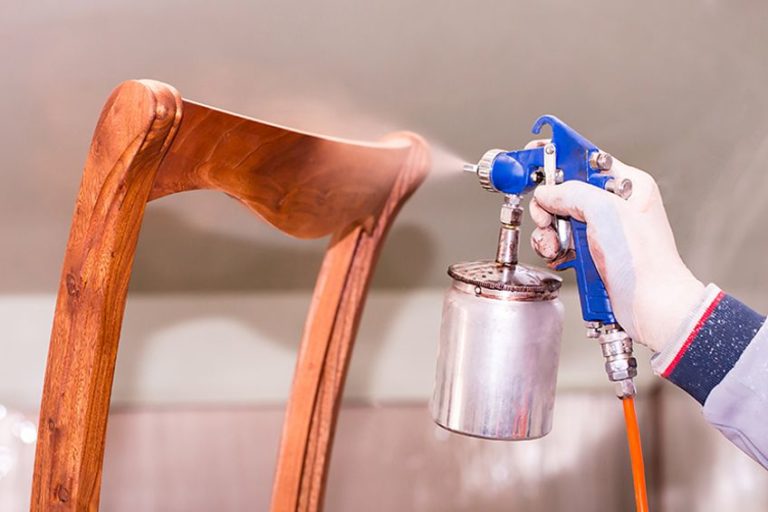
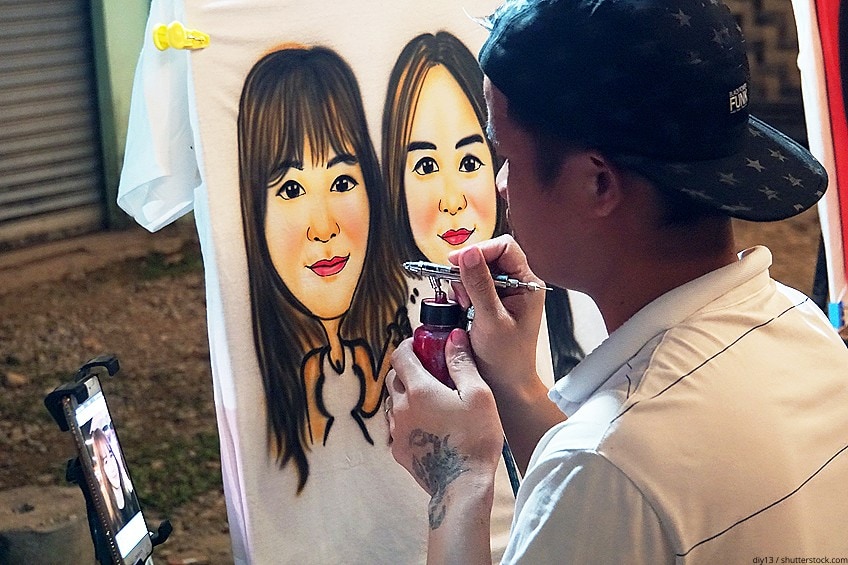
Hold the airbrush over the shirt. We suggest beginning at the edges of the design as opposed to starting in the middle. You need to hold the airbrush over the stencil.
- It is important to note that you can achieve different effects depending on how close or how far away from the T-shirt you hold the airbrush pen when airbrushing. If you would like to create a softer finish, you will need to hold the airbrush about 6 inches (15 cm) away from the T-shirt. However, to achieve a more intense finish, you would need to hold the airbrush about 4 inches (10 cm) away from the fabric.
Spray even, overlapping strokes across the surface. With a soft touch, put pressure on the trigger of the airbrush to release the paint. You can then move your hand across the whole surface with the airbrush to cover the exposed fabric with paint.
- Remember to use an overlapping movement in order to ensure that there are no gaps of blank space that have not yet received paint. This will allow for a smoother, even appearance.
- If you move the airbrush too close to the material, remember to ease the pressure used on the trigger. In doing this, you will then use less paint.
- It is very important to ensure that you move your hand in a steady motion when working across the whole surface. If you do not do this, it will result in blobs of paint forming at the start and end of each stroke.
Switch colors as needed. When you would like to swap the color you are using, release the trigger to stop the flow of paint. You can then unscrew the container you are currently using and then screw on the container of the next color you wish to use.
- Some individuals working with airbrushing choose to use a different airbrush for each color, but this is a costly option. If you are using a bottom-fed airbrush, simply swapping the colors is the perfect option.
Carefully remove the stencil. Once you have finished coving the stencil portion of the T-shirt with paint, you can carefully remove the stencil.
- If you struggle to lift the stencil, you may have to wait for the paint to completely dry before trying to peel it off once again. This will also decrease the chance of smudging the paint and damaging your overall design.
- Remember to remove any tape you have used from the edges of the stencil before attempting to lift it.
Add freehand designs as desired. This is your chance to add any freehand personalized details to your design. Remember to carefully think about where you wish to place your additional freehand design, as you will be unable to undo any errors.
- It is a good idea for you to practice your freehand design prior to adding them to the T-shirt. Possible freehand options include letters and numbers.
Finishing the Painted Surface
Allow the paint to dry. You need to allow a sufficient amount of time for the paint to dry before you seal it using heat pressing.
- The amount of time required will vary depending on the make of paint you have used. A rule of thumb is that you should wait a minimum of 30 minutes. To test if the paint is dry, lightly touch the paint with your fingers. None of it should pull away from the surface and it should not feel sticky on your fingers.
Protect the T-shirt with parchment paper. Once you are confident that the paint has dried, you can place the T-shirt on a hard, flat surface. Next, you will need to cover the whole design with a sheet of parchment paper, or alternatively you can use brown craft paper.
- Always remember to use parchment paper or brown craft paper to protect the T-shirt. If you were to apply heat directly to the material with no protection, it could result in the paint peeling away from the material.
- If you do not have any parchment paper or brown craft paper, you can turn the T-shirt over and iron on the reverse of the design.
- It is very important to ensure the surface is flat and smooth before you begin with the iron.
Pass over the design with an iron. Using a standard iron, allow it to preheat to the ‘cotton’ setting. Once it has preheated, you can then carefully press the iron over the entire design for about two minutes.
- Let the iron preheated to at least 300 degrees Fahrenheit (150 degrees Celsius) before beginning to use it.
- Through heat-treating the design, you will be setting the paint on the airbrushed T-shirt, which will stop the paint from washing out.
There are a few alternative options in order to heat set a design. These include:
- Using a heat gun and rotating it over the surface for 30 seconds.
- You can use a professional conveyor. This would need to be set to 120 degrees Fahrenheit (50 degrees Celsius), and you would need to use it for 20 minutes.
- A heat press is another option. If you are going to use a heat press, ensure that it is set to 375 degrees Fahrenheit (190 degrees Celsius) for 30 seconds.
Once the completed airbrushed t-shirt has cooled, you will then be able to wash the T-shirt in cold water. Remember to use a mild detergent. You can then tumble dry your airbrushed T-shirt on a low setting, or you can allow the T-shirt to air-dry.
You only need to wash and dry the T-shirt once to complete the whole process, after which your airbrushed T-shirt will be ready to wear!

Larissa Meyer is a 32-year-old mother from Michigan and creative spirit since childhood. Her passion for painting and drawing has led her to an education as an illustrator and a career as a freelance graphic designer. She has a Bachelor of Fine Arts in Illustration and a degree in Graphic Design. Larissa is a talented artist who is able to master a wide range of styles and techniques to bring her artistic vision to life. Her greatest passion is currently fluid painting and epoxy resin art. As a mom of two kids, Larissa also understands the importance of fostering creativity in early childhood. She uses her experience and knowledge to help other parents inspire their children and develop their artistic skills as well.
Learn all about Larissa Meyer and Fluid Painting.