Acrylic Painting Ideas – Our Comprehensive Guide to Acrylic Paint
This post may contain affiliate links. We may earn a small commission from purchases made through them, at no additional cost to you.
Imagine a world without the glorious colors of a rainbow after the rains have soaked the earth. Imagine trees without their beautiful pastel blossoms during Spring. Imagine the deep blue sea without the blue, or the golden yellow sun without the yellow. Color does not only bring happiness into our world, it brings joy, delight, and purpose. Since humans applied the first dabs of ochre onto cave walls, color has infused paintings, and as we navigate through this colorful article, we will discover the incredible world of acrylic painting ideas. We will give a few tips on easy acrylic painting ideas for beginners and discover different painting ideas to paint. We will have a look at how color adds to our mood and brightens the world. We will explore some cool acrylic painting ideas which will add a sparkle to your day.
Table of Contents
- 1 The Origins of Acrylic Paint
- 2 The Benefits of Acrylic Paint
- 3 How to Use Acrylic Paint
- 3.1 Before You Start Painting
- 3.1.1 A Sturdy Table Covered in a Plastic Cloth or Newspaper Is Recommended
- 3.1.2 The Actual Paintbrushes to Be Used Can Be Placed in a Jar
- 3.1.3 A Heavy Glass Jar or an Old Coffee Cup Should Be Filled Halfway With Clean Water
- 3.1.4 Make Sure That You Have All the Primary Colors
- 3.1.5 Acrylic Paint Is Usually Available Either in Bottles or Tubes
- 3.1 Before You Start Painting
- 4 Cool Acrylic Painting Ideas for Beginners
- 5 Acrylic Painting Technique Ideas
- 6 Frequently Asked Questions
The Origins of Acrylic Paint
Acrylic paint was first established as house paint in the early 1950s, but it was only discovered by budding artists in the 1960s when it was used as a primary material for artistic purposes. It is a well-known fact that famous artists used oil paints and watercolors as their stable base but because acrylic paint offers stability and vibrancy, more and more artists are now incorporating acrylic paints into their masterpieces.
Unlike many oil paints, acrylic paints are affordable and that alone has enabled almost anybody to put acrylic painting ideas to paper. With the world revolving as it has in the past decade or so, more and more families are opting to enjoy quality family time over the weekends and acrylic painting ideas have become exceptionally popular for the family who wants to enjoy time together, as well as for the young adult who is only just starting to explore acrylic painting ideas for beginners.

There are so many different painting ideas for beginners out there, and tons of cool acrylic painting ideas, that no matter what the age of the budding new artist, these acrylic painting ideas are for anybody wishing to give their talents a little challenge or even a boost.
The Benefits of Acrylic Paint
Before we navigate the versatility of acrylic paint and various acrylic painting ideas it is important to know what acrylic paint is and what it is made up of. In technical terms, it is a paint that is made up of pigment that is suspended in acrylic emulation. The best feature of acrylic paint is that it is a very quick-drying paint and it becomes completely water-resistant after drying.

Acrylic paint can be watered down or in turn, can be modified into a paste so that a finished painting can either resemble a famous watercolor painting or even a masterpiece painted in oil. We have to add that without a doubt, the best thing about acrylic paint is that it is affordable – this means that most households can purchase this paint for various acrylic painting ideas and it, therefore, becomes the perfect product when starting the journey of acrylic painting ideas for beginners.

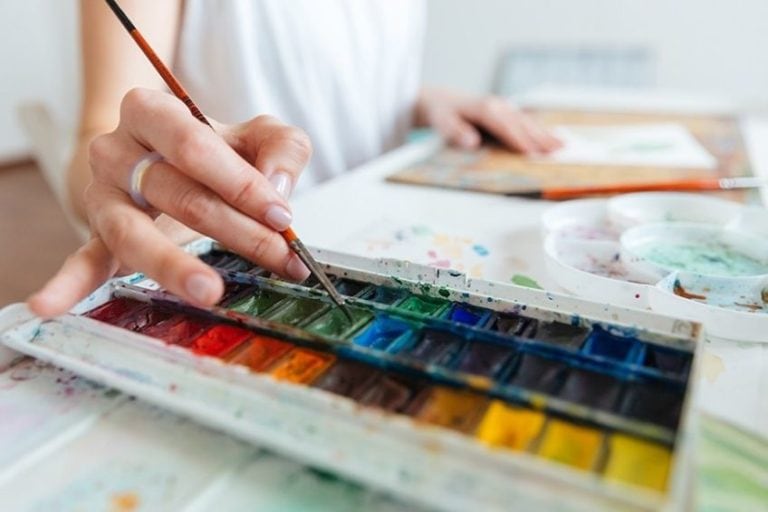
Wide Range of Colors
The color range that is available in acrylic paint makes it the go-to paint when thinking of cool acrylic painting ideas for beginners. There are so many colors that belong to the acrylic paint family and this also enhances the desire to use this paint for acrylic painting ideas. Using acrylic paint enables the beginner to experiment with cool acrylic painting ideas which cover a vast array of choices for topics, from landscapes to sunsets, portraits to still-lifes, and even abstract painting.
Artists, during the 19th century, had to manipulate paint by mixing colors to get to the texture of choice. In today’s world, painters are opting to purchase acrylic paint ready to go, as the textures are easily modified by simply adding water to an already thicker-based paint. The color range of the acrylic paint is also vastly bigger than you would find with both oil and water paint.
Fast Drying Time
The advantage of working with acrylic paint is that the drying time is very rapid and therefore waiting time between painting sessions is minimal. However, the disadvantage to this is that because the acrylic paints dry so quickly the colors cannot be blended into each other without creating solid-looking lines. If a budding new artist wishes to use the paint to create cool acrylic painting ideas, the paint in the palette may dry up before it can be used and therefore a waste of paint occurs, which could prove quite costly in the long run.
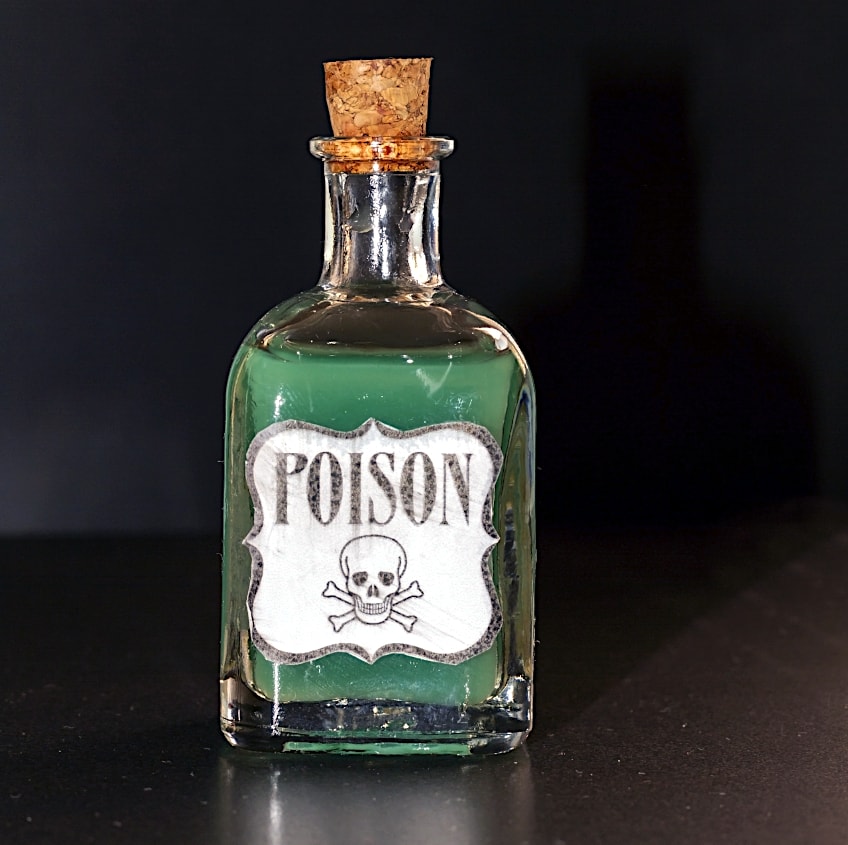
Low Toxicity Levels
The advantage of acrylic paint is that it is completely water-based, which means that to thin out the paint, just small quantities of water should be added. The biggest bonus is that no chemicals need to be used to clean paint brushes as they are easily cleaned with water. The disadvantages are that some of the paints can contain various toxins in the actual color pigment and some toxins are even added to the bottles of acrylic paint to try and slow down the quick drying time which will enable artists to manipulate their paintings more easily.
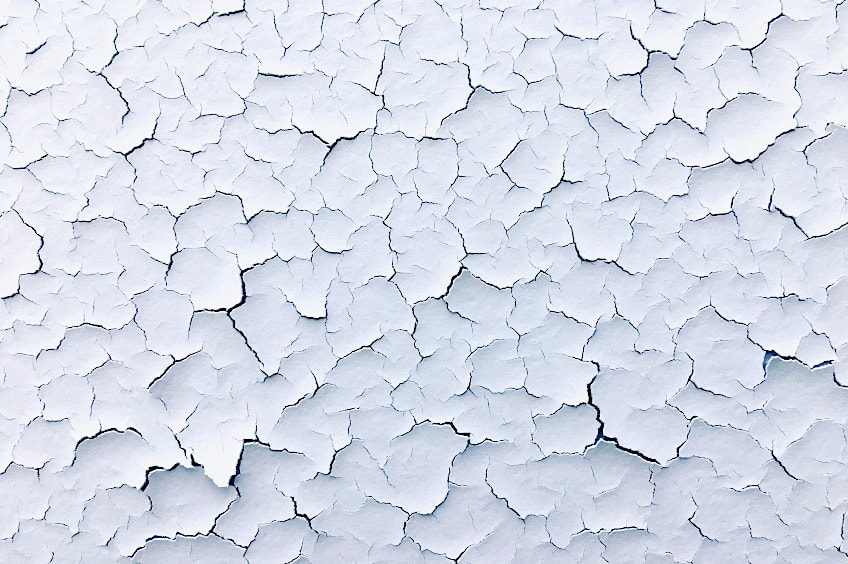
Highly Durable
Acrylic paints are much more flexible than oil paints and with this flexibility, it has been found that acrylic paints don’t crack as easily as oil paints, however having said that, acrylic paints have only been on the market for a few decades compared to oil paints so a true comparison might be difficult to make at this time.
Reactivation Properties
Once the acrylic paint has been painted onto a surface it is there to stay and cannot be reshaped, removed, or altered in any way as you would be able to do with watercolors.
How to Use Acrylic Paint
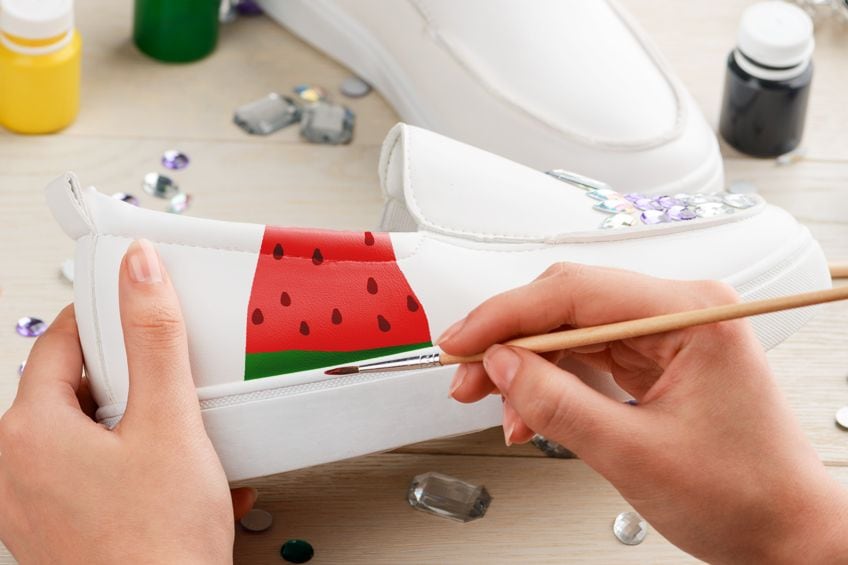
When it comes to acrylic painting ideas, there is no end to the imagination especially because acrylic paint works on almost any surface. Besides the ever-popular canvas, acrylic can be used on wood, paper, plastic, or even glass and stone and it is such a flexible paint that it can also be mixed with other textures to enhance finished masterpieces. Whilst acrylic paint is so versatile that it can be painted on almost any surface, it must be noted that it will not stick well to silicon, nylon, or Teflon.
There are many easy acrylic painting ideas for beginners. Acrylic paint is much cheaper than oils and it dries much more quickly. Acrylic paint is easy to wash off surfaces but is not easy to wash off clothing, therefore before your cool ideas can formulate, ensure that you have some nice old clothes to wear before exploring the world as an artist.
Before You Start Painting
Before any new budding artist starts their wonderful journey into the world of color, it is recommended that a suitable spot is found that will best bring out the creative spirit that may be hiding inside. Preparing an art corner somehow just makes the adventure even more exciting when thinking about painting ideas for beginners.
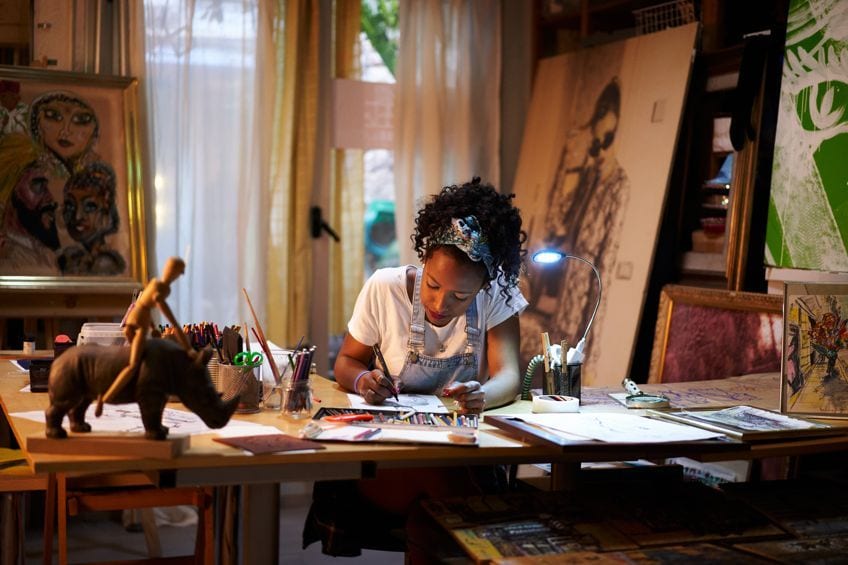
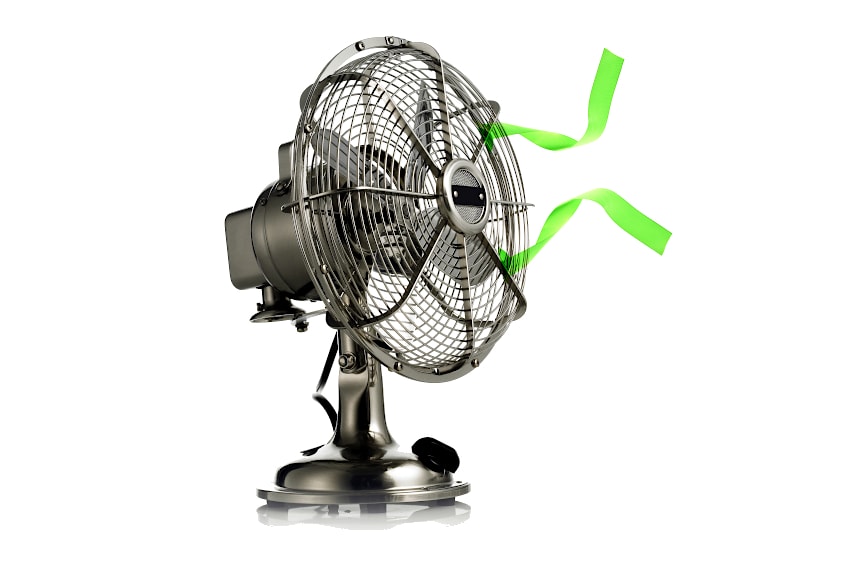
A well-ventilated and well-lit room is going to be the best place to create some cool acrylic painting ideas.
Because you will be working with water there could be a bit of spillage therefore if you don’t have a small space indoors that is suitable, working in the garden under a nice big tree is also very appealing. If you are lucky enough to have a patio or balcony, this will certainly also make a great spot where your imagination can have free reign to all sorts of new painting ideas. Here are a few tips on setting up the perfect space for you to practice some acrylic painting ideas.
A Sturdy Table Covered in a Plastic Cloth or Newspaper Is Recommended
Do not forget a comfortable chair as well. You want to ensure that you can reach quite deep into the middle of the table when sitting on your chair as there will certainly be a lot of hand movements taking place as your cool painting ideas are put down onto different surfaces.
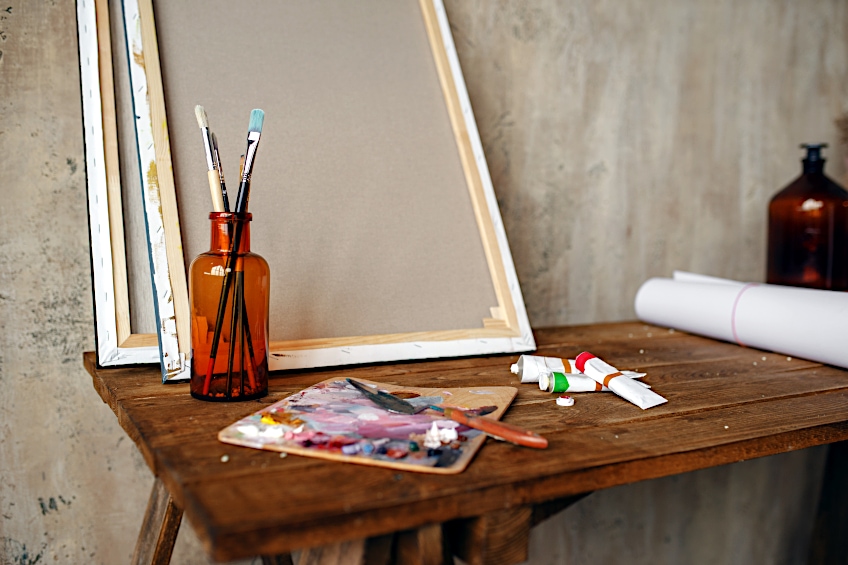
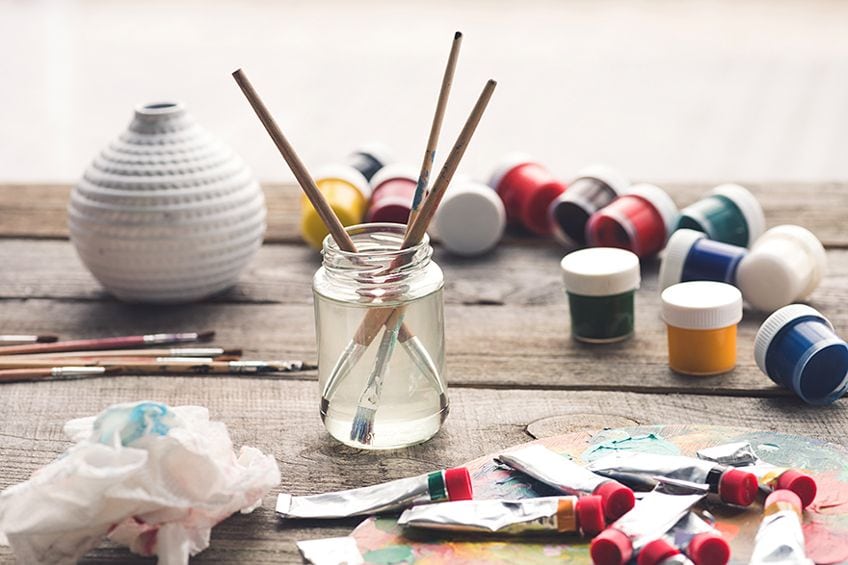
The Actual Paintbrushes to Be Used Can Be Placed in a Jar
Make sure that you store them “brush side up” in a glass jar or coffee mug so that it is easy for the artist to choose the preferred brush at a glance when deciding on cool acrylic painting ideas. A glass jar or coffee cup is recommended as a container for your paintbrushes because they won’t easily topple over if a gust of wind comes past the table whilst the painting ideas are being formed. If plastic is chosen to hold the paintbrushes, this could very well fly off the table at the most inopportune moments.

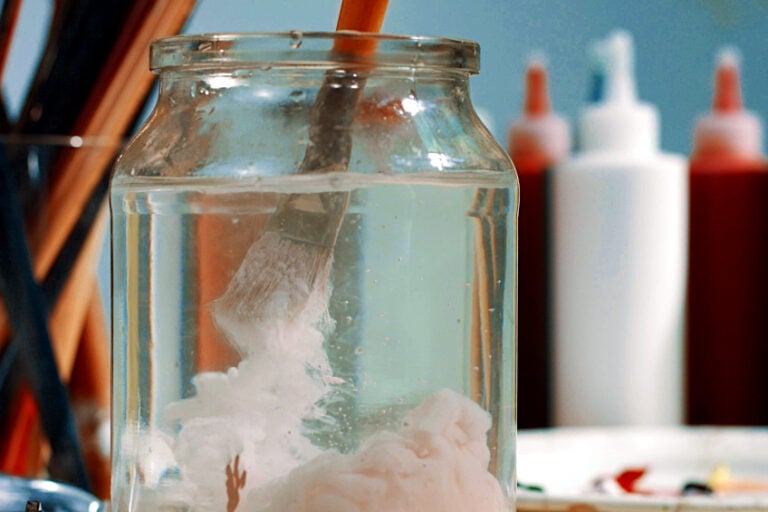
A Heavy Glass Jar or an Old Coffee Cup Should Be Filled Halfway With Clean Water
Place this jar within the arm’s reach of the artist. The cup or jar of water should ideally be placed according to the preferred hand that is used to paint, i.e., right-handed artists should have the cup near their right hand as it is the one item that will be used most frequently when acrylic painting ideas for beginners commence. The water should be nearby to clean off the brush when the artist needs to change colors or when the brush gets dry. After dipping the brush into the water container, any excess water should be dabbed off on a cloth or towel.
If too much water is mixed with the acrylic paint, the paint will become very thin and the desired results will not be met as the colors will land up running into each other. Instead of placing a big old towel on the table, we recommend that you have smaller pieces of good absorbing cloth to keep nearby for dabbing purposes.
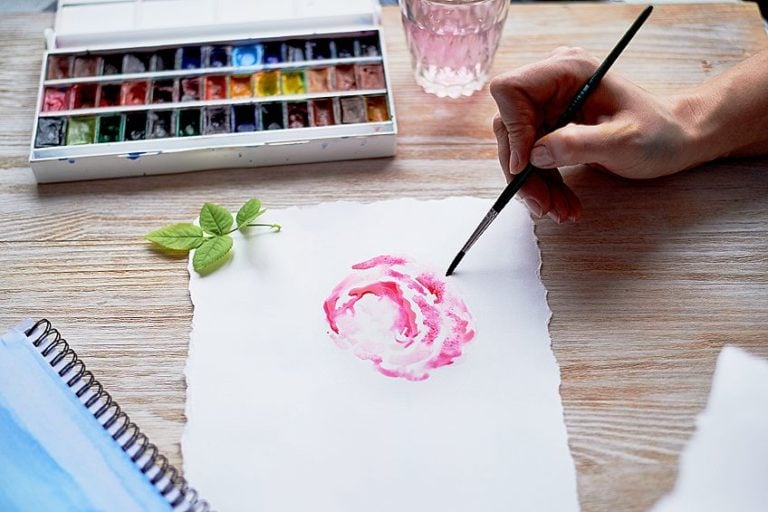
Make Sure That You Have All the Primary Colors
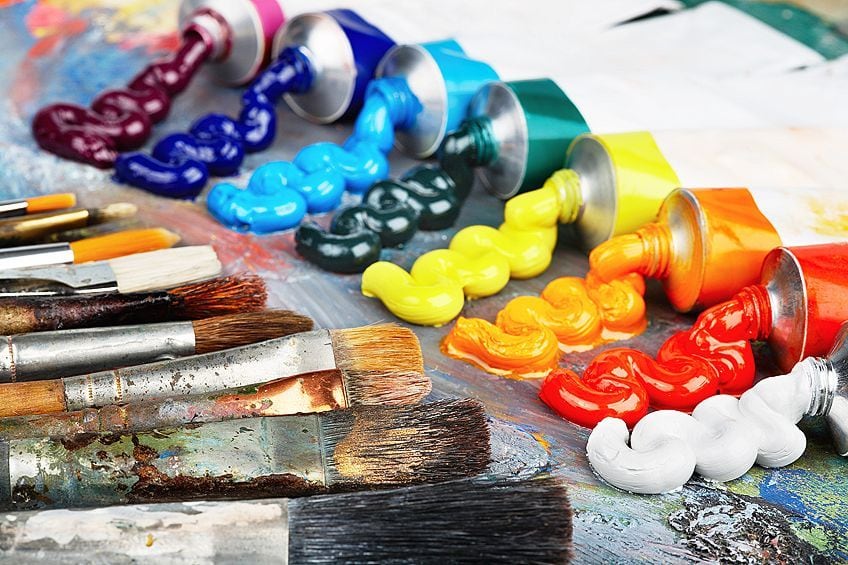
Most artists, when deciding on which acrylic painting ideas to paint, would ideally like to choose from a variety of colors so it is advisable and recommended that there are at least the colors of the rainbow on display that are available to choose from. The colors are red, orange, yellow, green, blue, indigo, and violet, and of course, not forgetting our two most popular colors, black and white.
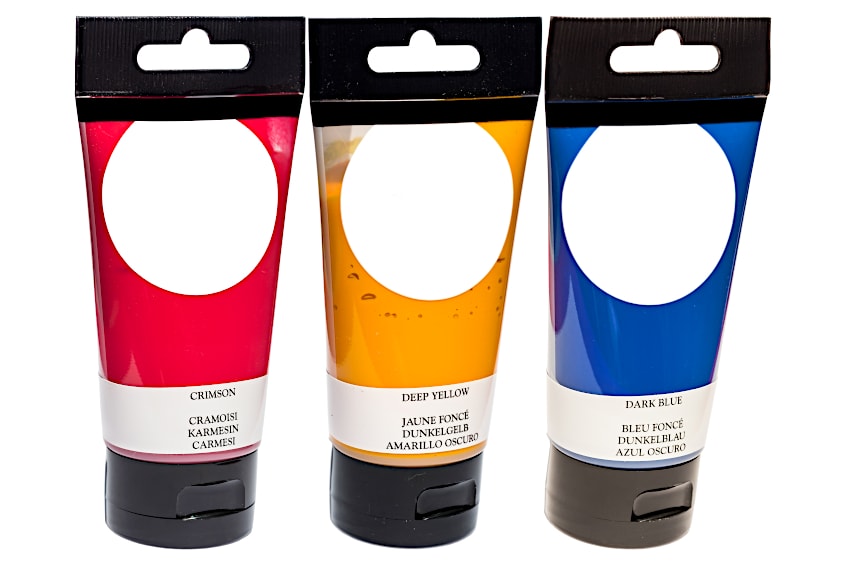
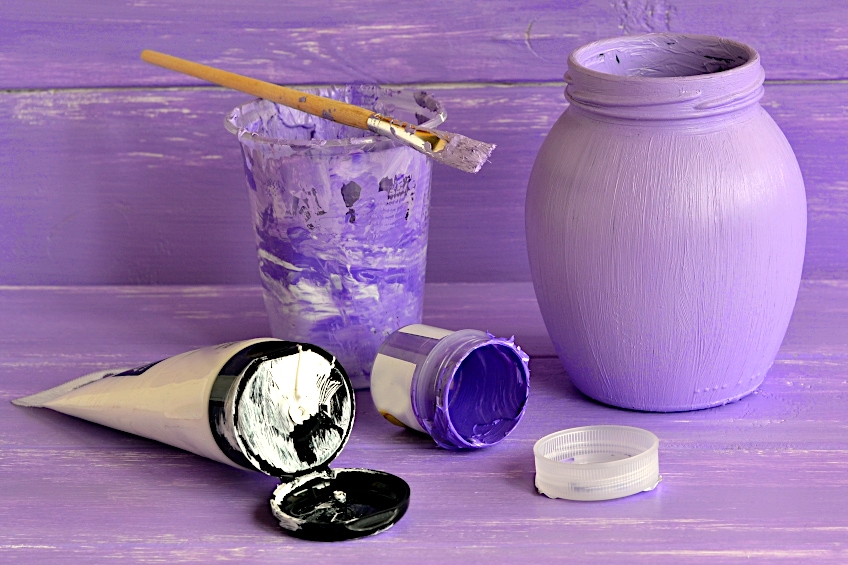
Acrylic Paint Is Usually Available Either in Bottles or Tubes
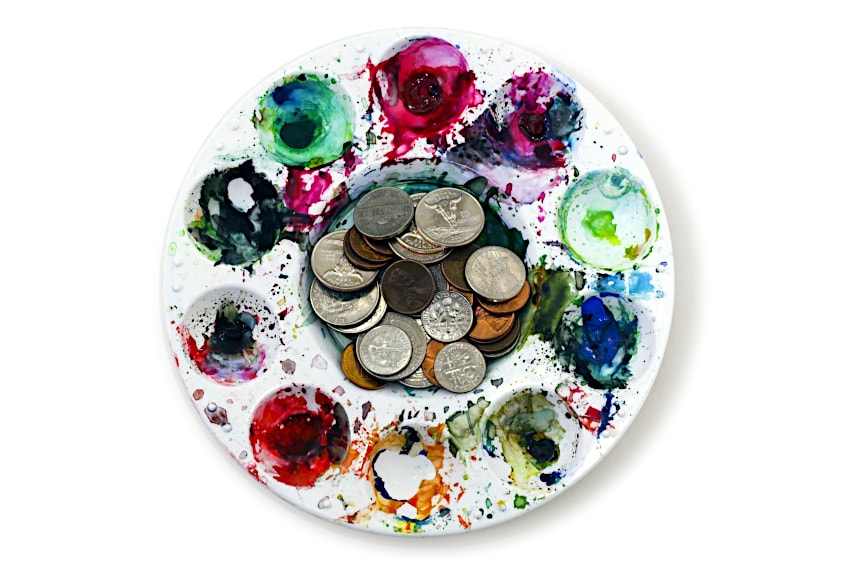
It is always a good idea to rather put small amounts of paint onto a paint palette instead of using the actual paint bottle to dip into. By dipping straight into the paint bottle, the paint color may be compromised as it gets watered down or could even become very hard and dry if the bottle is left open.
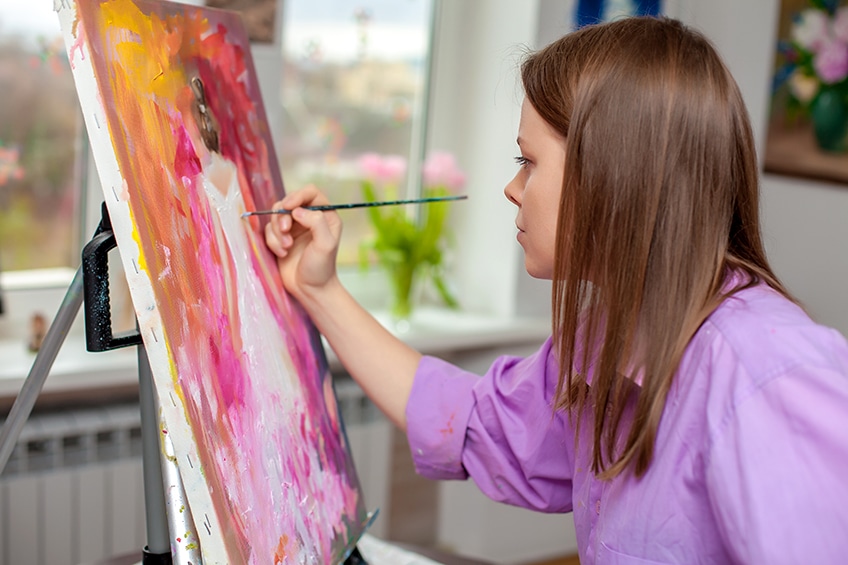
Cool Acrylic Painting Ideas for Beginners
Now, let’s take a look at some cool acrylic painting ideas for beginners. There are many to choose from, so try them all out and see which you enjoy the most. Or, better yet, create your own cool and easy acrylic painting ideas by combining a few of the techniques below! There are no rules in art, only guidelines, so have some fun with it!
Painting the Night Sky on Canvas
Always remember that when using acrylic paints on canvas, we should paint dark areas first and then incorporate lighter colors, this will enable you to fix any mistakes easily. To paint a night sky on canvas, simply dip a thick paint brush into a black or deep blue acrylic color and moving in even strokes, paint from left to right until the entire canvas has been covered. Let it dry and, if there are still white holes peeping through the canvas, simply paint another coat of deep blue or black.

Once the canvas is dry, take an old toothbrush and mix some white acrylic paint in a bit of water. Dip the toothbrush into the white and use your thumb to create a splatter effect. Try it on another piece of paper before going directly to the canvas so that you get used to the movement of the thumb over the toothbrush.
Once you have the technique, you can move to the canvas. Stand a bit back from the canvas and start the splattering. When it is dry you will notice that the white splatter will represent the stars in a dark sky.
If you want to add the moon into the picture, simply draw a circle in the top right-hand corner and paint that white with perhaps a few streaks of light blue to make the moon look more realistic.
Painting Flowers on Wood
Wood is a great surface to paint on using acrylic paints. The breadboards that can be found in most households are bland and once they have had their use in the kitchen, they are often thrown out. The breadboard can be revived just by adding a beautiful painting to it.
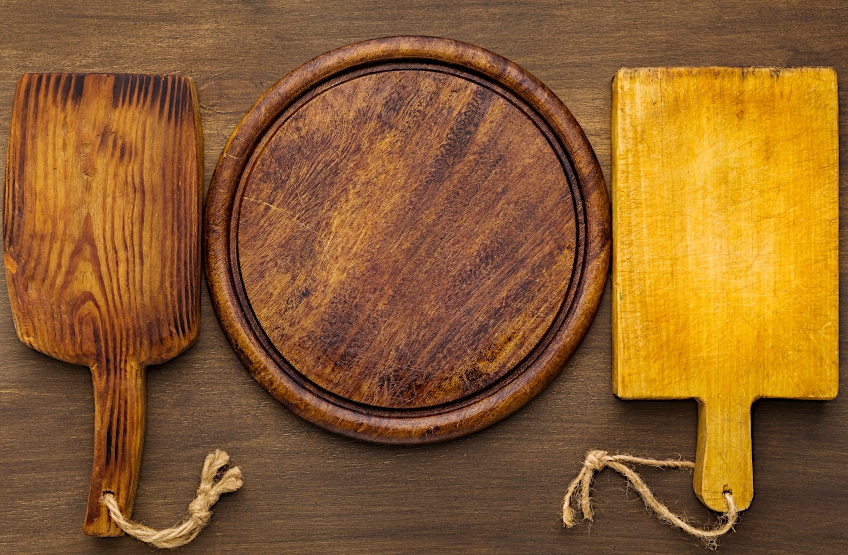
Prepare the wood by painting it with a primer before applying any acrylic paint. Once the sealant is completely dry. A nice forest scene would give the wood more life.
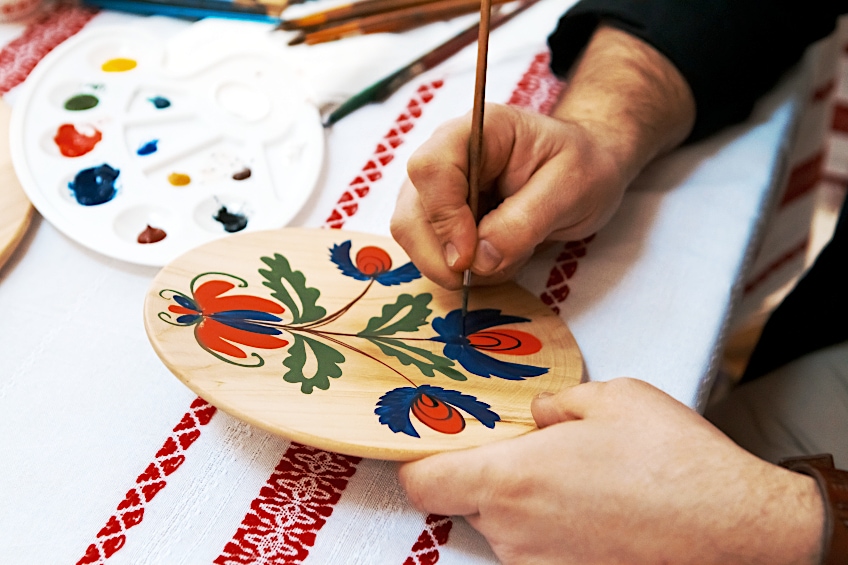
Choose a few green color combinations and from the bottom of the wood, gently paint very thin lines to about halfway up the wood. These will represent the stalks of your branches. Let the stalks dry and then with a thicker paint brush, dip into another color of green and start dabbing the paint brush onto or new each stalk. Once this is dried and you step away from the wood, you will see a forest of green starts to emerge. You can easily add white dabs of paint or even another color entirely, such as red or yellow. Once the paint is dry, spray a sealant over the entire piece of wood which will help lock in the color and will stop it from chipping over time. The result will be a beautiful field full of bright green long grass and yellow and red flowers.
Painting Names on Paper
In the world of acrylic paints, most of us started our journey painting on paper, this is not an ideal surface as it could buckle if the paint is too wet, but as it is the very first surface that we use to experiment with, a good idea to use paper is to paint a name using acrylic paint. Once it is dried it can easily be tacked onto a child’s bedroom door. When applying acrylic paint to paper, no primer or sealant is necessary.
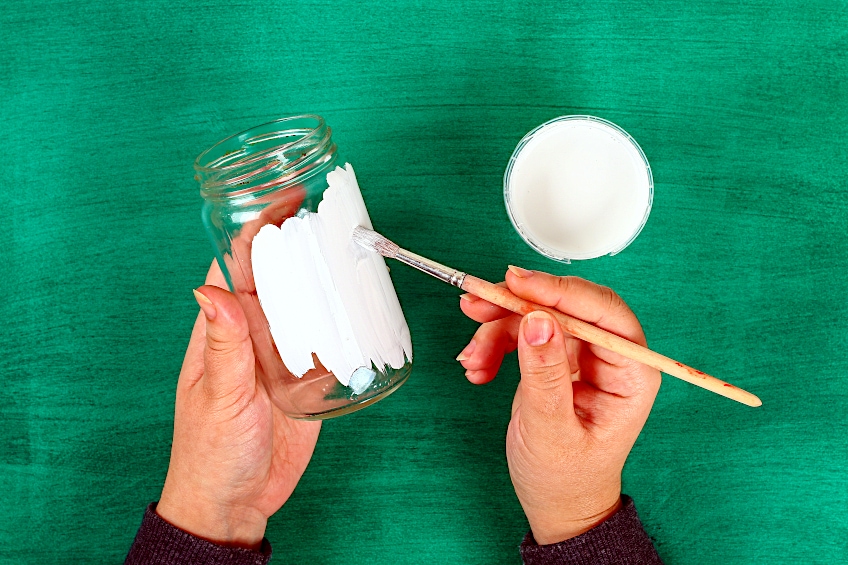
Painting Ladybugs on Plastic
A cute idea to think about when looking for something to paint would be plastic children’s cups. Most children’s cups usually only come in one set color and you can easily add a bit more color to the cups with acrylic paint. Instead of painting an entire cup, rather concentrate on painting just the bottom of the cup so that it won’t wash off easily.

Take the cup that you want to paint and put on a base coat of gesso. This base coat will ensure that the paint sticks more readily to the plastic and will protect the cup if it has to be washed after use. A white or black border can be painted at the bottom of the cup using a nice thick paint brush and once that is dry then you can either paint little lines going down to the end of the cup or you can even paint little red polka dots, which will then look as if you have little ladybugs on the cup.
Once the paint is dry, paint a sealant over the paint so that the colors are locked into the plastic.
Painting Trees on Glass
Glass is a great surface to work on with acrylic paints. It is smooth and the finished product always looks great. Before starting the painting, though at least two coats of primer should be painted onto the glass to make sure that the paint sticks to the glass and does not peel off once it dries. Once the primer is dry, the entire glass can be painted by using different colors to paint horizontal lines or if you are painting a square vase, using just one side of the vase to paint a long tree will also work.
To paint a lone tree on a square vase, simply use different colors brown to paint a bare tree with no leaves. A dark brown can be used to paint the trunk of the three and then a thinner and lighter brown can be used to paint the bare branches.
This is a very easy painting to do because the painting does not require perfectly straight lines and the branches will not be even. When the painting is finished, let it dry and then spray a d clear lacquer over the entire vase to protect the paint.
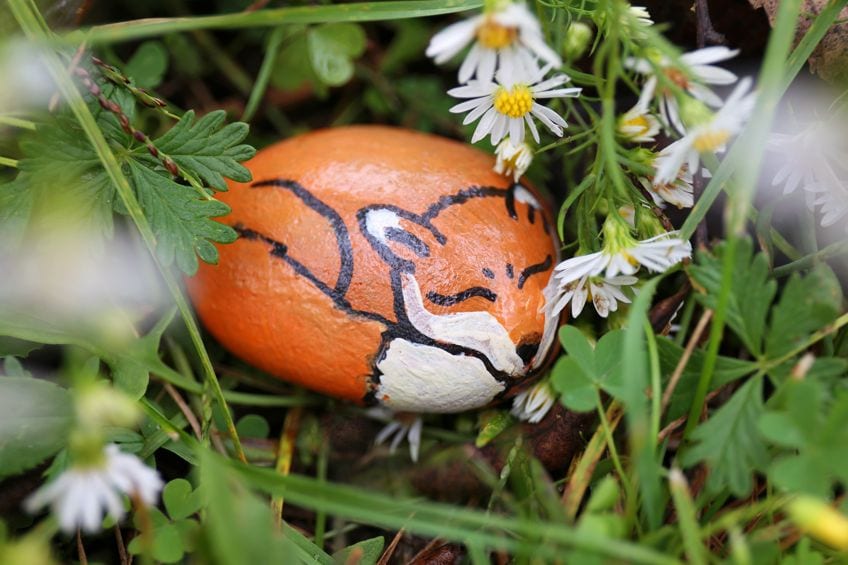
Painting Daisies on Stone
A brilliant idea for painting on the stone is to paint one perfect little daisy. Daisies come in all sorts of colors and are easy to paint. Because the picture of a daily is so small in detail, try and draw the actual daisy first before you paint it. Don’t worry that the pencil will show through because once you paint over the pencil, it does disappear.
Paint a round flat stone with either black or white. You won’t need a primer before you paint with acrylic as the stone will absorb the paint very well. Once the paint is dry, then draw on your one daisy with its stem. The stem will then be painted in a bright green color and the daisy petals can either be painted white, yellow, or even purple.
A world filled with color is indeed a beautiful world to live in. Color brings excitement into our lives and colorful paintings are the best way to liven up a house. All pictures start with a few painting ideas and the result displayed throughout the house is always a thrill for any artist. In many cases, the ultimate thrill is the memory that is invoked when remembering the journey of how cool acrylic painting ideas are brought to life. We hope that after reading this article you will be motivated to start your very own art studio at home and enjoy finding the beauty in color and indeed finding the beauty in the world.
Acrylic Painting Technique Ideas
As you become more comfortable with the acrylic medium you can start to explore various techniques to make your ideas more unique. We have listed a few acrylic painting techniques for you to try.
Acrylic Drybrush Technique
If you want to add texture to your art, then this is a terrific acrylic painting method to try. It can especially help you if you are creating landscapes. To do this method, just fill your dry paintbrush with paint and place it on a canvas. Before applying it to your canvas, play around on a scrap piece of paper. This will help develop your technique and give you more confidence when you move to the canvas. Dry-brushing is also a great technique to apply to furniture.
The key to dry brush artwork is only to use the tip of your paintbrush. First, scrub over the surface you are going to be painting with a clean, dry brush. You must work pretty fast in order to properly drybrush with paint.
Many people like to use two paint colors while drybrush painting produces a layered effect. The first coat, commonly known as the base coat, can be a complementary color to the second. You should apply your base coat ordinarily and then follow up with a dry brush. Dry brushing produces an uneven surface that exposes traces of the underlying base coat where the paint is lighter. Though Andrew Wyeth was primarily a watercolorist, his work is an excellent example of the dry brush technique that he employed to create structure and layering.
Acrylic Wash Technique
Acrylic washes are created by thinning paint with a large amount of water. Thinning decreases the quantity of acrylic as well as the amount of pigment in the solution. When a wash dries, it leaves widely scattered pigment settled on the surface, with only a trace of acrylic binders. Pigment particles in washes can drift and accumulate in concentrated places depending on how they are applied and whether the surface is absorbent or not. Working with flowing, changing, and often difficult-to-manage effects can be daunting and exhilarating.
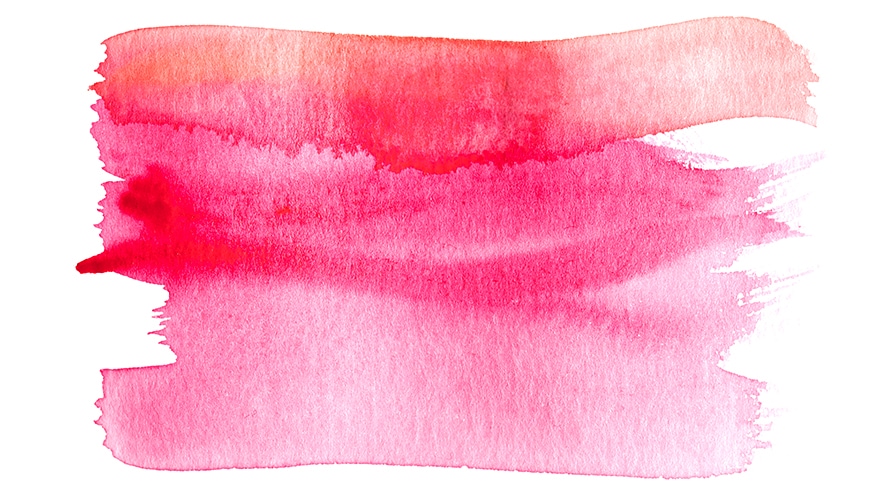
You can be quite liberal with the quantity of water you decide to use. If there is a risk that the wash will have too thin a coating, a little amount of thin medium can be applied. Alternatively, a thin coat of medium can be applied over the dry wash to provide a surface that is more durable.
Acrylic Stippling Technique
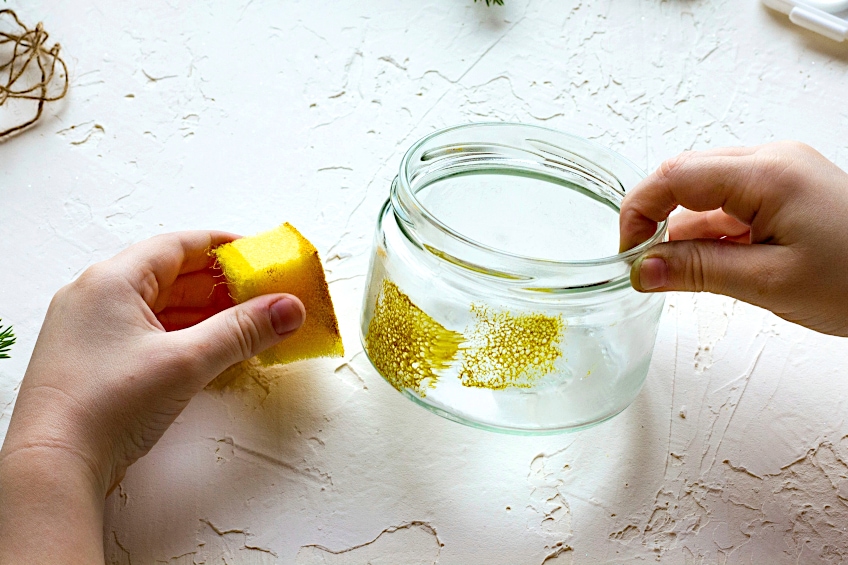
This is one of the easy acrylic painting ideas you may try to add some unique texture to your artwork. Stippling is the technique of creating colors in a gentle way with sponges or a stiff brush. This style of painting may be done with almost any bristle brush. The method enables the artist to create stunning color gradations with changes in the strength of the colors used.
This method works well with greenery or backdrops. To add depth, stipple with dark, medium, and light hues.
To stipple using a sponge, dampen it with water and thoroughly dry it with a towel before applying paint to it. The sponge should just be slightly moist. Small sponges allow for precise stippling, whilst bigger sponges provide a more open look. Dunk the sponge into the desired color and softly tap it on the palette to soften and integrate it into the sponge. Fill the brush with the hue you intend to use as the foundational stippling color for the brush method. Twirl the brush back and forth on the palette to smooth out the paint and prevent globs of color from forming when you apply it to the canvas.
Stippling is connected to Pointillism, which is known for its smooth flickering surface of microscopic dots. The approach was pioneered by French Post-Impressionist artist Georges Seurat, whose works focus on color separation through precise touches of pigment, which is said to have a greater vitality of color in the observer’s sight. His most renowned picture, A Sunday Afternoon on the Island of La Grande Jatte (1884-1886), expresses this idea. Although the early masters of this method, such as Seurat, employed oil or gouache, the method may also be simply transferred to acrylic.
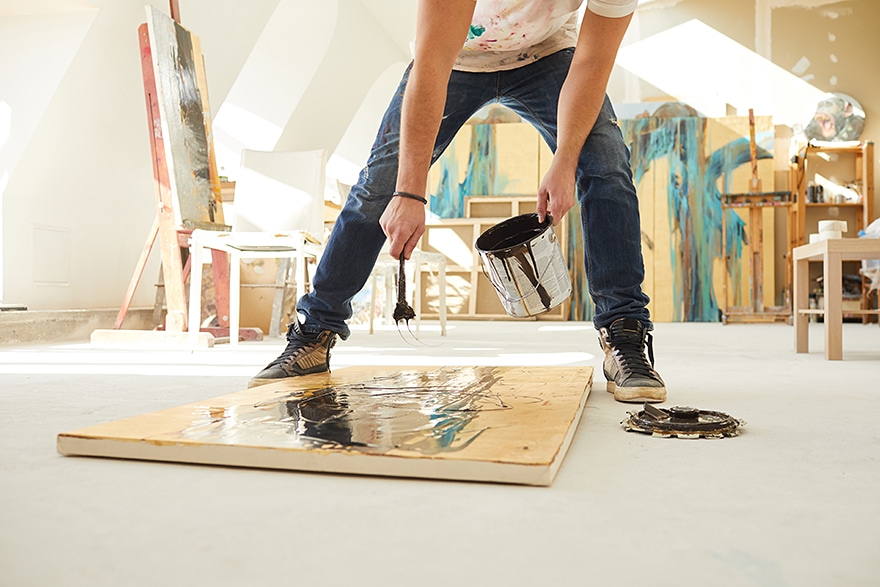
Acrylic Pouring Technique
Pouring is the most enjoyable acrylic painting method. In half an hour or less, you may have a completed and ready-to-hang wall artwork. Acrylic pouring is an abstract painting method in which artists create art by dropping liquid acrylic paints over a surface. Acrylic pouring is a “fluid art” that may be used to make backdrops for dreamscape sceneries, gorgeous fake marble countertops, drink coasters, home décor, and many other cool objects.
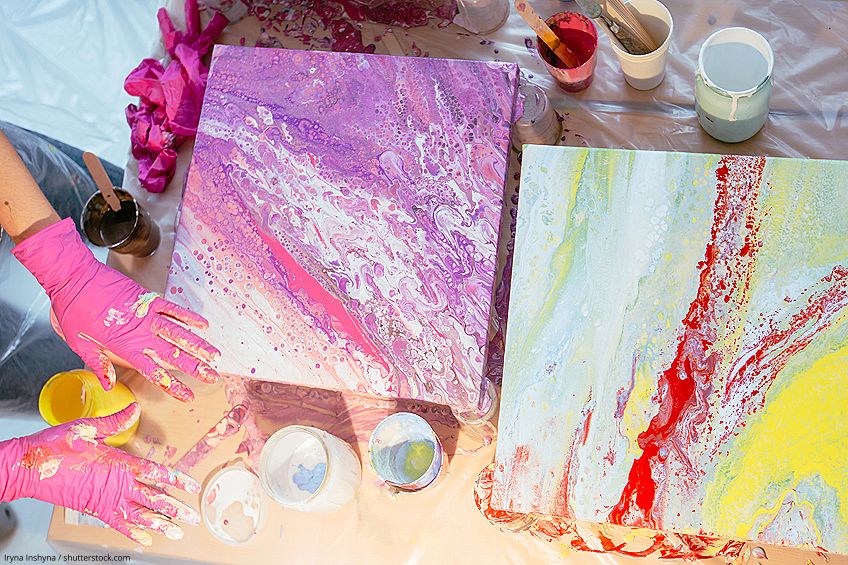
The supplies for each fluid painting method are largely the same; you’ll need color, a surface, and an art medium. The “basic pour” is the name given to the process of spreading one color at a time onto a surface. Quite often the idea is getting them all on the surface individually and keeping them that way, or a painter may also use one color at a time, swirling the colors together in complicated patterns with a stick or other object.
A dirty pour is a technique of putting different colors in a cup and then releasing them all at once onto a surface.
The most popular pours are dirty pours, and this acrylic pouring method can produce a very wide range of effects. A flip cup pour is when you place an upside-down container full of paint on a canvas and then either take it off to let the color flow out or poke holes in the top to alleviate pressure and enable the pigment to flow out from beneath the cup.
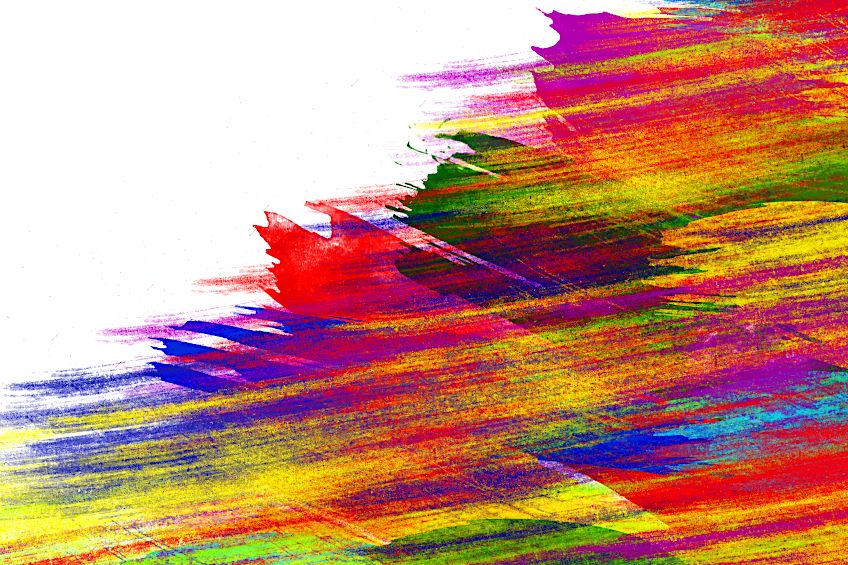
Acrylic Splattering Technique
Splattering is a dynamic, surprising technique that achieves its beauty via the use of energy. Jackson Pollock is largely recognized today as the driving force driving the Abstract Expressionist style popularized it. Pollock, dubbed a “splatter artist,” created art mostly by applying color to his canvases with a stick and producing his iconic “drip paintings,” eventually changing the definition of art.
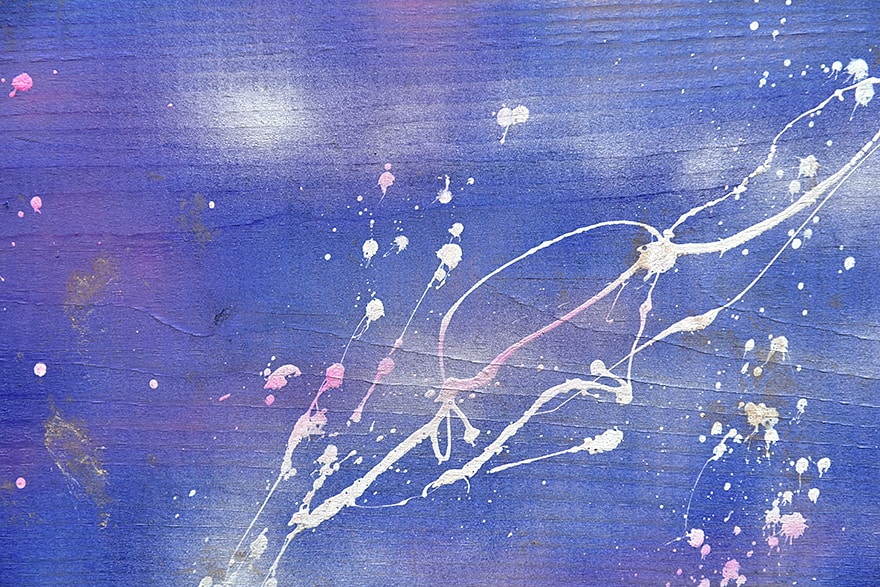
This is one of the more fun but messier acrylic painting ideas for beginners. Acrylic paint splattering may be a relaxing, creative outlet for your creative energy, but it can also generate beautiful masterpieces full of passion and movement. Whatever your eventual aim, mastering the fundamentals of paint splatter painting is simple.
You can get started with this style of abstract painting if you have paint, brushes, a surface of some sort, and a basic comprehension of splattering techniques. Vertical splatter painting entails placing your canvas vertically, such as on a chair or easel, horizontal splatter painting means placing your canvas on the ground.
Step back from the canvas and splatter paint on it. You may get various effects by varying your distance from the canvas. Moving farther away will make your droplets smaller while coming closer will allow you to generate larger color splashes. You may also use spray paint in your splatter art to create a graffiti-style art effect. Use a big nozzle, and keep the trigger down about a quarter to halfway. For a range of droplets and splatters, spray near your canvas. To replicate Pollock’s complexity with acrylics, take a damp brush, dip the bristles in color, and point your tool towards the canvas. If necessary, a stencil can be used to regulate where the paint settles.
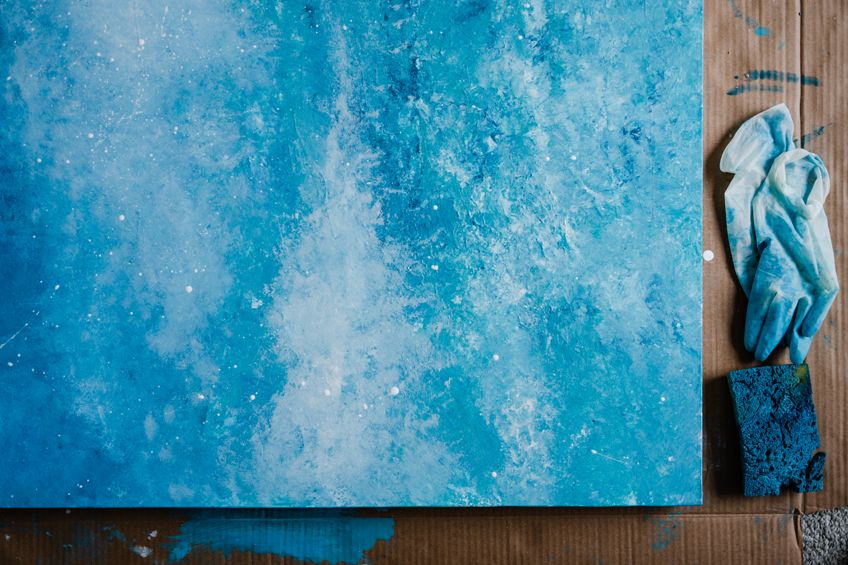
Acrylic Sponging Technique
If you want that unique effect or texture, just grab a sponge and apply it to the appropriate texture. That effect will just not be achieved using the brush. Having said that, investing in a nice sponge can help. Working in layers allows you to build pretty exciting textures that you can experiment with. Natural sponges are more flexible and make more intriguing designs than manufactured sponges, which are less pricey.
Synthetic sponges are ideal for spreading flat and uniform color regions.
When painting with a sponge, always moisten the sponge and squeeze it well before applying the paint using gently dabbing strokes. A sponge may also be used to remove wet paint. This technique, like dabbing, arose during the Impressionist movement, when, in contrast to realism, painters sought to portray the transitory effects produced by a sponge’s uneven surface.
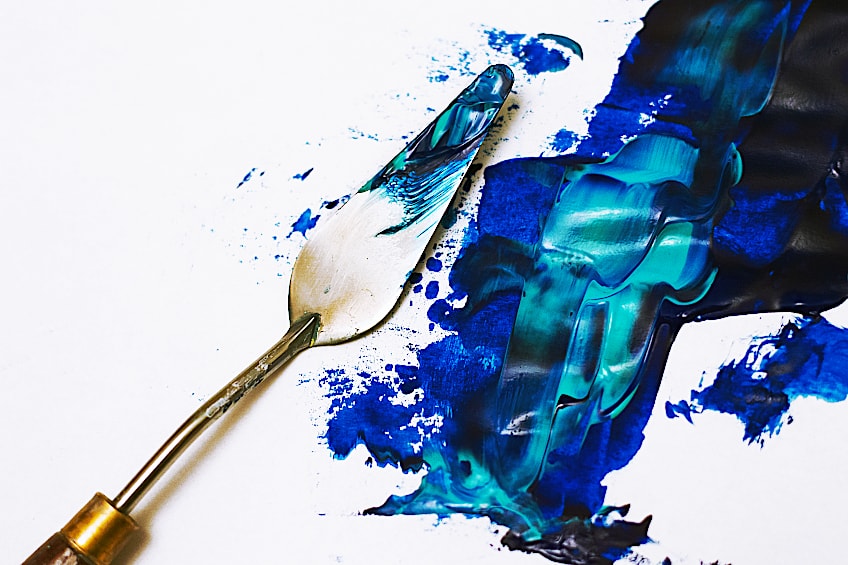
Acrylic Palette Knife Technique
The palette knife may be used to make thin, generally broken lines that appear organic in a painting. All you have to do is dab the side of the knife with a small layer of paint and dab it on the panel. Just make sure the paint is evenly distributed across the knife’s edge. Also, because you will generally only get one line every stroke, you will need to refill your knife with paint after every couple of strokes. By moving one hue into another, the palette knife can also be used to blur edges. What remains is a very uneven and patchy edge. If you did this with a brush, the edge would be much smoother.
To clear a spot where you went wrong, quickly wipe away paint from the canvas. This is when the palette knife truly comes into its own. You may also scrape textures into your artwork with the palette knife. You could, for instance, scratch away a tiny line of paint to mimic a tree limb.
You only need to be concerned about what colors will be visible in the underpainting while doing this. Staining the canvas helps here because it exposes a beautiful earthy color instead of the blinding white of the raw canvas. You can also create strokes with multiple colors at once. Simply mix a couple of different colors together, but not very thoroughly. Then, using your palette knife, make a broad, broken-color stroke.
Acrylic Dabbing Technique
Dabbing, as the name implies, is a method for “dabbing” color accents onto the surface of a painting. Just dab the paint with a sharp bristle brush or a towel, using rapid, light pressure. Add numerous layers for extra depth. Dabbing gives your picture movement and is commonly employed to depict bushes or vegetation. The paintings of French Impressionist artist Claude Monet are an excellent example of dabbing. Though he mostly used oil paint, Impressionists such as Monet investigated the effects of color and light, which were frequently produced with this method and can be applied to acrylic paintings too.
A world filled with color is indeed a beautiful one to live in. Color brings excitement into our lives and colorful paintings are the best way to liven up a house. All pictures start with a few painting ideas and the result displayed throughout the house is always a thrill for any artist. In many cases, the ultimate thrill is the memory that is invoked when remembering the journey of how cool acrylic painting ideas are brought to life. We hope that after reading this article you will be motivated to start your very own art studio at home and enjoy finding the beauty in color and indeed finding the beauty in the world.
Frequently Asked Questions
Should Water Be Added to Acrylic Paint Before Painting?
The simple answer is no, water should not be added to acrylic paint. Acrylic is one of the most versatile paints to work with and nothing needs to be added to it. Some more adventurous artists may wish to add water to acrylic paint to change the consistency of the paint and to alter the character of the paint to give more of a watercolor painting effect. By adding water to acrylic paint, you will be removing the bright tone of the paint.
At What Age Can Children Begin Acrylic Painting?
There are no rules to this, however children shouldn’t start painting before at least the age of two because, at that tender age, they tend to want to put everything into their mouth, and whilst acrylic paint is non-toxic it would be far better to get the paint onto a proper surface, rather than ingesting it. Having said that though, like any art, practice does make perfect so no matter what the age is, as long as painting techniques are practiced, the quicker it will be for you to master the art where you find that you could very well be selling your artwork to the public.
Can You Paint Porous Surfaces With Acrylic Paint?
The English dictionary describes the word porous as an object that has minute interstices through which liquid or air may pass. In simple English, this means a surface that has holes in it, will naturally absorb more paint and therefore a light coating of primer paint should be used before any acrylic painting ideas are thought of, to avoid any disappointment. The few porous items you should be aware of are untreated wood, certain cardboard, sponges, and fabrics.

Larissa Meyer is a 32-year-old mother from Michigan and creative spirit since childhood. Her passion for painting and drawing has led her to an education as an illustrator and a career as a freelance graphic designer. She has a Bachelor of Fine Arts in Illustration and a degree in Graphic Design. Larissa is a talented artist who is able to master a wide range of styles and techniques to bring her artistic vision to life. Her greatest passion is currently fluid painting and epoxy resin art. Larissa’s love for art and her knowledge and experience in illustration make her the perfect Creative Director for our fluid-painting.com team. She is the creative head of our team and shares her passion and knowledge with our community through articles and tutorials.
As a mother of a 2-year-old daughter, Larissa also understands the importance of fostering creativity in early childhood. She uses her experience and knowledge to help other parents inspire their children and develop their artistic skills as well.
Learn more about Larissa Meyer and about us.