Acrylic Pour Painting – Learn Everything about Acrylic Pouring
This post may contain affiliate links. We may earn a commission from purchases made through them, at no additional cost to you.
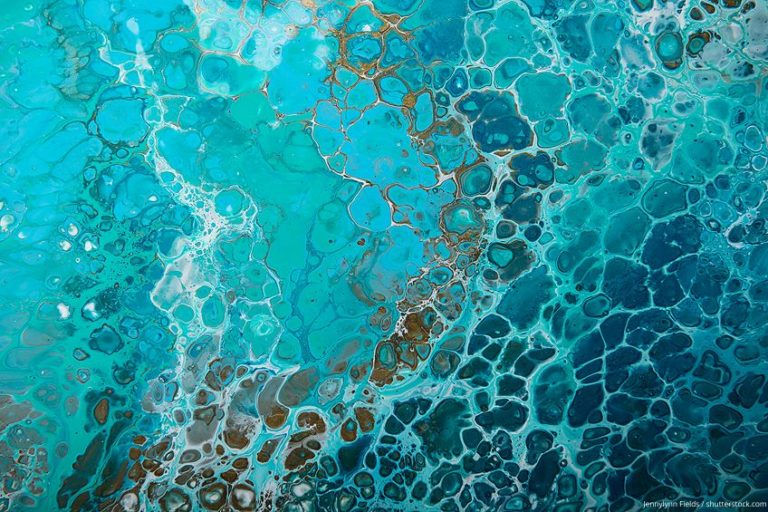
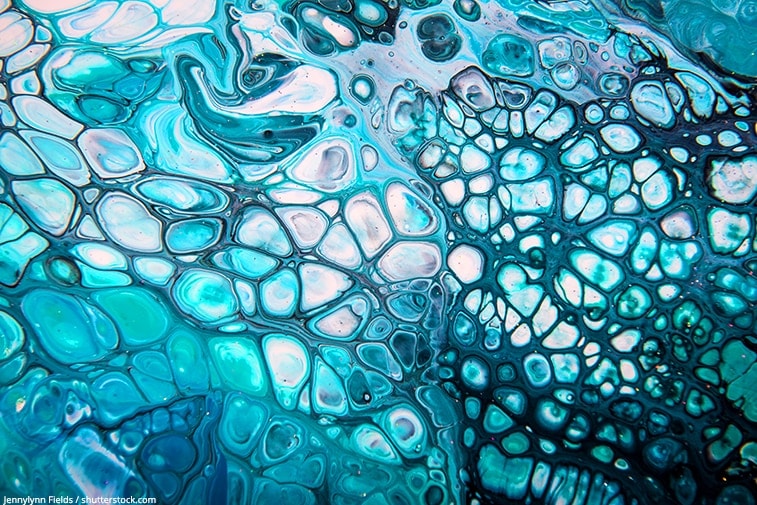
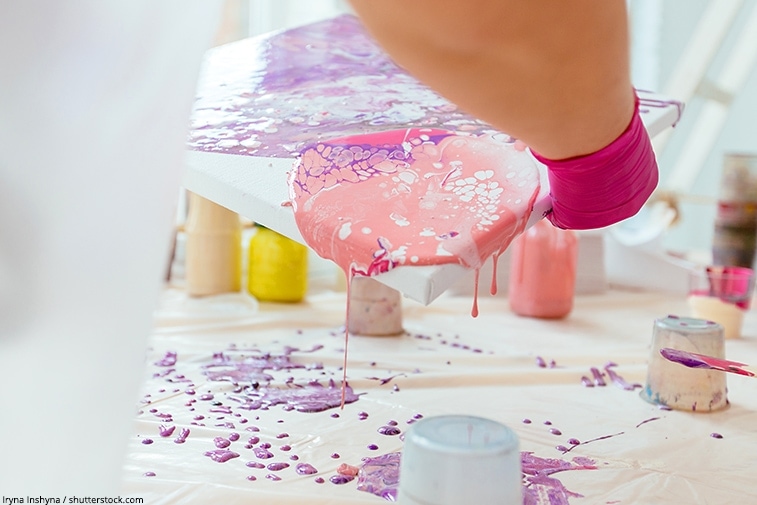
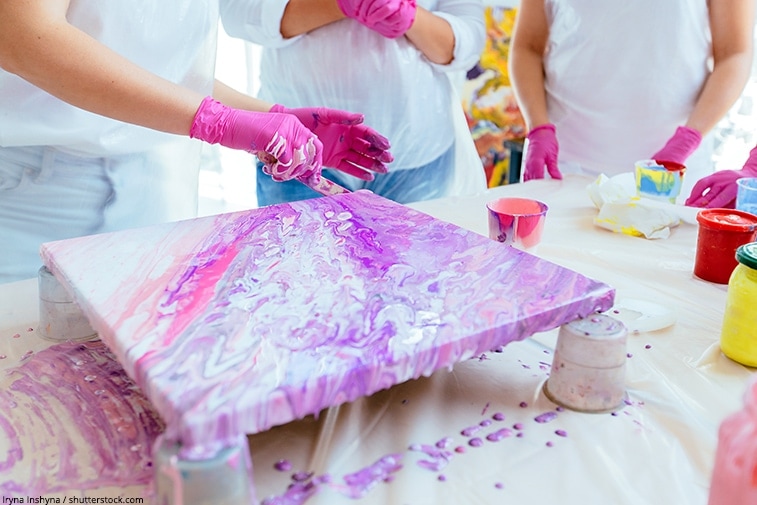
Acrylic Pouring is a fascinating fluid painting technique with liquid acrylic paints. Although you don’t need any previous knowledge or talent in painting, it can be difficult, especially in the beginning, to achieve the desired result. We will show you step by step, with our Acrylic Pouring guide, how to make your first pouring paintings yourself.
What is Acrylic Pouring?
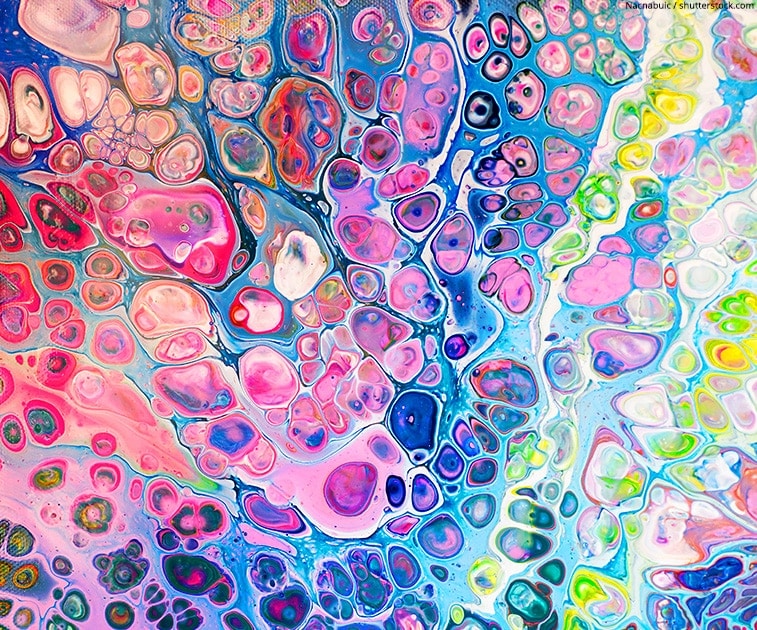
In the Acrylic Pouring technique, acrylic paint is made pourable with the help of a pouring medium and then applied to the canvas. The whole project requires no talent for painting or drawing. You let the colors on the canvas flow into each other and create unique patterns and color effects. There are also a large number of different techniques you can use to obtain different patterns and cells. We will introduce you to these below. But for the technique to work, the acrylic paints must be thinned. Very characteristic for the Acrylic Pouring are the many small and large cells, which are formed during the actual acrylic pouring and make your paintings unmistakable. How this works we will explain to you in detail below.
Using the Best Pouring Medium is Essential
In Acrylic Pouring, a so-called pouring medium is mixed with paint to support the flow and mixing of the paint. It helps to keep the colors separate so that they do not combine into a slushy color when mixed. It also extends the drying time of the paint mixture and helps to avoid cracks. There are different types and brands of casting mediums on the market. Each one can visually influence your acrylic pour art in a different way and has different characteristics.
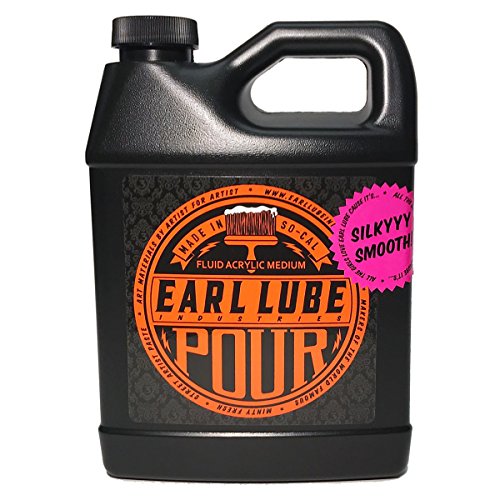
Best professional Pouring Medium:

- Decoart Medium Pouring Medium 16 oz
- Create rich and vibrant Pours with this high Quality Product
- Manufactured in United States
- Transparent, shiny and non-yellowing
- Can be optimally combined with pebeo studio acrylic paints
- Can also be used as a gloss varnish for the finish
- Blend with any acrylic paint to make a perfect fluid acrylic
- Dries to a beautiful clear matte finish
- Non-toxic formulation and smells minty fresh when wet

- High quality water-based acrylic pouring medium
- Low viscosity, for an optimal consistency for acrylic pouring
- Suitable as transparent high-gloss varnish and will not change color of paint
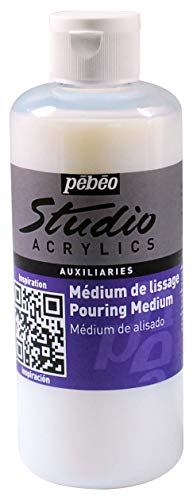
Alternative Pouring Medium
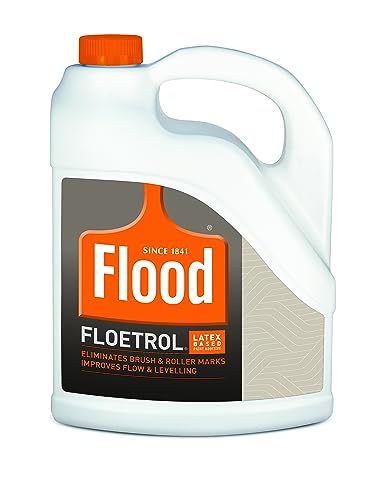
- Improves the flow properties of water-based paints
- Very popular alternative pouring medium
- Matt finish, perfectly mixable with other pouring mediums

- Is often used as an alternative Pouring Medium
- Safe, non-toxic, and quick-drying formula
- Perfect for crafts, repairs, projects and Acrylic Pouring
You Also Need These Acrylic Pouring Materials
You can start with the acrylic flow technique even with relatively little Acrylic Paint Pouring experience. The following list gives you an overview of the materials you need for your start in Acrylic Pouring.
Our recommendations for acrylic paint sets, for your start in Acrylic Pouring:

- Optimum consistency and matt finish, non-toxic
- Smooth and creamy, excellent coverage


- Quality selection and value, formulated for use on all surfaces
- Smoothly, dry quickly and stay intense
- Can be brushed, poured, stamped, stenciled or sponged on
Suitable Silicone Oils for perfect cell formation:

Other materials required:


Acrylic Pour Painting Techniques for Beginners
There are a variety of different techniques on how pourable paint can be applied to the painting ground or base. We will introduce to you the most important techniques here and explain briefly how they work.
Simple Pour
The easiest technique is the Simple Pour. This is when one color after another is poured on a surface next to each other. Sometimes the aim is to pour the colors onto the surface one by one and to keep them separate next to each other. It is also possible to swirl one color into the other with a toothpick or other object.
- Mix your paint with your preferred pouring medium so that the consistency of the paint is like warm, liquid honey. The mixture should flow freely, but not drip or be too liquid or thick.
- Once you have mixed your paint properly, take one color at a time and pour it onto a surface of your choice as desired.
- Move the painting surface to let the paint flow back and forth and mix at the edges. Don’t use too much paint, or make it too thick, otherwise cracks may appear during drying.
Dirty Pour Technique
A so-called dirty pour describes a pouring technique in which different colors are mixed first in separate cups with the pouring medium. Then these colors are combined, but not mixed, in a single cup. This cup is then poured onto the canvas in a thin stream. Different results can be achieved by moving the cup around. You can also add silicone oil to form the characteristic cells.
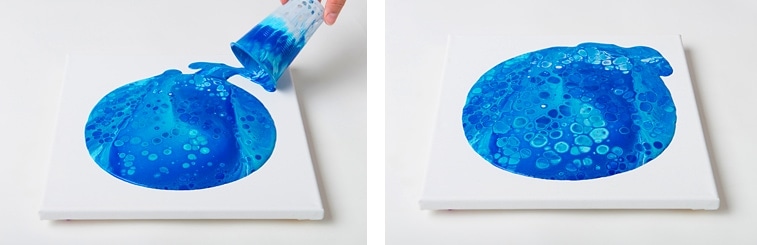
Flip Cup Technique
A Flip Cup Pour refers to the cup, full of paint, which is put upside-down on the canvas in a quick movement. This is probably the most popular technique of all.
- Proceed as in Dirty Pour: Mix each color separately with the Pouring Medium
- Add one or two drops of silicone oil to each color except white
- Layer the individual colors in a cup. Pour some white between each color to get exciting effects
- Take the cup and flip it upside down on the canvas or painting ground
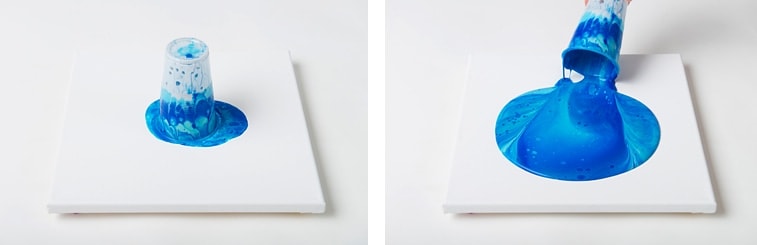
- Now lift the cup carefully and move it slightly on the screen
- Tilt the painting ground in all directions to distribute the paint
- With a torch, or burner, you can now create even more cells
Puddle Pour Technique
With the Puddle Pour, you can pour each color one after the other on the canvas. You use one base color and pour all other colors on top of each other. Then you can spread the colors by moving the canvas.
Swipe Technique
The Swipe Technique is an exciting and also very popular pouring technique. The principle is that several colors are poured onto a canvas and then one color (usually white) is drawn over the chromatic colors. The silicone oil then pushes the underlying color back up and creates numerous, beautiful cells.
- Mix your paint and media to the desired consistency in separate cups.
- Once your paint is mixed and poured onto the canvas, preferably in strips or sheets, use a flat, thin tool such as a spatula and stroke gently from one end of the canvas to the other. Do not apply too much pressure on the canvas, otherwise you will scrape off the paint or mix the colors too much, which can cause muddy tones.
- White or black is a very good color, which you apply to the rest of the canvas. With a torch you let the cells pop up
String Technique
The string technique requires a piece of string, which is dipped in paint to create feather-like structures or flowers.
- Mix your colors with the medium. The flat background color must be mixed a little bit more runny for the technique to work optimally. Otherwise, the colors would sink from the string into the background.
- Pour the background color over your canvas or surface. Spread it evenly.
- Now dip a string or chain into the mixed paint
- To create a flower, take your string and place it on the canvas with curved turns, with one of the ends pointing in your direction and protruding over the canvas. Gently pull the string or chain towards you without lifting it from the canvas and let it unwind as you pull.
- If you have done everything right, you have now successfully performed your first String Pour. This technique is for advanced Pourers and requires some practice.
Tree Ring Technique
The Tree Ring technique got its name because the pattern reminds of a tree trunk with the tree or growth rings. It is a Dirty Pour, but it is done in a particular way.
- Mix all colors separately, with the pouring medium, in individual cups.
- Pour a part of the first color in the middle of the canvas
- Then pour some of your next color into the middle of the first color blob
- Repeat this as often as possible to get beautiful colored rings
- Move the canvas slightly so that the paint is spread over the whole canvas
- That’s about it. Cells are usually not wanted in this technique
- You can also cast several Tree Rings next to each other
Air Swipe Technique / Dutch Pour
The Dutch Pour technique is an application where you spread the colors poured on a background color with a hairdryer, or with the help of a straw. This pouring technique is perfect if you like to work with negative color space. However, the paint must be a little more runny than usual. The name Dutch Pour is given to this technique because it was invented by a Dutch artist. 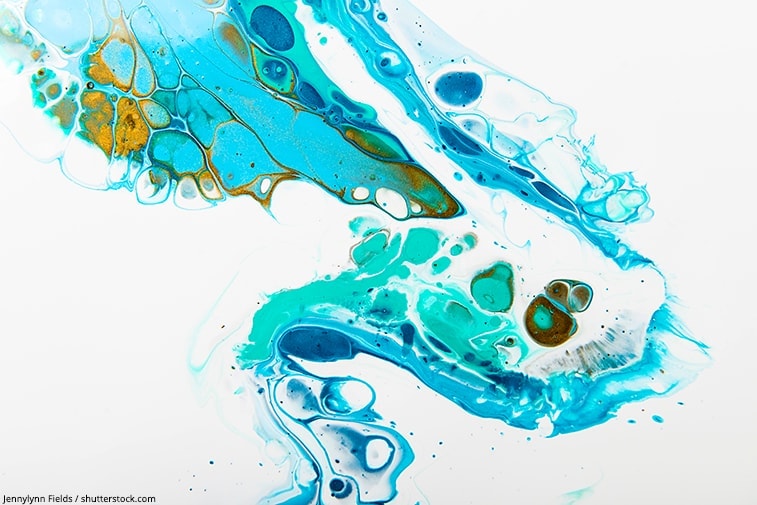
Balloon Technique
The balloon technique is, as the name suggests, a pouring technique in which puddles in the paint are applied to the poured painting with the help of an inflated small balloon. The basis can be a dirty pour or a simple pour.
- Mix a background color of your choice (black or white) with the medium of your choice and pour a thin layer over your canvas
- Now take some more paint and pour several small puddles of paint
- Now blow up a small balloon and press this balloon into these puddles. This creates really nice focal point in your paintings. Try, with different pressures and light circular movements, to see which results you like most.
Chameleon Pour
This technique is unmistakable and unique. You can use it to create controlled, even cells in your pour by applying silicone oil after pouring the paint. You can even create great cell patterns.
- It is best to use the Swipe technique as the basic technique.
- Then you can generate the cells with a comb or toothpick.
- To do this, first dip the comb or toothpick in silicone oil and then several times in your entire Swipe-Pouring in a regular arrangement and at regular intervals.
- Often, this will create very special cells with a point in the middle.
- Depending on the application, this effect can remind you of lizard skin, hence the name.
Feather Pour
This is strictly speaking a variation of the string technique. With a special technique you can create such beautiful and lively feathers.
- To create a feather, take your string and place it taut on your canvas.
- Then you hold the end of the string and pull it in your direction at a flat angle to the canvas. Repeat this and pull the string in the opposite direction for the other side of the feather.
- Then, using a skewer, carefully draw the center or shaft of the feather by simply pulling it through the paint.
Ghost Pour
The so-called Ghost Pour is actually a variation of the Swipe technique.
- Spread a rather thin background color (usually white or black) over the entire canvas
- Then apply several colors evenly in a horizontal line in the middle
- After that, the bright colors are wiped over the canvas in several strokes from the middle outwards in regular intervals downwards and upwards with the help of kitchen paper, a spatula, or a playing card. In order for the “ghost effect” to be shown to its best advantage, this technique usually uses a canvas in a landscape orientation.
- For an even more beautiful effect, you can add a few drops of silicone oil to some of the colors.
Black-light Pour
Combined with black-light and fluorescent acrylic colors, you can create a unique look.
Tips and Tricks for Successful Pour Paintings
- Optimum color consistency is the secret of the acrylic pouring technique. It is therefore worthwhile to use the highest quality acrylic paints and color additives in order to be able to pour the most successful paintings.
- Canvases are ideal for acrylic pouring. If you want to use cheap canvases as painting ground, you can also pre-coat the surface with one or two layers of gesso. This makes the canvas more stable and prevents it from sagging – especially with large canvas formats.
- The easiest way to remove air bubbles is to use a torch. Simply run over it briefly and the air bubbles will pop up
How to Acrylic Pour?
- If you pre-treat the canvas with Gesso, wait until the surface is really dry. To prevent the back of your canvas from being covered with unsightly paint stains, you can mask it with painter’s tape. You should remove the tape while it is still slightly damp so that it can come off easily.
- Have all your Acrylic Pouring materials ready so that you have everything at hand during the actual work. Protect your workstation with a plastic sheet or cardboard. The liquid color mixture will run where you don’t want it to run. You should also protect the floor, because paint stains are unintentionally created in the most impossible places in the heat of the pouring process.
- The work surface must be absolutely level so that the mixture doesn’t run off the canvas.
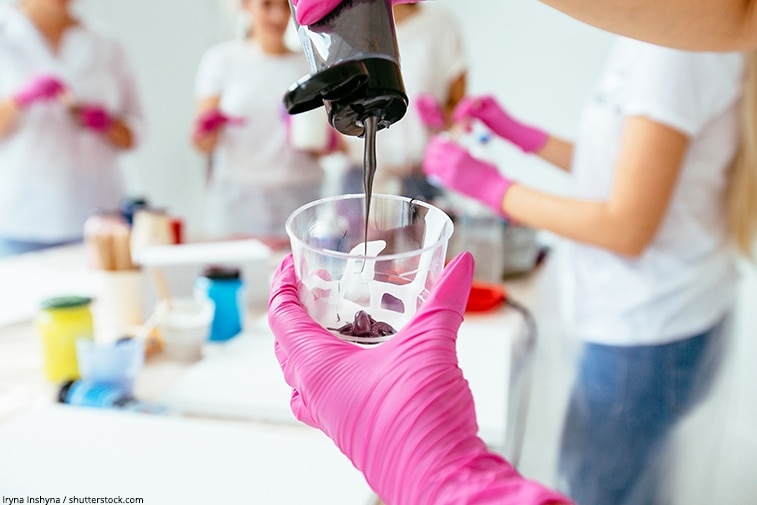
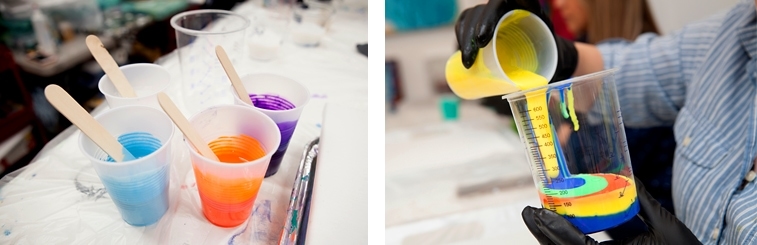
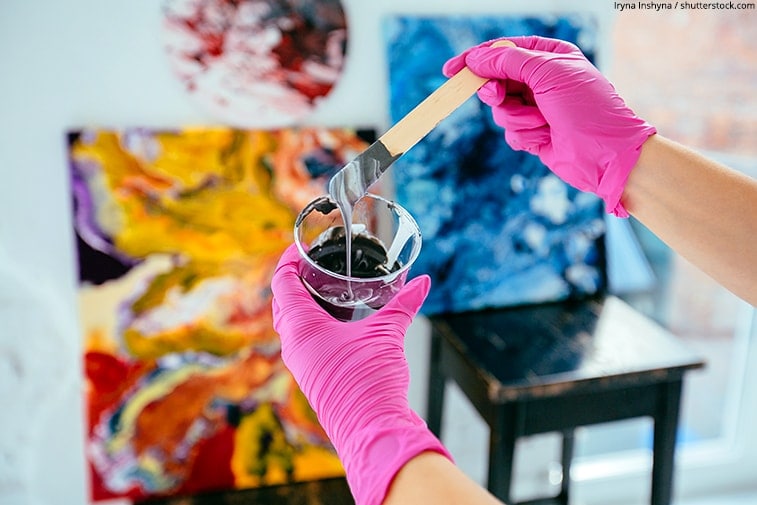
- Now that you have everything ready, you can start with the actual preparation tasks. Mix the colors with the Pouring Medium. Take a few cups, add the paint, and then the Pouring Medium.
- Stir for 1 to 2 minutes until the whole thing is thoroughly mixed.
- Stirring may cause air bubbles, which will rise to the surface after a while. So you should wait a little bit after the colors are mixed before you apply them to the canvas.
- When you have mixed all the colors, you can add a few drops of silicone oil and mix in gently, depending on the desired effect and the technique used.
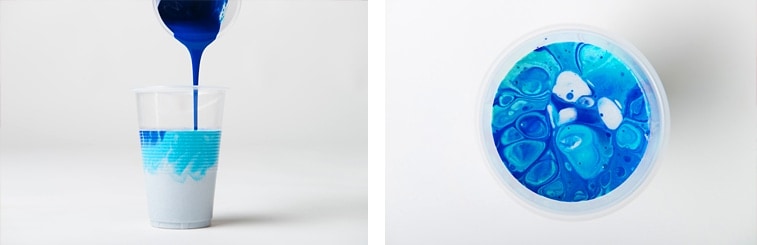
 Images: jennifer_crowder_artist / shutterstock.com
Now you are ready for the actual paint pouring:
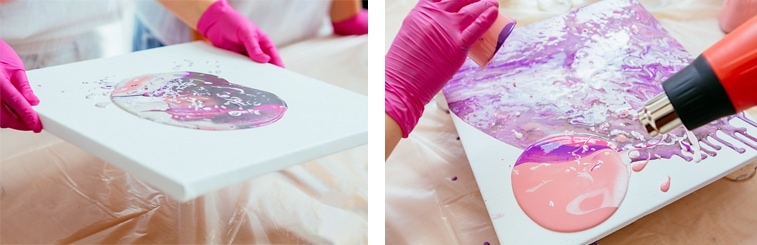
- Pour the colors on the canvas. Then take the canvas in your hands and tilt it in all directions until the mixture of colors has spread and no more white canvas is visible. The sides of the canvas should also be covered with paint. Here you can also help it along a little with your fingers.
- Then put the canvas down again, ideally on four small sticks or similar spacers, so that the canvas does not lie on the work table and can thus stick while drying.
- If you want to have cells in your pour art, you can now run a torch over the painting and the silicone oil will pop on the surface, and cells of different sizes will appear.
- Now let the pour painting dry. This can take several days, depending on the thickness of the layer, the pouring medium, and the ambient temperature and humidity. Make sure that you let the painting dry away from animals and children, otherwise you will find unwanted imprints in the painting itself and the surrounding area.
- Depending on the Pouring Medium, the pour painting is now either matt, slightly shiny, or has different degrees of gloss. You can now apply a final varnish to the Acrylic Pouring painting to achieve a uniform gloss level.
Congratulations, you have created your first Acrylic Pour painting – and it’s probably only the first of many.
Acrylic Pouring Calculator
Calculating the required amount of pouring liquid is not so easy – in addition to the actual surface, you must also include the sides of your canvas or painting ground in the calculation. To make the calculation easier for you, you will find here an Acrylic Pouring Calculator to determine the required amount of Pouring Medium and Paint for your Pourings.
The Most Common Mistakes when Paint Pouring
Here are the most common mistakes of pouring beginners that you should avoid:
- Impatience: Your first paintings will not yet be the greatest masterpieces. Take your time and experiment. Use small canvases to save material and learn from your mistakes.
- Combine colors wildly: Mixing and pouring different colors rashly without knowledge of color theory is also a common mistake. This way only “muddy” spots of color are created. Knowledge of basic color theory is therefore important.
- Too hesitant: After you have completed your research, go and start painting pour art.
- Incorrect consistency of the mixture. Many beginners mix their first color mixtures either much too fluid or not fluid enough. If the paint is too fluid, the result is often broken cells, which then completely lose their shape when drying and the paint runs off the canvas too much. If the mixture is too viscous, cell formation is more difficult. Only through practice, and trial and error, can you get closer to the perfect mixture.
- Too many air bubbles in the painting surface: It’s worth letting the mixture stand for several hours before starting to pour. That way the air bubbles can escape and you won’t have them on your artwork where it may be difficult, or impossible, to get them out.
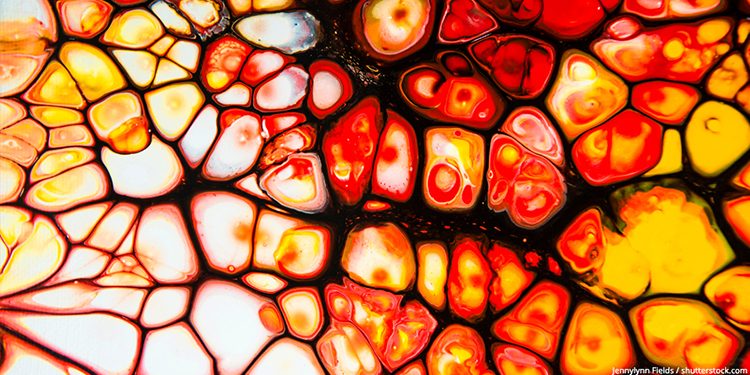
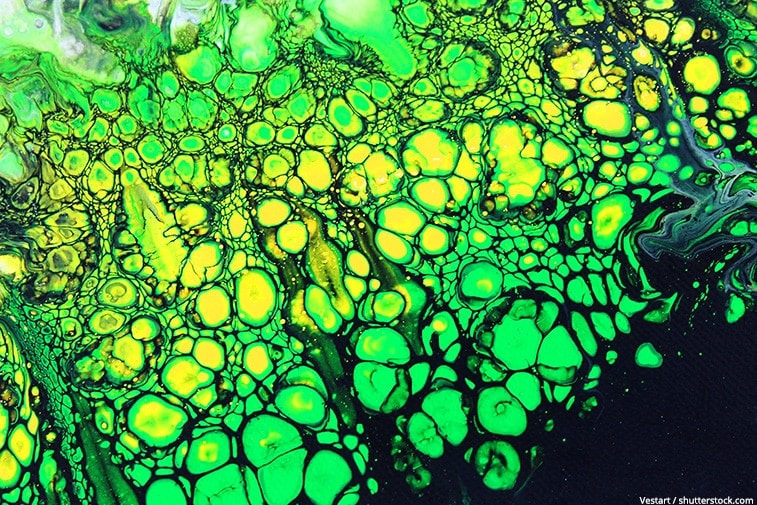
How to get Cells in Your Pour Paintings
Cells in the acrylic pour technique form primarily when there is a difference in density between the acrylic paints. There are several tricks to promote cell formation in an acrylic pouring paintings, but the number of cells and their size are largely determined by the difference in density of the colors. This is because different color pigments have different densities. The main techniques to achieve the cells in acrylic casting are:
- Different density of the acrylic paints/pigments
- Silicone additive
- Imparting the cells by means of a torch or hot air blower
Different Density of Color Pigments
The basis for forming cells in your pour paintings is that you work with different color tones in different densities. So make sure you pay attention to this when you combine colors. Each color has a specific weight. White paint in particular is characterized by a very high density due to the color pigments used.
This means, for example: If you layer the denser color on the surface (e.g. white) and the less dense color (e.g. red) on the base of your canvas, the denser color pushes down and the color with the lower density rises upwards in the form of cells. The dense color thus forms the net structure or the outline. In our example, the cells would be red with a white border. This phenomenon is also known as “broken net structure” or “layer”. In simple terms, this is how the cells in your pour art are created.
Pour Art – Encourage Cell Formation with Silicone
By adding silicone oil you can strengthen the cell formation in the acrylic pour technique. The basic principle is that silicone or oil and water do not mix. The water-based acrylic paints or pouring mediums separate themselves from the silicone oil when it is mixed. This chemical reaction leads to more, and possibly larger, cells in your acrylic pour painting.
But it is important not to mix in just any silicone oil. Because silicone oils or sprays always have different chemical compositions and properties, not all of them work equally well for acrylic painting. Some silicone oils produce many small washed-out cells, others large, clearly defined cells, and still others, in the worst case, perhaps none at all. The goal of most pouring acrylic artists is to create as many clearly differentiated, contrasting, and interesting cell patterns as possible. But with which silicone-containing product do you get the most cells, or the largest, most interesting, and sharply delineated cells?
Low Viscosity Silicone Oil
- For large cells, you should use a silicone oil with low viscosity
- Stronger color gradients are created and the colors flow faster
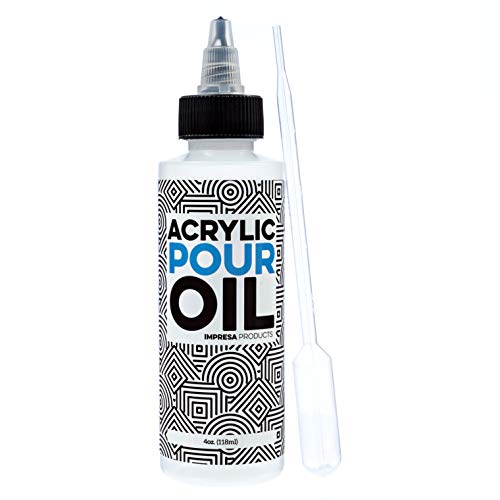
- Low viscosity – This silicone oil creates really big cells!
- 100% silicone, no extra additives or diluting agents
- With the included pipette you can work very precise
High Viscosity Silicone Oil
- If you prefer smaller, more numerous cells, then you can choose a high viscosity silicone oil
- The colors flow more slowly and the cells are usually more clearly delineated. In addition, with these oils, the color separation is often clearer and the colors mix less

- Treadmill is the most used silicone oil for Acrylic Pouring
- 100% Silicone Oil, high viscosity
- It makes a lot of nice, small to mid-sized cells in your pours
How Much Silicone Should I Add to My Mixture?
Usually, 2 or 3 drops are sufficient, which you add to any mixture of paint (except white) and pouring medium. Add the silicone oil to your well-mixed mixture and stir it only briefly. You should not mix the silicone too long or too strongly, otherwise a successful cell effect is less likely, because the cells get smaller and smaller. In order to find your optimal and individual mixture of acrylic paints, pouring medium, and silicone oil, you will need to start experimenting. Finding the right formula is the most important thing when it comes to pouring with acrylic.
Here is a very good basic recipe to begin with:
- 1 part acrylic paint
- 1.5 parts of the pouring medium of your choice
- 2 or 3 drops of silicone in the colors in which the cells should appear
Tip: If you want to create as large cells as possible, you should not stir the silicone too much into the color mixtures. The more you stir, the more the oil cells are divided, so the smaller your cells will be later on in your paintings.
Generating Cells Using Heat
If you want to create even more, larger, or more controlled cells, the additional use of a heat gun or butane torch is highly recommended. The heat will bring the cells more to the surface of your paint layer, making them more visible, and, last but not least, enlarging them. By moving a torch over the mixture after turning the color cup over (e.g. for the Flip Cup), you can get the best out of the cell formation. If you then, after spreading the mixture over the canvas, torch it again for a short time, additional small cells are created, which can give your paintings the final touch and make it even more interesting. If you would like to use a torch to create additional cells, you should not torch too long on, or too close to, the same spot. Only pan BRIEFLY over the areas where you want to “bring out” cells. Otherwise, the paint will get too hot and clumps and dents will appear, or, worst case, your artwork will start to burn. As an alternative to the torch burner, you can also use a hot-air blow-dryer, a crème-brulée burner, or a lighter.
Tip: Less is often more: Over-intensive heating can sometimes produce almost too many cells, so that a pouring appears restless or overloaded, or large cells that have already formed are optically destroyed again. Be careful, the heat effect of the burner will continue to have an effect for a while!
How can You Prevent Cracks in Your Acrylic Pouring Art when Drying?
When your Acrylic Pouring Paintings dry, cracks may appear under certain circumstances. Cracking usually occurs when the top layer of the coating dries much faster than the underlying, still wet layer. If this is the case, the top layer forms a kind of skin. If this skin hardens too quickly and the lower layer is still relatively wet, the top layer breaks and cracks appear. To avoid these unwanted textures in your Acrylic Pouring artwork, you should take the following tips to heart:
Do Not Use too Much Water
If you add too much water to your mixture, this can weaken the binding agent in the acrylic paint and the medium. It will lose some of its adhesive properties, which then increases the probability of cracking. To avoid this, we recommend that you never use more than 50% water in your mixture.
Choose the Correct Pouring Medium
Professional and high-quality pouring mediums largely prevent the formation of cracks, because they were specially manufactured and designed for this purpose. The use of inferior casting mediums or unsuitable PVA adhesives as an alternative medium is more likely to lead to cracking. An additional benefit is that with a high-quality casting medium you often have to add much less water, or none at all, which, as already mentioned, also reduces cracking.
Pay Attention to Room Conditions
Temperature fluctuations, very high or very low temperatures, and too high or too low humidity can also increase the likelihood of cracks in your Pouring Painting. In addition, your paintings should not be exposed to any draughts during the drying process, as these also have a negative effect on the drying process.
Do Not Paint or Varnish too Early
You should not paint or varnish your paintings until your artwork is 100% completely dry. To be on the safe side, you should wait at least 2 weeks before finishing. The longer the better.
Avoid too Many Layers of Paint
Sometimes it can happen that an unsuccessful pouring is re-painted again after drying or even several times if necessary. However, you should avoid many layers of paint on the canvas, as this will definitely lead to cracks in the paintings at some point. Two layers of paint on the canvas is tolerable in most cases. Using a canvas more than twice is not necessarily advisable, especially for large paintings. Alternatively, you can wipe the still-liquid paint off the canvas right away when you notice that the pouring isn’t what you wanted. Then you can, of course, use the canvas several times. If the paint has already dried, you should use a fresh canvas once again – it would be a shame to use that in a successful pouring! 🙂

Larissa Meyer is a 32-year-old mother from Michigan and creative spirit since childhood. Her passion for painting and drawing has led her to an education as an illustrator and a career as a freelance graphic designer. She has a Bachelor of Fine Arts in Illustration and a degree in Graphic Design. Larissa is a talented artist who is able to master a wide range of styles and techniques to bring her artistic vision to life. Her greatest passion is currently fluid painting and epoxy resin art. As a mom of two kids, Larissa also understands the importance of fostering creativity in early childhood. She uses her experience and knowledge to help other parents inspire their children and develop their artistic skills as well.
Learn all about Larissa Meyer and Fluid Painting.