Glow in the Dark Epoxy – Using Glow Powder with Resin
This post may contain affiliate links. We may earn a commission from purchases made through them, at no additional cost to you.
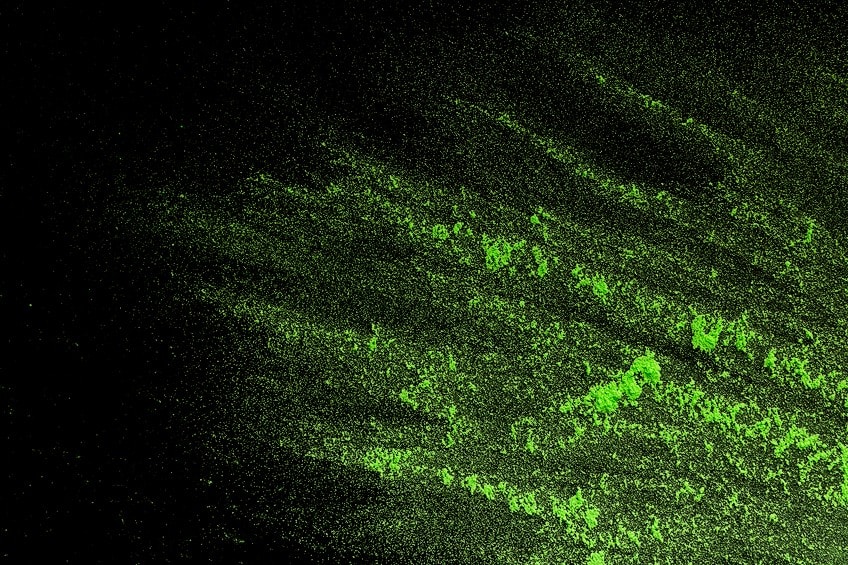
Combining glow-in-the-dark powder with epoxy resin works fantastically well. This allows you to make clear resin castings glow in the dark with the addition of a simple pigment powder. You can use this technique to create glow-in-the-dark epoxy floors, tables, or various molded objects. This can produce some incredible effects. Let us take a look into how you can make glow-in-the-dark resin, and what exactly is needed for this process.
Preparing Glow-in-the-Dark Epoxy Resin
Before you can start creating the mixture, you will need suitable molds for pouring the resin into. These molds can be any shape and size you want, but they should be made of a flexible material such as silicone for easy use. Very importantly, make sure that the inner part of the mold is coated in a release agent before you add the epoxy resin, as this will make it easier for you to remove the resin casting once it has cured. If you do not want to use a mold, you could also create glow-in-the-dark epoxy floors or other surfaces.
Once you know the volume of the mold and how much resin you will need for filling it, you can start to prepare the resin mixture. If you do not know what the volume of the mold is, you can fill it up with water and then transfer that water into a measuring jug to see.
If your casting resin contains two parts, as most do, then you will need to halve the volume of your mold and measure out the correct quantities for each liquid part.
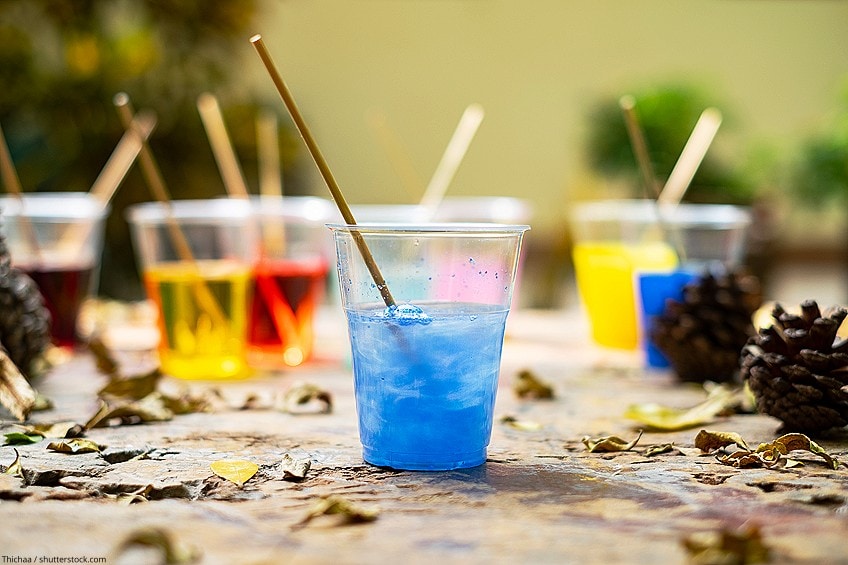
When making glow-in-the-dark epoxy, you can choose between a single color or a range of colors. Using at least two colors creates a special effect, and will also help to take away the risk of any soft spots forming un the casting, as there will be more mixing involved. The guide below is based on the use of two separate colors.
When you get started, everything will need to be ready and laid out. When working with epoxy resin, you have a limited time window during which the resin is still liquid. It is therefore important to have every tool and bit of material needed right in front of you in order to work efficiently, thus avoiding the resin “gelling” before it gets poured into the mold.
Best Glow-in-the-Dark Pigment Powder for Epoxy Resin
There are many different glow-in-the-dark products available on the market for your epoxy resin project. However, it can be difficult to decide on the best product for your particular needs. We have selected the best brand of glow-in-the-dark pigmented powder for your epoxy project!
Premium Pick: DECORROM Glow-in-the-Dark Pigment Powder
This is a premium pack of glow-in-the-dark pigment powders, each of which comes with its own shake jar to reduce mess. This set also includes a UV lamp for quick charging.

- 10 long-lasting glow pigments
- Safe and easy to use
- Multipurpose, premium product
These colors are completely safe to use due to their premium composition. The pigments are non-toxic, non-radioactive, and cruelty-free. You can use these powders for any number of DIY arts and crafts, such as in epoxy resin, slime, and acrylic paints.
Pros
- Large selection of colors
- Individual shake jars
- Easy and safe to use
- Non-toxic, non-radioactive, and cruelty-freee
- Great value for money
- Vibrant and long-lasting glow
Cons
- Bottles are filled inconsistently
- Requires more powder to use with resin
- UV light is not very strong
Best Resin: INCREDIBLE SOLUTIONS Pourable Clear Casting Resin
You will also require a good-quality epoxy resin in which to add the glow-in-the-dark powder. We recommend using Incredible Solution’s deep pour casting resin, as it is ideal for both casting molds and coating surfaces.

- Thick pours, low viscosity, and long working time
- Clear results and compatible with pigments and dyes
- 2:1 mixing ratio by volume
This resin will mix really well with your glow pigment as well as other types of pigment powders, and offers a long working time. This product has a low viscosity, making it fluid and easy to pour, and is formulated with UV inhibitors to prevent yellowing.
Pros
- Long working time
- Crystal-clear, durable finish
- UV-resistant
- Great value for money
- Ideal for deep pours
- Low odor and no VOCs
Cons
- Long curing time
Creating Glow-in-the-Dark Epoxy Resin
As mentioned above, make sure that the right amount of the different resin components are poured into their relative plastic cups when starting. First, you will add the two transparent parts together into a separate mixing cup, and mix them thoroughly for 3 to 5 minutes so as to make sure that they are properly combined. This resin will then need to be split again into two different mixing cups, each of which will be a different color. Ensure that the color proportions are correct.
Weigh the amount of resin in each cup, or find out their volume, and add in the correct amount of glow-in-the-dark pigment powder. This is generally one part pigment to five parts resin in a 1:5 mixing ratio. The measurements don’t have to be 100% precise here, but using a formula like the one below can help to achieve the best results:
4 x (Resin Volume) / 20 = The amount of pigment needed.
So, for 10 grams of resin, the formula would be 4 x 10g / 20 = 2g of pigment. This formula can work with both weight and volume calculations.
To reduce stress and rushing while working with resin, try to use a product that takes longer to dry. If the resin you are using has a very short working window, then try to measure everything out and do the calculations in advance. You do not want to be rushing the process in order to beat the clock.
Mixing
Mixing the glow-in-the-dark powder with the epoxy resin is an important step. Stirring the color pigment into each cup of resin needs to be done slowly, but properly. The slow stirring helps to avoid bubbles, but you also want to make sure that the pigment is properly mixed and that the consistency is right. The color needs to be evenly distributed within the glow-in-the-dark epoxy resin.
Air Bubbles
As soon as the glow in the dark epoxy resin is mixed, you can start to pour it into the mold. As you work with it, the resin will slowly become a bit thicker. This is a good sign for an even pigment distribution.
Once the resin is poured and the curing process starts to take place, some air bubbles can start to form on top of the epoxy resin and around the edges. This is a normal part of the curing process that comes from the reaction between the resin and hardener.
In order to avoid air bubbles from forming, you can apply some heat regularly over the surface, which will pop the bubbles. This can be done with a blow torch or heat gun on a low setting. Another way of popping the bubbles is to use a toothpick. You will need to keep coming back to the mold every now and then to check for new bubbles.
Once all the bubbles have been taken care of, it is time to cure the resin. Cover it with a plastic sheet or board to make sure that no dirt or dust gets stuck in the wet resin, and leave it until it has fully hardened. This could take between 48 and 72 hours, depending on the resin. Be careful when taking the resin out of the mold – it may take a while but it is important not to force it.
Finishing Touches
Once the glow-in-the-dark epoxy has fully cured, it may require some finishing touches to get the resin smooth and shiny. This will involve some sanding. It is best to wet the sandpaper a little first, which will help to prevent the resin from overheating and dust from flying everywhere. Use small, circular movements to achieve a smooth finish.
Use fine-grained sandpaper in order to remove pointy edges on the resin. Always make sure that you work with an even pressure to ensure a smooth area all over the resin. Once you have sanded down the resin to an even finish, you can clean and polish it for maximum shine.
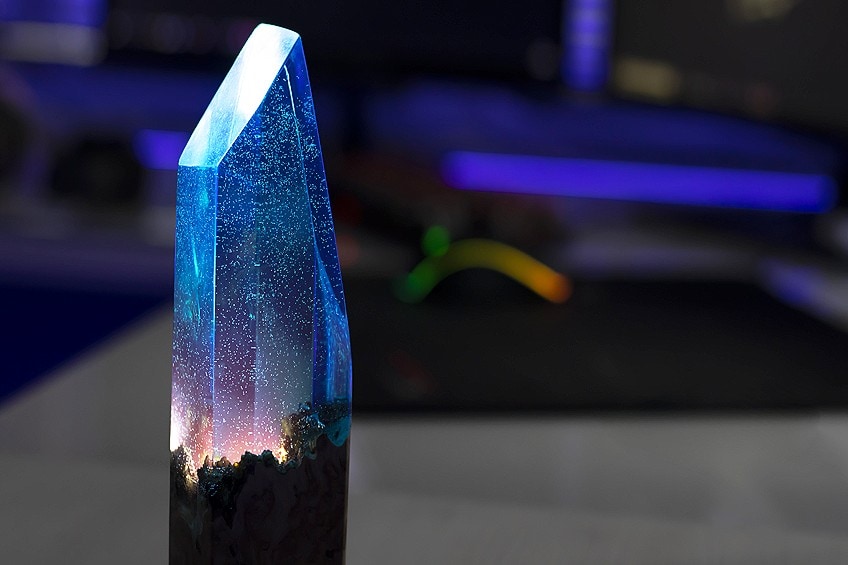
The glow in the dark epoxy resin will have a special illuminating effect unlike any other resin object. The glow-in-the-dark properties can be further enhanced with the use of lighting and fluorescent lights.

Glow-in-the-dark epoxy resin creates a truly special color effect for all kinds of uses. It can be applied to epoxy tables, floors, or various molded objects. The guide above should have answered any questions about mixing the resin, color pigments, and how to use it. We hope you enjoy your project with glow-in-the-dark epoxy resin!
Frequently Asked Questions
What Ratio Do You Use for Epoxy Resin and Glow-in-the-Dark Pigment?
The typical ratio is 1:5, with one part pigment powder to five parts epoxy resin. Just make sure to mix the resin and pigments together thoroughly and carefully.
Can You Sprinkle Glow-in-the-Dark Powder Into the Resin?
You can add pigment powder into the already-mixed resin. It is best to let the resin start to gel and cure slightly before adding the glow powder, as this will prevent it from collecting at the bottom. Another option is to sprinkle the pigment into the mold before adding the resin.
How Does the Pigment Settle While Curing?
If the pigment is above 15 microns, it will end up settling at the bottom of the resin. This can be an issue on flat surfaces, as there will be a layer of clear resin on the top. This is often the case with glow-in-the-dark epoxy tables, where the top layer of resin often needs to be sanded off.
Can You Combine Glow Powder and Mica Together in Epoxy Resin?
You can do this for a colorful effect in the light and for glowing colors in the dark. Getting the right ratio may take some experimentation, though. To get an opaque effect, add about one gram of pearl powder per ounce of resin. You will want to reduce this to about a quarter gram in order to maintain some transparency for the glow-in-the-dark effect to work.

Larissa Meyer is a 32-year-old mother from Michigan and creative spirit since childhood. Her passion for painting and drawing has led her to an education as an illustrator and a career as a freelance graphic designer. She has a Bachelor of Fine Arts in Illustration and a degree in Graphic Design. Larissa is a talented artist who is able to master a wide range of styles and techniques to bring her artistic vision to life. Her greatest passion is currently fluid painting and epoxy resin art. As a mom of two kids, Larissa also understands the importance of fostering creativity in early childhood. She uses her experience and knowledge to help other parents inspire their children and develop their artistic skills as well.
Learn all about Larissa Meyer and Fluid Painting.