How to Paint Leather – What You Need to Know About Painting Leather
This post may contain affiliate links. We may earn a commission from purchases made through them, at no additional cost to you.
Everyone has a unique rationale behind painting a leather item. The personal effect may no longer match the color scheme in your home, or you could have a leather accessory in your possession with some wear and tear that you would like to update. Additionally, you could simply have caught the creative bug and want to bring some life to an old pair of leather shoes. Whatever your reason for leather painting, we have a few simple and easy methods that will guide you along your next creative journey. There is a myriad of factors to consider when it comes to leather painting, so keep reading to find out more!
The Best Paints for Leather
If we have a look at the wide variety of paints available to us, acrylics are definitely a top choice when it comes to leather painting. However, so are metallic leather paints and pearlescent leather paints. You could also use a specialized leather dye, as it can also provide you with the desired outcome. These dyes have a lasting effect, but they do not necessarily form part of the “paint” category and are not as pronounced as paints. By using paints, you will have an end product that is more enhanced and vivid in color.
Ultimately, you will be able to do more and be more creative with leather paints when compared to dye. Leather paints such as acrylics also ensure that you can be more detailed in your designs.
Acrylic Leather Paints
These paints are water-soluble, their pigments having been dissolved in an acrylic polymer emulsion. This is great news, as they can easily be mixed with other colors to make a fresh and unique color of your choice. The quick-drying paint also becomes water-resistant when dry, which makes it an ideal leather shoes paint.

Recommended Acrylic Leather Paint: ANGELUS Leather Paint
Angelus Leather Paint is a great product to start out with if you have never painted leather before. This product includes a set of 12 one-ounce jars with multiple acrylic paint colors. This set is perfect for accessories such as athletic shoes, boots, jackets, and purses. This paint is durable in that it will not crack, peel, fade, or come off in any way! Additionally, it is an endorsed product with many benefits, including the fact that it is non-toxic.

- A flexible paint that will not crack, peel, fade, or rub off
- Non-toxic and water-based makes it easy to clean and use
- Easily blend the colors together to create your own unique shades
PROS
- Easy to clean during the painting process
- Mixes with other colors effortlessly
- Becomes water-resistant once dry
- Vibrant and colorful
- Dries quickly
- Flexible, and therefore will not easily crack as leather moves
- Paint will not fade or rub off
- Non-toxic, so safer around children and pets
- Ensures longevity
CONS
- Color may become darker as it dries
- Fast drying time means that you need to work just as quickly
- Can be difficult to remove once dry
Metallic Leather Paints
Metallic leather paints leave you with a glossy finish. The paint is created by mixing metal flakes in addition to a top coating of acrylic polyurethane in order to achieve this shimmering look. These paints are durable and showcase an overall glazed look.
Recommended Metallic Leather Paint: HISSICO Metallic Acrylic Paint Set
HissiCo is a cost-effective product that comes in a 20-color metallic paint set. Each bottle is filled with two fluid ounces of paint, which gives you more bang for your buck. This paint is perfect for DIY projects and is great for any leather item you would like to renew. With so many color options, you can be even more creative with your project. The colors are vivid and of excellent quality, providing you with colors that will resist both water and fading. Moreover, the product is also non-toxic, offering your family and pets a definite feeling of safety.

- Smooth, highly pigmented colors that produce consistent shades
- Wide range of metallic colors that offer great coverage
- Non-toxic, quick-drying, permanent, waterproof, and fade-proof
PROS
- Bright and vibrant colors
- Certified non-toxic
- Large variety of colors
- Artist-grade paint, so of excellent quality
- Waterproof and fade-proof
- Dries quickly
CONS
- Some shades are quite similar to others
- May need a few extra coats to obtain vivid color
- Can stain easily on clothing
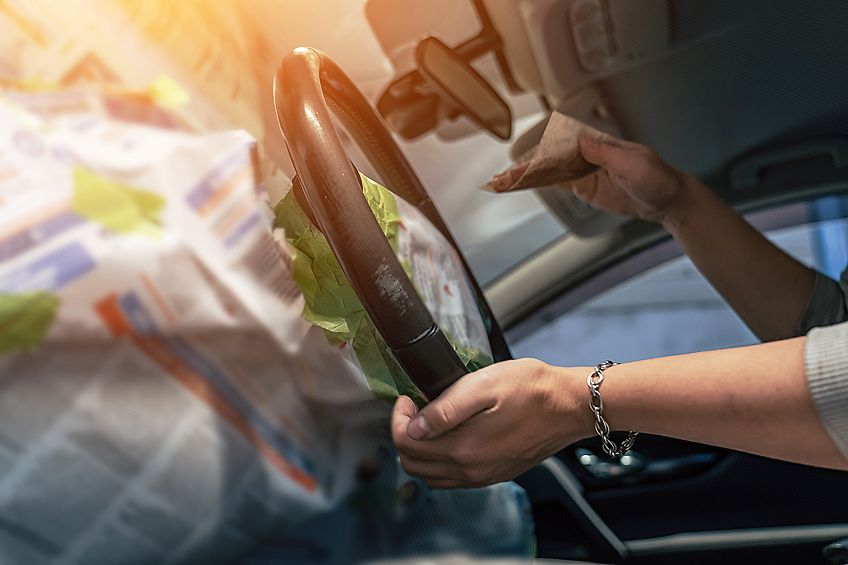
Pearlescent Leather Paints
Pearlescent paints have traditionally been used to paint the interior of vehicles to offer a sheen finish. In addition, this paint is perfect for accents or to create enhancements on clothing. Pearlescent paint has been used similarly to metallic paints in the past, especially in cars. Items such as leather dashboards, seat covers, or even steering wheel covers have often been painted with pearlescent paints. These paints are made with particles of a ceramic powder called mica, which provides its sheen.
Recommended Pearlescent Leather Paint: ANGELUS Pearlescent Leather Paint
The Angelus Pearlescent Leather Paint seven-color set is the perfect way to “wow” when working on a new project. This paint is rated highly when it comes to sheen and therefore is a perfect match for those looking for some extra shine on their leather accessories. This paint is iridescent, meaning that the colors seem fluid will shift and adjust with the light.

- Create a pearlescent effect on your custom leather projects
- Paints produce an iridescent shine that changes in the light
- A set of seven vibrant colors that produce a brilliant shine
PROS
- Generates a unique pearl effect on your projects
- Iridescent paint produces a wonderful shine and shimmer
- Dries quickly
CONS
- Few colors to work with compared to other sets
- Slightly pricier when compared to metallic or normal acrylic options
So, what is the ultimate all-rounder and best paint for leather? Acrylic paint is not only a fantastic medium to use on leather, but it can also be used on a wide range of leather products and accessories. Acrylic is also the go-to option when it comes to painting on leather. The reason as to why this medium is so popular is due to the water base of the product, which makes it non-toxic, safe to use around the home, and easy to clean up.
Instructions for Painting Leather
Leather painting does not require you to buy loads of different equipment or products, but you will need a few supplies before you start the process. We definitely do not want you to be caught without an essential product when you are in the middle of your project. You will follow the same process for painting most leather items as when it comes to leather shoes paint. You should ensure that you have the following items before you start painting your leather item:
- Brushes
- Cloth – preferably cotton or microfiber
- Isopropyl alcohol
- Sandpaper
- Deglazer
- Leather paint sealant
- Leather paint (general acrylic, metallic, or pearlescent)
- Acetone nail polish
- Masking tape
- Newspaper / cloths / tarp
- Mask
- Gloves
Prepare Your Work Area for Painting
We recommend that you prepare your work or painting area by putting down clothes, newspapers, or tarps. In doing so, you will make sure that the work area around the project is protected. This way, the paint will not get everywhere or stain any carpets or surrounding items. Be sure to look at opening up a window before you start as well in order to ensure there is ventilation. The last thing you want is to inhale all those paint fumes in a closed-off environment – especially before you seal the leather.
Disassemble Your Item (If You Can)
If you are painting furniture or if you have an item that can be taken apart, then we recommend that you do so. By disassembling the accessory or item, you will be able to get into the harder-to-reach nooks and crannies easily, thus ensuring a uniform look. If you are looking at how to paint leather shoes, removing buckles or masking them off is a good place to start.
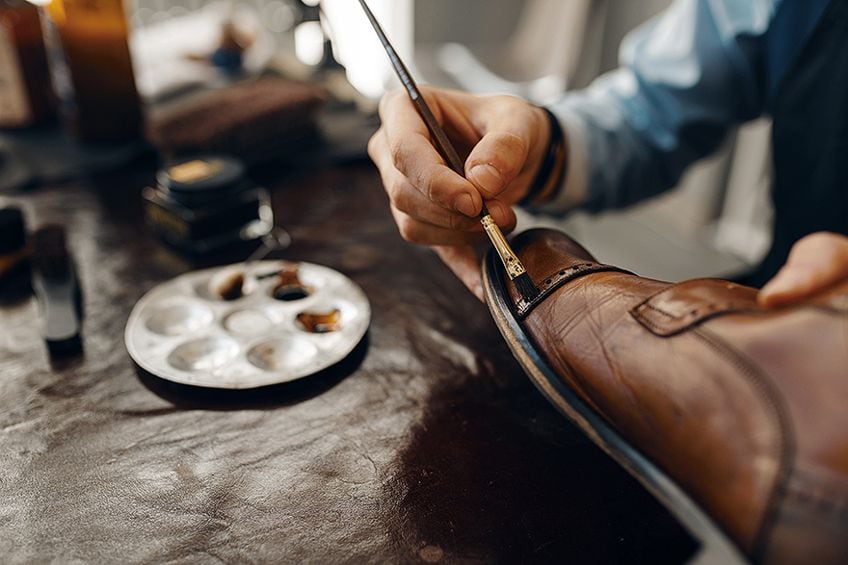
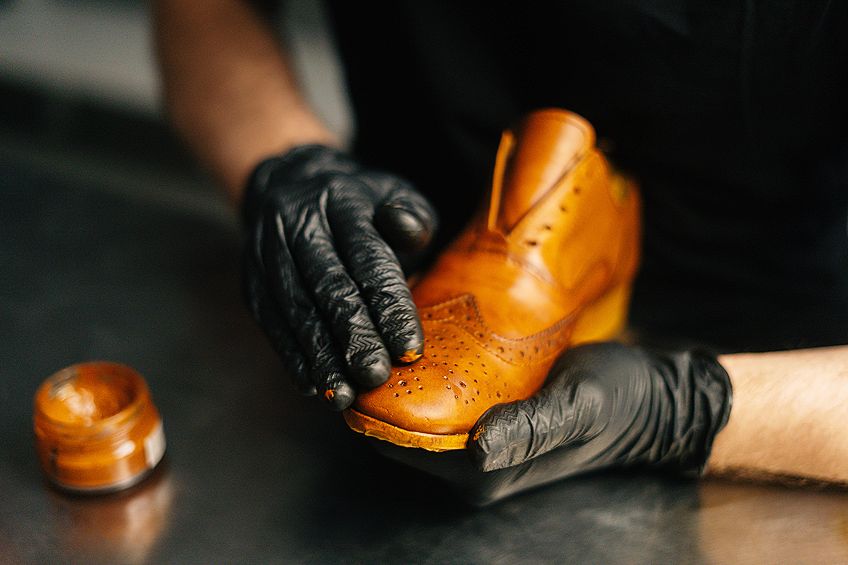
Preparation: Cleaning and Deglazing
To prepare your surface, first look at wiping it down with a cloth to remove any and all dust. Next, you will need to wipe the leather down again, but this time with the isopropyl or alcohol solution. This is done in order to remove any coatings such as oils or even waxes, as well as to make sure that the paint will be absorbed into the leather.
At this point, if you are still struggling to remove any coatings, look into using fine sandpaper to remove any remaining coating elements.
You will then move on to the deglazing part of the leather preparation. Here, you will soak your rag in the deglazing solution and once again wipe down the leather. A deglazer is an important step in the process as it helps the paint adhere to the leather. When you are looking at how to seal acrylic paint on leather, the key is preparation.
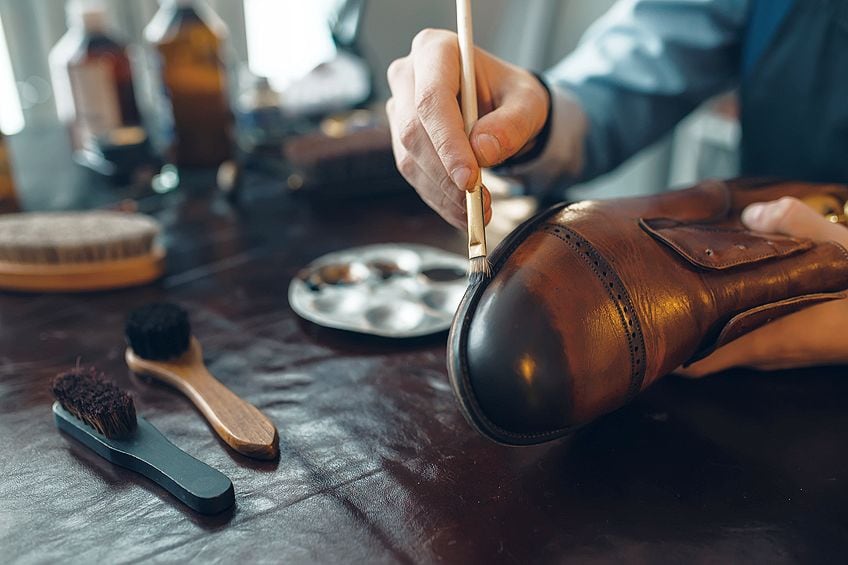
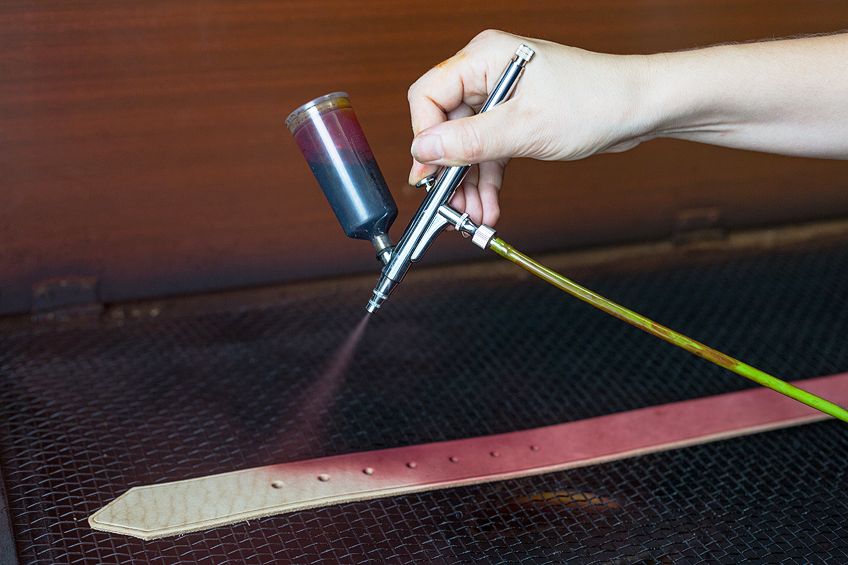
Ready, Get Set, Paint!
It is now time to paint, and it is recommended that you begin with a thin layer. When using acrylic paint, most people thin the paint first by using water. Usually, a 1:1 ratio is recommended. By thinning the paint, you will ensure that the paint does not crack or make clumps as it dries. It will also make sure that the paint absorbs into the leather.
You can move onto thicker layers using less or no water as you continue to paint, but wait for each layer to dry before moving on to the next. Look at bending or “flexing” the leather in-between layers to make sure that it does not start to crack. Acrylic paint is generally flexible, but you want to ensure that it is absorbed and has an even finish at the end.
But how many coats should you apply to have a lasting effect? It is really up to you as to when you are satisfied with the look of your item, but you can go up to as many as seven coats when painting leather with acrylic.
How to Seal Acrylic Paint on Leather
There is so much to consider when it comes to paint for leather, more so when you are looking for a lasting result. While acrylic paints are known for their durability, you can further lengthen the life of your painted leather item by applying a sealant once the final coat of paint has dried. Sealing the paint will result in a seamless finish and will make the color last that much longer. To help you navigate this complex process, we have a few pro tips to guide you and ensure the best possible finish.
- You need to ensure that the paint on your leather is completely dry before trying to seal it. Keep the painted item in a dust-free environment to ensure that it remains clean.
- Be sure to read any instructions provided on the sealant before use. Some sealants may have different instructions compared to others. This is also important as sealants vary in the chemicals that are used, for example, some sealants use bleach whereas others are alcohol-based.
- Use a cotton cloth to apply the sealant, although a microfiber cloth will work too. Do not use a cloth that may give leave any residues such as fibers, as this may interfere with the smooth finish you are aiming for. You can also use an aerosol sealant for easier application and a more even finish.
Top Tips and Tricks for Leather Painting
If you are new at painting leather, we have a few tips and tricks for you to keep in mind on your first few attempts. Be sure to go through these carefully before you start your leather painting process.
- It can be extremely difficult to remove acrylic paint from items such as brushes or even clothing once it has dried. It is therefore advisable to keep water close by so as to wipe away any stray paint easily while it is still wet. Just as you had to protect your surrounding area with a tarp or cloth, it would also be good to wear protective clothing too.
- Do not forget to prepare your surface area. If you do not sand or wipe down the leather item/accessory from any remaining residues and dirt, then it will lead to a tarnished look and all of your efforts will go to waste.
- It is best to start small. First look into trying to paint smaller surface areas with the leather paint before you commit to the entire surface area of the item. The same goes for when you deglaze or clean the leather. Start small and work your way up, as that way you can see if you need to use another product or change strategies.
- Watch out for any cracking and peeling as you continue with your layers. Prevention is key, so make sure that you add water to your first layer. However, if the paint is extremely thick, then it is suggested that you add water to each and every layer.
- It is better to do many thin layers than a few thicker layers. Doing this ensures that the adhesion is better and will make sure that the paint job lasts longer.
- Opting for acrylic paint is a better option as it will create a more permanent finish.
- Some paints will require a heat finish. Make sure that you are aware of this ahead of time in order to prepare.
- Read all instructions when using different products, as some brands may be trickier to use than others – you do not want to be surprised.
Frequently Asked Questions
Which Leather Accessories Can, or Should, You Be Painting On?
Now that we have taken you through the process of painting leather and making sure it lasts by sealing it, it is time to paint! But which leather accessories can be painted? We have seen our fair share of leather painting, and it is always exciting to see the interesting and new ideas people have. Some accessories include general leather items such as wallets, jackets, purses, and even boots or shoes. But you should not be worried about how to paint leather shoes, handbags, belts, or even ornaments. It is really about being inspired by the item and trying out something new. You do, however, need to make sure the item is real leather and has been cleaned before painting.
Which Paint Is Best for Painting on Leather?
Acrylic is great for DIY projects and, if this is your first time trying out leather painting, we suggest you just jump in and go for it. You will need a paintbrush, paint, sealant, and most importantly a creative spark. Do not be afraid to start your project today and reap the rewards with a brand-new-looking item. Go have a look at your options and be inspired to create something different and rewarding.
When Should I Seal the Leather?
Sealing takes place before painting. It often discolors and even changes the feel of the leather so do not be surprised when you get started. Keep in mind that if this step is left out of the leather painting process, then your project may only last a few days or weeks. Alternatively, the finish may be uneven, and we do not want that.
Why Is It Important to Seal Leather Before Painting on it?
It is great to know that we have so many options to paint our leather with. And with so many choices, you can have more fun and really start to express yourself. In order for your hard work to go noticed and stay intact, it is important to make sure you seal the leather. Protection is key to ensuring a long-lasting effect after painting your leather.
What Are the Best Methods for Sealing Leather?
There are numerous different methods to sealing your leather before painting it. Each alternative has its own benefits, but they really rely on the same concept – to ensure a long-lasting effect after painting. Because sealing requires you to use alcohol and chemicals, we advise using protective equipment during this process such as masks and gloves. You can pick these items up when going to your local craft store, hardware store or order them online. In order to seal your leather personal effect, you can simply take alcohol or isopropyl and wipe down the surface area. In doing so, you will remove any and all residues. Once completed, you may notice some fading on the leather item as this solution is applied and dries.

Larissa Meyer is a 32-year-old mother from Michigan and creative spirit since childhood. Her passion for painting and drawing has led her to an education as an illustrator and a career as a freelance graphic designer. She has a Bachelor of Fine Arts in Illustration and a degree in Graphic Design. Larissa is a talented artist who is able to master a wide range of styles and techniques to bring her artistic vision to life. Her greatest passion is currently fluid painting and epoxy resin art. As a mom of two kids, Larissa also understands the importance of fostering creativity in early childhood. She uses her experience and knowledge to help other parents inspire their children and develop their artistic skills as well.
Learn all about Larissa Meyer and Fluid Painting.