How to Paint Styrofoam – A Comprehensive Guide to Painting Styrofoam
This post may contain affiliate links. We may earn a commission from purchases made through them, at no additional cost to you.
Can you paint on Styrofoam? This is a question that is likely to have cropped up in your mind early on in your DIY or crafting journey. While painting styrofoam is certainly possible, it is a very different material when it comes to painting surfaces. You may have experimented on your own with a few different paints and methods, some successful, others not so much. This article is aimed at helping you to understand this material and to master the styrofoam painting process for that exciting project you have been dreaming about.
What Types of Paint Are Suitable for Painting on Styrofoam?
While the golden rule of avoiding paints containing solvents can be limiting, there are a few great Styrofoam paint options that offer pretty successful solutions to the challenges of Styrofoam painting. Many craft stores will stock these options as well as other special brands of paint that are specifically designed for painting on foam. Always check the label of the paint you select – if it is not acrylic or tempera, it must say somewhere on the label that it is safe for use on foam, Styrofoam, or polystyrene.
Acrylic Paint
Using acrylic paint on Styrofoam is your best bet because it does not contain any chemicals or substances that will cause your Styrofoam to melt or dissolve. It adheres well to polystyrene and can be applied directly to this surface without a primer. A few layers of acrylic paint are however required to achieve full coverage. In the long run, using acrylic paint on Styrofoam can cause some deterioration to the polystyrene so avoid this paint if the goal of your project is long term. Acrylic paint is widely available from all craft stores.
Latex Paint
Latex paint is made from acrylic resin and is another safe option for Styrofoam painting. This paint is commonly used for painting building interiors and takes longer to dry, so it is best used for medium to large Styrofoam items. This water-based paint requires fewer coats to achieve your desired coverage, but will not last as long as acrylic paint. This does not rule out latex paint as an option, however, it just means that it is best used on an object that will not be subjected to changing temperatures, which may cause cracks.
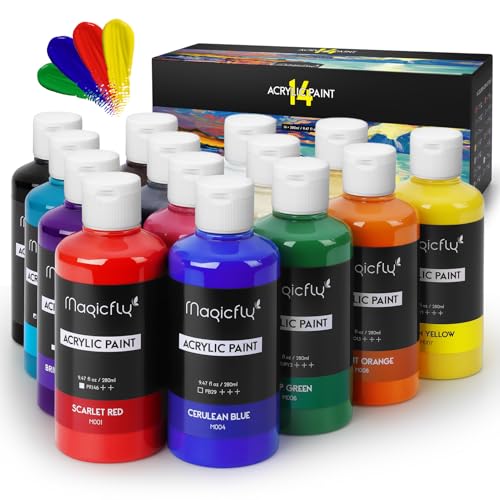
Our Recommendation: MAGICFLY Bulk Acrylic Paint Set
This Magicfly Acrylic Paint Set comes in 14 vivid, non-fading colors, including gold and silver. This paint is non-toxic, blends well, and dries quickly. Suitable for a variety of surfaces including Styrofoam, Magicfly paint offers smooth application and great coverage with a matte finish.
- Vibrant, thick, and creamy colors that blend easily and dry quickly
- Non-toxic, fade-proof paints can be brushed, stamped, or stenciled
- Each paint is labeled with its color, light resistance, and transparency
PROS
- High-quality product
- Great value for money
- Rich, non-fading colors
- Quick-drying
- Non-toxic
CONS
- Vigorous shaking required before use
- May dry too quickly, limiting working time
Tempera Paint
Another good styrofoam paint option is tempera paint which also sticks pretty well to polystyrene surfaces. Since this paint is water-based it is best to use it on Styrofoam objects that will not be exposed to water. Tempera does not come in a wide range of colors and does not blend well. There is, however, a variety of options in terms of finish, and these paints are available from most craft stores.
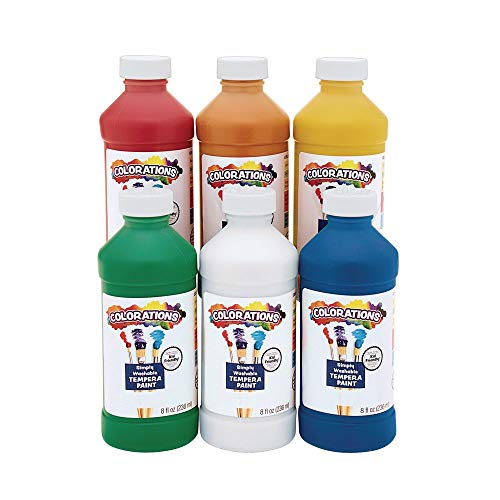
Our Recommendation: COLORATIONS Simply Washable Tempera Paints
Suitable for a wide range of surfaces, Colorations Tempera Paint is another good option for Styrofoam painting. The great thing about this tempera paint is that it is washable, so it is ideal for kids’ crafts. This product comes in a set of six bold colors that dry quickly with a matte finish.
- Versatile paint can be applied to non-greasy, absorbent surfaces
- Paints offer a rich, creamy texture in a range of vibrant colors
- Free of most allergens, including latex, dairy, gluten, soy, and more
PROS
- Washable
- Quick-drying
- Non-toxic
- Allergen-free
- Affordable
CONS
- Can stain certain hard surfaces
- Not artist-quality
- Can crack or flake on certain surfaces
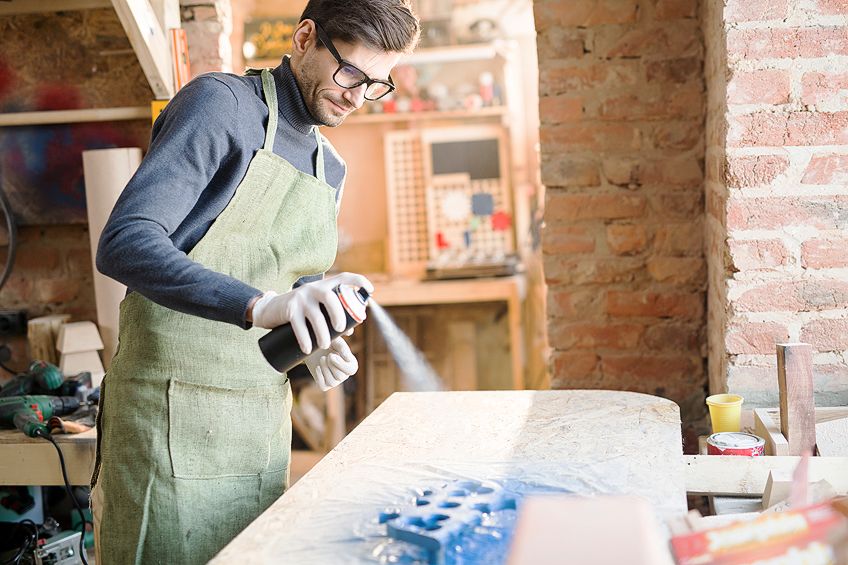
Spray Paint
Another question that may have popped up in your mind is whether or not you can spray paint Styrofoam. The answer is yes, spray paint can be used on Styrofoam, but not just any old spray paint. Most spray paints contain solvents and other corrosive substances that will dissolve polystyrene. So when looking for spray paint for your Styrofoam project, be sure to check the label to be certain that it is foam-safe.
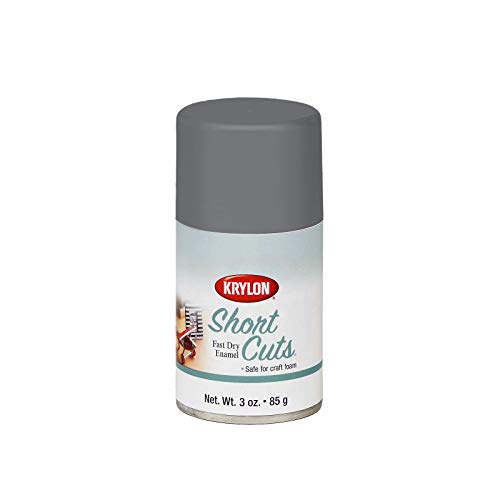
Our Recommendation: KRYLON Short Cuts Aerosol Paint
This should be your go-to if you want to spray paint Styrofoam. Krylon’s Short Cuts spray paint comes in a wide range of colors, offers a high gloss finish, and is quick-drying. The aerosol can is a bit smaller than the regular spray paint cans so this is more suitable for smaller projects.
- Fast-drying, acid-free spray paint with a high-gloss finish
- Coordinates with Krylon's Short Cuts brush-on paints and pens
- For wood, metal, wicker, Styrofoam, and much more
PROS
- Quick-drying
- Wide range of colors
- Convenient application
- Durable finish
- Good coverage
CONS
- Does not come in full-size cans
- Chrome color appears dull
- Not the cheapest option
A Quick Overview of Styrofoam Paints
| Acrylic Paint | Tempera Paint | Spray Paint | |
| Availability
| All craft stores, a wide range of colors
| Most craft stores, smaller range of colors
| Most craft stores, only certain brands |
| Application | Brush on
| Brush on | Aerosol |
| Adherence | Excellent, water-resistant when dry
| Excellent, but not water-resistant
| Excellent
|
| Drying times
| 20-30 minutes | 5-10 minutes | 15 minutes |
| Durability | May disintegrate Styrofoam over time
| Exposure to water will damage paintwork | Long-lasting |
What to Keep in Mind When Painting Styrofoam
When it comes to painting surfaces, Styrofoam is a different animal. It is important to understand this material and to be aware of its pitfalls before jumping right in with any old paint in your craft cupboard. Certain types of supplies and methods are helpful for getting around these pitfalls and for creating a successful painted Styrofoam project. Below is some background information as well as some guidelines to keep in mind when you are painting your Styrofoam object.
What Is Styrofoam?
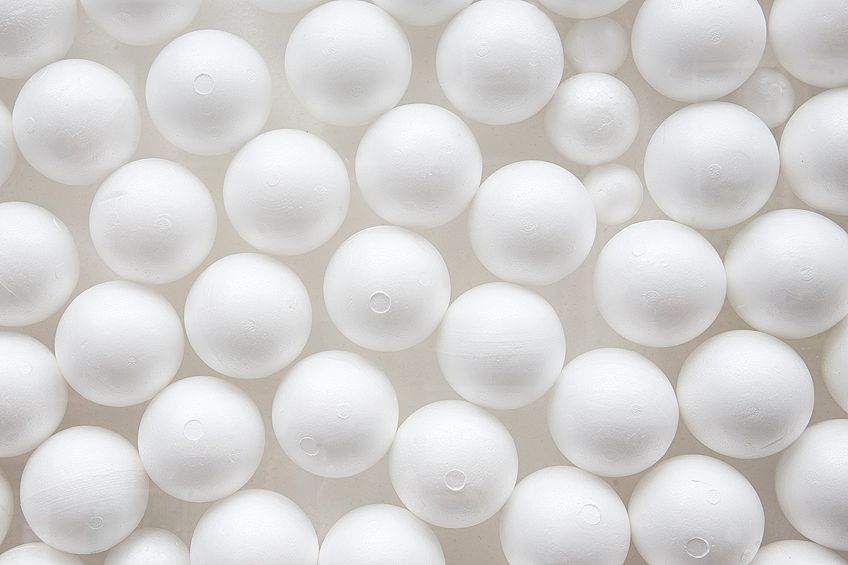
Styrofoam is a lightweight, delicate, and versatile material mainly used for packaging and insulation. The real name for this substance is expanded polystyrene (or EPS). Styrofoam is just a brand name (but, for the sake of consistency and clarity, we will use it interchangeably with polystyrene in this article). It is important to note that polystyrene is a petroleum-based plastic and this is what makes it a difficult surface on which to paint
What Are the Difficulties of Painting Styrofoam?
Because of its composition, any paint containing solvents used on Styrofoam (or polystyrene) will cause it to dissolve and lose its shape. Solvents include benzene, tetrahydrofuran, acetone, and toluene and should be avoided when working with Styrofoam. Polystyrene is very porous and does not have a smooth surface, so it is difficult to achieve full coverage and an even finish when painting this material. Multiple layers of paint using certain types of brushes and techniques help to deal with this issue and will be detailed below.
Brushes
Since Styrofoam is porous, your paint will not cover the surface even if you simply apply it as you would on an ordinary surface. With the right brush and a gentle “scrubbing” action, you will be able to work the paint into every little crevice and crack in the material. The brushes that can be used for this purpose are:
- Stenciling Brush: The short bristles are well suiting to painting on an uneven surface
- Foam Brush: Popular for painting on Styrofoam, these come in many different sizes and are great for achieving good coverage on unusually shaped objects
- Roller Brush: Also made of foam, these are great for covering larger Styrofoam surfaces.
- Standard Paintbrush: This ensures a smoother finish when applying subsequent layers.
Layers
To achieve that perfect, even finish, it is best to add one or two more layers of paint. Just make sure that your paint layer has completely dried before adding the next one. Keep adding layers of paint until you are fully satisfied with the desired finish.
Sealing Before Painting
Applying a sealant such as plaster of Paris or Mod Podge to your Styrofoam object is also great for achieving that solid, smooth surface to cover with paint. A well-applied coat of the appropriate sealant is also great for protecting the polystyrene if you want to use another type of paint that contains corrosive substances.

How to Seal Styrofoam
If you want to use paint that is not foam-safe, then priming your Styrofoam surface with a good sealant is essential. A foam finishing product like Smooth Finish is a good option for this purpose and will not cause cracking.
- Using a brush, putty knife, or spatula, apply a thin, even layer of Smooth Finish to your object, ensuring that every corner, edge, and crevice is covered.
- Wait an hour or two for this coat to dry and then sand down any rough patches, which will probably be minimal with this product.
- Repeat this process by adding a second layer.
- Once completely dry (and sanded if need be), you will have a perfectly sealed and smoothed protective coat onto which you can now apply your non-foam-safe paint.
Spray Painting Styrofoam
Painting Styrofoam with a paint sprayer or aerosol is also a great method for achieving good coverage. Once again, just make sure that the substance you use is specifically designed for painting on Styrofoam.
Sealing After Painting
Once you have finished painting your Styrofoam object and it is completely dry, it may be necessary to add a securing layer of varnish or sealant to the painted surface. Whether or not you choose to varnish, the type of varnish and the type of finish you choose depends on the purpose and location of the item as well as your personal preference.
You have a few options here which include a decoupage medium, a polyurethane sealer, or a spray paint coating. Craft varnishes and sealants come in a variety of different finishes such as flat, matte, satin, gloss, and lacquer. If your project is going to be outdoors or exposed to a lot of sunlight, you may want to use a UV-resistant sealer which will help to keep your paint colors from fading.
Painting Styrofoam: A Basic Tutorial
There is an array of different craft projects that use Styrofoam. These range from home and party decorations, to school assignments, to model building and theatre backdrops. The possibilities are endless and will almost always involve painting polystyrene. Some Styrofoam shapes are trickier to paint than others. Painting a foam letter is one example, and below is a guide to assist you with any project of a similar nature.
Step 1: Gather Your Materials
- Newspaper – for protecting your work surface.
- Polystyrene letters – perhaps choose your child’s initials for his or her bedroom door.
- Paint tray or paper plate – for dipping your paintbrushes.
- Latex paint – in the color of your choice
- Latex primer – for smoothing out your paint surface
- Foam brushes – in different sizes depending on the size and shape of your letters
Step 2: Cover Your Work Area
Cover your work surface with newspaper and stick it down with tape. Depending on the size of your project and how messy you work, you may also want to put down a drop cloth on the floor to protect your carpet or tiles. Latex paint spills can be removed quite easily but cleaning is a chore that takes the fun out of the experience so rather prepare for the spills instead.
Step 3: Apply Your Primer
This is optional but recommended in order to ensure smooth application of your paint and the best coverage of the polystyrene surface. When applying the primer, work methodically so that you do not miss any spots. Start with the edges of your Styrofoam letter first and then, once covered and dried, move on to the front and back surfaces.
Use the appropriate size foam brush to apply the primer, covering the entire surface of the letter including all the corners and difficult-to-reach areas. One coat of primer will be sufficient and will be dry to touch in about 30 minutes and ready for the next coat in an hour.
Step 4: Add Your Color
Now for the fun part. Once the primer has dried completely, apply your chosen color using fresh foam brushes. Once again, paint the inside and outside edges first and then, when dry, move on to the front and back surfaces. Apply the paint evenly to ensure a smooth finish. Wait an hour before you apply the next coat. For the best coverage, apply two or three coats of your paint color.
Step 5: Add a Protective Sealant or Varnish
Of course, sealing or varnishing with a securing layer is optional but will help to protect and also adds a lovely finish to the overall look of your completed Styrofoam lettering project. Make sure that your project is completely dry and then add your sealer in a thin, even coat, using a fresh foam brush or aerosol to cover the entire surface of the object. The drying time will depend on the type of sealer you choose.
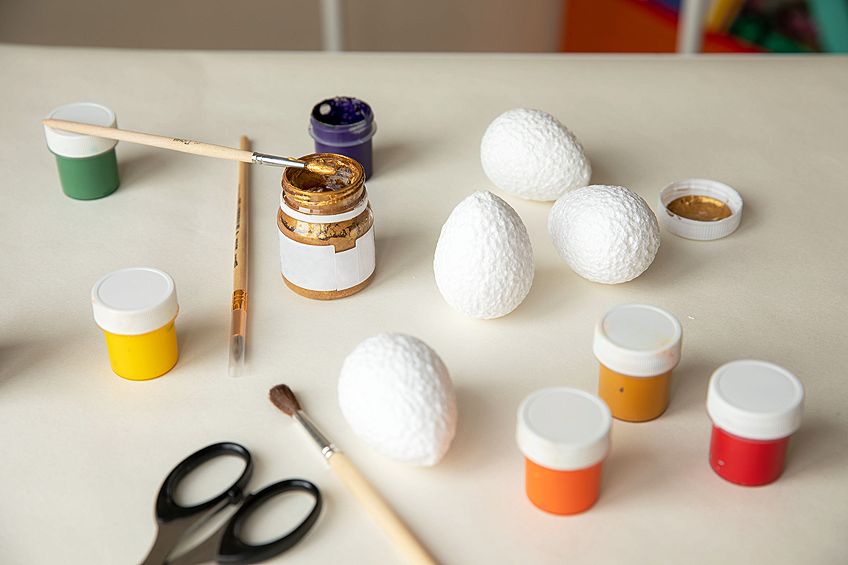
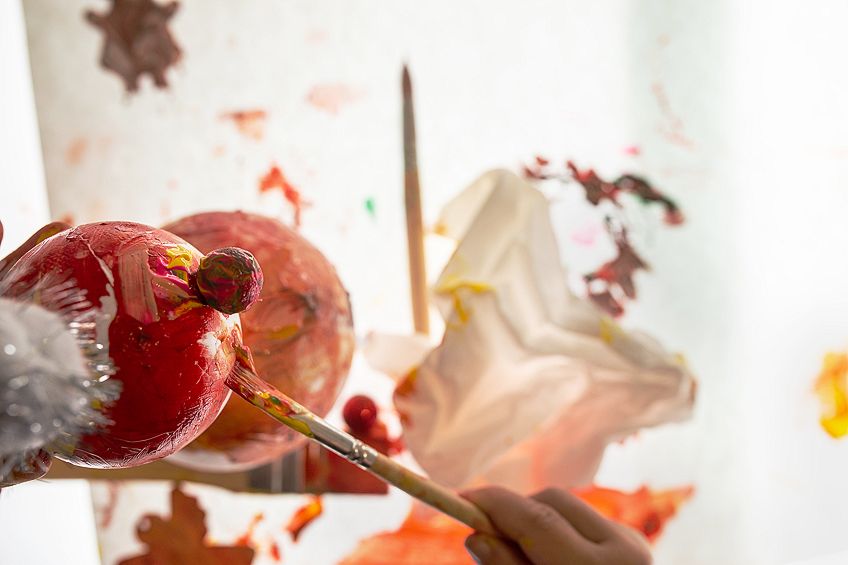
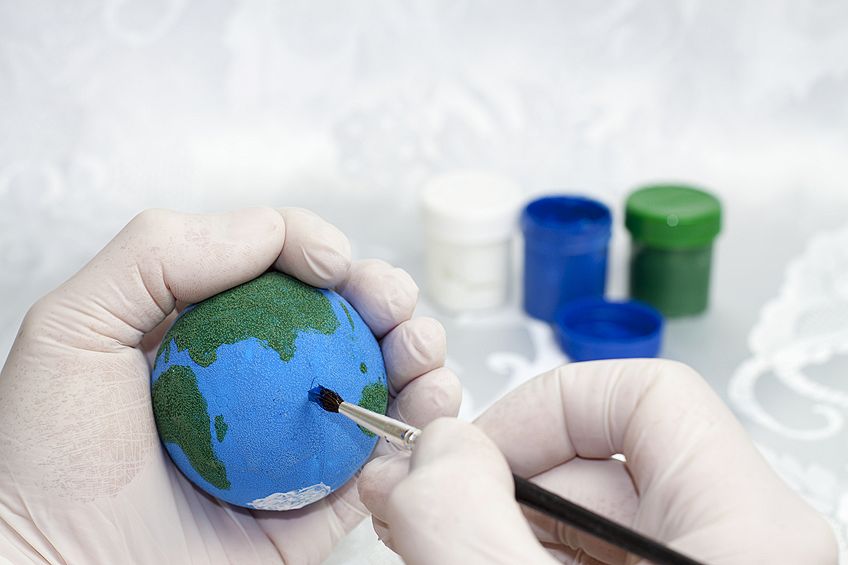
How to Paint Styrofoam Balls
Styrofoam Balls and certain other 3D objects can be difficult to paint without getting your hands full of paint too! One way to avoid this is to insert a toothpick, skewer, or dowel stick into your Styrofoam object and this will make the painting process a much more pleasant and less messy experience. Another trick is to cut toilet paper rolls into smaller pieces and use them to stand your Styrofoam balls on your work surface, keeping them steady while painting. Once the paint is dry, turn the ball over on the stand and work on the other side.
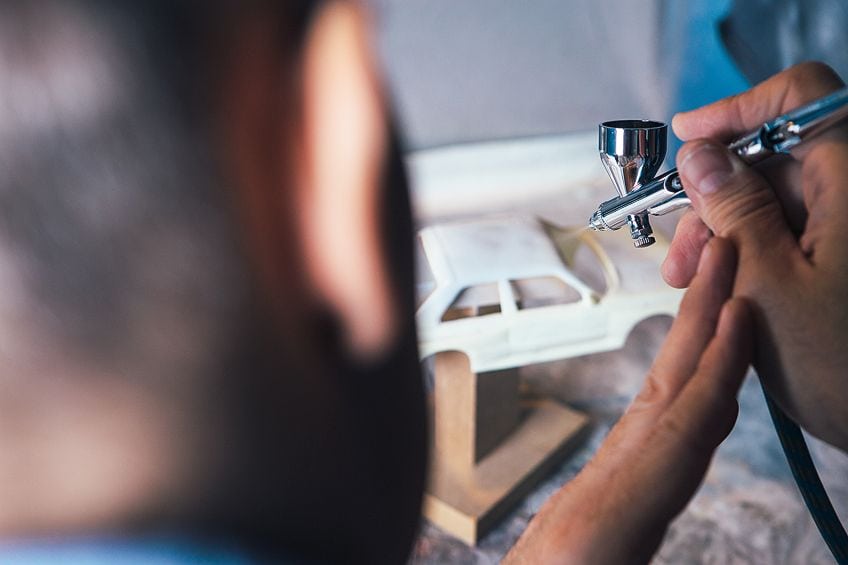
How to Paint Styrofoam with a Paint Sprayer
Using a paint sprayer is ideal for applying paint to a large surface area, for example, a backdrop, display, or stage prop. There are different types of paint sprayers such as airbrushes and spray guns. Airbrushes provide for easy application and a high degree of control. They create even coatings and are great for layering, blending, and, particularly, attending to those fine details. Spray guns also offer a smooth, even finish and are well suited for covering large surface areas. This brief guide will assist you in using a spray gun to paint a Styrofoam surface.
Step 1: Find a Work Area and Gather Your Supplies
- Well-ventilated workspace
- Newspaper and drop cloth for spillages
- Long-sleeved top and pants
- Nitrile gloves, safety glasses, and a respirator
- Paint
- Paint thinner
- Paint strainer/cheesecloth
- Spray gun and holder
- Stirring stick
- Compressor
- Air hose
- Cleaning tools
Step 2: Safety Checks and Precautions
It is important to take care of your health no matter what type of paint you are using. Make sure that you check the label of the paint can and, if possible, the MDS (Material Safety Data Sheet) and follow all relevant instructions.
As mentioned in the supply list above, safety glasses and a respirator are essential for protecting your eyes and lungs from harmful paint fumes and residue. If you want to avoid having to scrub your skin to remove paint marks, nitrile gloves and protective clothing are a must.
Step 3: Set Up Your Spray Gun
The most important features of a spray gun are the fluid needle, fluid knob, fluid tip, air pressure knob, air cap, and fan knob. The spray gun to which this tutorial refers is called a cup gun or gravity feed. This is because there is a cup on top of the gun that holds the paint and gravity feeds the paint into the gun. Do not neglect reading the instructions for your spray gun (or any other paint sprayer for that matter).
This gun must then be attached to an air hose which is connected to an air compressor. Air pressure, measured in pounds per square inch (psi), can then be set according to the recommendations on your paint can and gun instructions. This will usually be between 40 and 80 psi depending on the type of paint you are using. You will then need to set your fan or spreader to the width required for your paint surface. The larger your paint surface, the wider the fan and vice versa. The psi then needs to be adjusted accordingly.
Step 4: Thin Down Your Paint
All paints being used in a spray gun need to be thinned. Any paint can be used in a spray gun but stick with acrylic or latex when painting Styrofoam. You can simply use water to thin down acrylic or latex. The consistency required for spray painting here is that of milk. You can test this by dipping the stir stick and holding it up. If three drops come off the stick as you lift it, your paint should be thin enough to spray. Just be sure not to over-dilute the paint.
Step 5: Set up and Fill Your Paint Gun
Once you have thinned your paint to the right consistency, you can pour it into the gun. It is essential to use a paint strainer while doing this because, while the paint may seem smooth and clean, there may still be small bits of dried paint, dirt, and dust that have fallen into the paint. Anything like this will clog your spray gun and this is something you want to avoid.
To fill your paint gun, place it in a gun holder. Using a paint strainer or a piece of cheesecloth, pour your paint into the cup on top of the gun. To prevent spilling avoid filling the cup to the brim. You also do not want your arm to get too tired while painting with a heavy spray gun. Replace the cup lid and make sure this is tight or fasten securely.
The next thing to do regarding setup is to turn on the compressor. It may be helpful to add a coupler as well as a “quick connect”, which is great for quickly connecting and disconnecting the air hose to your gun. Once the compressor is on, set the psi to the required level and ensure that there are no air leaks in the gun or hose.
Step 6: Test Before You Spray
It is always a good idea to do a preliminary spray test on a spare piece of Styrofoam. This will give you a chance to adjust the settings of your gun and to check if your paint is at the right consistency and spraying evenly.
Step 7: Start Painting
Once you are satisfied with your test spray, you can move onto the real project. For even coverage, hold the gun upright, at a right angle to and around 5 to 8 inches (12 to 20 cm) away from the Styrofoam surface. It is best to start at the top of your object and work your way down in horizontal planes from left to right. Slightly release the trigger after every “row” and depress it again at the start of the next “row”.
This process does take some time to master, but with patience and practice, you will eventually start achieving that smooth, even coverage you require for your Styrofoam projects.
Tips and Tricks for Painting Styrofoam
- Painting with kids? Stick with tempera paint for school projects and kids’ crafts – it dries quicker.
- Use painter’s tape to cover areas of your Styrofoam object that you do not want to be painted.
- Avoid metallic-colored paint if you plan to stick other objects or decorations onto your painted surface. The pigments in metallic colors prevent the adhesion of glue products.
- To prevent flaking and minimize drying times, apply your paint in thin layers and build up the coverage gradually.
- Before applying your paint, lightly sand the surface of your Styrofoam object to create a smooth finish.
- To refine your painting technique, try experimenting on a few discarded pieces of styrofoam before moving on to your actual project. Following this tip is also helpful for testing different substances on polystyrene if you are unsure about its compatibility with foam.
- Practice on old or discarded Styrofoam objects when painting with a paint sprayer. This will help you to master the technique before you move onto your real project.
- Apply the paint in both columns and rows when using a paint sprayer to achieve full coverage.
Whether you are a conscious beginner doing preliminary research or you have had a bad Styrofoam painting experience and are now searching for solutions, we sincerely hope that this article has helped you. Despite some of the problems with painting on Styrofoam, this material remains a craft staple in many homes, classrooms, and studios. So do not be put off or discouraged! As has been demonstrated above, painting on Styrofoam is not only possible but, with the right paints and processes, it can be a fun and rewarding experience.
Frequently Asked Questions
Can I Use Sharpie on Styrofoam?
If your Sharpies are oil-based, you can use them on Styrofoam. This medium is suitable for a variety of surfaces including foam, and is ideal for small Styrofoam decorating projects like creating fun drawings on polystyrene cups. No preparation, priming, sealing, or drying times are needed.
What Is the Best Way to Paint Styrofoam?
Acrylic or water-based paints such as poster paints are the best options for painting polystyrene objects. These paints provide thick lasting coverage for any Styrofoam project. Another interesting and pretty effective way to color Styrofoam is to mix a few drops of food coloring into a tablespoon or two of white glue (depending on the size of your object) and apply the mixture evenly to the polystyrene surface.
How Can I Waterproof Styrofoam?
If you have used acrylic paint for your Styrofoam project, then it will already be waterproof. However, you may have used water-based paint or your project is going to be used outdoors and you want further protection from the elements. In this case, a clear sealant like polyurethane will do the trick.

Larissa Meyer is a 32-year-old mother from Michigan and creative spirit since childhood. Her passion for painting and drawing has led her to an education as an illustrator and a career as a freelance graphic designer. She has a Bachelor of Fine Arts in Illustration and a degree in Graphic Design. Larissa is a talented artist who is able to master a wide range of styles and techniques to bring her artistic vision to life. Her greatest passion is currently fluid painting and epoxy resin art. As a mom of two kids, Larissa also understands the importance of fostering creativity in early childhood. She uses her experience and knowledge to help other parents inspire their children and develop their artistic skills as well.
Learn all about Larissa Meyer and Fluid Painting.