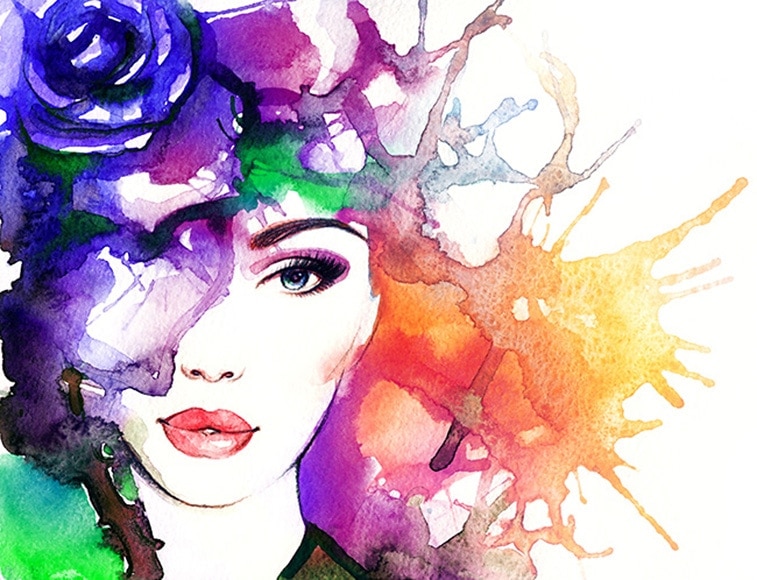
How to Watercolor – Helpful Guide to Watercolor Painting
This post may contain affiliate links. We may earn a commission from purchases made through them, at no additional cost to you.
Watercolor painting is particularly suitable for impatient people, as watercolor paintings are created relatively quickly. After only a short time results are visible, which increases your motivation. Also, you need only a few drawing materials and accessories to paint watercolors and can start right away without much previous knowledge. Watercolors also dry quickly.
What is Watercolor Painting?
Also known as aquarelle, a term derived from the Latin word “Aqua”, meaning water. In addition to water, watercolor paint is needed, a glazing paint composed of color pigments and a binding agent. This is diluted with water and applied with a brush to the painting ground, usually watercolor paper. In contrast to other painting techniques, such as acrylic or oil painting, the background remains visible when painting watercolors. You can also use this to paint different shades of color on top of each other to create interesting effects.
Characteristics and Features of Watercolor
Watercolor paint consists of color pigments and one or more binders. Usually, the binder is gum arabic, which is almost transparent and water-soluble. The watercolors are not stretched, but processed pure. This provides for a very high and intensive luminosity of the paintings, which is typical for this art form. You can also mix different watercolor colors as you wish, and thus obtain all color tones with the primary colors red, blue, and yellow. For the sake of simplicity and more comfort, we recommend that you purchase a slightly larger paint box with additional colors.
Since there is no watercolor in white, you have to remind yourself to leave open spaces on the paper that should remain white. This technique in painting is called “negative technique” and needs some practice at the beginning.
A big advantage of watercolors is their luminosity and intensity. Another positive is the short drying time of watercolor paintings. In addition, watercolor painting is well suited for beginners, since it is relatively easy to learn. You have probably already learned the basics in your school days, where you have already painted with watercolors. However, once watercolor paint is applied, there is almost no possibility of correction. Therefore, careful application is especially important for this painting technique.
Materials Needed for Watercolor Painting
For painting watercolor art you don’t need many materials, but you should, as always, use high-quality products, especially for the brushes. This way you avoid frustration and can give your creativity free rein.
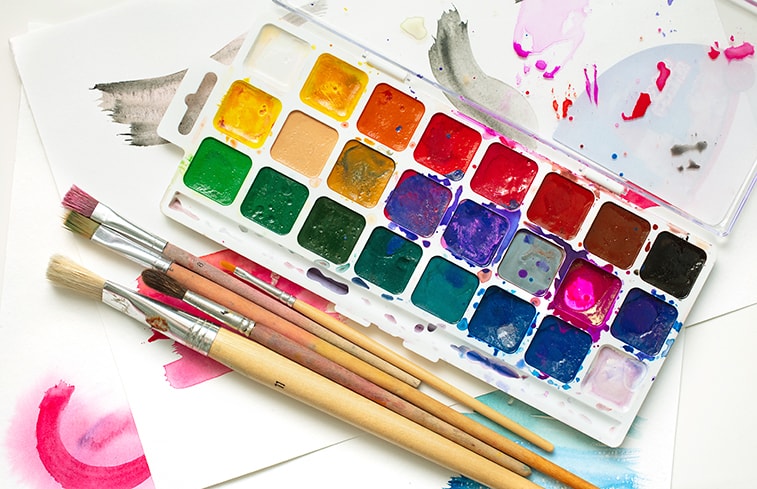
Choosing the Right Watercolor
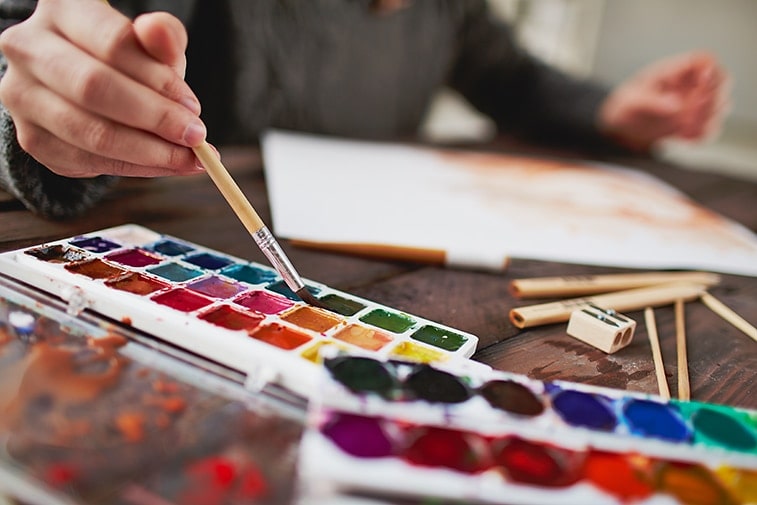
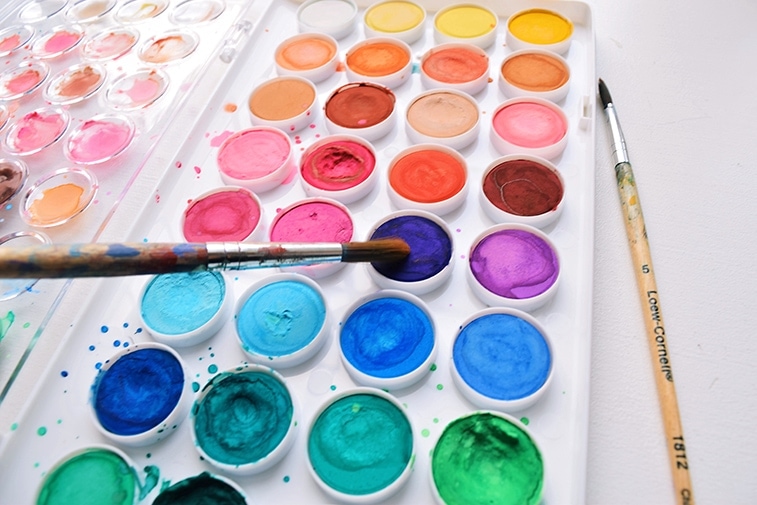
There is a large selection of watercolors. The most practical way is to use a watercolor paint box, which contains different colors and which you can close and store after use. For beginners in watercolor painting, cheap watercolors are also suitable, as they already have a good color density. For advanced watercolor artists, high-quality watercolors are recommended so that the works of art have the appropriate radiance and expressiveness.
You can decide for yourself whether you prefer to use a watercolor box, or colors from a tube. You can use it to create your own color spectrum. Both the cup colors and the tube colors are sold individually by leading manufacturers.
Most paint tubes and watercolor boxes can be purchased in different qualities. As with acrylic paints, a distinction is often made between watercolors for beginners and advanced painters.
Artist paint, the color recommended for advanced artists, is usually better pigmented and available in a wider range of colors. Beginner paints, on the other hand, which are often used by students, consist of a higher proportion of binding agents, the cheaper component of the paint.
For watercolor painting for beginners, watercolors can be used without hesitation. These colors are advertised for students and beginners and are therefore cheaper than the colors for advanced painters. But you can also invest a little more money as a beginner and buy a more durable and stronger color. This will give you a better color quality and maybe the higher quality color can be processed better.
following…
Our Recommendation: Schmincke Academy Watercolors
The Schminke Academy Watercolors are probably the highest quality watercolors, made in Germany. These excellent colors have been produced by the German company for many years and their status has not changed since.
The watercolors are excellent in terms of luminosity, pigmentation, and processing. The special thing about Schmincke’s sets is that they are equipped with half and whole cups, which are positioned in rails. The difference between the two cups is that a half cup is exactly half as wide as a whole cup. This has the advantage that you can put together your individual paintbox over time. Colors that you use more often can be taken up as a full cup, and colors that you need less often as a half cup. In this way, you can make the best use of the available space in the paintbox and have your own, individual color palette.
As a start, you can choose a box with half cups and get familiar with the colors of Schmincke. Later you can adjust your color spectrum even further. Schmincke even offers painting boxes that already have a full and an empty bar, so that you can add individual colors directly.
In accordance with their quality, the price of Schmincke’s watercolors is in the upper segment. The colors produced in Germany are just the right thing for you if you are already a little advanced in painting watercolors, and want to make full use of the possibilities of this art form.
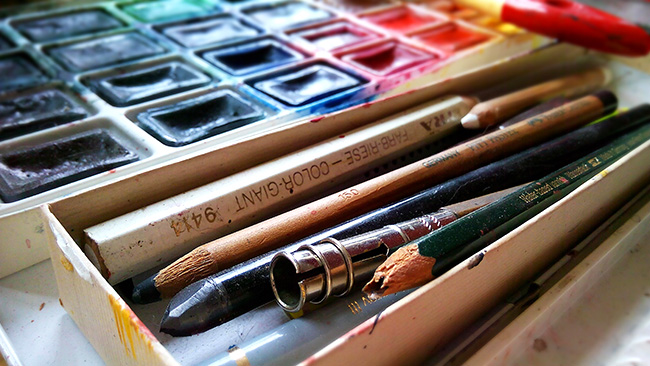
Watercolor Pencils
With watercolor pencils, you combine the accuracy and comfort of a colored pencil with the result of a brush. This is a major advantage of watercolor pencils. Watercolor pencils are especially useful for drawing very fine lines and adding accents to your watercolor paintings. You can find helpful information about watercolor pencils, their use and techniques in our “Watercolor Pencil Instructions”.
following…
Watercolor Brush Pen
Brush pens are the perfect addition to your collection. For a direct and exact application of the colors, the Watercolor Brush Pen has been around for a while. The Brush Pen can be compared to a felt-tip pen with a brush on the front. This enables you to draw lines and accents precisely, which you can then change further with water.
following…
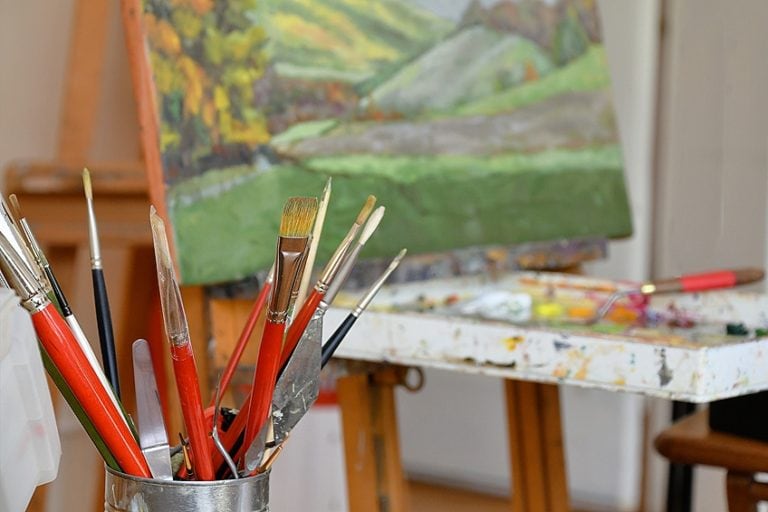
The Right Brushes for Watercolor Painting
It’s especially important, for watercolor painting, to have high-quality brushes, because they are your main tool. The better the brushes are, the more fun you have painting. Red sable brushes have proven to be particularly good, as they can absorb a lot of water and paint and allow you to paint accurately.
To keep your brushes clean for as long as possible, you should always keep them clean. To clean them, wash them out with lukewarm water until they foam and rinse them with cool, clear water. To prevent the fine brush hairs from breaking, place them upside down in a glass to dry.
We recommend the following basic selection of brushes:
- Small round brush: suitable for setting details
- Medium round brush: For drawing broad strokes and setting sharp outlines, points and lines
- Medium flat brush: For even washing and drawing strong lines
- Washing brush (flat washing brush): Well suited for washing out color areas and for corrections due to its high absorbency
following…
following…
following…
Watercolor Paper
The paper on which you paint your watercolor paintings is also important. You should use strong paper, because thin paper curls quickly. This will cause the paint to collect in puddles. The paper thickness should therefore be from 200 g/m² – 300 g/m². It is also advisable to use a watercolor block glued all around so that the following sheets don’t accidentally get ink on them. This will also prevent the paper from slipping when you paint.
For beginner watercolor painters, an inexpensive product of decent quality is quite sufficient. It does not have to be the most expensive or best paper available on the market. As soon as you have some experience with watercolor painting, you can experiment with different backgrounds and also test papers of higher price ranges.
If you have planned a particularly important work of art, you should try and use the highest quality. This means that the paper must be acid-free, made of cotton, and weigh at least 300 g/m². The texture of the surface should depend on the motif and your painting style. For the more important watercolor paintings, do not use painting blocks where it is difficult to separate the individual sheets.
It is worthwhile to experiment with different surfaces and thus improve your art. You will get to know your own painting style and learn what it is best suited to. These experiences will enable you to buy the watercolor paper that suits you best.
following…
following…
following…
Our Recommendation: Willingood Watercolor Paper
The Willingood watercolor paper is a good and inexpensive paper of decent quality. For example, the A3 block with 300 g/m², 30 sheets, and medium grain is readily available for around 17.50 Euro.
The watercolor paper is available in smooth and rough. The front side of each sheet has a medium-grained texture and is therefore ideal for practically all watercolor techniques. The back of the sheet is always smooth and is suitable for hand-lettering and brush lettering, for example. The cold-pressed paper is chlorine- and acid-free, age-resistant, pH-neutral, made of 100% cotton, and without optical brighteners.
If you’re looking for a watercolor paper that’s good for practice and inexpensive, Willingood’s watercolor paper is definitely the right choice.
Watercolor Accessories and Aids
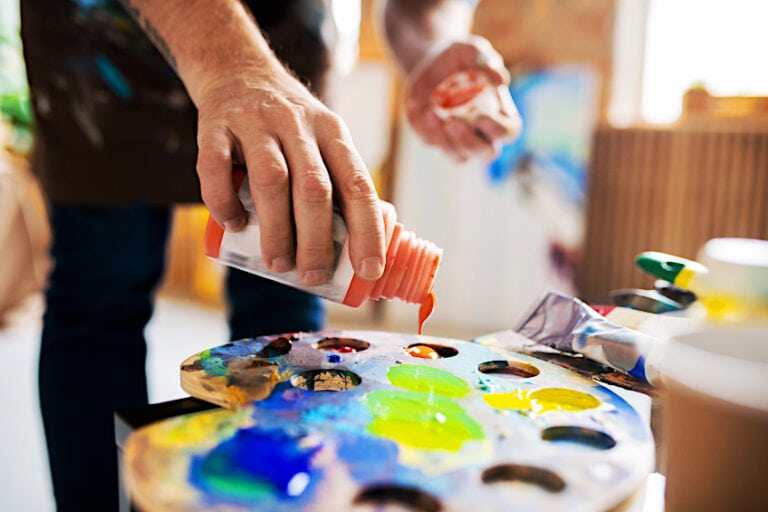
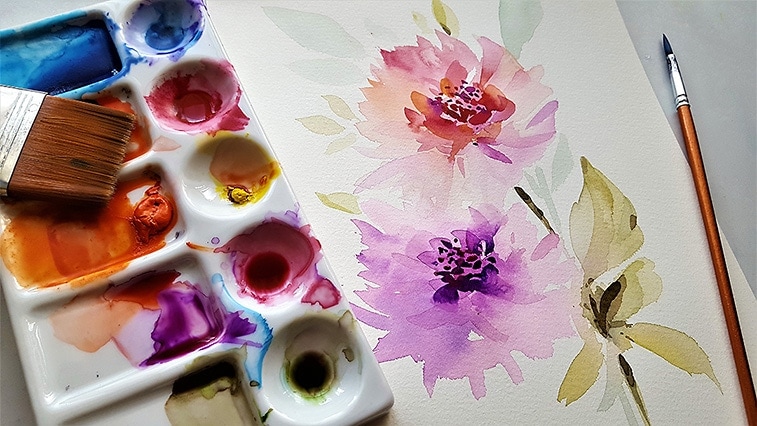
Color Palette
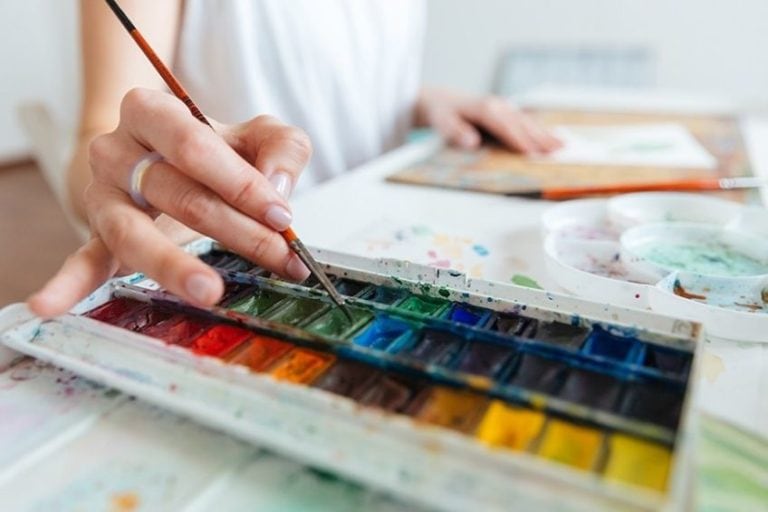
To mix the watercolor with water or to mix the shades, you need a color palette (plastic plate, simple white plate or ceramic tile). To mix the colors you need a flat area and at least six or eight small depressions for the mixed liquid colors. Each must be large enough to properly mix the colors.
In watercolor painting you should, in contrast to acrylic or oil painting, put a higher value on your palette. Since the paint is quite liquid and is absorbed quickly, a cardboard strip is not suitable as a substitute for a palette.
Effects with a Toothbrush and Natural Sponge
There is a wide variety of household items that can be used as creative painting utensils. With a toothbrush, you can make splashes of color. A natural sponge is good for creating natural representations of trees and leaves.
Water Glass for Cleaning and Wetting
You will need several water glasses. One for wetting the surface and mixing the colors, and another one to clean your brushes.
Paper Towels for Dabbing
To remove water or excess paint from the brush, you should have a soft cotton cloth handy. Paper kitchen towels also work well, and are particularly absorbent. They can also be used to dab large amounts of liquid directly from the painting. You can make corrections or use the cloth to create your own effects.
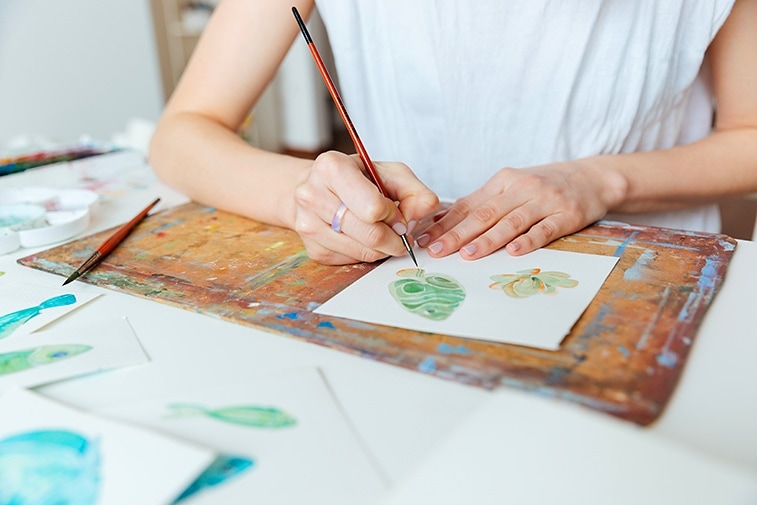
How to Paint with Watercolors – Watercolor for Beginners
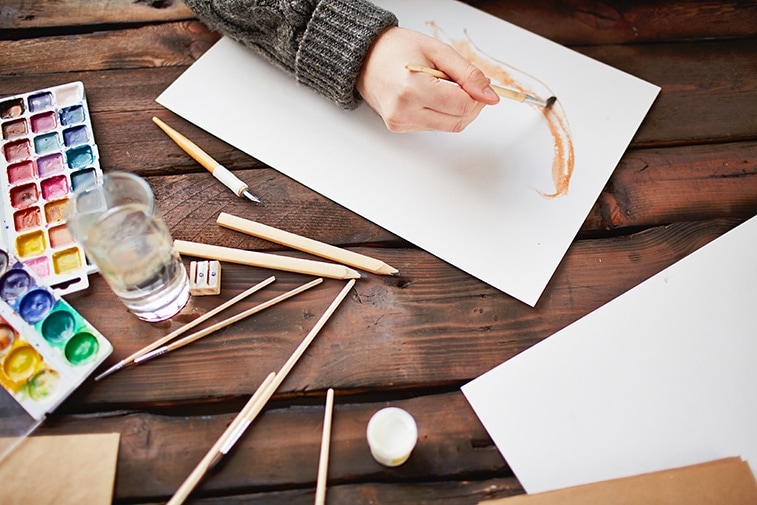
Preparation of the Materials
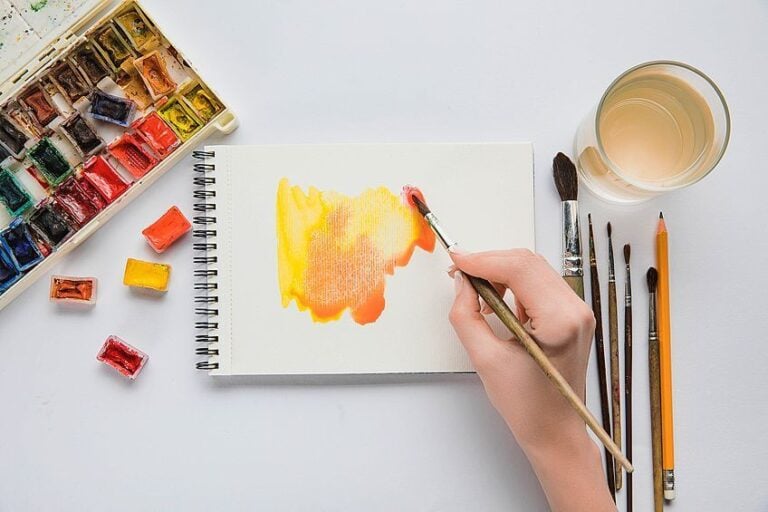
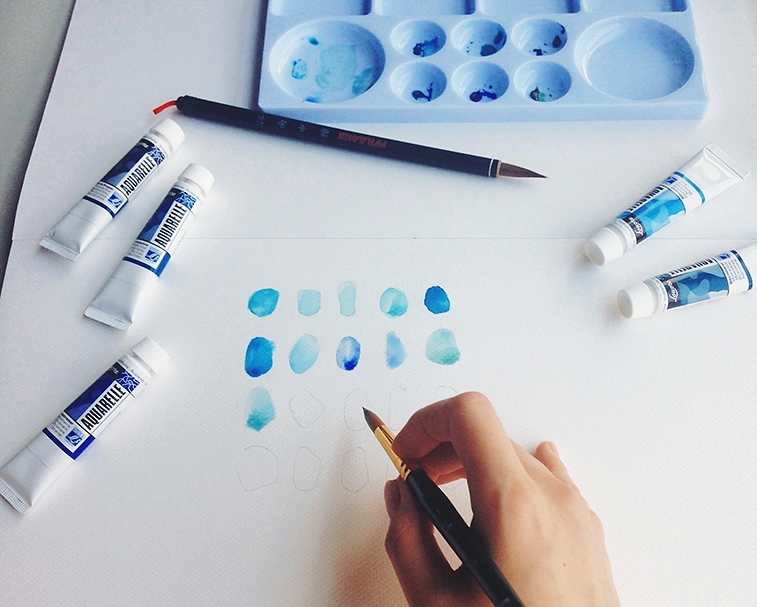
Create different shades of your color (basic colors + pink). The more you dilute the color with water, the paler and more shimmering the result will be.
Then you can test the dilution of the colors and the brush application on the paper. To do this, prepare two glasses of water – one for wetting and one for cleaning – and a kitchen roll.
Paint your Background and First Layer of Paint
First, paint your motif on the watercolor paper and mark where the colored areas or recesses are to go.
Then take a flat brush to moisten the paper evenly with clear water, and then use a large brush to apply very fluid variations of your three main colors to the wet surface. The application of, in particular, lavender paint ensures that the colored areas run smoothly into each other.
Mixing the Color Shades
As soon as the first layer of paint is dry, you can dab over the existing paint in places with a darker shade (using less water). The colors become stronger in places where you overlap or juxtapose several areas of the same color.
You can repeat this process as often as you like (e.g. on the flower petals). You can create soft transitions by painting on the still-wet paint surface. For sharp edges, it’s best to wait until the surface has dried.
Intensify Contours and Colors
Finally, you can remove the color pigment with a little water. Excess paint can be dabbed off with a paper towel. Then draw deliberate lines on the already dried paper and set color-intensive accents (e.g. flower hearts and leaf edges).
Watercolor Technique Overview
There are two main painting techniques for watercolor painting, which we would like to describe here: the glaze and the wash. Both techniques use the properties of water. Because of the drying time of a few minutes you can apply wet in wet colors (washing). When the paint is dry, you can paint over the layer of paint that is already on the paper (glazing). Granulating is a less frequently used technique, which we will explain further below.
Glazing
When glazing, you must first wait until the paint has dried. This only takes a few minutes. With one coat of paint, you will get bright colors. By glazing, you can then create another dimension in the form of another layer of paint. In this way, you get different light and dark shades. To prevent the lower layer of paint from coming off, you should make sure that you apply the extra layer of paint relatively quickly. This technique of glazing is used very often and is characteristic of watercolor painting.
Washing
The drying time is used for washing. Once you applied the watercolor paint diluted with water, you have a few minutes during which the paint is still wet. Use this time to paint into the still-wet paint – this is called washing. During this time, the paint applications mix and run into each other. The more liquid the paint application is, the more evenly the colors are mixed. The special thing about this is that the second layer of paint remains within the previously painted, still moist area. With this painting technique of washing, you can create areas of color and color structures in which the colors melt into each other. To further shape the still-wet paint, you can not only use brushes, but also other tools like straws or hole blowers.
You can also use the washing technique to make the same color run from opaque to transparent. This so-called gradient technique is somewhat more demanding. You wet the desired area with water and then apply some watercolor on one side. Then carefully draw it to the other side with a fan brush. Excess paint can easily be absorbed with a little kitchen paper.
Granulation
Granulation is a special technique that is only used very selectively. The aim is to use the structure of the paper for design purposes. Therefore the pigment must not penetrate into the deep structures of the paper. This means that the raised areas of the paper contain color and the deeper areas do not.
You can use this technique for example for painting walls, where the structure of the paper emphasizes the wall look. Granulation is also very suitable for reflective water surfaces.

With this painting technique, the watercolor paper must be structured accordingly. Soak your round brush in some paint and then pull it flat and with very light pressure over the paper. This way the paint is only applied to the raised areas of the paper, and the deeper areas remain white.
Wet-on-wet
The wet-on-wet technique is one of the most commonly used techniques in watercolor painting, but it is also most dreaded, because you have little control over the flow of the colors. But, this is exactly what makes watercolor painting so exciting and beautiful. This painting technique is also ideal for the development of your own creativity. From the resulting forms, painting elements can be worked out which were not planned before. To a certain degree, the color gradient can be controlled and influenced with enough experience. However, it takes some time and many failed attempts until this works.
For wet-on-wet watercolor painting, you first moisten the surface you want to paint wet-on-wet with a sponge or brush. The surface should not be too wet, so that no puddles are created, but only so moist that the entire surface shines. You can dab off excess water with a kitchen towel.
The longer you wait to apply the colors, the more the colors will run, and the wetter the paper, the more the ink runs. You can influence the color gradient a little by swaying the paper back and forth. You can dilute the colors with water or use them directly from the cup/tube. The result will then be correspondingly delicate or intensive. You can dab or spread the colors with a large brush. You can also mix them in a separate bowl and then “pour” them onto the paper. As the paint runs, spontaneously disrupted structures appear. If the surface is very wet, the colors will flow into each other evenly without structure.
It is also possible to add a layer of paint to a still wet layer of paint, which has been applied to dry paper. You should consider that some pigments may almost displace others, depending on which colors are more or less dominant. You can learn this through experience and experimenting.
You can practice this technique by applying paint to various wet surfaces. This is the best way to find out how wet or dry the paper has to be to achieve the desired effect.
Moisten a clean piece of watercolor paper and let it dry for about half a minute. Then add a few drops of paint or paint lines with a brush onto the wet surface. Now watch how the colors run and flow. Experiment also by varying the amount of time between wetting the paper and applying the paint.
Swabbing Technique
Mix a light green color in a palette. Use less water and more paint, so that you get a thicker color. Now you can use a dry sponge (preferably a coarse-pored, natural sponge) to work into the paint and then carefully place it on the paper. Treetop structures are well suited to this technique. While waiting for the spotted area to dry, mix a little blue paint into the light green paint so that you get a darker green. Pick up the paint with the sponge and dab the paint back on some parts of the spotted treetop. This creates many different levels of brightness within the treetop, representing the light and shadow areas. To make the tree deeper, you can do this with several color gradations.
Finally, you can paint the trunk and branches into the tree. Be careful not to paint the trunk continuously, because the trunk is not completely visible in nature. It is best to go outside and have a look at different trees. Pay attention to where the trunk and branches are visible and how the shadows are distributed. Of course, this is only the case with leafy trees, as with leafless trees you can always see the branches and twigs.
You can also use a hard-bristle brush for dabbing, which is already a bit worn out and where the bristles are no longer so close together. The paint should be as thick as possible or be dabbed on “dry”.
Negative Technique
In watercolor painting, negative painting is when bright areas are left out during the painting process, which leads around a still imaginary or pencil-drawn object. In most cases, a color surface is first painted wet-on-wet in delicate colors and, after drying, a certain motif is then highlighted wet-on-dry. This is done by painting the surrounding area in darker colors. Negative objects often arise spontaneously during the painting process and create an interesting optical effect. If you lay several negative layers on top of each other or one after the other, a 3D-like effect can even be created, which gives your painting an exciting eye-catcher. However, this technique is not easy to learn, because you have to think upside down.
Wash-out Technique
For the wash-out technique, you first create a surface in any color. You then take a clean and dry brush and lift the paint off the paper in some places. If the paint is still very wet, you have to repeat this a few times on the same spot, otherwise the paint will flow from the adjacent area.
You can also wait until the paper has dried and then wash out the paint. However, this is much more difficult than in the wet state and you will need a wet brush with which you can dissolve the paint. Some special papers (mostly cold-pressed, fine-grained papers) favor the wash-out technique, whereas other papers (many satin or handmade papers without surface sizing) make wash-out almost impossible.
Most of the time, it is not possible to remove the ink completely, since the paper-white is usually not recovered. Some pigments can be removed better than others.
Creating Three-dimensional Objects with Structure Paste
If you want to spice up your watercolor painting with three-dimensional, structure-giving effects, you can use a structure paste. The structure paste is available as fine grain and coarse grain. The fine grain is good for forming petals and generally for rather smooth structures. The coarse grain, on the other hand, is often used for beach scenes or coarse structures like tree bark. The structure paste is applied with an artist’s spatula to the desired area on the canvas or watercolor paper and left to dry. You can also sprinkle sand or shells before drying to further enhance the three-dimensionality. Depending on the motif you can also use small glass beads.
As soon as the structure paste is completely dry (a thicker application is best done overnight), you can paint over the paste with watercolor. As the paint on the structure paste is not very durable and can also stain if your hands are wet, you should always treat the finished painting with watercolor fixing spray. Furthermore, paintings with structure paste should not be framed behind glass, which is why watercolor paper is not very suitable as a painting ground. Instead, you can use a canvas, wooden palettes, or aquaboards primed with Aqua-Grund. Alternatively, you can glue (laminate) the watercolor paper onto canvas. In any case, a watercolor that is not behind glass must be treated with a fixative to protect it.
Spray Technique
For the spraying technique, mix a color of your choice and use lots of paint and water. Then pick up the paint with an old toothbrush. Stroke with your thumb over the bristles so that the paint sprays onto the paper (left). You can also use a thick bristle brush for this painting technique (right). Alternatively, you can use a brush soaked with paint and tap your finger with the style. The resulting speckles are a bit coarser and more uneven, but they are also an eye-catcher.
The appearance of the splashes changes depending on the consistency of the paint. Depending on whether you use a toothbrush, bristle brush or other brush, the size and shape of the splashes will also vary. If you want to create splashes on an area that is already colored, you must make sure that the color of the splashes is either opaque (impermeable) or darker than the background color, otherwise the splashes are hardly distinguishable from the background.
Scraping Technique
Sharp or pointed objects are used for the scraping technique. In this process, details are inserted into finished dried paintings, for example by scratching branches into the paper with the sharp edge of a razor or scalpel. You must be especially careful with this technique and do not press too hard, otherwise shreds of paper can be torn out or the paper is cut through completely. Take care not to start scratching until you are completely finished with your painting, as it is not possible to glaze over the scratched areas, or else you will create unsightly effects.
Structures with Salt
To create structures with salt, you first create an area of any size in one or more colors wet-on-wet. Then sprinkle either fine rock salt or coarse sea salt on part of the paint and wait a few minutes. Then sprinkle salt again on the other part where the paint has already dried a bit. Let everything dry completely. Once the paper is completely dry, you can sweep off the grains of salt with your hand or a bristle brush.
Now you can see that different structures have formed depending on how wet the paper was when salt was added. Salt attracts moisture and therefore also the ink that is bound in the water. This results in frayed structures around each grain of salt. The larger the grain of salt, the wetter the paper can be. Only a little water can be drawn from a relatively dry surface, which means that the structures are also smaller.
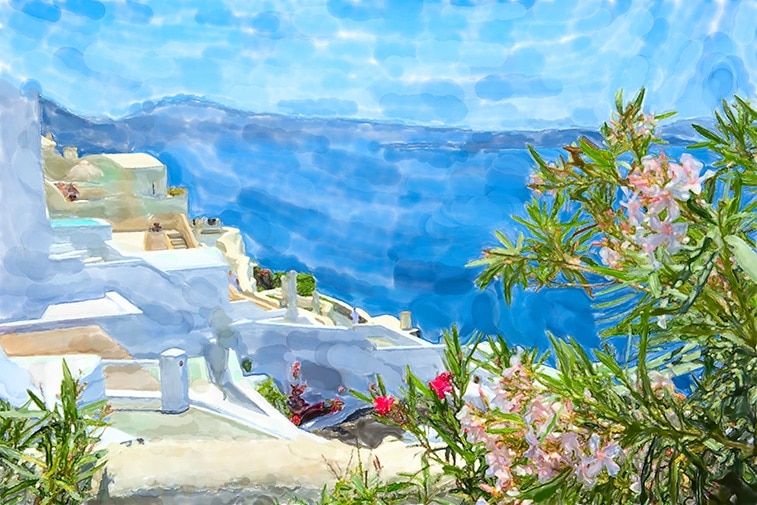
Watercolor Landscape Painting
Watercolor painting is very well suited for painting beautiful watercolor landscapes. For this purpose, it is helpful to first create a sketch in which you can develop, erase, and correct your composition. You should make the sketch on a separate paper, as the rough watercolor paper is not suitable for this and leaves unattractive traces. Once you are satisfied with your sketch, you can trace the image on the watercolor paper or transfer it using a grid.
The History of Watercolor Painting
Watercolor painting had its origin through the painter Albrecht Dürer around the year 1500. At that time, however, watercolors were used more for drafts, from which oil paintings were then created. Through artists such as William Turner, Christian Modersohn, and Emil Nolde, followed by Paul Cézanne, the reputation of this art form increased in the 18th century. Since then, painting watercolor paintings has been an established art form.
Learn to Paint Watercolors
A good eye for proportions and shapes is important for learning to paint watercolors. Therefore it is good if you already have some experience in drawing. As with all other painting techniques, patience and discipline are important to make progress and develop your own painting style. For beginners and continuing your learning, there are several online courses on the Internet, in addition to textbooks and e-books, which will help you to learn watercolor painting.
Watercolor Books and e-books
For learning watercolor painting it is worthwhile to use books or e-books because you can freely allocate your time for learning, and for relatively little money you can get a lot of knowledge, which you can read at any time. We recommend the following educational books:
Questions and Answers
Which Watercolors are Suitable for Beginners?
For a start, you can also use cheap watercolors because they already have a good color density. For advanced watercolor painting, it is worthwhile to invest in high-quality watercolor paints so that the work of art has the appropriate expressiveness and radiance.

Larissa Meyer is a 32-year-old mother from Michigan and creative spirit since childhood. Her passion for painting and drawing has led her to an education as an illustrator and a career as a freelance graphic designer. She has a Bachelor of Fine Arts in Illustration and a degree in Graphic Design. Larissa is a talented artist who is able to master a wide range of styles and techniques to bring her artistic vision to life. Her greatest passion is currently fluid painting and epoxy resin art. As a mom of two kids, Larissa also understands the importance of fostering creativity in early childhood. She uses her experience and knowledge to help other parents inspire their children and develop their artistic skills as well.
Learn all about Larissa Meyer and Fluid Painting.