Best Markers for Glass – A Guide to Decorative Writing on Glass
This post may contain affiliate links. We may earn a small commission from purchases made through them, at no additional cost to you.
From the post-modern aesthetic to the practical and pretty, glass markers are a popular choice for many different projects and purposes. Writing on glass surfaces as a creative outlet or practical solution is very popular for years. Learn everything about the best markers for glass surfaces and what to look out for when choosing them.
What to Look Out for When Buying Markers for Glass
It is important to note that not all markers are designed for glass and that not all glass markers are permanent. Your choice of marker will depend on the type of project you are working on, the purpose of the project, and the kind of finish you want. When deciding on a glass marker, the first thing you will look for is an indication on the label that it is indeed suitable for writing or drawing on glass. Here are a few other things to consider when choosing a glass marker.

Packaging: Look and Feel
If you are looking to gift someone with a glass marker set, then you will want to choose a product with attractive packaging. Wine glass markers are always a lovely wedding or housewarming gift, especially if your friend enjoys throwing dinner parties. Many wine glass marker sets make beautiful thoughtful gifts.
On a practical note, however, it is super important that the glass marker itself feels strong and sturdy. If the plastic casing looks flimsy it will probably break easily, spilling ink or paint everywhere – so keep this in mind to avoid a mess.
Price Range
Budget is always a key consideration when shopping for anything. Most glass markers are pretty affordable, but if you are looking for an extremely high-quality or artist-grade product, be prepared to pay a lot more. It is also good to remember that it usually works out cheaper to buy glass markers in a set instead of buying individual markers.
Handling
A good marker is easy to use. It should be easy to remove and replace the cap, easy and comfortable to hold, and (if non-permanent) easy to wash off. You can also check the product’s instructions to see whether there are special requirements like priming or shaking for even application. If this is not something you want to have to fuss with, then you will need to go a product with different ink/paint ingredients.

Shape and Size of Nib
There a variety of different marker tips that can be used to achieve different effects. A fine tip is suitable for thinner markings on smaller glass writing and decorating projects. A bullet tip is your standard for everyday purposes. Chisel-tipped markers are great for bolder lettering and for writing on or decorating windows and mirrors. Brush tip markers are also fun to use and offer different stroke types and thicknesses depending on how you use them. A dual-tipped marker offers wonderful versatility with two different tips – one on each end.
With these options, you should be able to find the perfect nib to suit your writing or decorating requirements.
Leak-Proof Feature
Leaky markers and paint pens will put a huge damper on your creative fun. Not only can a leak ruin your project, clothes, and furniture, but it is a total waste of the ink or paint inside your pen. While it may help to store your glass markers or paint pens in a proper container or pouch, it is also a good idea to look for a leak-proof marker. Ensure that the pen seals are tight and that the label says “leak-proof” or something along those lines.
Drying Time
It is also important to ensure that the ink in your paint pen or glass marker dries almost instantly. If the ink takes longer to dry, you will have to contend with the possibility of it running on a vertical surface or of your hand smudging the ink as you write or handle the glass surface or object.
Ink vs. Paint
Some markers function as standard ink markers like your permanent or whiteboard markers. Other markers such as glass paint markers contain oil or acrylic paint and are ideal for permanently writing on or decorating glassware or ceramics. Chalk markers are another option, offering an ideal alternative medium to regular chalk which gets messy. Whether you use an ink marker or glass paint marker is completely up to you, your preferences, and project goals.
Colors and Finishes
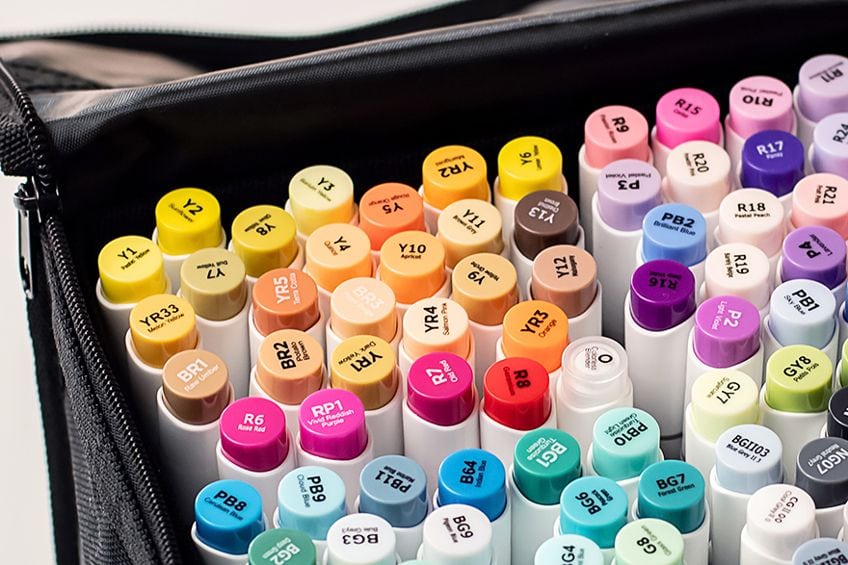
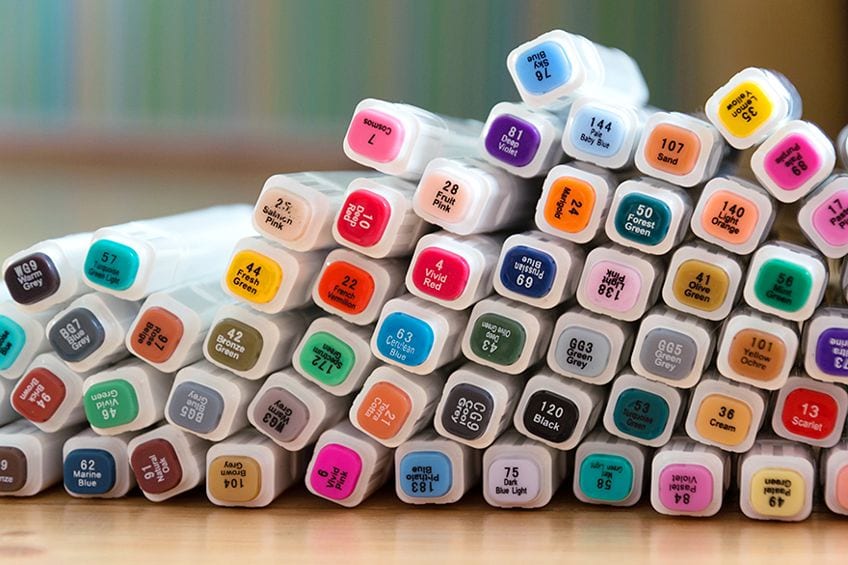
It can be expensive to buy a large glass paint marker set containing a wide variety of colors. So you may want to select a smaller set of standard colors and then add more colors and finishes to your collection as you go along. Metallic colors are great for wine glasses at glamorous events, whereas a glossy paint pen finish is perfect for decorating glass and ceramicware. You might even prefer an opaque finish for everyday use.
There is no right or wrong choice for colors and finishes – it all boils down to your preferences and what is most suitable for your project.
Abrasion- and Water-Resistant Features
When looking for the right glass marker or paint pen, be sure to check the label. A water-resistant marker is important, especially if your glass surface will be exposed to the elements or condensation. You also want to be able to handle your glass object fairly soon once you have decorated or written on it, so look out for an abrasion-resistant marker that is also smudge-free and quick-drying.
Non-Fading Feature
Lightfastness refers to the ability of a pigment to resist fading over time. This is not necessary for non-permanent markers like dry erase markers or wine glass markers, but your permanent markers should be labeled as “lightfast” or “archival” if you want the colors in your creation to remain vivid through the years.
Lightfast markers are therefore essential for preserving the longevity of the colors used in your project.
If you have already purchased a set of glass markers or paint pens that are not lightfast, then another option is to treat your painted surface or object with a UV protective sealant, fixative, or spray. Just ensure that the substance you use is compatible with the type of marker you have used and follow all the instructions.
Alcohol-Based or Water-Based
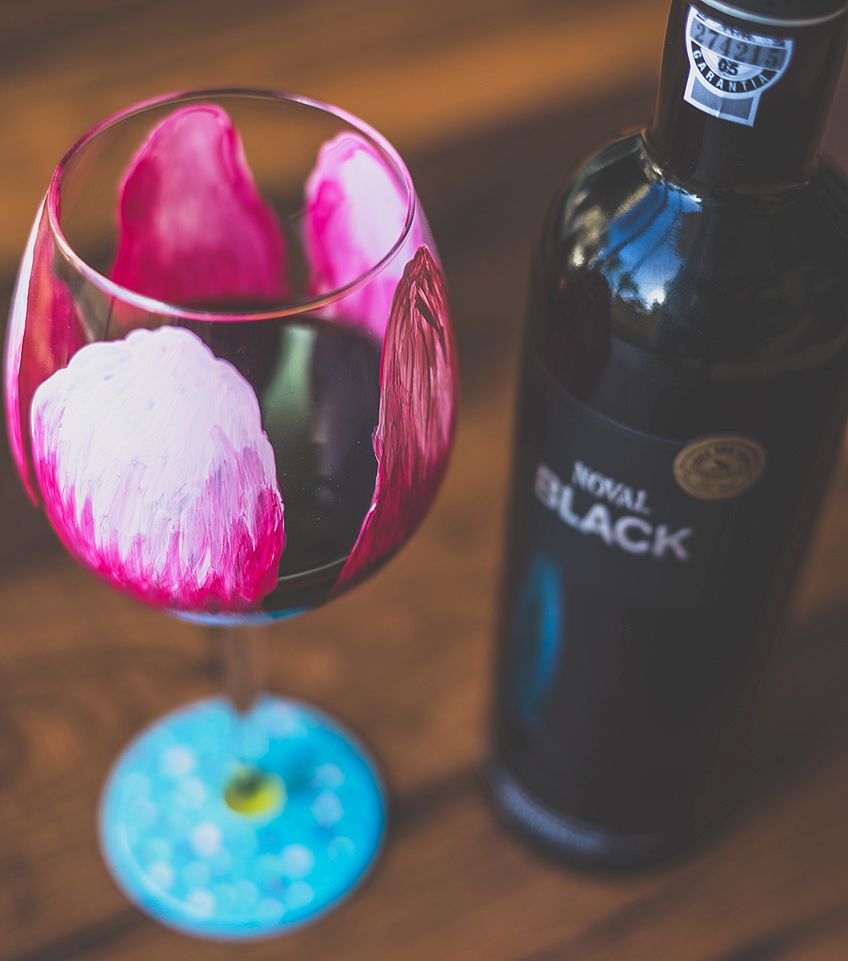
The pigments in most glass markers or paint pens are suspended in either water or alcohol, which dries once applied, thus aiding in the drying process. Alcohol markers are usually permanent, last longer, and dry more slowly than water-based markers. Acrylic glass markers are, on the other hand, water-based, quick-drying, and usually permanent as well. Another differential feature between these two options is the blend-ability of the colors. Water-based markers are usually non-permanent, erasable, or washable while others are permanent.
Dishwasher Safe
Some permanent glass markers are not dishwasher-safe, and items painted with this ink should always be hand-washed with a soft cloth. Always carefully read all instructions and note all warnings when shopping for a glass marker or glass painting pen.
Ink Quality and Opacity
Visibility can be a challenge when writing or drawing on glass. If the ink of your glass marker or paint pen is thin, it will not produce smooth coverage or a thick opaque finish. This will adversely affect the visibility of the writing or drawing on your glass surface. Bad-quality ink will also take longer to dry, which may cause smudging on your project. So you need to make sure that you select a good-quality paint pen with a high opaque finish.
Permanent or Erasable/Washable
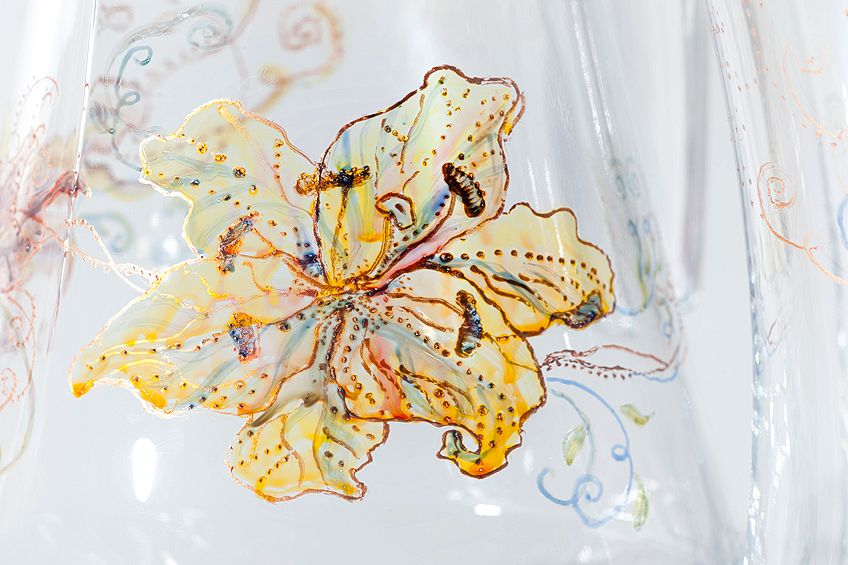
This depends on what you aim to do with your glass marker, being the type of project or activity for which you plan to use the glass marker. Erasable or washable markers such as window crayons, dry erase markers, or wine glass markers are great for non-permanent use. Permanent markers are perfect for decorating ceramic and glassware. Some marker colors only become permanent when baked.
Your choice is really about purpose and preference. Just make sure that the product label clearly describes what you are looking for – whether permanent or non-permanent. Also, take note of any instructions that would need to be followed in certain instances.
The next section gives you a basic overview of the different types of markers available with permanent/non-permanent indications.
Different Types of Markers for Glass
There is a wide range of glass paint markers available and it can be a bit overwhelming trying to choose a product that best suits your purpose or project. Here is a quick overview of glass marker options as well as their key features to help you in your decision.
| Marker Types | Permanent or Non-Permanent? | Purpose / Surface |
| Dry Erase / Whiteboard Markers | Non-permanent | Whiteboards, glass boards, glass storage ware, windows, plastic, and ceramic tiles.
|
| Wine Glass Markers | Non-permanent | Marking, labeling, and decorating wine glasses and glassware.
|
| Oil Based Paint Markers | Permanent | Glass, rubber, stone, metal, plastic, wood, pottery, and others.
|
| Acrylic Paint Markers | Permanent | Painting fabric, porcelain, canvas, ceramic, wood, foam projects, walls, plastic, paper, plaster, glass as well as rock painting.
|
| Chalk Markers | Non-permanent | Glass, painted wood/canvas, mirrors and blackboards, and most non-porous surfaces.
|
| Window Crayons | Non-permanent | Decorating mirrors and windows – suitable for both kids and adults.
|
The Best Markers for Glass
The two sections above will have given you some helpful guidelines in making the best selection when shopping for glass markers. Below are our three favorite choices for glass paint markers, including a great option for keeping your kids busy as well.
Best Oil-Based Glass Marker: SHARPIE Medium-Point Paint Marker Set
Due to their popularity and being a trusted household brand, using Sharpies on glassware is probably already your default go-to. We recommend their oil-based markers in particular. The ink comes out in a lovely thick consistency and is available in many vibrant colors. This product is also non-fading, dries quickly, and does not smudge.
- Marks opaque and glossy on a variety of light and dark surfaces
- Features a variety of nibs that deliver free-flowing, fast-drying inks
- Markers are waterproof, smudge-proof, bold, and permanent
PROS
- Suitable for dark and light surfaces
- Waterproof
- Smudge-proof
- Non-fading
- Glides easily on any surface
- Quick-drying
- Thick coverage
- Affordable
- Available in opaque or gloss finish
CONS
- Paint separates inside the pen – priming required before/during use.
Best Water-Based Glass Marker: EMOOQI Acrylic Paint Pens
This is a high-quality glass painting pen set that is ideal for painting or writing on glass. Superior to other products of their kind, these permanent glass markers offer a thick, opaque color when applied to a glass surface. The acrylic paint in these markers is quick-drying and offers a durable and waterproof finish that will not crack or peel once dry. This paint is also abrasion- and fade-resistant.
- Vivid, highly pigmented acrylic ink dries quickly to a durable finish
- Waterproof, quick-drying, non-leaking, non-toxic, and odorless
- Leaves an opaque, glossy finish on most surfaces that will not fade
PROS
- Easy to use
- Top-quality
- Non-toxic and odorless
- Quick-drying
- Full coverage
- Water-resistant
- Non-fading
- Suitable for indoors and outdoors
- Good value for money
CONS
- Caps are difficult to remove
Best Glass Marker for Kids: CRAYOLA Washable Window Crayons
We recommend this product for all kids’ glass painting activities and projects. These are great for all glass surfaces including mirrors and windows. The vibrant colors go on smoothly and dry quickly with no smudging. And the best part is that the ink washes off easily, so kids (and adults!) can be given free rein to spend their creative energies to their hearts’ content.
- Instantly decorate any glass surface with this set of markers
- Bold colors go on smoothly and dry quickly without smudging
- Non-toxic and easily washes off - perfect for kids!
PROS
- Washable
- Smooth application
- Bright colors
- Quick-drying
- Smudge-proof
- Non-toxic
- Easy to use
- Visible on all glass surfaces
- Easily washes off skin and clothes
CONS
- May stain certain fabrics and other non-glass surfaces
How to Use Markers on Glass Surfaces
Drawing or writing on glass is a fun and rewarding activity. However, glass is a unique material and comes with some challenges. Glass markers and glass painting pens are also unique mediums. Below are some things to remember when writing or drawing on glass.
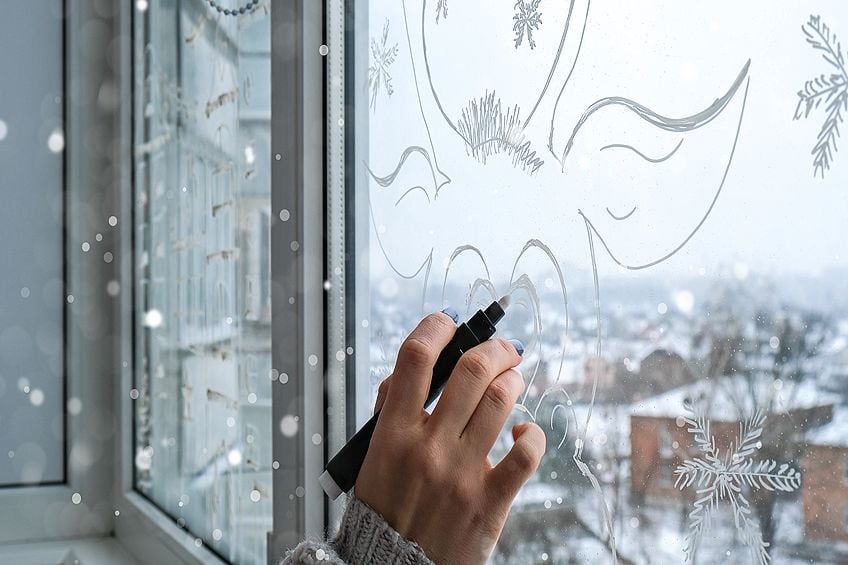
How to Paint or Write on Glass
Using a glass marker or glass painting pen is quite a different experience from writing or drawing on paper. Because glass is a non-porous surface, the adhesion of the paint or ink can be an issue. Thus, the first thing to do is to clean your glass surface thoroughly using a glass cleaner, rubbing alcohol, or vinegar.
Once clean, use latex gloves while handling the glass object to prevent your skin’s natural oils from rubbing off onto its surface while you work. Most glass markers and paint pens require shaking before use and in some cases, you may need to press down on the nib to get the color flowing. Be sure to follow the product instructions.
Another factor to remember when writing on glass is that it is quite a slippery surface when compared to paper, rock, or wood. More control is needed to keep the pen steady while holding it and moving the tip along the glass surface.
How to Draw or Write on Glass Permanently
Ensuring your marker is permanent is your first port of call. There are other techniques and processes that you can use to further extend the life of your painted object or surface. Allowing a drying time of at least eight hours before using or handling your object is one helpful standard practice to follow. To prevent fading, abrasion, or to improve water resistance, you can opt for sealing your painted surface or object. There are a few ways to do this. You can choose to seal your glass objects by baking them or by using a special sealant that can be used without baking.
For ceramicware, you can apply two or three layers of transparent ceramic paint over the painted surface, waiting four hours between coats, and then bake the piece in an oven. When baking your project in the oven, you will need to make sure that the product label on your paint pen indicates that the paint or ink is suitable for baking and be careful to follow all instructions.
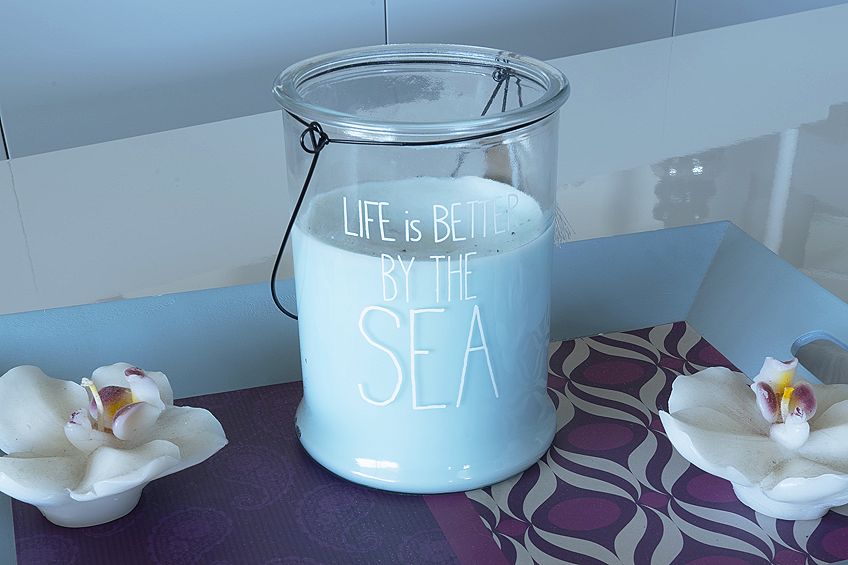
When baking glass or ceramic objects, you should always place them in a cold oven first and then set it to the required temperature for baking. This way, the cold glass will heat up in time with the oven. Allow both the oven and the object to cool down slowly once turned off, only opening the door once completely cool.
Whether you use a brush-on or spray-on sealant is dependent on your preference and the type of object you are working with. Always read the packaging instructions when using a sealant and ensure that it is compatible with the ink or paint in the pens you have used.
Spray-on sealant can be applied in four or five layers, where you must wait 15 minutes between coats. The sealed object or surface should then be completely dry after 24 hours. A brush-on sealant is like a varnish and should be applied in methodical, even, back-and-forth strokes. Apply two or three layers, wait one hour between each coat, and then wait another 24 hours once sealing is complete.
Sharpies on Glassware: A Fun Tutorial
Sharpies are a popular brand of markers and are available in a large range of different colors, bases, finishes, sizes, and nib shapes. If you are keen to try using Sharpies on glassware, this is a great little tutorial to get you started with this kind of craft project.

Step 1: Gather Your Supplies
This is a simple tutorial for decorating a drinking glass using Sharpie paint markers. You could follow this guideline for giving your glassware a burst of color, creating a customized gift for a loved one, or creating personalized glasses for the kids. This is pretty much all you will need:
- Clear drinking glasses
- Oil-based Sharpie paint markers (fine or medium point)
- A basic printed image of your choice
Step 2: Prepare Your Glass Surface
If your glasses are brand new, be certain to remove all labels as well as any sticky residue. Next, wash the glasses with warm soapy water, rinse thoroughly, and allow them to air-dry. Finally, use vodka or rubbing alcohol to wipe down your glass surface and allow it to air-dry once again. From this point, you will need to wear gloves to prevent any skin oils from transferring onto the glass.
Step 3: Select an Image or Pattern
Find an image that you like online, in a magazine, or on an old greeting card. Make sure that the design is not too intricate and that it will be easy to trace. You may have a picture, pattern, or design in mind or are confident to just draw on the glass without tracing, in which case, you can skip this and the next step.
Step 4: Fix Your Image or Pattern
Cut out your image or pattern, making sure that it is size-appropriate for the glass surface you will be working on. Next, fix the picture to the inside of the glass using a bit of tape. Remember that not all glass markers and paint pens are non-toxic. It is best, as a standard, to place your design low enough from the rim of the glass so that your lips will not touch the paint when you drink.
Step 5: The Fun Part
Select a Sharpie in a color of your choosing, trace the outline or pattern and fill in the color, following the image you have fixed to the inside of the glass. If you need to touch up an area of paint, wait about 10 minutes for it to dry, and then add your second layer. While doing this, do not press too hard or you will remove the second layer of paint. You can remove any mistakes using nail polish remover, vodka, or rubbing alcohol.
Remember, always use your Sharpies to paint the outside surface only of your glassware. Sharpies are not food safe, so avoid using them on the inside of any glassware or ceramicware from which you plan to eat or drink.
Step 6: Curing and Voila!
Allowing your glasses to stand for 24 hours is sufficient to cure your paint, but you may prefer to opt for oven-curing. (Whatever curing option you choose, Sharpie-painted glassware should always be hand-washed to best preserve the paint.) Below is a quick guide for oven-curing:
- Let the paint dry for 20 minutes.
- Place the glass in a cold oven.
- Set the oven to 350 degrees Fahrenheit (176.7 degrees Celsius), with the turn-on time at 20 minutes, allowing the glass to bake slowly.
- Switch off the oven after 20 minutes and leave the painted glassware inside.
- Only remove the glass when the oven has cooled down completely.
Ideas for Using Glass Paint Markers
Glass markers and paint pens open up a whole new world of creative projects and helpful solutions in the home, workplace, and classroom. There is so much you can do and create with glass markers and paint pens. The ideas are endless and are only limited by your imagination. Below are a few fun ideas to get the creative juices flowing.
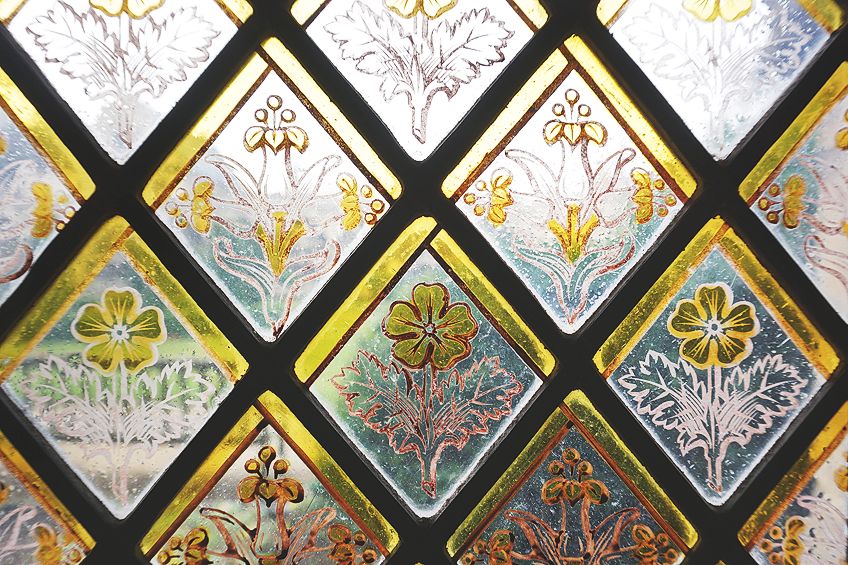
Reverse Glass Painting
Reverse painting is a form of art that involves creating a design on a glass sheet and then flipping the glass over. The image is then viewed from the unpainted side of the glass pane. This is then framed and hung on a wall for display. Another name for this type of art form is verre églomisé and is known as hinterglasmalerei in German.
This glass painting method has been around for many years and it is still followed today using not only regular acrylic paint and brushes, but also paint pens.
An easy way to create a reverse glass painting is to select or create a clear line drawing or pattern and place it underneath the glass. Next, you will trace the outline with a black or white marker and then paint inside the traced lines with paint pens in the colors of your choice. Finally, once dry, add a complementary, patterned background (such as scrapbook paper) and frame.
Restaurant or Shop Window
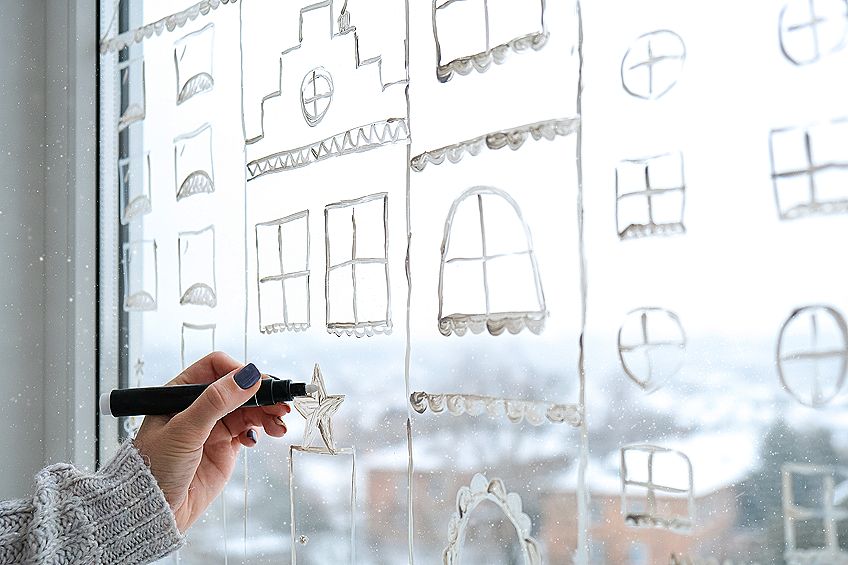
Glass writing is a superb solution for creating beautiful, attractive restaurant or shop windows. One way to do this is using white paint pens, which show up wonderfully on windows in daylight. Remember that whatever your design is, it is going to be viewed from the outside of the window so your letters and words have to be flipped backward.
To make this easier, you can blow up and print out your design, tape it to the outside of the window and then trace the lettering on the inside of the window. For large lettering, it may be easier to do the outlines with a paint pen and then fill in the space using white glass paint and an appropriately sized brush.
Messages and Love Notes
One way to spice things up with your significant other could be to write a cheeky or romantic love note on your bathroom mirror for him or her to find when waking up or coming home from a long day. You can do the same with a cute or encouraging message on a mirror in your kid’s bathroom. It is the little things that can make all the difference in relationships and a temporary glass marker or two can help you with that.
Stained Glass Jar with Sharpies
This is a really easy glass painting activity to do with the kids. Simply grab your standard fine-point Sharpie and color in your chosen area on the glass jar. To achieve that “stained” glass effect, apply the ink in one layer. Do not add a second layer and avoid going over the single layer. Apply each color separately and avoid overlapping. Once complete, place the jar in the sun to dry. You can use your newly decorated jar to store all your Sharpies or as a colorful flower vase on your window sill to catch and reflect the sunlight.
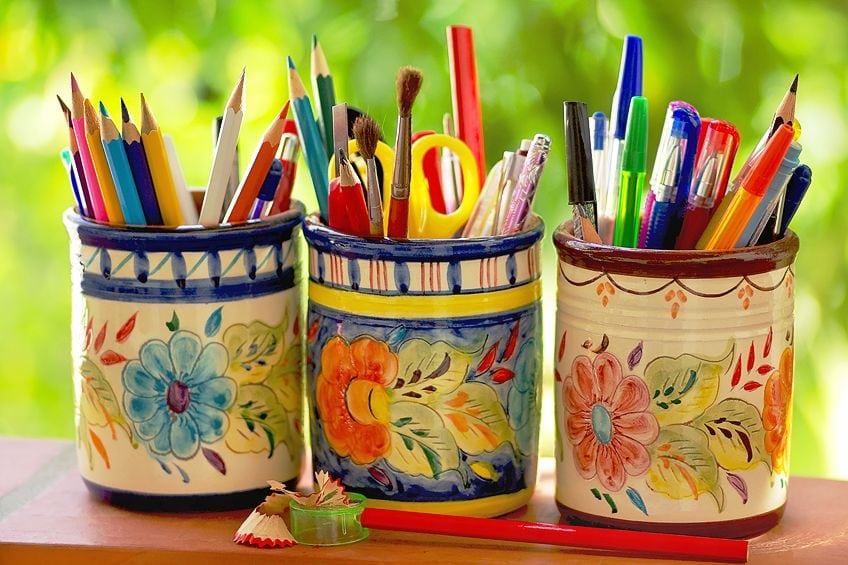
Framed Glass Calendar
How about making an erasable calendar or planner for the home, classroom, or office? Using a permanent marker and narrow washi tape, you can create the basic outlines and other permanent features of a calendar or planner on a sheet of glass. Place the calendar in an attractive frame and hang it on the wall in a space where the people who need to see it cannot miss it. You can then use brightly-colored dry-erase markers for your daily, weekly, or monthly planning.
Decorating Photos
Glass paint markers are suitable for any non-porous surface. This makes them a perfect choice for decorating photographs – even those with a gloss finish. Paint pen lettering, patterns, and drawings are also a wonderful medium to incorporate in collages or scrapbooks, especially if the paper surface is glossy.
Painting Glass or Ceramics
Painting ceramics or glassware such as plates or mugs is also a popular craft. You can use paint pens to decorate wine glasses for a themed party, personalize coffee mugs for gifts, or to create elaborate, artful designs on ceramic plates for display. The possibilities are endless.
When using paint pens on these items, remember to check the label to see whether or not the paint is food safe and follow all relevant instructions. Your painted glass or ceramic object may need to be cured or baked to preserve the paint.
In this regard, refer to and follow the product instructions again once you have finished decorating your ceramic or glassware.
Customized Mobile Phone Cover
Mobile phone covers can get expensive, especially if you want something unique that mirrors your signature style, favorite color, or icon. A more affordable and versatile option is to buy a plain plastic or silicone cover, grab your paint pens and get creative. Acrylic and oil paint pens are suitable for any opaque, transparent, or glossy cover and do not require baking – just leave to dry for 24 hours. You may, however, want to seal your painted cover, which you can do with a quick coat of varnish.
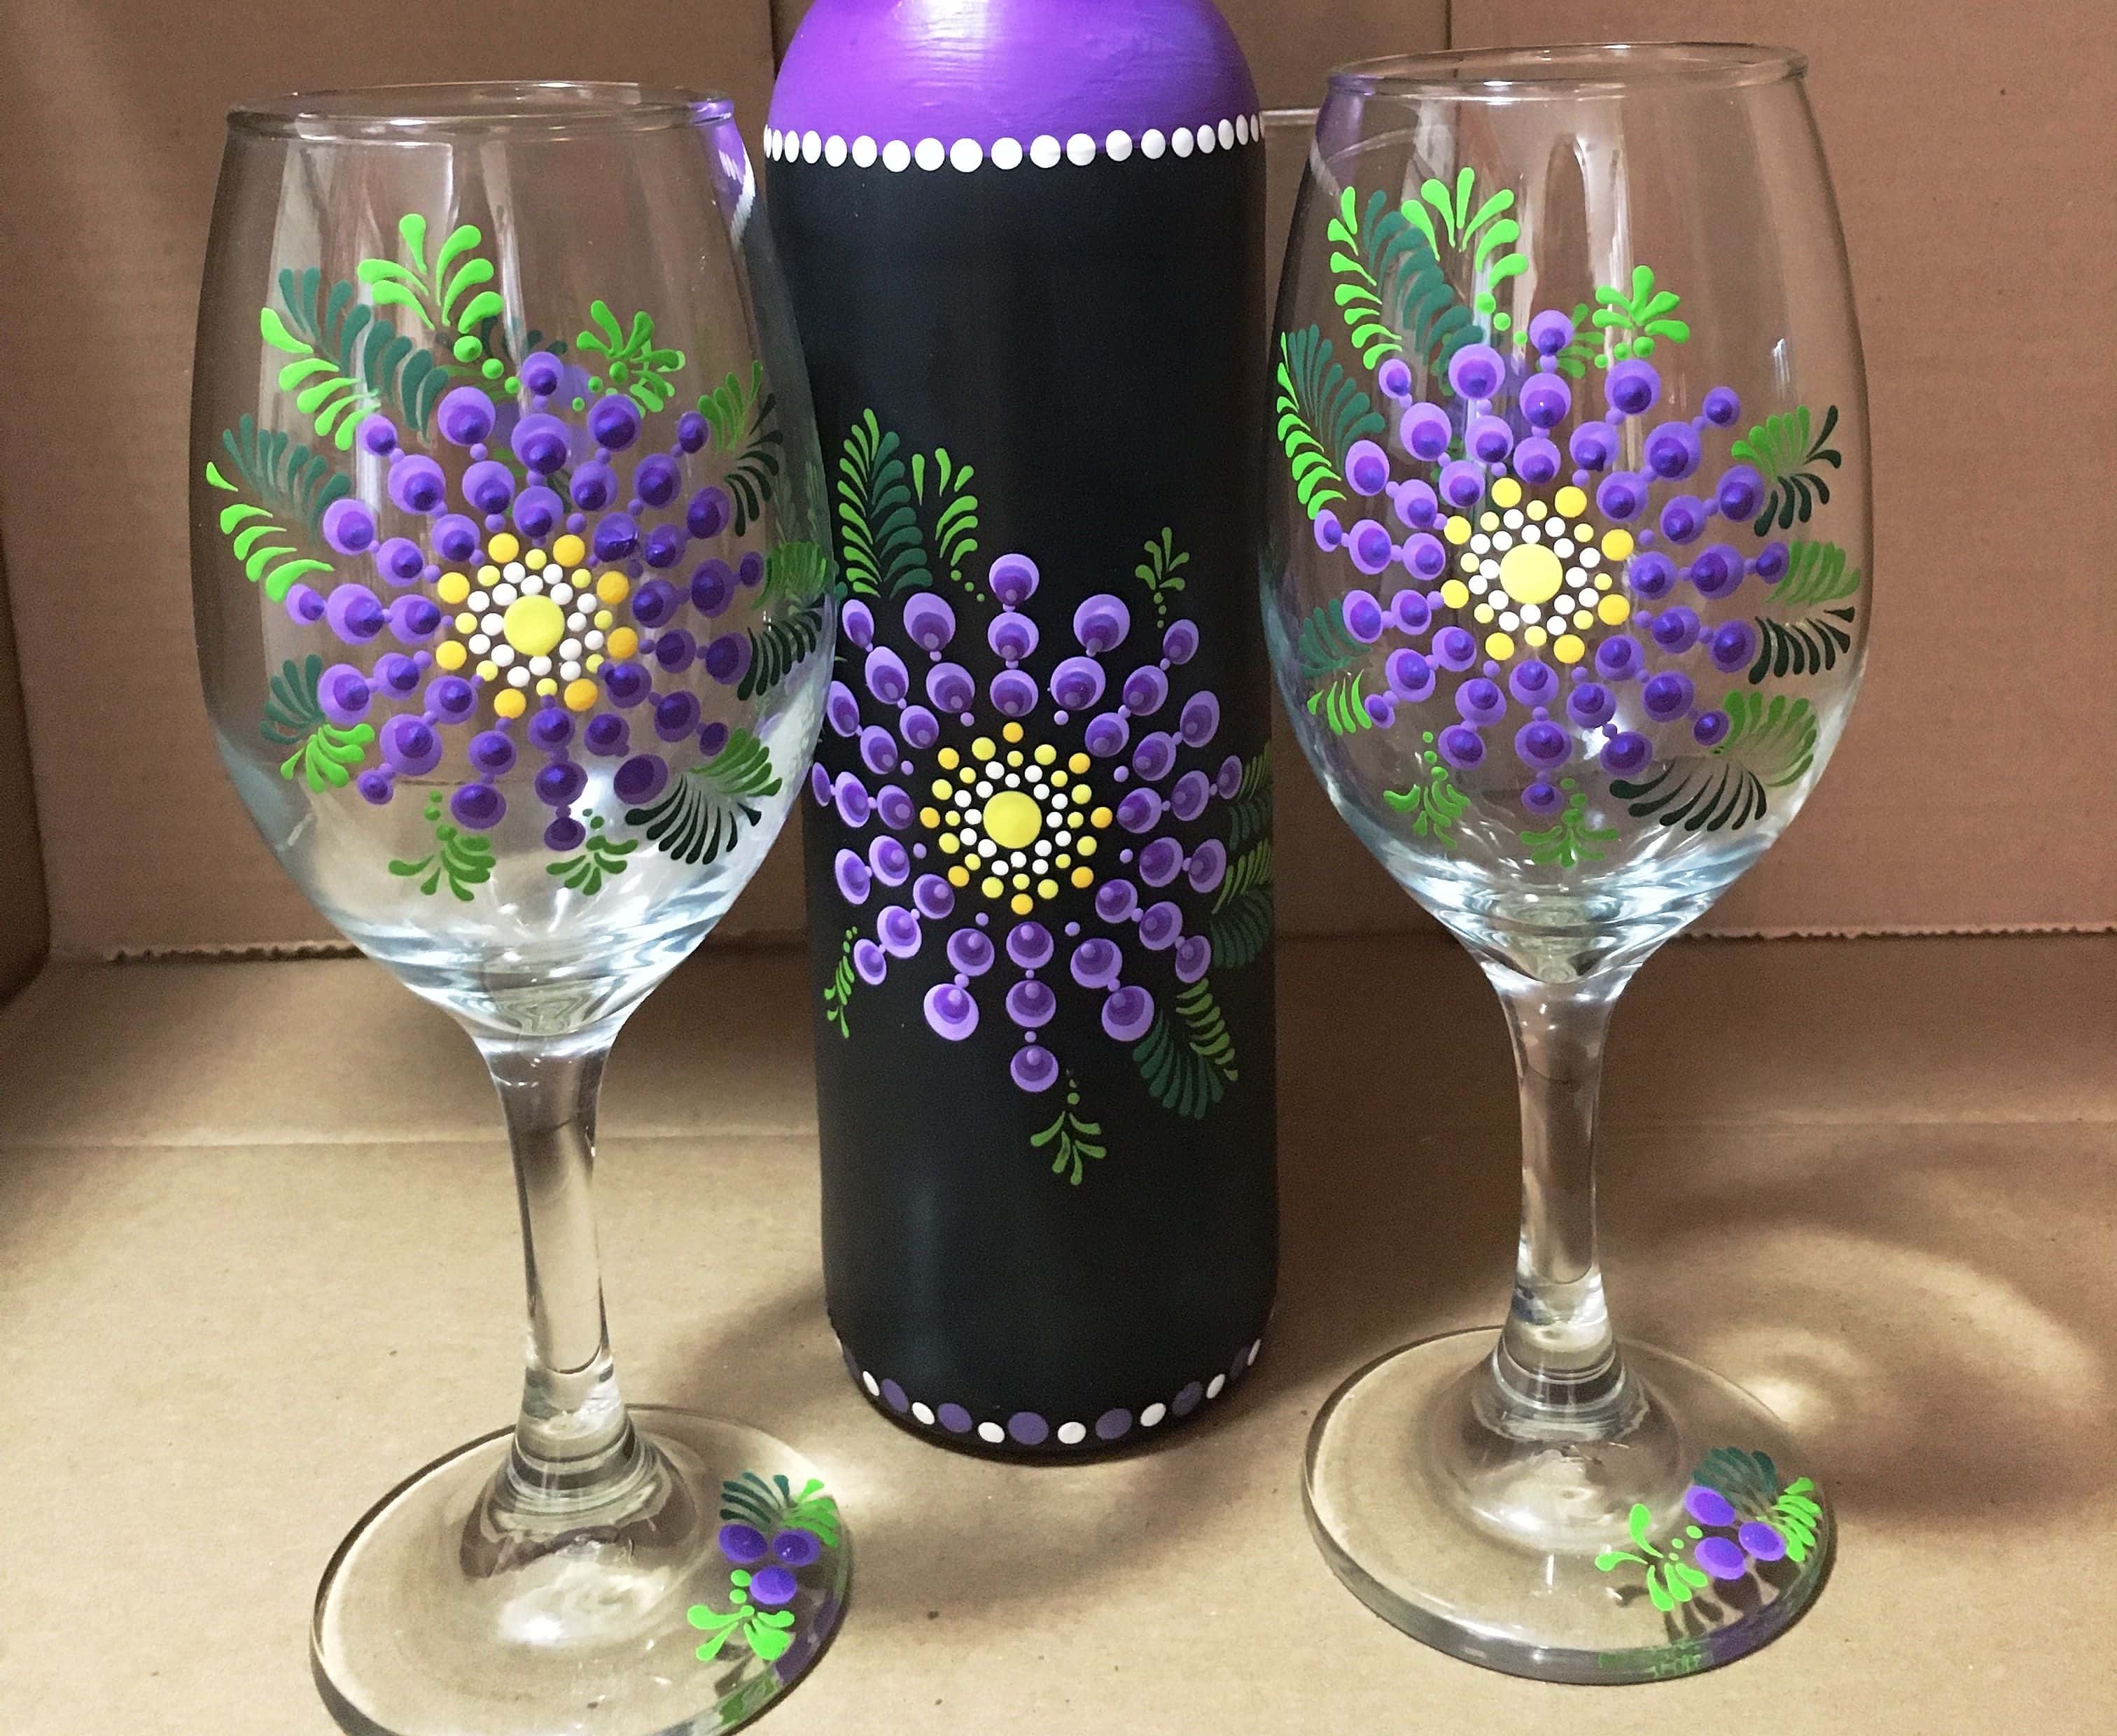
Personalizing Wine Glasses
Glass markers are a fun way for people to identify their glasses at parties and weddings. This has become even more important now due to the pandemic. Having a jar of attractive non-permanent glass markers on each table at an event is also a sure way to break some ice and entertain your guests.
Rock Painting
Rock or stone painting seems to have become a movement. Just check out the Kindness Rocks Project for an example. The idea of a kindness rock is simply to decorate and write an inspirational quote or hopeful message on a smooth rock or stone and pass it on!
Glass painting pens are perfect for rock painting as they offer better control and thinner lines than brushes. This can be especially helpful when you are painting smaller rocks. Apply a sealer to preserve the paint (particularly if the rock is going to be left outdoors). You can give your painted rock to a friend as a gift, place it on your desk as an inspiring paperweight, or leave it in a place where someone will find it. This is one simple way to spread joy and hope in your community!
Glass markers are a wonderfully versatile medium. As detailed above, they can be used for a wide variety of practical, entertainment, and decorative purposes. They also offer a wide range of colors, finishes, tips, and sheens. Advantages over other mediums and tools include striking, vivid pigments, less mess, and greater control than traditional paintbrushes. We hope that you have found this article both informative and inspiring. We wish you much joy and fulfillment as you embark on your next glass marker project!
Frequently Asked Questions
How Long Will My Glass Markers Last?
This depends on the amount of ink in your markers and how often you use them. If you use your glass marker for writing and painting small surfaces only, then they should last a few months. If you use your markers fairly often and on larger surfaces, they may only last a month. Just remember to store your glass markers properly to prevent them from drying out.
How Should I Store My Glass Markers?
Your markers can be stored in a separate pouch when you are out and about or upright in a jar or tin when at home. Always ensure that the lids have been replaced properly and, if the nibs are retractable, push them down to keep them moist.
Does Acrylic Paint Stick to Glass?
Some acrylic paint pens may have a little trouble sticking to the glass and the paint can sometimes crack or flake. If you plan on covering the entire surface of your glass object, then it is best to prime the surface (once cleaned) with one layer of gesso. If you are decorating, writing on, or covering a smaller area of your glass object, no priming is needed. Just be sure to purchase high-quality acrylic paint pens. This should make a difference as well.
How Do I Prime My Paint Pen?
Some paint pens need priming when you use them for the first time or if you have not used them for a while. Generally, all you need to do first is to give the pen a good shake. Some markers have a little ball inside to help with the mixing. Next, press down on the nib but do not pump it too much, as this may cause the paint to pool. It is best to prime your paint pen on a scrap piece of paper instead of on your actual paint surface. More specifically, we advise that you always check the packaging for instructions on activating or priming your paint pens.
Can I Use Mod Podge to Seal Glass Painted with Paint Pens?
Mod Podge is a great all-purpose medium, used as a finish, sealer, and glue. It is suitable for sealing any glass surface painted with water, oil, or acrylic-based paint pens. A layer of Mod Podge will dry as a clear, protective coat over your paintwork.
Larissa Meyer is a 32-year-old mother from Michigan and creative spirit since childhood. Her passion for painting and drawing has led her to an education as an illustrator and a career as a freelance graphic designer. She has a Bachelor of Fine Arts in Illustration and a degree in Graphic Design. Larissa is a talented artist who is able to master a wide range of styles and techniques to bring her artistic vision to life. Her greatest passion is currently fluid painting and epoxy resin art. Larissa’s love for art and her knowledge and experience in illustration make her the perfect Creative Director for our fluid-painting.com team. She is the creative head of our team and shares her passion and knowledge with our community through articles and tutorials.
As a mother of a 2-year-old daughter, Larissa also understands the importance of fostering creativity in early childhood. She uses her experience and knowledge to help other parents inspire their children and develop their artistic skills as well.
Learn more about Larissa Meyer and about us.

