Best Silicone Mold Kit – Find Your Ideal Mold Making Kit
This post may contain affiliate links. We may earn a commission from purchases made through them, at no additional cost to you.
Today, there are all kinds of different ready-made silicone molds you can use for many purposes. Although there are many shapes and sizes, you might not be able to find just the right mold you are looking for. This is where resin mold kits can help, why not make your own mold to create whatever shape you want? Read on and discover more about how to use these mold-making kits and check out some of our recommended best silicone mold kit products.
What Is Silicone Rubber?
Silicone itself is a rubber-like substance that is a polymer and contains silicone along with oxygen, hydrogen, and carbon. There are various formulations and can come as single or two-part polymers. Some silicone products can also contain fillers, which can enhance the properties of the silicone or bring costs down. Some of the main properties of silicone include:
- Durable and resistant to tearing
- Stable
- Non-reactive
- Resistant to extreme temperatures ( -70 to 570 degrees Fahrenheit or -56.6 to 299 degrees Celsius)
- Exceptional electrical insulation properties
- UV- and abrasion-resistant
- Low toxicity
- Non-adhesive properties
Since silicone rubber is so versatile, and can easily be manufactured and shaped, its applications are many. These include being used in various automotive applications, as insulators, cooking and baking products, footwear, home repair items like sealants, and much more. What we will be dealing with is silicone in mold-making kits. These will form durable and flexible molds that help to reproduce replicas of items. Various factors help to classify silicone, and these include how it has been processed and the viscosity. According to these factors, silicone comes in three types.
- Solid Silicone Rubber, also known as High-Temperature Vulcanized (HTV)
- Liquid Silicone Rubber (LSR)
- Room Temperature Vulcanized (RTV)

Solid silicone rubber is used more for industrial applications like in the construction or automotive industries. The liquid silicone rubber is best known for its use in injection molding, while the room temperature vulcanized silicone is what you use for molding or encapsulations and sealants. Below is a table displaying the grades of solidity for each of these silicone types. The hardness is measured in what is known as the Shore A hardness scale, which measures the firmness of rubbers, and can be anything from soft to hard. The measurement is displayed as Shore A with a number from 10 to 100. The higher the number goes, the harder the material is being measured.
| Type of Silicone | Hardness Scale |
| Solid Silicone Rubber | Various levels from 60 to 90 Shore A (High hardness) |
| Liquid Silicone Rubber | Various levels from 10 to 80 Shore A (very soft to hard) |
| Room Temperature Vulcanized | Various levels from 15 to 40 Shore A (very soft to medium soft) |
When dealing with resin mold kits made out of silicone, it will be the room temperature vulcanized silicone (RTV). This can come as a single component product, or two-component products consisting out of a base and a catalyst, which starts the curing process.
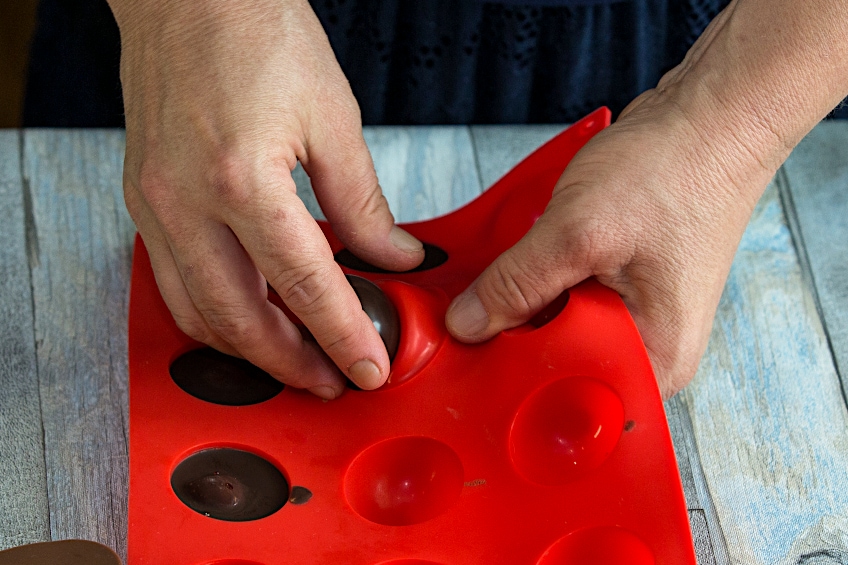
Silicone mold-making kits mainly come as two-part components. Silicone molds require very little preparation when casting resin or other materials. However, a mold release agent or ordinary vegetable cooking oil can be used to make sure the item slips out of the mold perfectly. Silicone molds are also flexible, which makes it easier to remove items once they have been cured.
Buyer’s Guide for Silicone Mold Kits
Ultimately, it is easier to simply purchase a pre-made silicone mold. However, if you are looking for a silicone mold kit, then there are some things you should take note of. Some resin mold kit products can be expensive, so you want to make sure you get the right one.
Silicone Drawbacks
Are you sure silicone molds are what you need? Silicone has a lot of benefits, but there are also a few limitations. For one, silicone is more expensive than your latex and other organic rubber products. Silicone is flexible; however, it can tear under too much pressure. Not all silicone products are manufactured according to high standards, so you must make sure to purchase from a well-known and reputable supplier.
The Purpose of the Silicone Mold
You can get silicone molds for different purposes, what is yours? Do you want to make chocolate or baking molds? If so, you need something resistant to heat and, most importantly, it must be food safe. When working with materials like epoxy resin, the mold should be chemical resistant. Always read the manufacturer’s information before purchasing to verify that the products suit your requirements.
Silicone Viscosity and Hardness
The best silicone mold kit products should be clear, colorless, and odorless. When it comes to low viscosity silicone, all these properties are what you want. Liquid silicone should also not be too thin or too thick. You should also consider your blank, is it large and heavy or does it have a lot of details on it. To remove and retain finer details, you should decide on the best silicone hardness.

Many of the silicone mold kits come in a liquid form, however, there are also other options to consider. For example, silicone plastique or putty, which is simple and easy to use. This also comes in two parts, and once mixed, you can mold it into shape for about 20 minutes before it begins to harden. The silicone putty is food safe, and more for smaller project ideas.
The Quality of Silicone
A good quality silicone mold product will last much longer than a cheap, low-quality product. The average length of time for a good quality silicone mold is around three to seven years. The silicone mold should be flexible and sturdy, and able to handle a little wear and tear.
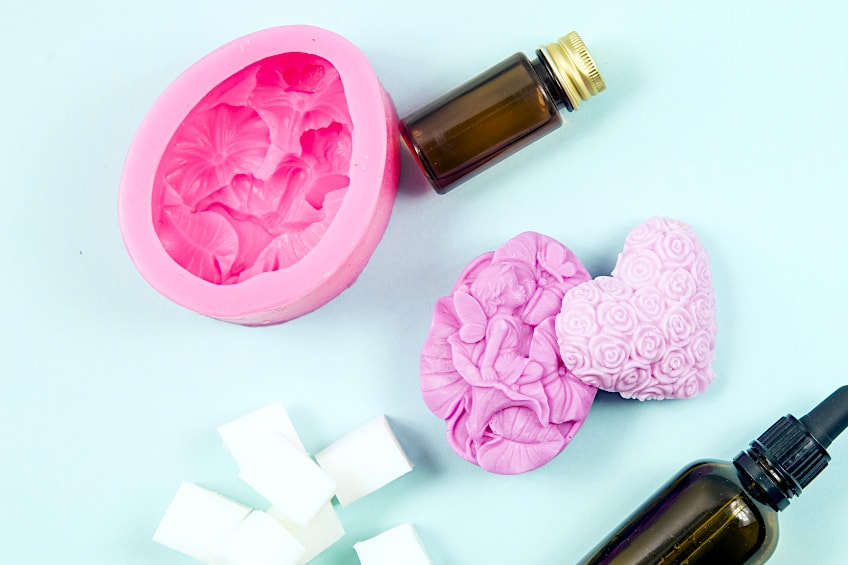
Best Silicone Mold Kit Products
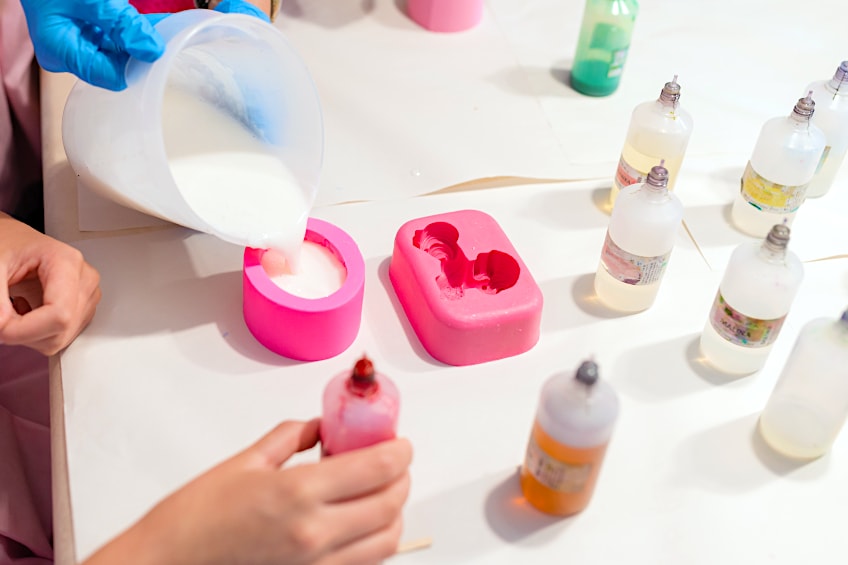
If you are looking for a silicone mold-making kit, you will notice that there are a lot of different products available. Depending on your project needs, you will know what is best for you. However, below are three different mold-making kits, from liquid to putty forms. With these, you can use almost anything with the mold including resin, food, soap, and more.
Best Putty Mold-Making Kit: ALUMILITE Amazing Mold Putty Kit
The Alumilite Amazing Mold Putty Kit can be used to create a mold for a multitude of materials like soap, resin, food, wax, and more. The silicone putty is easy to handle and safe to use. What is great about the putty, is that you do not need any extra measuring cups, sticks, or other tools. This silicone mold kit has been approved by the FDA and can be safely used with food.
The entire process is quick, and in less than 30 minutes, it should be complete. All you do is take the two types of putty provided and mix equal amounts, then use them to create your mold. The putty will cure in about 20 minutes, and then you will have a nice rubber, flexible mold that is also strong and will last a long time.

- Hand-mixed putty makes flexible and detailed rubber molds
- Create molds for casting resin, food, soap, wax, clay and more
- Produces a reusable mold in 25 minutes without equipment
- Easy to use
- Food grade
- Affordable
- Can be used for many applications
- Not for larger molds
- It may not be the best option for resin
- Quite a few complaints about the packaging
- Larger volumes of the product can become expensive
Best Liquid Silicone Resin Mold Kit: LET’S RESIN Silicone Mold Kit
The Let’s Resin Silicone Mold Kit contains silicone that is non-toxic and has no odor. The silicone will cure clear, flexible, and soft. The resin mold kit is easy to use, it comes in two parts, which should be mixed in equal amounts or a 1:1 ratio. Make sure to mix the two parts for at least five minutes and then pour. The working time is five minutes as long as it is done at room temperature.
You might notice some bubbles as you work, do not worry as they will soon disappear in about two hours. There is no need for vacuum degassing. The silicone will take about 12 hours to fully cure, however, this might vary according to the surrounding temperature, the thickness of the mold, and the mold size. If it still feels tacky after a given period, simply give it a bit more time.
This resin mold kit is suitable for beginners, as no special skills are required, and cleaning up is a breeze with some soap and water or a bit of rubbing alcohol. You can use the kit for a variety of applications, from creating resin molds to wax and candle molds. Unfortunately, this silicone mold kit is not suitable for making molds that come into contact with food.

- Premium translucent liquid mold-making silicone
- Easy 1:1 mixing and pouring with 5 minutes working time
- Bubble-free, non-toxic, and odorless
- Non-toxic
- Pourable
- Simple to use
- Great for beginners
- Quick dry and curing time
- Bubble free
- Cannot be used with food
- You can only purchase in limited volumes
Best Easy to Use Silicone Mold Kit: SMOOTH-ON Silicone Mold-Making Kit
The Smooth-On Mold-Making Kit is an easy-to-use mold-making kit that uses a 1:1 ratio when mixing and no scale is needed. The silicone will cure soft to medium soft with a 30 Shore A hardness measurement, making it flexible but tough. The working time is about 30 minutes, and the silicone takes six hours to fully cure. When pouring, the liquid has a low viscosity and can be used for both single and two-piece block molds. You also do not have to use vacuum degassing. You can use this product for arts and craft projects; however, it can also be used by professionals for creating sculptures, and other more industrial applications.

- Soft to medium range rubber for easy demolding
- Cures at room temperature with minimal shrinkage
- Ideal for simple block molds, no vacuum degassing required
- Simple to mix and pour
- Low viscosity, making it easier to work with
- Great for beginners and professionals
- Can be a bit messy to work with
- Air bubbles might still be a problem
- Expensive
How to Use a Silicone Mold Kit
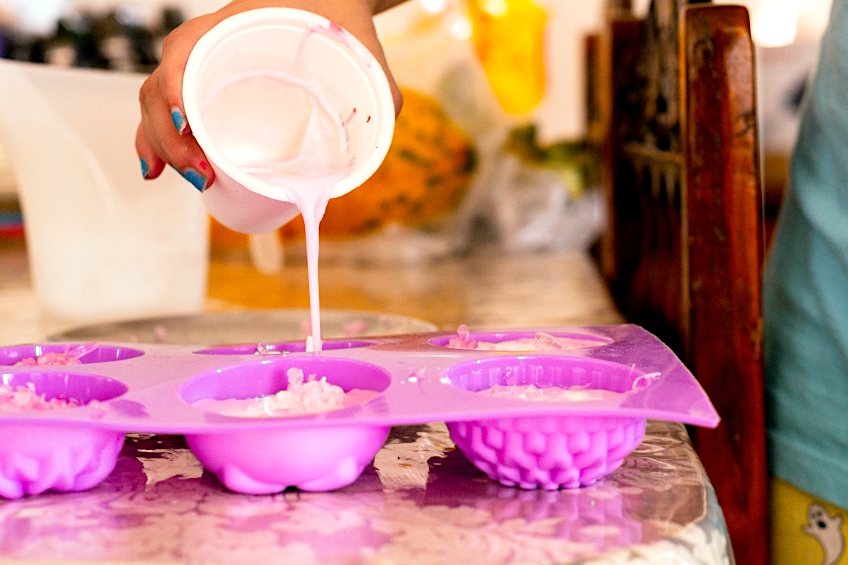
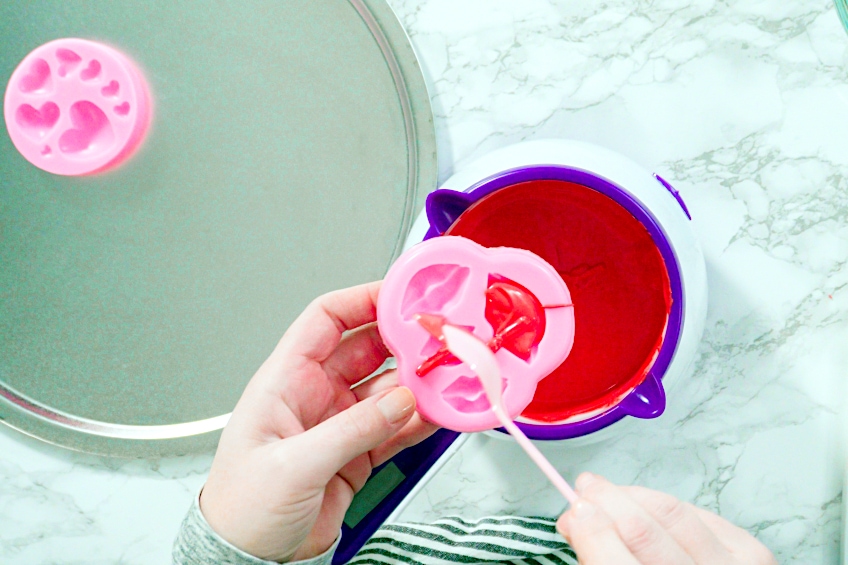
Most silicone mold kit products come with a part A and a part B, whether it is in a liquid pourable form or a putty-like form. You then have to mix these two parts, usually in a 1:1 ratio according to volume. Then pour or press around the item you wish to make the mold from. Working time and curing time can be different, so always check the directions that are with each product.
You can also get brush-on molds, which give the mold more flexibility use less silicone than pouring. However, it does require a little more patience as you have to apply a few layers and is used more for complex shapes that will be difficult to pour over.
Making a One-Piece Mold
This is a popular choice for many when making molds as there are many benefits. One-piece molds are quicker to do and easier to use, and you reduce the seam lines, which has a less visual impact on the final product. First, you need to choose what you wish to mold and then find or make a box or container to put the item in so you can pour over the silicone. How big the container will be, depends on the item you wish to form a mold from. A simple example for a small item would be a plastic or Styrofoam cup.
Place the item you wish to form a mold from into the cup. You can glue it down with some hot glue, so it does not float around when pouring your silicone. Depending on your item, and if it is necessary, you might have to apply some super seal and then a mold release agent. You can then mix part A and part B from your silicone kit according to volume.
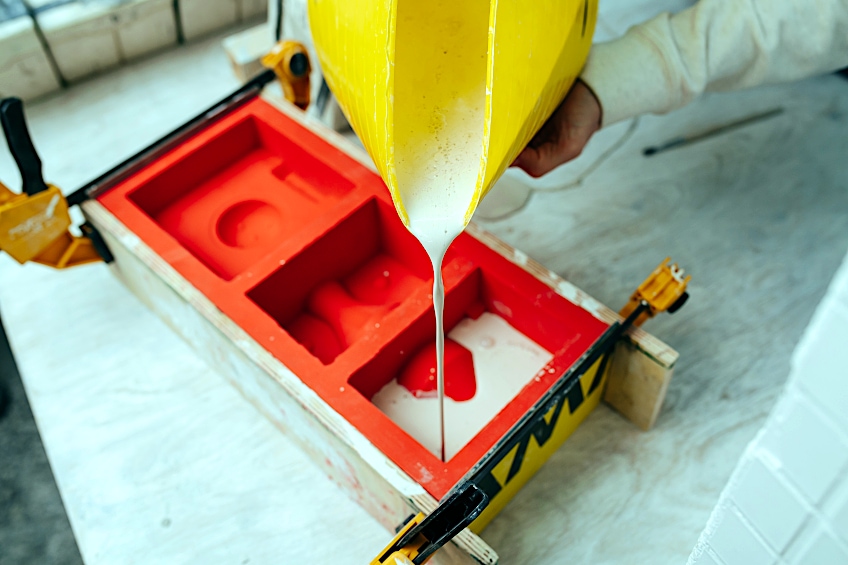
Many mold-making kits do not require vacuum degassing, so you can go ahead and pour into the cup. Keep pouring in one spot and let the liquid move over the model item by itself. Allow to cure at room temperature and then demold. You should then have your flexible silicone mold, ready for casting.
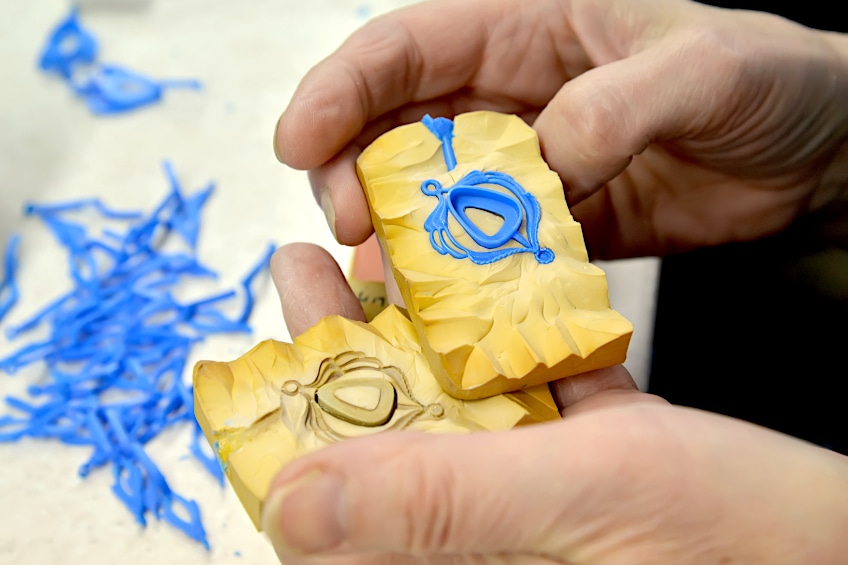
Two-Piece Mold
This method is best for those three-dimensional molds and the final mold product comes in two pieces, split along a horizontal line, and fit together when casting an item. A simple example would be a sphere. First, you would need to make your mold container – something that would hold your item and silicone until it has hardened. A popular material to build your mold box with is acrylic sheeting or strips as it is transparent. Lightly glue the sides of the box.
Once you have built your mold box, you can lay down some clay at the bottom. The mold item must be partially embedded in this clay. Make sure to flatten the clay, making it smooth and even around the item. You should have already determined the seam line on your model, and this is how far your item must be embedded into the clay.
You can then place a few domed cap nuts, flat side down all around the model and in the clay. These will form your model or registration keys that will help to keep your mold in place when casting. You can then mix your silicone mold kit with two-part components and then pour over the exposed piece of your model. Measure out your two parts into two separate containers, usually, it is a 1:1 ratio according to volume. Then place both into a mixing container and mix thoroughly. Pour into only one section and allow the liquid to disperse by itself until it is about half an inch above the model piece. Allow this to cure.
Once cured, disassemble the mold box, and remove the clay and nuts. You can also trim off any flashing and once all the clay is removed, you can reassemble the box around the silicone and model again. The already cured silicone will now be at the bottom. Spray some mold-release product over the surface, making sure everything is covered in an even layer. Sometimes, the molded item itself can form the spout when you do your casting.
You can also form your own spout with some clay. In this case, form a funnel shape from the clay and place it on top of the sphere extending from the hardened silicone. Then follow the same method as before when using the silicone mixture. The clay piece you added should partially extend. Allow this to cure and then demold your template item. Remove the mold box and clay funnel and trim any flashing. Gently peel back the cured silicone rubber and you should now have a two-piece silicone mold.
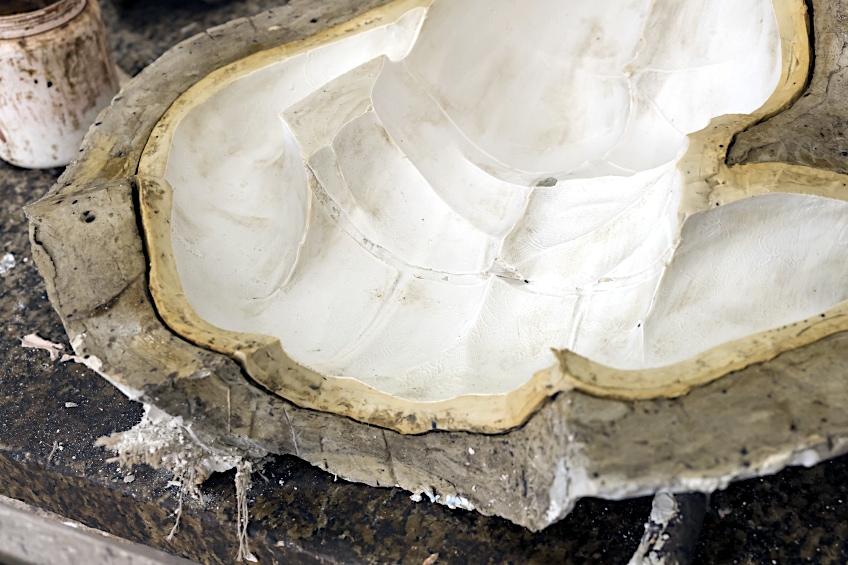
Making Your Own Silicone Molds
If you want to only make molds of small items and do not want to spend a lot of money, you may want to consider creating your own mold from the silicone you can easily get from the hardware store. Make sure it is labeled silicone I not II and is 100 percent silicone and must not be the quick set kind. It is advisable to work in a space that has good air circulation when making your silicone mold.
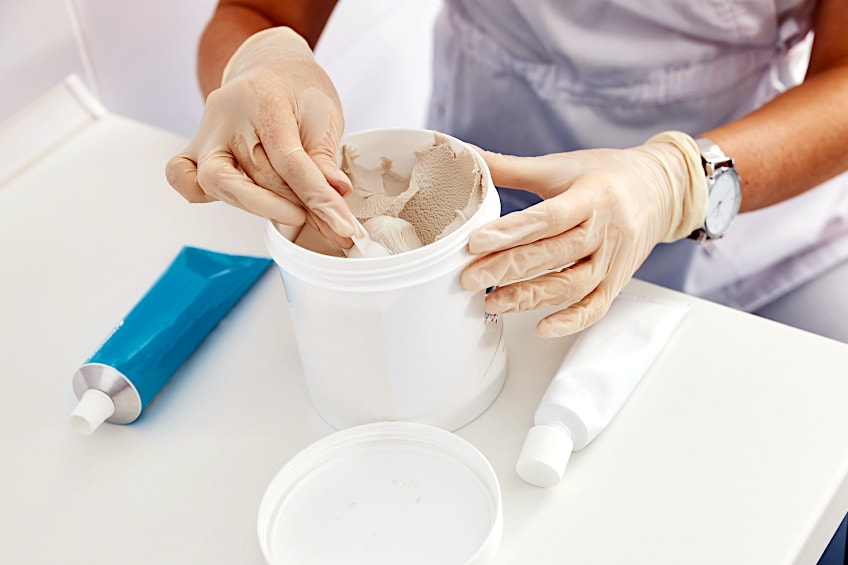
Combining Your Ingredients
Fill a large enough bowl, big enough to fit your hand into it, with tepid water. Next, add some liquid soap, you can use any kind as long as it is not clear. The soap helps to quicken the curing process of the silicone, acting as a catalyst. Try using a ratio of one-part soap to 10 parts water. The silicone caulk either comes with a syringe, or you will need a caulk gun to squeeze it out. Squeeze some of the silicone into the soap and water, you may even use the entire tube.
Kneading the Silicone
Place your hands into the bowl and slowly gather all the silicone together into a ball and knead until all the silicone does not feel sticky. This should take about five minutes. You might want to use some gloves when kneading the silicone. Remove the silicone from the bowl and knead it until it begins to feel less malleable.
Using Your Chosen Item to Create a Mold
You can either make a flattish disk with the silicone, to which you can press in your item. This is best done with flat mold items with patterns. Make sure to press the item firmly until the entire surface is covered with silicone. Then leave to harden for a few hours. Remove the molded item and you should be left with a mold that is a replica of your item, also known as a negative mold.
You can also apply a thick layer of silicone to a three-dimensional item, make sure there is about half an inch of silicone all around most of the item. Leave a section of the item exposed as you want it to come out easily once the silicone has been set.
Creating Molds Using Other Methods
There are other methods including the use of cornstarch and silicone, or turpentine and silicone, both with a little acrylic paint added to give it some color. However, these methods require the use of gloves and the materials used might give off an odor while working with them. The above method is easier and safer, especially if you want to get the kids involved.
Tips for Making the Best Silicone Molds
Making molds can be a process, and if you do not get it right the first time, you will need to start all over again. We recommend you join a workshop to gain practical experience if you are serious about creating molds. However, here are one or two tips that might help if you are simply doing an art and craft project at home.
- Make sure you have the correct size mold box, so you do not waste any of the silicone products.
- An easy mold container for a small one-piece mold can be a transparent plastic cup. Other food containers can also come in handy for this purpose.
- Be careful of what template you use for the mold, as whatever surface it has will reflect on the mold. If you want a smooth mold, using a template item that has a rough surface will not work.
- To prevent demolding issues, remember to use mold release spray, especially if your model item is porous like wood.
- Mold release is necessary if you are using a silicone item as your template, as silicone will stick to silicone.
- The hardening or curing process will depend on the temperature or thickness of the silicone, so leave it a little longer if it still feels tacky.
- When mixing your two parts from a mold-making kit, always make sure you mix properly before you pour or apply it.
- Always mix the correct amounts according to the instructions on the product.
- You should work at room temperature as cooler temperatures could increase the time it takes to cure.
- Be sure to use the correct sealers and release agents for silicone mold-making and apply correctly as per instructions.
Making use of a silicone mold kit is one of the easiest ways to create your own molds. By simply following a few basic steps, you can create a unique mold that can be used for years to come. We hope we have inspired you to find the best silicone mold so you can get started on your creative journey.
Frequently Asked Questions
How Durable Is a Silicone Mold?
This depends on the quality of the silicone used and how well you made the mold. Generally, a silicone mold should last up to several years if you take care of it properly. Cleaning the mold after each use will maintain its condition and enhance durability.
Why Is My Silicone Mold Hard?
When using simple caulk silicone and making your own mold, it might be too hard because it is of poor quality. Also, if you knead the silicone too much, it can become harder than intended. The silicone packaging should also indicate that it is 100% silicone and should only be used for small to medium sized molds.
Are Silicone Mold Kits Toxic?
Most of the silicone mold-making kits are non-toxic and have no odor, which means it is safe to use. However, you should check the product label to see if it is food safe.
Can a Cardboard Box Be Used as a Mold Box for Silicone?
As long as it is sturdy and can handle the silicone without it leaking out, then you can use it as a mold box. You can purchase ready-made mold boxes, but you can easily custom make your own. Many like to use acrylic sheets or strips because it is sturdy and transparent.

Larissa Meyer is a 32-year-old mother from Michigan and creative spirit since childhood. Her passion for painting and drawing has led her to an education as an illustrator and a career as a freelance graphic designer. She has a Bachelor of Fine Arts in Illustration and a degree in Graphic Design. Larissa is a talented artist who is able to master a wide range of styles and techniques to bring her artistic vision to life. Her greatest passion is currently fluid painting and epoxy resin art. As a mom of two kids, Larissa also understands the importance of fostering creativity in early childhood. She uses her experience and knowledge to help other parents inspire their children and develop their artistic skills as well.
Learn all about Larissa Meyer and Fluid Painting.