Best Oil Paints – A Guide on Beginning Oil Painting
This post may contain affiliate links. We may earn a small commission from purchases made through them, at no additional cost to you.
Oil painting is an art form that has been around for many years, and there have been numerous famous artists that have used oil paint for their artworks. Consider van Gogh, da Vinci, or Picasso, amongst others, all of whom have created amazing art pieces. Oil paint colors are vibrant and excellent for creating details and other effects. Oil painting can be extremely relaxing and rewarding as you paint and delve into the creative process. We would like to share with you the basic techniques, best oil paint brands, and even a few tips on using oil paints so that you can begin oil painting as soon as possible.
Table of Contents
- 1 A Closer Look at Oil Paints
- 2 Oil Painting Pros and Cons
- 3 Beginning Oil Painting: Suitable Surfaces
- 4 Recommended Best Oil Paints
- 5 Purchasing the Best oil Paints
- 6 What Painting Materials Do You Need?
- 7 Oil Painting for Beginners Guide
- 8 Tips for Beginning Oil Painting
- 9 Oil Painting Trivia Fun
- 10 Frequently Asked Questions
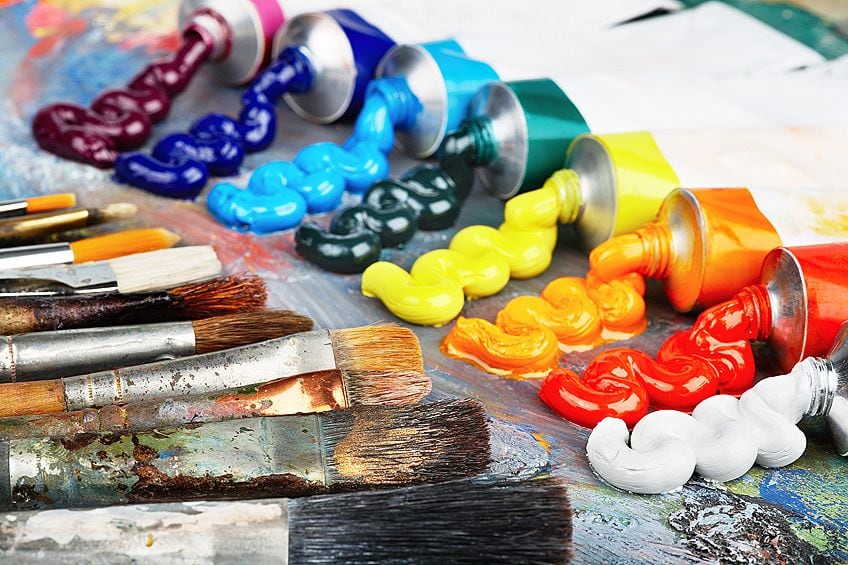
A Closer Look at Oil Paints
Oil paints are different from watercolor and acrylic paints, as they consist of a binder, color pigment, and a solvent. The oil paints are a lot more viscous and take much longer to dry. In the past, during the Renaissance, the powder pigments could be purchases through sellers who were known as “color-men”. These pigments are still used today and are mixed with a binder or a carrier oil like linseed.
Substitute oils are also sometimes used, like safflower, sunflower, or walnut oil. These can produce more vibrant white colors. However, linseed remains the best choice for oil paints. Added to the mix is a solvent like acetone, turpentine, or mineral spirits, which is used to combine everything and create the desired texture. Today, you can also include additives that produce various features like increasing the paint’s drying time, adding more of a gloss, or creating a resistance to UV light.

Oil Painting Pros and Cons
Understanding oil paints and their pros and cons can help you decide if this is the type of art painting you want to pursue. You will need to consider a few things, such as how much time you have or whether you have the necessary space.
PROS
- Tubes can last a long time if the cap is screwed on properly
- Outcome is more easily envisaged concerning things like a dry or wet finish
- Many effects, textures, and finishes to choose from
- Vibrant colors that blend well
- Can be applied with various tools and other techniques
- Less likely to fade if using a lightfast color
- Durable and long-lasting
- Can be thinned and diluted, making it easier to create or paint layers
- Slow drying time allows you to make changes to your work or correct any mistakes
CONS
- Materials needed can be expensive
- Usually some odor and fumes
- Tools used are not easy to clean; you need mineral spirits
- Can stain clothing
- Easy to overblend, creating muddied colors
- Surface, tools, and everything needed requires more preparation
- Slow drying time
Beginning Oil Painting: Suitable Surfaces
When using oil paint colors, you will find that there are quite a few surfaces that can be used. Also known as oil painting supports, each surface provides different qualities and a chance to explore various styles, depending on what you want to achieve.
One main quality is the capacity of the surface to ‘grip’ the paint. Some surfaces need preparation before the paint can adhere properly to the surface, whereas other supports can be used straight away without any need for preparation. Below is a guideline of surfaces or supports to help you make a better choice when beginning oil painting.
Canvas
Canvas is the most familiar surface and is made with linen or cotton, which is more cost-effective. These are stretched over a frame made of wood. You can purchase the canvas sheets and then make your own stretched canvas. However, for beginners the ready-made and primed canvas is best. The textured weave can vary, so you can choose the one that best suits your needs. A course weave can be used for bolder and thicker strokes, while a smoother weave is best for fine work.
Canvas Boards
These are great for beginning oil painting and are similar to the above canvas option. The stretched canvas can be expensive, so the canvas boards are a more affordable option. These are made from a cotton canvas that has been primed and mounted onto a board. They also come in various weaves and can be purchased as a set or as single-purchase options. They are light and can be carried around, they are easy to store, and they are great when it comes to students or oil painting for beginners.
Thick Acrylic Paper, Oil Paper, and Cardboard
These have been pre-primed and are thick pads of either acrylic paper, oil paper, or cardboard. The paper is primed so that it forms a protective layer over the paper, so that when painting with oil paints, the material does not decay.
Primed Plywood or Chipboard
Plywood is relatively easy to come by and can be used for oil painting. There is, however, a bit of preparation needed before starting. For best results, you should seal the wood panel on all sides. This will prevent any moisture from getting in and causing problems. You might want to consider applying two or three coats and lightly sanding between each coat. Finally, apply a primer.
Recommended Best Oil Paints
Oil painting for beginners can be daunting. With all the brands and products available, where do you start? Below, we have divided the choices between two main categories, which will allow you to view products of varying quality and price. You can then compare each brand and product to decide on a suitable oil painting set.
Artist-Grade Oil Paints
These are the best oil paint brands that offer top-quality linseed or poppy oil and only the purest pigments. These oil paints usually come in small tubes, as the paint will go further than other grades of oil paint. These oil paints also cost more and are not the best oil paints for beginners, but are instead geared more towards professionals. When it comes to individual colors, costs might vary depending on how much pigment is used.
Premium Pick: GAMBLIN Artist Oil Colors
Being the most premium recommendation on this list, you can expect the price to be dear. However, you can also expect the best and highest quality and value for your money with these oil colors by the Gamblin brand. This is the perfect foundation set for those looking to build their collection of oil paints, containing nine artist-grade colors in 37 ml-sized tubes. This set also includes a solvent-free pre-primed wooden panel that has been crafted by hand out of sustainable birch. This is a top-quality, sustainably produced set that offers painters a well-constructed palette of highly pigmented oil colors to suit all painting styles and techniques.

- A set of nine luscious, intense, and pigment-rich colors that last
- Includes a solvent-free, gel-primed, handcrafted birch wood panel
- An American-made, premium-quality, and sustainably produced set
PROS
- Good quantity of paint in tubes
- Excellent value for money
- Highly pigmented, lasting colors
- Comes with a handmade, pre-primed birch wood panel
- Sustainable
CONS
- Expensive
- Paint may come out a bit stiff
Best Overall: WILLIAMSBURG Oil Colors
The Williamsburg brand is well-known for their handmade oil paints, which has been manufactured according to the methods used by Carl Plansky. These oil paints can be expensive, but they do offer superior lightfastness and durability. This is considered to be one of the best oil paint brands available and is the first choice for many professional artists.

- Contains eight 11 ml colors and a 37 ml tube of Titanium White
- Handmade Oil Colors known for their excellent lightfastness
- Great gift idea for any artist looking to use quality oil paints
PROS
- Excellent quality
- Good range of colors
- Lightfast and fade-resistant
- Paints contain linseed oil
CONS
- Can be expensive
- Small paint tubes
Budget-Friendly: ZENART Oil Paints for Professional Artists
ZenArt is a highly reputable brand that is known for their premium-quality products. This oil color palette includes only the essential colors, allowing you endless opportunities for mixing your own shades. However, this palette also includes Earth-toned colors in order to achieve the most realistic-looking skin tones. These paints are ideal for alla prima (wet-on-wet) and impasto painting techniques and offer a rich, buttery, and soft consistency. The colors are highly pigmented, lightfast, non-toxic, and combined with linseed oil.

- Portrait palette includes Earth colors to achieve realistic skin tones
- Soft, buttery consistency for alla prima and impasto painting
- Paints are toxin-free, exo-friendly, and suitable for vegans
PROS
- Good range of colors
- Ready to paint straight from the tube
- Ideal for alla prima and impasto painting
- Pure, highly pigmented colors mixed with linseed oil
- Non-toxic and vegan
- Lightfast and permanent
CONS
- Small quantities
Student-Grade Oil Paints
An oil paint set for beginners should offer both quality and affordability, and that is the case for student-grade oil paints. When compared to artist-grade oil paints, student-grade paints are more affordable because they contain fillers, bulking agents, and other additives, all of which will affect the vibrant colors. Also, there may be artificial pigments in an oil paint set for beginners, which will then change the color hues. When beginning oil painting, it might be a good idea to start with an oil painting set that contains your basic colors. You can then practice and explore the various colors and created effects.
Premium Pick: GAMBLIN Oil Color Set
The Gamblin brand is well-known for focusing their attention on the health and safety of their products, whichis seen in their Gamblin 1980 Oil Color Exclusive Set. There is also a separate bottle containing linseed oil, which is used to thin the oil paints so that no solvents are necessary.

- Includes a set of eight Gamblin 1980 Oil Colors in 37ml tubes
- Added bonus of a free cradled wood panel and solvent-free gel
- This US brand offers high-end student grade oils at real value
PROS
- Tend not to yellow
- Comes with a cradled wood panel
- Many colors available
- Safe to use
- Includes a solvent-free linseed oil gel
CONS
- Not superior quality
- Texture is a little thick
Best Overall: WINDSOR & NEWTON Winton Oil Color Paint
The Windsor and Newton Winton oil painting set is a popular brand that offers 10 colors. Each color tube has been noted as providing consistent paint and color, better than any other available brand. These oil paints are the best choice when it comes to purchasing a large amount. The oil paints are lightfast, permanent, and can be successfully mixed with other brands.

- Sold as a set of 10 individually formulated, high-quality oil colors
- Moderately priced pigments offering a traditional range of oil colors
- Lightfast, permanent, and intermixable with other brands
PROS
- Reliable and consistent color
- Can be mixed with other oil paint brands
- Wide variety of vibrant colors
- Lightfast and permanent
CONS
- There are higher-quality brands available
Budget-Friendly: MOZART Oil Painting Set
The MozArt oil painting set is a great oil paint set for beginners. However, students and professionals may also want to give them a try. The oil paints are highly pigmented and of a high quality, so you will get amazing, vibrant colors. They are lightfast and dry fairly quickly, and also blend easily. They are non-toxic and are great for canvas painting and wall art, amongst other applications.

- This premium oil paint set includes 24 richly pigmented oil colors
- Paints offer vibrancy and smooth consistency for easy blending
- Colors are lightfast, quick-drying, permanent, and go a long way
PROS
- Non-toxic
- Vibrant colors
- Versatile and can be used on canvas, for wall art, and clay work
- Lightfast
- Premium quality with a thick and creamy texture
CONS
- May take longer to dry than anticipated
- Tubes are small
Purchasing the Best oil Paints
When looking to buy the best oil paints for beginners, you need to consider a few things that could affect your choice. The main things to consider are the brand and the cost of the oil paints. However, there are more things to bear in mind that could affect you, such as the environment and the nature of the project you are working on.
Oil Paint Drying Time
The answer to drying times can be difficult, as you need to consider the type of surface you are painting on as well as the environment you are working in. Different surfaces do not react the same to oil paints, which means that the drying times will differ. Drying times will also change according to the humidity and surrounding temperature, which could be affected by the size of your workroom and whether there is enough ventilation.
Think about what you need and want to achieve. If you do not have the time, rather choose a fast-drying paint that can take from 12 to 24 hours to dry to the touch. Purchasing pure oil pigments means that you may have to wait a long time (sometimes years) for the paint to dry completely. This is especially true with thickly layered projects and effects like impasto.
Fade Resistance
Think about whether your painting project will be exposed to light once it is finished. If so, then you will need to protect it from fading. Check your paint for lightfastness and permanence before purchasing. Varnishing or glazing a finished and fully dry art piece can also help for less lightfast paints.
Safety, Health, and Environment Issues
In the past, oil paints were quite toxic and contained things like lead, barium, and mercury. Even the pigments themselves were poisonous, such as the cobalt for blue hues and cadmium for red. Arsenic was also believed to provide certain green colors. When looking back, this might be the cause for various sicknesses and ill-health in those days.
It is believed that van Gogh spent most of his money on his art supplies and that in more desperate times, he may have even ingested some of the paint, either on purpose or not.
Today, you can at least read the label and identify any toxic ingredients before purchasing. In all cases, it is best not to open caps with your teeth and not to put a brush in your mouth at any time. The account of what is known as ‘the radium girls’ is a noteworthy one. This occurred in America during the 1920s, where factory women were working to paint watch faces. To achieve the delicate painting, they would lick the brush tips to get a finer point. Unfortunately, the paint involved was toxic and eventually lead to radiation poisoning.
Thankfully, paints are much safer to use today, although you should always read the product label for instructions on how to dispose of the paint, as well as what solvents were used. Also, make sure that there is enough ventilation in the room where you are working.
Oil Paint Cost
The cost of paints is always a main point of consideration, especially when it comes to an oil paint set for beginners. As a beginner or student, you need oil paint that is affordable but still of a good quality. Also, you want to be able to experiment and maybe even waste a little paint, so you do not want to go too expensive.
An oil painting set with all the basic colors is the best option, as you can learn and become more confident in mixing your own colors eventually. When purchasing individual paint tubes, get your primary colors and then a larger tube of titanium white and black or gray paint so that you can create different hues for shading and tinting. Finally, consider the size of your surface, measure it, and decide on how much you are willing to pay.
Oil Paint Packaging
Think about where you are going to store your paints and how much space will be needed. In most cases, the oil paint colors come in a neat box set that can be stored easily. This is again in favor of an oil painting set, rather than a bunch of individual paint tubes lying everywhere. What techniques are you going to be using? Sometimes it is easier to dip the brush into the container, where at other times it is easier to mix on a palette. Of course, this is up to you and you will have to learn what you prefer and what works best.
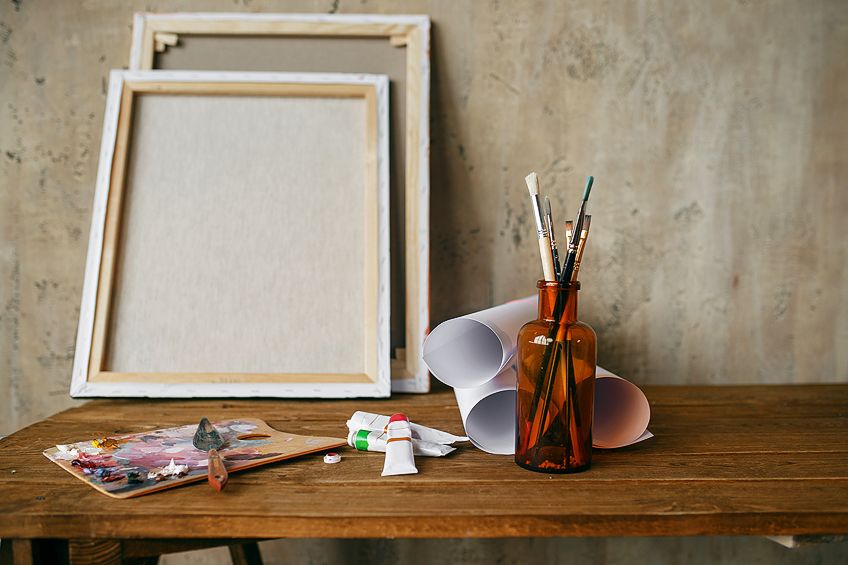
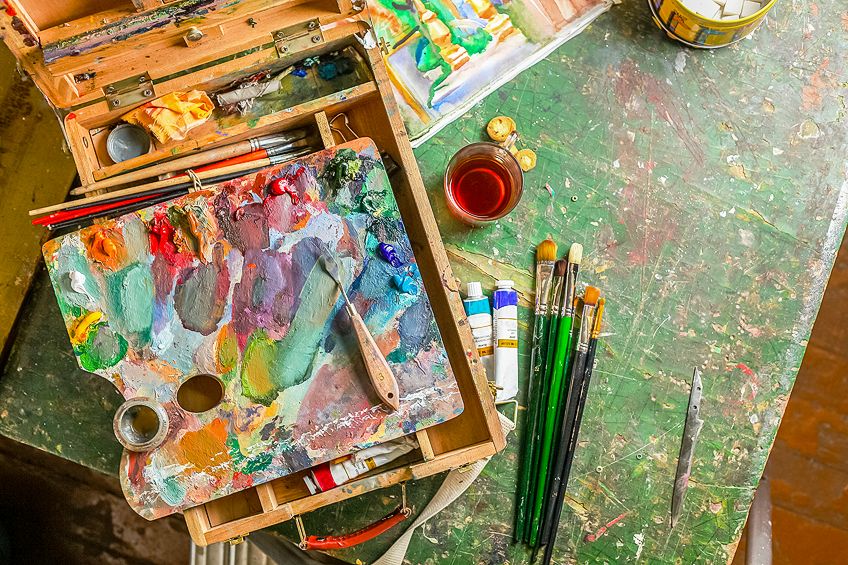
What Painting Materials Do You Need?
If you are beginning oil painting, there are a few materials you will need to get. Once you have your oil painting set and your canvas or another surface, you will also need a solvent for cleaning and other materials that will make the painting experience easier. Many of these items can be purchased and some of them can be replaced with things found around the house.
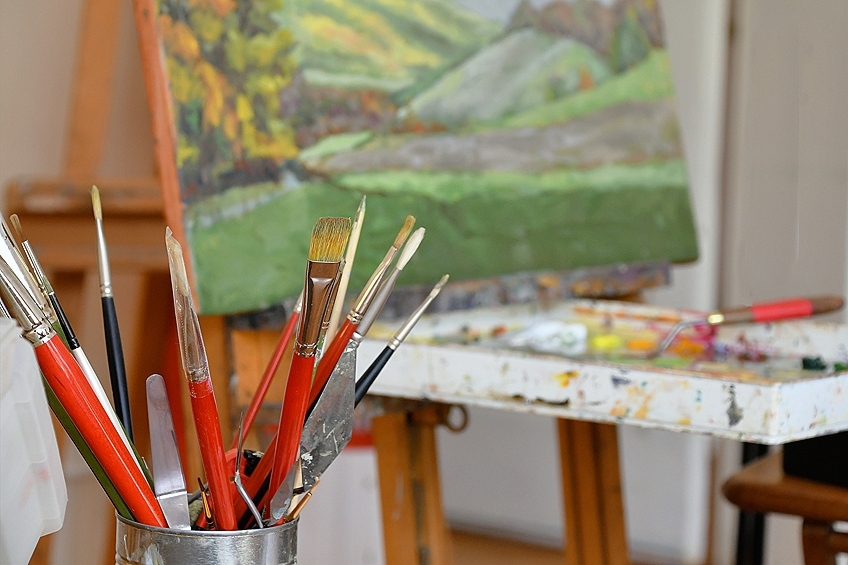
Paintbrushes for Oil Painting
Beginners can start with using just one or two of each size of brush, being fine, medium, and large. Once you get more confident and discover your particular style, you can add on different brushes. These days, you get synthetic brushes, however, many prefer natural brushes which are commonly made of pig’s hair.
Brush handles also come in different sizes, from short to long. The long brush is best for oil painting, as it provides a better angle to view the painting you are working on and helps to keep you further away from any fumes the paint might be giving off. Shorter brushes can be used for more detailed work, as they provide more control. Different types of oil painting brushes include:
- Mop brush: A soft brush for blending and smoothing, which is used very lightly.
- Rigger brush: Has thin and long hairs that are best used for details.
- Angular Brush: Great for creating unusual angles, blended strokes, and curves.
- Fan Brush: Can be used to create textures such as fur, hair, or grass.
- Bright Brush: Has flat and short bristles that do not bend easily and are best used on larger areas.
- Flat Brush: Also great for larger areas, such as creating landscapes.
- Round Brush: Best used for more delicate and even painting.
- Filbert Brush: A versatile oval-shaped brush that can be used for numerous styles.
Oil Painting Mixing and Cleaning Materials
While painting, you might need to thin your oil paints so as to create certain effects, and when you are done, the brushes and other materials need to be cleaned. The following items are necessary for creating a seamless painting experience.
- A palette knife, which can be used to mix the paints. You can also use chopsticks or ice-cream sticks for this purpose.
- A bunch of rags and newspaper to wipe your brushes and to lay out on your painting surface for protection.
- Latex gloves to wear when you are cleaning the brushes and materials.
- A palette for mixing colors, although you can use any flat item you can find around the house to do this. You can use a Tupperware lid, an old tile, a plate, and so on.
- Linseed oil or a paint thinner for mixing and thinning the paint.
- Turpentine or mineral spirits for cleaning the paint.
Other helpful materials include the following:
- Old jars, which can be used to place brushes upright, for cleaning the brushes, and for storing turpentine and other cleaning solutions.
- Wear old clothes or use an apron, as you will most definitely mess at some point.
- A pencil and masking tape for preparation of your artwork.
- An easel can help to prevent back pain caused by bending over, and it also provides a better perspective. You can get a range of easel sizes to suit your preferences.
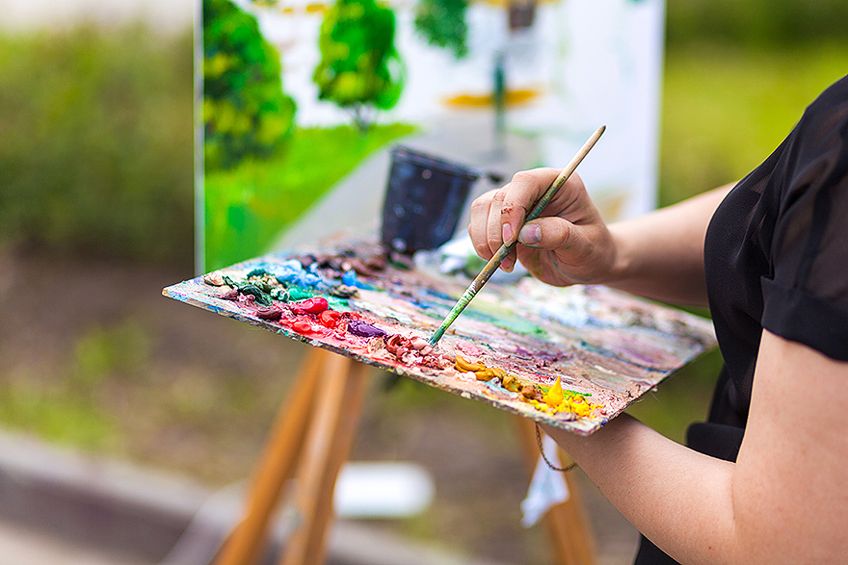
Oil Painting for Beginners Guide
Once you have all your materials, you are ready to begin painting your masterpiece. There are no strict rules to follow when painting, however, there are some guidelines you can use in general to get you started. First and foremost, you should have fun. Do not be afraid to experiment and play with ideas.
Preparing Your Work Area
Your work area should be large and comfortable enough to paint in and, of course, it requires plenty of light. Proper ventilation is also important in order to avoid breathing in any toxic fumes. The area should be big enough to move freely around in and should be more or less permanent until you finish your painting. You do not want to have to pack everything up each time you want to paint. Laying some newspaper down can help to prevent any messes, and ensure that you have all your tools and materials ready for easy use and cleaning up.
The Painting Surface
You should have already chosen your surface and it should be primed and ready to use. You can then lay down flat your chosen surface or place it on an easel. If your surface is oil paper or some other light material, it may be a good idea to use some masking tape to secure it and prevent it from moving around while painting.
Painting a still life? Set up in a space where you can view your subject easily from various angles. You can also use a picture or photograph, which you can stick up nearby.
Now, everything should be ready, and your blank ‘canvas’ waiting.
Do not feel too intimidated to begin, as any mistakes are part of the process. Take a pencil and lightly outline what you want to paint onto the canvas. You do not need to go into detail, as this is going to be painted over. Instead of a pencil, you can also use light, thin paint to outline.
Beginning Oil Painting
Select what paint colors you are going to be using and have them ready on your palette. Begin by painting out the larger areas or shapes with some thinned paint in the desired colors. This is a basic move just to get an overall picture of your image. You can then follow this with thin layers and slowly work in more detail as you go.
Alla Prima is a painting technique where wet paint is layered over wet paint. You can also apply a thicker layer each time, allowing some drying time between layers as you go. This is what is known as “fat over lean”, because you are applying thicker layers over the thin layers.
“Divide and Conquer” is another technique where painting in smaller sections at a time feels more comfortable. When focusing on a smaller section, do not try to complete only this area while the rest of the canvas remains untouched. The paint must not dry in this area, or else you will find it difficult to get the identical color and blend it into the rest of your painting. A thicker painting technique such as impasto will come more to the final applications to your painting, providing textured and thick layers.
Cleaning up
Always clean as you go and keep everything organized and in its place. Remember to place the caps back onto your paint tubes so they do not dry out. Also, keep the caps on the paint thinner and mineral spirits so as to avoid any added fumes escaping as well as to prevent spilling any. Make sure that you clean your brushes after every few strokes to make sure you do not muddy the colors. When the mineral spirits appear dirty, be sure to change them. The brushes should also be dried properly.
Oil Painting Final Steps
Once you have finished painting and you are happy with the results, you can leave it to dry. Drying can take some time, so be patient. When the painting is dry enough, you can choose to varnish or glaze the art piece for protection and a glossy sheen.
Tips for Beginning Oil Painting
Over the years, experienced artists have gained knowledge and experience when it comes to painting. As you continue to paint, experiment, and create new art pieces, you will also learn the right methods and maybe even create some of your own painting tricks. For now, here are some tips to get you started.
- You can condition the bristles of your brush with baby oil, and then rinse with turpentine once done.
- Use a little cling wrap around the cap and paint tube to prevent any sticking caused by dry paint. This allows you to open your paint tubes easily each time.
- If you are a beginner, think of starting with a small painting. Once you gain more confidence, you can move on to a larger project.
- You can keep on using the same jar of mineral spirits. Simply let the paint sink to the bottom of the jar and pour the clean turpentine out into a clean jar.
- You can stain the entire painting surface with a light and watered-down brown. You will then not have to work on a too-bright white surface.
- As you work, take photos to gauge your progress.
- To prevent your oil paint colors from drying out on the palette, you can cover it with cling wrap and put this into the freezer.
Oil Painting Trivia Fun
As mentioned, oil painting has been around for many years, and as a result there are some interesting facts to learn. Here are a few fun trivia facts that you can ask some of your artist friends to see if they know the answer.
- Did you know that the earliest oil paintings are said to be Buddhist murals? These were discovered in Afghanistan in about the seventh century C.E (Common Era) in what is known as the Bamiyan caves.
- What is the most expensive color of oil paint? Ultramarine, which contains lapis lazuli and at some point, was even more expensive than gold.
- You might think tube paints a common thing as it is now, but they were considered an amazing idea that made painting more portable. Renoir even commented that there might not have been the Impressionist movement if it were not for tube paints.
Frequently Asked Questions
Is It Possible to Mix Different Brands of Oil Paints?
Yes, many artists mix brands as it provides different colors as well as textures. Fast- and slow-drying paints can also be mixed.
Is It Easier to Oil Paint or Paint with Acrylics?
Acrylic paints are popular, easier, and safer to use, and are best for beginners. They are also more affordable, and you do not need as many tools. Acrylics also dry quickly, which could be seen as a disadvantage, whereas oil paints take longer to dry, allowing time for experimenting. The choice is really up to each person and their preferences – one is not necessarily more difficult than the other to use.
Do Oil Paints Have an Expiry Date?
Depending on the quality, oil paints that have been stored correctly with the cap sealed can last for up to 15 years. Many other paints deteriorate within two years and must then be replaced. While oil paints do not deteriorate, they can dry out and lose their vibrant colors.
Are Oil Paints Toxic?
Today, most oil paints are not toxic. However, you should still work in a well-ventilated space so as not to breathe in too much of it. Always read the paint labels to see if there are any toxic ingredients like cadmium or lead. If you are pregnant, oil paints might not be the best choice, as there is possible exposure to lead. The solvents also produce strong fumes, which could be harmful.

Larissa Meyer is a 32-year-old mother from Michigan and creative spirit since childhood. Her passion for painting and drawing has led her to an education as an illustrator and a career as a freelance graphic designer. She has a Bachelor of Fine Arts in Illustration and a degree in Graphic Design. Larissa is a talented artist who is able to master a wide range of styles and techniques to bring her artistic vision to life. Her greatest passion is currently fluid painting and epoxy resin art. Larissa’s love for art and her knowledge and experience in illustration make her the perfect Creative Director for our fluid-painting.com team. She is the creative head of our team and shares her passion and knowledge with our community through articles and tutorials.
As a mother of a 2-year-old daughter, Larissa also understands the importance of fostering creativity in early childhood. She uses her experience and knowledge to help other parents inspire their children and develop their artistic skills as well.
Learn more about Larissa Meyer and about us.