How to Draw a Fox – Create a Wily Drawing of a Fox
This post may contain affiliate links. We may earn a small commission from purchases made through them, at no additional cost to you.
Foxes are fascinating creatures that have captivated the human imagination for centuries. With their striking reddish-brown fur, pointed ears, and bushy tails, foxes are known for their agility and cunningness. They are highly adaptable and can be found in a wide range of environments, from urban areas to the wild countryside. Foxes are also known for their unique vocalizations, including eerie shrieks and yips that are sure to catch anyone’s attention. Whether you love them or fear them, there’s no denying that foxes are one of nature’s most intriguing animals. With that in mind, get your drawing supplies ready and be prepared for an exhilarating tutorial on how to draw a fox! We will lead you through every step to capture the essence of these magnificent creatures.
Table of Contents
- 1 How to Draw a Fox in Our Easy Drawing Tutorial
- 1.1 Step 1: Draw the Head
- 1.2 Step 2: Draw the Main Body
- 1.3 Step 3: Add the Ears to Your Fox Illustrations
- 1.4 Step 4: Draw the Legs and Paws
- 1.5 Step 5: Add the Facial Guidelines
- 1.6 Step 6: Outline the Head of Your Fox Sketch
- 1.7 Step 7: Continue to Outline Your Fox Sketch
- 1.8 Step 8: Outline the Main Body
- 1.9 Step 9: Outline the Legs
- 1.10 Step 10: Draw the Tail
- 1.11 Step 11: Draw the Facial Features
- 1.12 Step 12: Apply the First Color Coat
- 1.13 Step 13: Continue to Color Your Fox Sketch
- 1.14 Step 14: Draw the Facial Features
- 1.15 Step 15: Shade and Highlight Your Fox Drawing
- 1.16 Step 16: Continue to Shade Your Drawing
- 1.17 Step 17: Shade and Highlight the Details
- 1.18 Step 18: Apply a Ground Shadow
- 1.19 Step 19: Finalize Your Fox Sketch
- 2 Frequently Asked Questions
How to Draw a Fox in Our Easy Drawing Tutorial
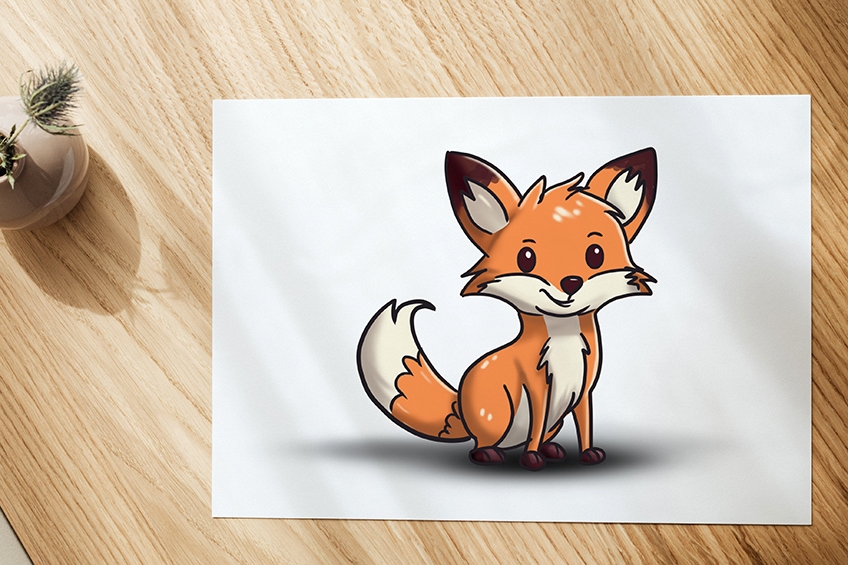
Congratulations on starting your drawing tutorial on foxes! Foxes are amazing animals to draw, and you’re in for a treat as you begin to explore their unique features and characteristics. As you sketch, pay attention to the details of their fur, which can range from reddish-brown to gray and white. Don’t forget their iconic bushy tails, pointed ears, and delicate facial features that help make them stand out from other animals. Take your time as you follow the step-by-step guide, and remember to practice often to improve your skills. With patience and persistence, you’ll be able to capture the essence of these magnificent creatures and create stunning artwork that showcases their beauty.
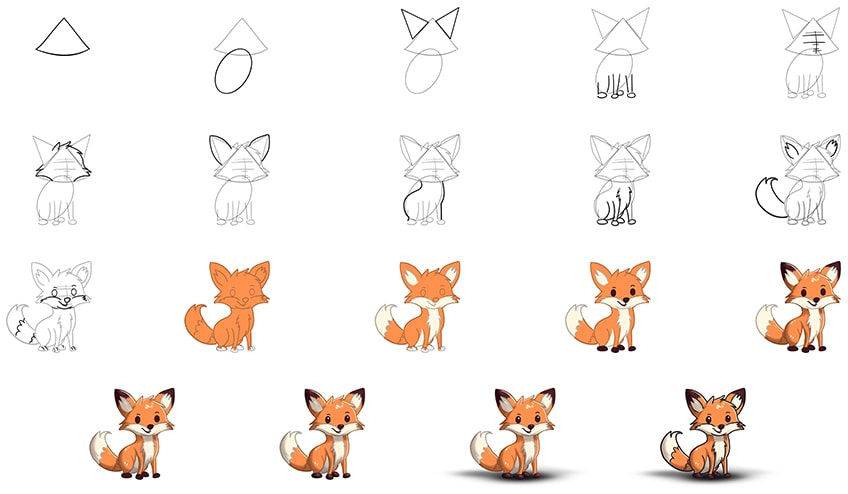
Check out the below fox sketch collage which demonstrates each step you will take to draw an easy fox!
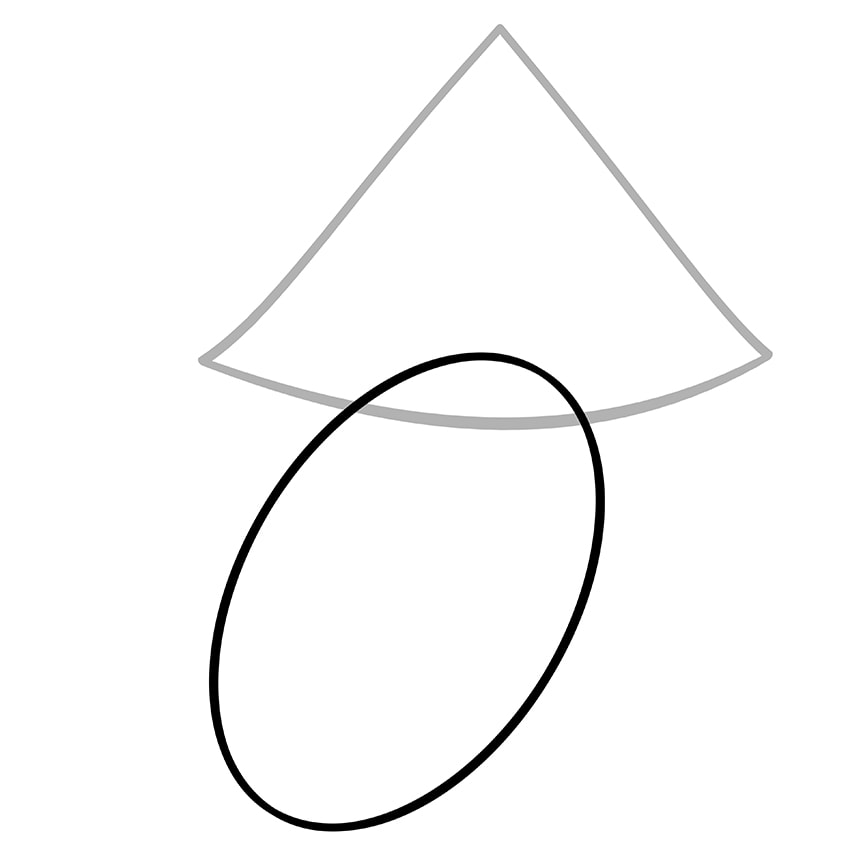
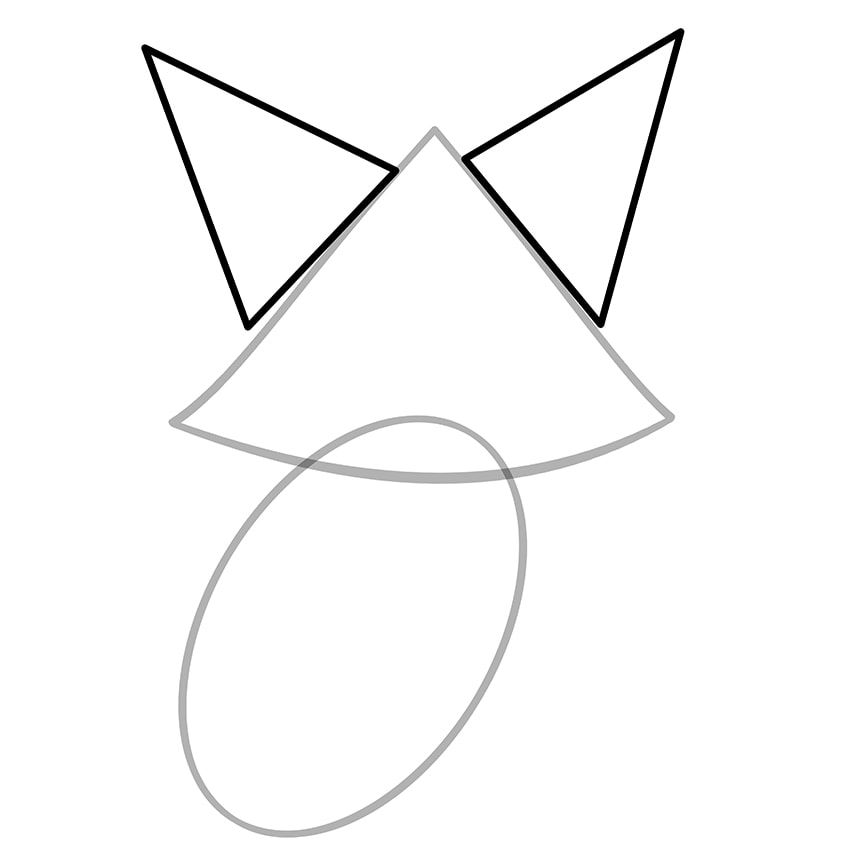
Step 1: Draw the Head
Begin your fox drawing, by drawing a triangle with a curved bottom to represent the head of the fox.

Step 2: Draw the Main Body
Overlapping the head, draw an oval shape to represent the main body.
Note! This triangle should be slightly tilted.
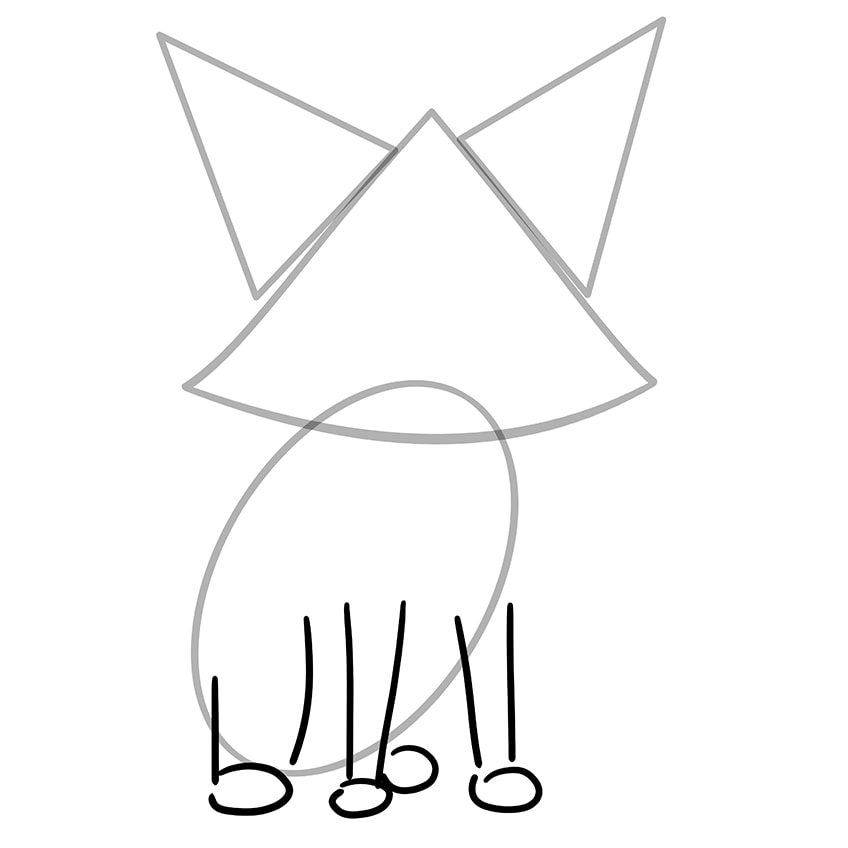
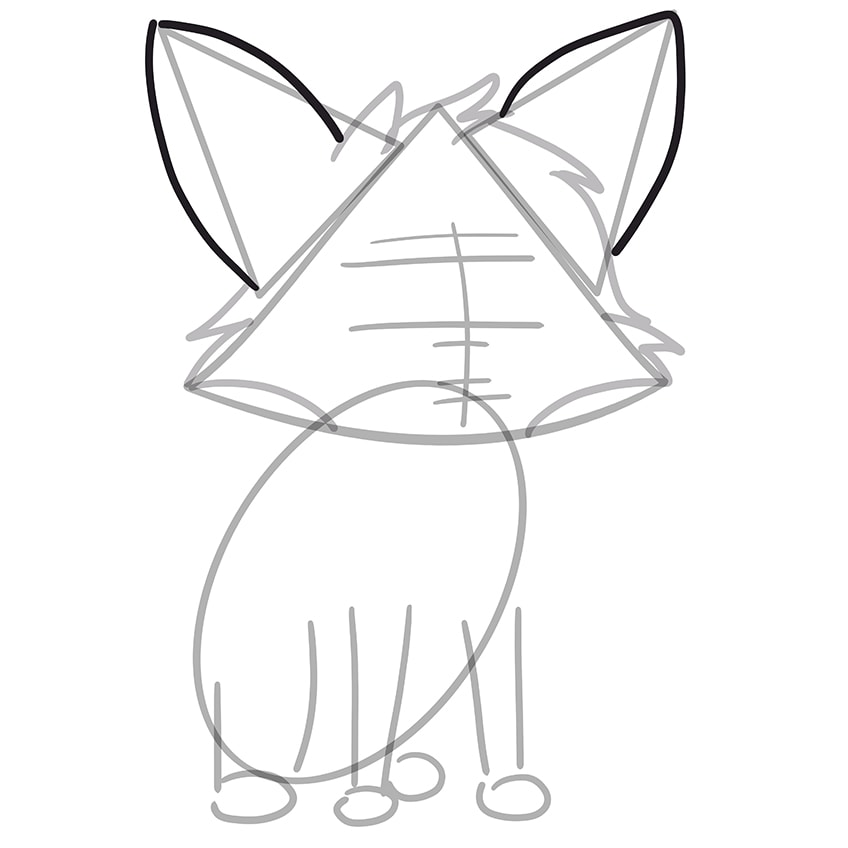
Step 3: Add the Ears to Your Fox Illustrations
At the top of the head, draw a triangle on each side to represent the ears.
Step 4: Draw the Legs and Paws
Overlap the main body, and draw six vertical lines to represent the legs. At the bottom of each leg, draw the visible paw represented by a small oval shape.
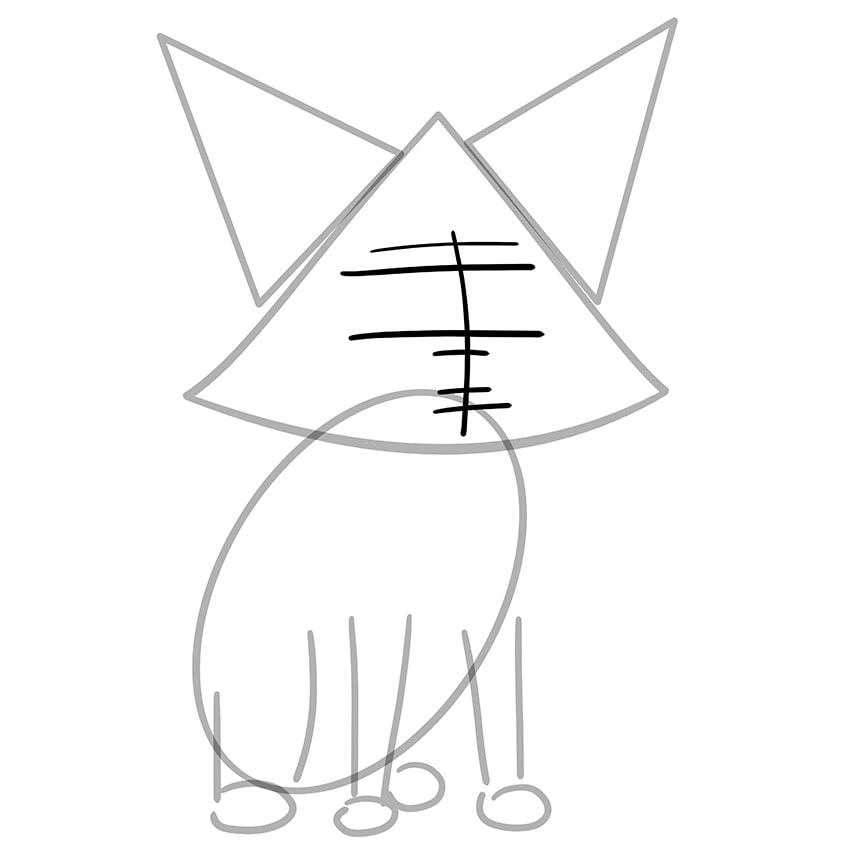
Step 5: Add the Facial Guidelines
In this step, draw a center vertical line and six horizontal guidelines crossing this vertical line.
Step 6: Outline the Head of Your Fox Sketch
Use the previously drawn construction lines to aid you in outlining the furry head on your fox drawing.
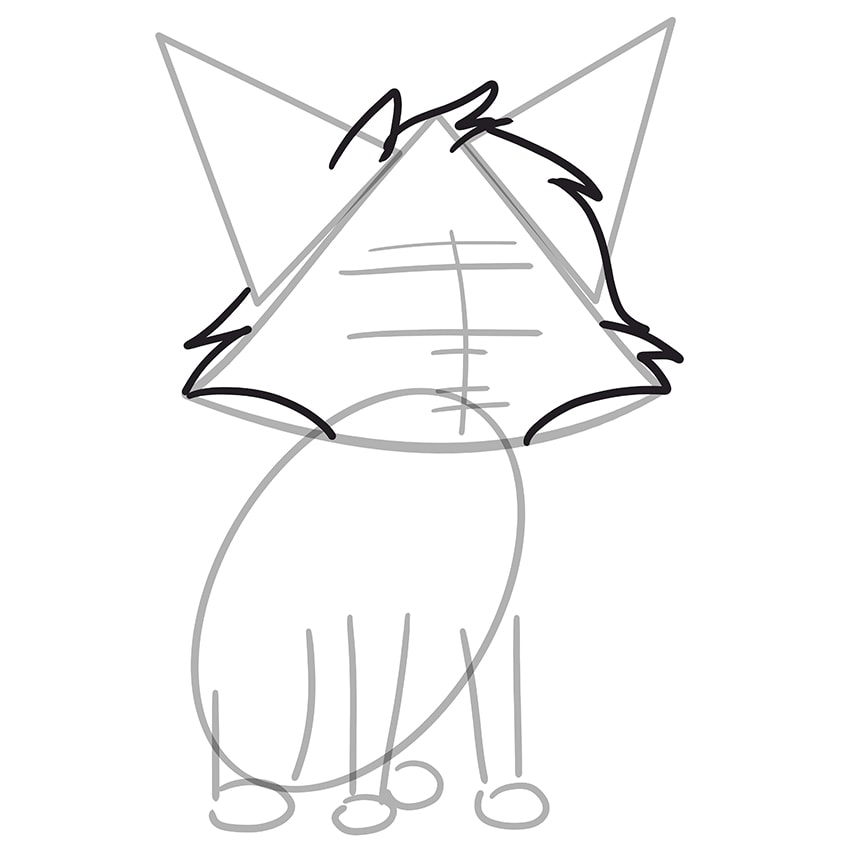
Step 7: Continue to Outline Your Fox Sketch
Continue outlining the ears of the fox, by using the previously drawn construction lines to aid you.
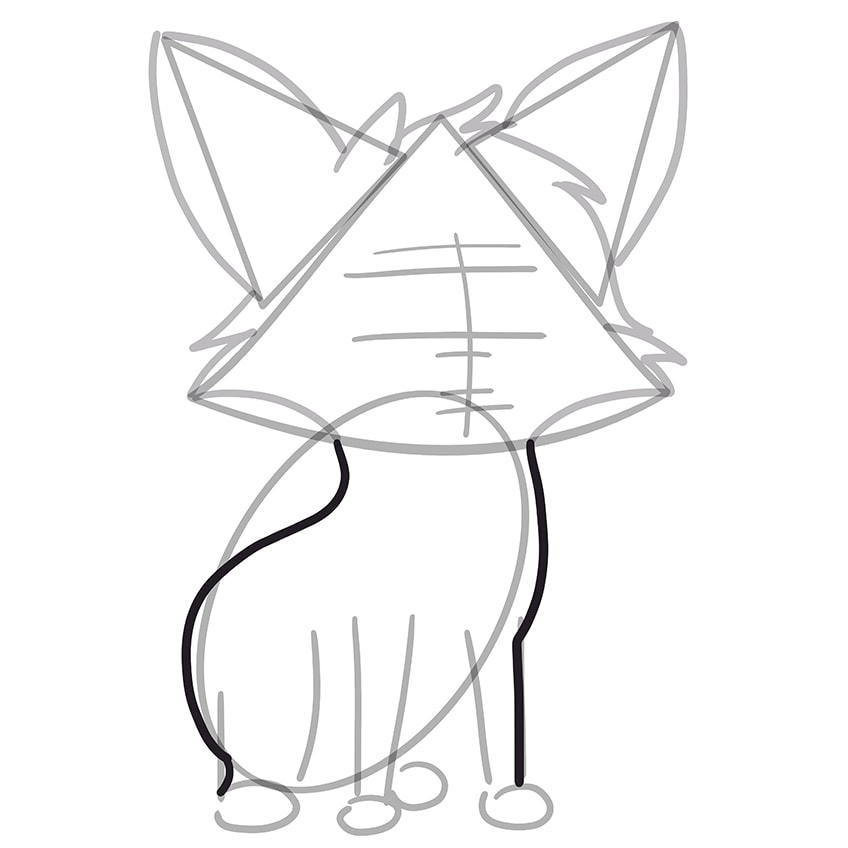
Step 8: Outline the Main Body
Begin to outline the curvy, main body of the fox, leading to the rear leg and front leg of your fox illustrations.
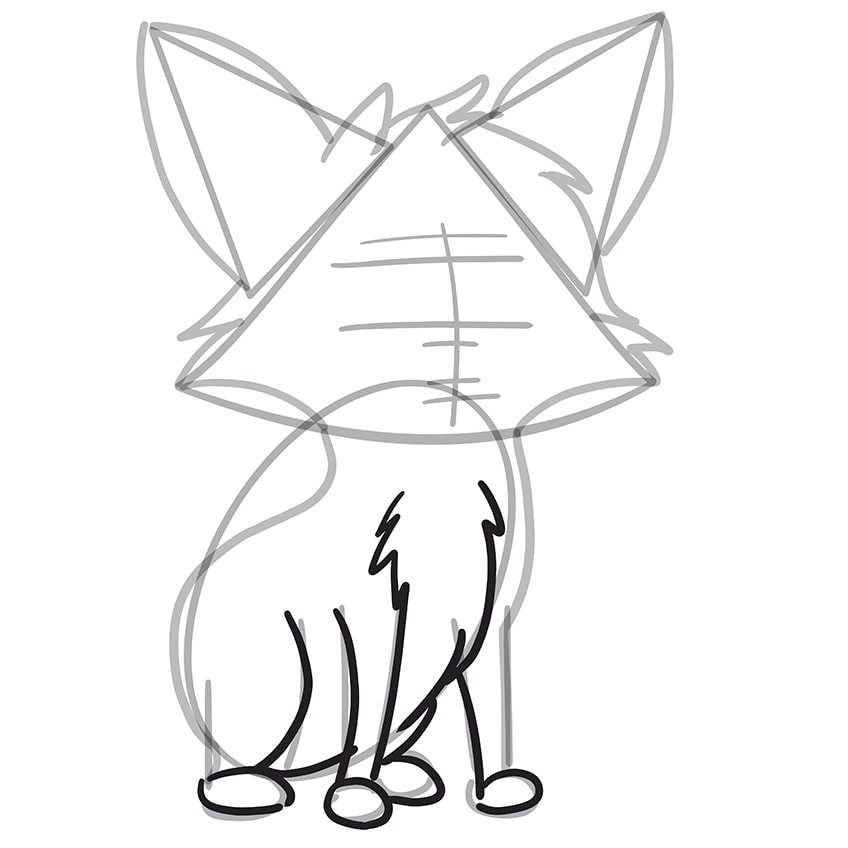
Step 9: Outline the Legs
Use the previously drawn construction lines to aid you in outlining each of the legs. Within the chest area draw the furry coat on your fox illustrations.
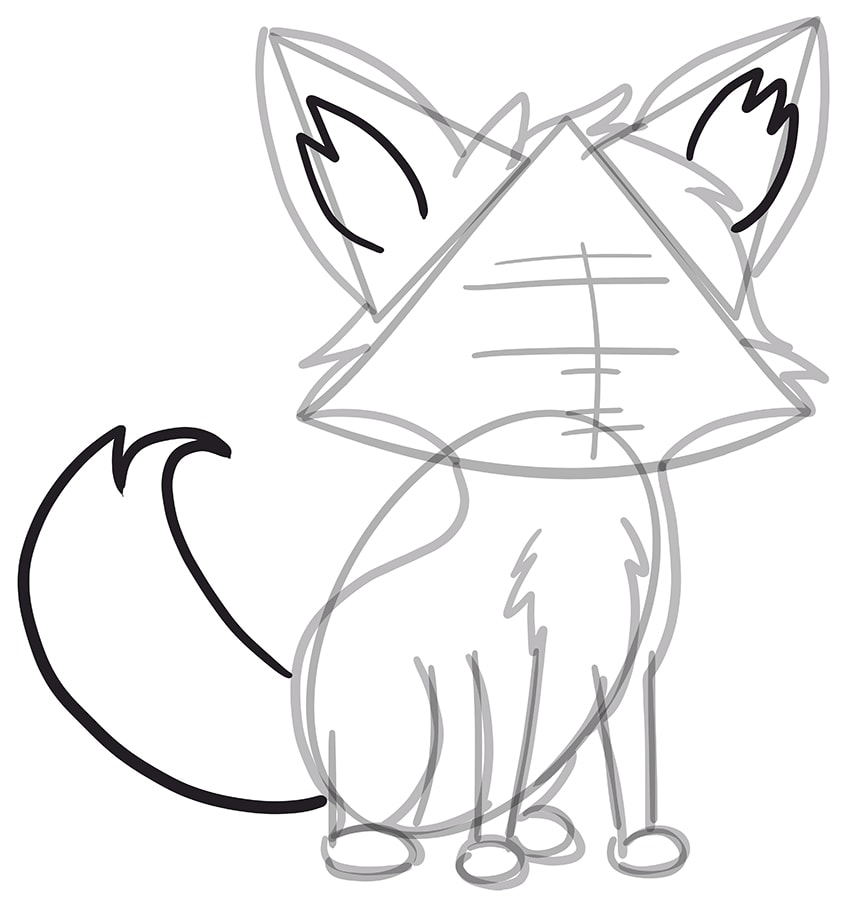
Step 10: Draw the Tail
Draw the curving tail attached to the rear of the main body. Continue by drawing the inner ear lobes with furry edges. Finish off by erasing any of the construction lines that are still visible.
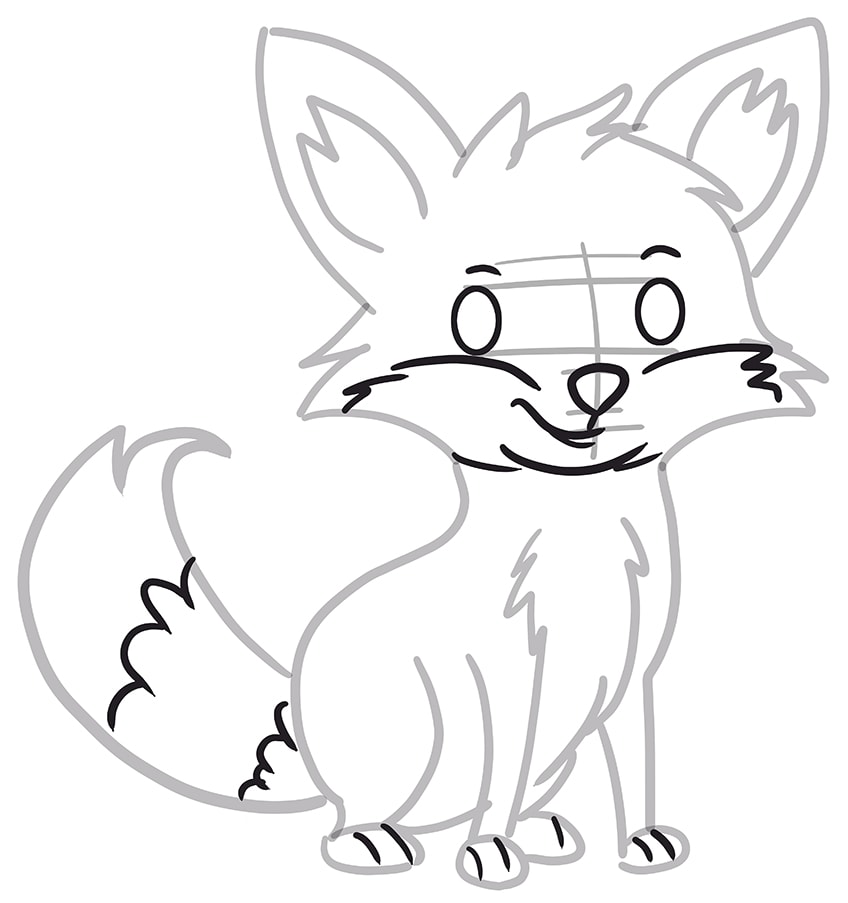
Step 11: Draw the Facial Features
In this step, draw symmetrical facial features, using the previously drawn guidelines to aid you. Begin by drawing the eyes represented by oval shapes, with a line above each eye, to represent the eyebrows. Continue to draw the nose and a mouth line.
Complete the step by drawing the final details which include the furry face lines, the paw lines, and the tail fur.
Step 12: Apply the First Color Coat
Select a fine, sharp brush and orange paint, and evenly coat your fox drawing.
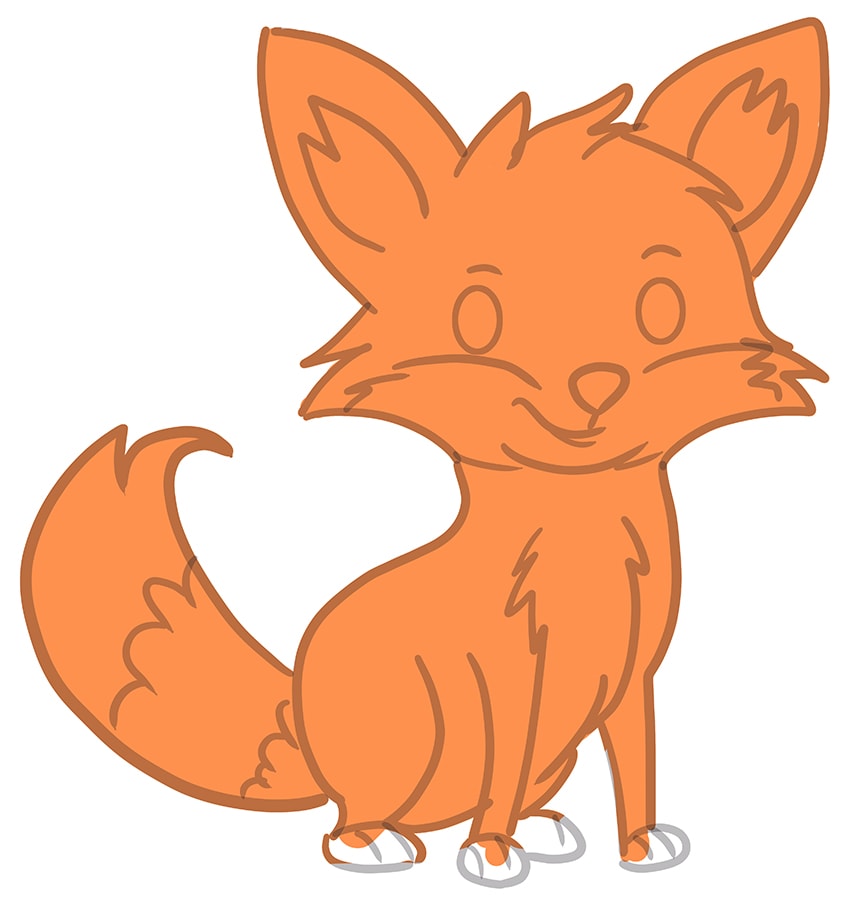
Step 13: Continue to Color Your Fox Sketch
Use the same brush as previously and switch to light yellow or cream paint, and evenly coat the inner ear lobes, the chest, the furry face area, and the tail end.

Step 14: Draw the Facial Features
In this step, trace the facial features and the paws using a thin brush and brown paint. Switch to dark maroon paint, and fill the facial features and paws.

Step 15: Shade and Highlight Your Fox Drawing
Begin by using a fine, sharp brush and a combination of maroon and brown paint, and color the tips of the ears. Continue using white paint, and add highlighted brushstrokes along the edges of the ear, main body, legs, and tail. Repeat within the head and main body, and apply several spots using white paint.
With a small, soft brush and black paint, add soft shading along the edges of the fox. Switch to a blending brush to soften and spread the shading.

Step 16: Continue to Shade Your Drawing
Softly apply shading within the second color coat, using a soft brush and gray paint. With a blending brush, begin to spread and soften this shading.

Step 17: Shade and Highlight the Details
With a small, soft brush and black paint, add soft shading to each of the paws. Repeat once more using white paint to add a soft highlight. Using a thin brush, add a shimmer within each eye and the nose on your fox illustrations.

Step 18: Apply a Ground Shadow
In this step, add shading directly underneath the fox, using a soft brush and black paint. Switch to a blending brush to soften and spread the ground shadow.
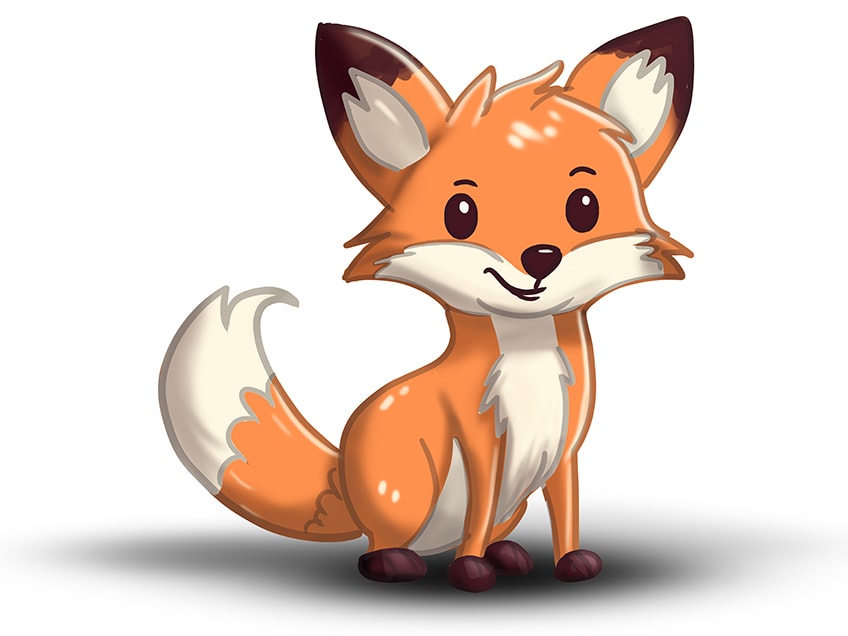
Step 19: Finalize Your Fox Sketch
For the last step of our tutorial on how to draw a fox, trace the entire outline and any inner texture lines using a thin brush and black paint.

Well done on finishing your fox drawing! You should be proud of yourself for capturing the essence of this amazing animal. Take a moment to appreciate the details you’ve included, such as the fox’s pointy ears, bright eyes, and bushy tail. You’ve done a great job at capturing the fox’s sleek and elegant appearance, as well as its sly and cunning personality. You’ve managed to showcase the fox’s wild spirit and adaptability in your artwork, making it truly stand out. Keep up the great work, and continue to practice to improve your skills even further. Your talent and dedication are sure to take you places in the world of art!
Frequently Asked Questions
How to Draw the Fox’s Fur Texture?
To draw the fox’s fur texture, you’ll want to create a series of short, curved lines that overlap each other to form the appearance of fur. The direction and thickness of these lines can vary depending on the area of the fox’s body you’re drawing. For example, the fur around the fox’s neck and face may be thinner and more detailed, while the fur on its back and legs may be thicker and more rugged. Take the time to carefully study the reference photo or observe a real fox to ensure you’re capturing the correct texture!
What Colors Should You Use for a Realistic Fox Drawing?
For a realistic fox drawing, you’ll want to use a range of warm browns, oranges, and yellows to capture the fox’s beautiful coat. Pay attention to the specific hues and tones of the fox you’re drawing, as they can vary based on the species and the time of year. Consider using colored pencils or pastels to create a layered effect that adds depth and dimension to the fur. Additionally, be sure to include the white fur around the fox’s face, chest, and underbelly, as well as the black fur on their legs and feet. By using a variety of colors and shades, you can create a stunning and realistic depiction of this captivating animal.

Larissa Meyer is a 32-year-old mother from Michigan and creative spirit since childhood. Her passion for painting and drawing has led her to an education as an illustrator and a career as a freelance graphic designer. She has a Bachelor of Fine Arts in Illustration and a degree in Graphic Design. Larissa is a talented artist who is able to master a wide range of styles and techniques to bring her artistic vision to life. Her greatest passion is currently fluid painting and epoxy resin art. Larissa’s love for art and her knowledge and experience in illustration make her the perfect Creative Director for our fluid-painting.com team. She is the creative head of our team and shares her passion and knowledge with our community through articles and tutorials.
As a mother of a 2-year-old daughter, Larissa also understands the importance of fostering creativity in early childhood. She uses her experience and knowledge to help other parents inspire their children and develop their artistic skills as well.
Learn more about Larissa Meyer and about us.