How to Paint Cardboard – An In-Depth Guide to Cardboard Painting
This post may contain affiliate links. We may earn a small commission from purchases made through them, at no additional cost to you.
Cardboard is an awesome medium to use when creating art pieces when used correctly. One of the most recognizable art pieces on cardboard is The Scream (1893) by Edvard Munch. It is readily available. It can be used to create layers and shadows on flat pieces of art. It can be built up into wonderful models and 3D pieces. It is a versatile material and therefore, knowing how to paint on cardboard is a good skill for any artist to have.
Table of Contents
What Type of Paint Works Best on Cardboard?
Cardboard can warp very easily if exposed to moisture, therefore, watercolor paints are not suitable at all for cardboard painting. This means that there are three other options for painting on cardboard and these are acrylic, spray, and oil paints. Below we will look at the benefits of each option.
| Acrylic Paint | Spray Paint | Oil Paint | |
| Drying Time for Each Coat | 2 hours | 2 hours | 6 to 8 hours |
| Cost | Inexpensive | Depends on product | Expensive |
| Skill Required | Beginner | Medium | Advanced |
| Chance of Warping | Low | Low | Medium |
| Need for Primer | ✔ | ✘ | ✔ |
The Best Products to Use on Cardboard
There are many great products out there for painting on cardboard. We have gathered a few of our favorites to get you started. These will products will give you the best start for any cardboard project you have in mind.
Best Primer: LIQUITEX BASICS Gesso Surface Prep Medium White
This is a great primer that can be used for both oil and acrylic paint. It is a decently sized bottle with 475 ml liquid. It is also well priced for this product and the amount of product that you get in this bottle. You only need a single coat of this good quality basecoat primer, and it can be mixed with other Liquitex acrylic paint colors. The gesso offers an opaque matte white surface that prepares and seals your canvas before painting. This gesso product is suitable for students and professional artists who require quality products at an affordable value. The paint is heavy-bodied and retains the peaks and brush strokes. It can also be thinned down if necessary.
- Only one coat of this high-quality basecoat primer is needed
- Can be mixed with other Liquitex acrylic paint mediums
- Adequately prepares surfaces for acrylic and oil paints
PROS
- Good coverage with one coat
- Easy to use
- Dries in 30 minutes
CONS
- Can lift colors underneath, if painted over another painting
- Can be too thin
- Can be confusing when ordering
Best Oil Paint Kit for Beginners: OHUHU Oil Paint Set
This paint kit is great for beginners as it comes in 24 colors. The 24 colors are well selected, which allows you to create perfect projects every time. Each tube contains 12ml of paint and is portable. These great value oil paints are vibrant and glide onto the surface smoothly. The paints are non-toxic and as such, are suitable for adults and children alike. For oil paints, this brand dries fairly quickly and provides a durable and beautiful finish on all surfaces.
- The set includes 24 of the best and most vibrant oil paints
- High-quality oil paints are suitable for beginners and professionals
- Oil paints glide smoothly onto canvases and other surfaces
PROS
- Good price for the selection
- Easy to blend
- Makes a good gift
CONS
- Some colors can be too thick
- Can take a long time to dry
- Paint has a weird smell
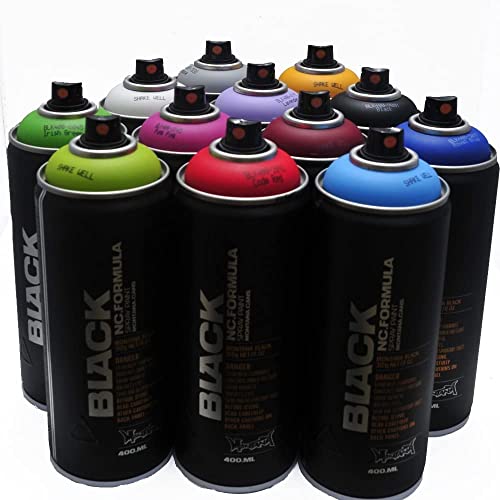
Fun for All: MONTANA Graffiti Street Art Mural Spray Paint Set
This set comes in 12 colors. Each bottle contains 400ml of paint. There is more than one set of this paint with a variety of colors in each set. These are nicely pressured and are great for bigger mural projects. The high-quality spray paints provide great coverage and they are fast-drying. You can find the most popular and useful colors in this set of 12, giving you everything you need for your art projects.
- Set of 12 Montana Black 400ml spray paint cans in popular colors
- High-pressure paint designed for graffiti street art and murals
- Great coverage, fast-drying, high-quality, and winter-proof
PROS
- Fast drying
- Very good coverage
- Comes well-packaged
CONS
- Only one type of spray-cap
- Expensive for the quality
- Needs to be shaken regularly
How to Paint on Cardboard
With the fact that there are three different types of paints that can be used for cardboard painting. We will look at all three in this step-by-step guide on how to paint on cardboard. After following this guide, you will be able to create any perfect art piece you can imagine. Remember that the first step is always to use gesso to prime your cardboard!
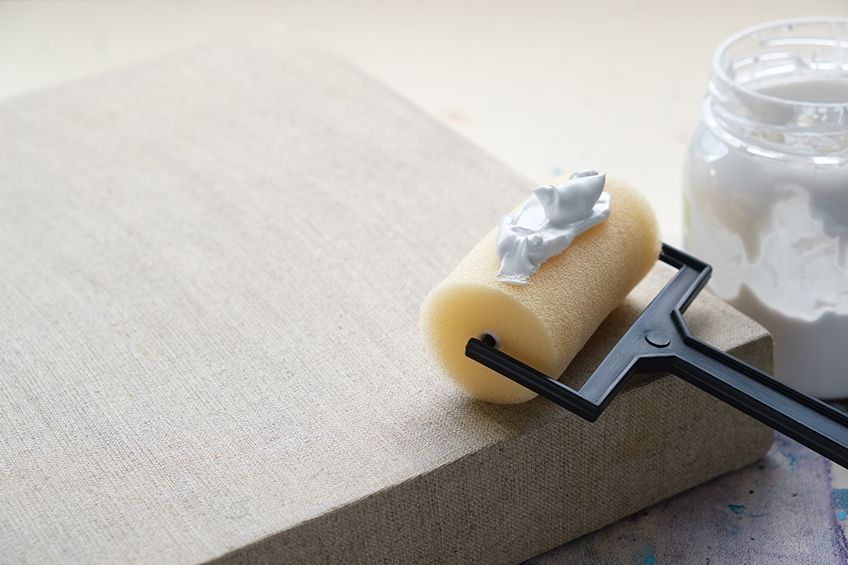
Step 1: Get Your Supplies Ready
- Cardboard: the thicker the better. Thicker cardboard will hold the paint without warping.
- Drop sheets: needed to keep your painting area clean.
- Primer: Gesso/Primer to paint the undercoat.
- Flat Paint Brushes: any flat paintbrushes will work for painting the undercoat.
- Paintbrushes: a set of normal paintbrushes that can be used for either oil or acrylic paint.
- Paint: whichever paint you choose for your project.
- Facemasks: this is optional but we do recommend using this when working with spray paint especially if your work area is not well-ventilated.
- Weights: to hold down the edges of your project should it start warping.
- Sandpaper: used to smooth the painting area after applying the gesso.
Step 2: Set up Your Work Area
Especially if you plan to use spray paint, make sure your work is in a well-ventilated area. All the paint options can make a mess, so make sure that you layout drop sheets and that you wear all clothes or an apron.
Step 3: Prime the Cardboard for Painting
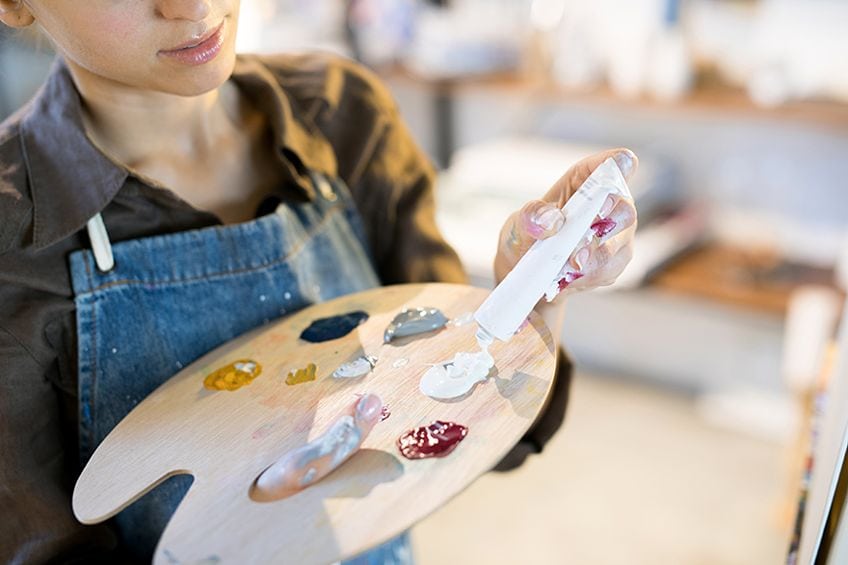
This is an extremely important step as it will prevent the paint from being absorbed by the cardboard. This will stop the cardboard from warping and the paint will be brighter. White acrylic paint can be used as an undercoat but we recommend using gesso.
Gesso seals the cardboard better because it creates a textured coat to enhance the color of your paint.
- Apply the gesso to the cardboard: Apply one coat, using long strokes with a flat paintbrush. Most gesso is clear or white but you can tint it to your desired color by adding a few drops of acrylic paint
- Allow to dry: Each coat must dry for at least 24 hours before the next coat can be applied
- Applying the next coat: A second must be applied for best results. Paint on the gesso with the same technique as the first coat. The strokes should be in the opposite direction as the first coat. If using white or colored gesso and the brown of the cardboard is still showing through, a third coat can be applied
- Once all your coats are fully dry, you can then lightly sand the surface to smooth out the painting area as gesso can leave some sharp areas that can make painting difficult
Step 4: Painting Your Project
Each type of paint has its own type of application when it comes to cardboard. We will look at each type so that you can create the perfect project regardless of the paint that you choose to use. We will give you all the steps needed to get the best colors and to prevent warping.
Acrylic Paint
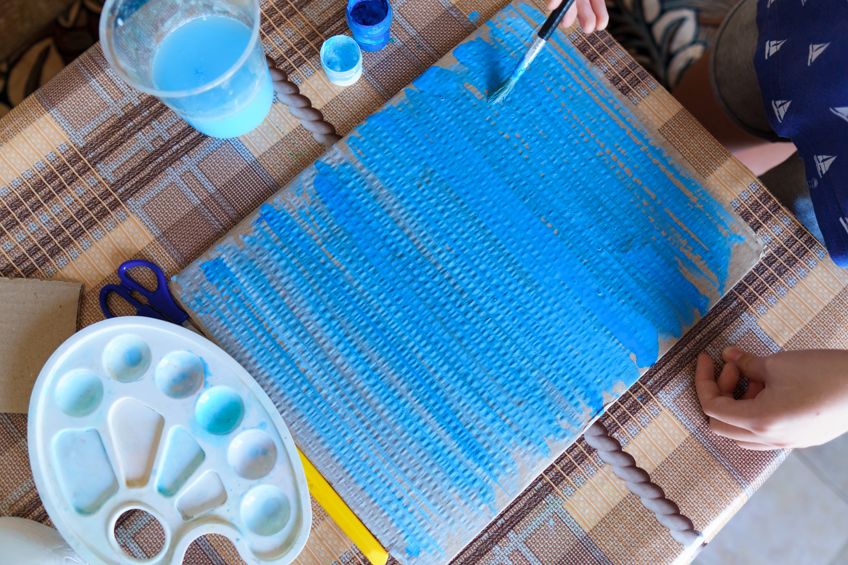
Acrylic paint is probably the best option for cardboard. Unlike normal acrylic painting on canvas, it is best not to apply the paint directly to the cardboard or on a wet brush. Instead, apply a small amount of paint to the dry brush, using thin layers. Make sure that you keep the area that you are painting as dry as possible, or else the cardboard may become soggy. Allow each coat to dry for two hours before applying the next coat.
When you are finished, allow your painting to dry for 24 hours before moving it.
Oil Paint
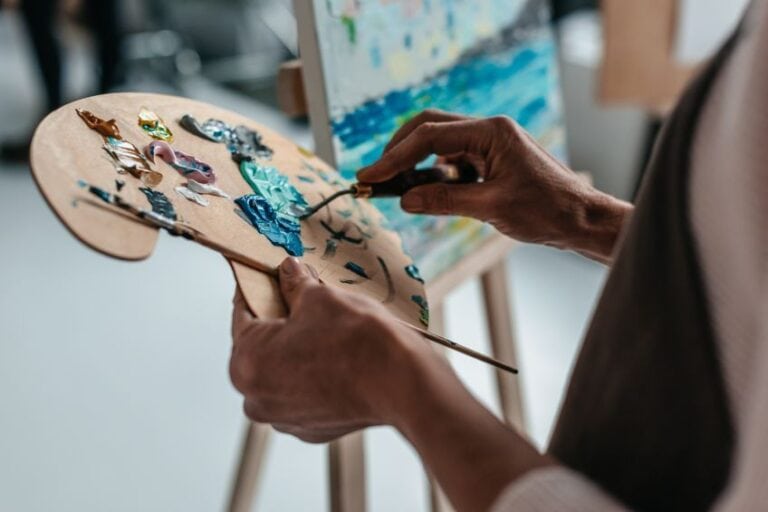
Due to the oil content in oil paints, you need to make sure that you apply it to cardboard very carefully. While a pallet knife is often used with oil paints, we strongly suggest that you steer clear of one when painting on cardboard surfaces. As with acrylic paint, always use a dry brush to apply the oil paint to cardboard, and ensure that you apply the paint in thin layers, allowing each to dry thoroughly. Each coat should be allowed to dry for at least 6 hours. Oil paints take a while to dry, so you will need to leave your finished piece to dry for a few days or even a week before moving it.
Spray Paint
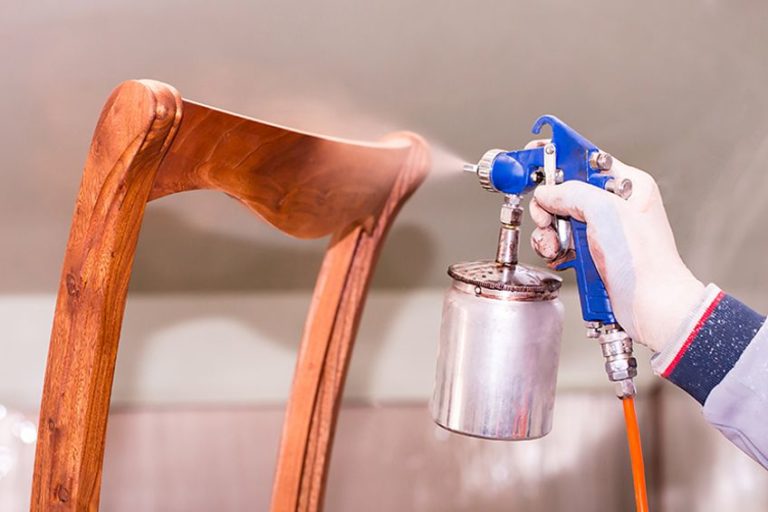
When using spray paint on cardboard, the most important thing to do is ensure that you are working in a well-ventilated space and that you are wearing a mask to protect you from the fumes. The spray paint pigment separates in the can before you start, so it is always a good idea to shake the can for at least three minutes before you begin spraying. Hold the can at least 30 cm away from the cardboard to avoid saturation. To create different and unique patterns, you can move the can horizontally, zig-zag, or in circular patterns.
Allow your spray paint to dry for two hours between each coat, and allow your final piece to dry for 24 hours before moving the painting.
What Are the Difficulties of Painting on Cardboard?
The main problem with painting on cardboard is that cardboard absorbs water very easily. This causes it to warp when being painted if a prime coat hasn’t been applied. Likewise, without a prime coat, painting on carton boxes can cause colors to be dull or even not show up at all. The other difficulty can be choosing the right type of cardboard for your project as the are many different types available, from recycled boxes, all the way through to project board available at your favorite art store.
Preventing Warping or Curling of Your Cardboard
There are a few simple steps to keep in mind when working on your project to prevent it from warping. This will also make your project last longer and allow you to get better results from your paints.
- Use gesso to prime the cardboard before painting.
- Avoid moisture and humidity.
- Keep paint as dry as possible.
- Allow the paint to dry thoroughly between coats.
- Never use watercolor paint.
- As much as possible, use the thickest cardboard for the project you can.
Fixing Warped Cardboard
Should the worst happen and your project does warp, if the damage is not too severe then you can fix it. Knowing how is a great skill to have. Here are some easy steps to follow to fix warped cardboard:
Step 1: Gather Your Materials
You will need a small spray bottle with water and weights. You can also use any other heavy objects such as books or any other heavy objects.
Also, prepare an area that is flat and away from all humidity so that you can dry your project properly.
Step 2: Drying Your Project
Allow the painted cardboard to dry completely before trying to fix the warping. This can take anywhere between 24 hours and a few days. Be patient with this part of the process as getting the project as dry as possible will help with fixing the warping.
Step 3: Adding Back Some Moisture
Using your spray bottle, gently spray your project. Once the painted cardboard is lightly wet, place the project on a flat surface. Apply the weights and leave for at least 24 hours or until the project is completely dry. If this option does not work. At a stretch, you can glue another piece of cardboard or styrofoam to the back of the project.
However, the type of glue is used is very important. The best glues you can use are as follows:
- Hot glue: the thermoplastics in the hot glue bond well with cardboard and help to prevent further warping of the cardboard. A thick stream of glue works best.
- Black hot glue: this is similar to normal hot glue, but gives neater finishes than normal hot glue. It is also better for joints in projects.
- Elmer’s glue: this is a good option for smaller projects. And can be painted on with a paintbrush. However, remember as with painting thin coats are better for cardboard.
Weatherproofing Cardboard
Making your project weatherproof means it will last longer. Using one of these techniques will help but will never make your project last forever. These are great if you are making temporary signage that needs to last a little longer than average.
Varnish Method
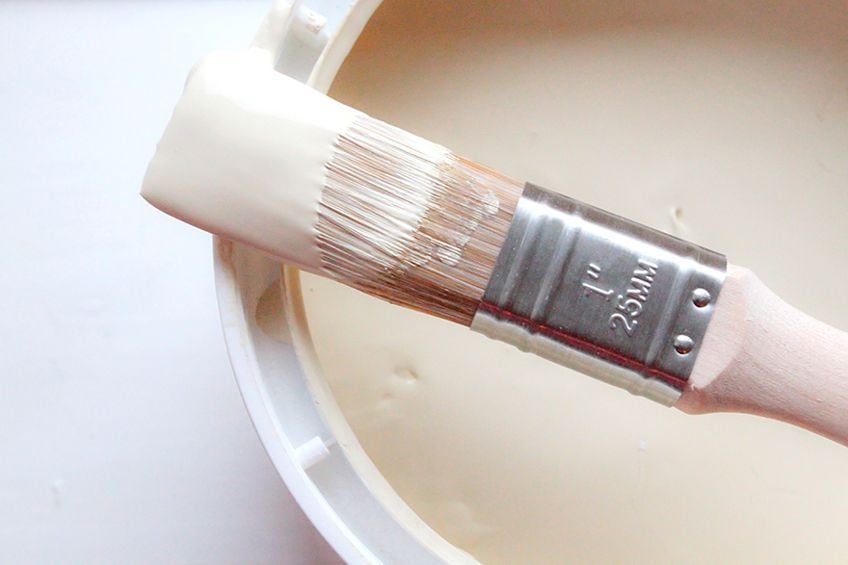
This method is the more complicated and expensive method of the two. It will make your project have a fiberglass-like finish when completely dry. This method takes a long time to dry before you can use your project. Paint the back of your project with glue. Use a flat bristled brush and keep the coat as thin as possible. Let this dry completely before applying the second coat of glue. Elmer’s Glue will work best for this.
Once the glue is dry, coat the painted side of your project acrylic elastomeric roof coating.
Using a flat bristled brush and keeping the strokes in one direction. Allow the paint to dry fully before moving on to the next step. Apply a layer of varnish. This can either be a spray varnish or a liquid varnish but we recommend a liquid varnish. Apply it to your project with a flat bristled brush and even strokes. Allow it to dry fully before using your project.
Lamination Method
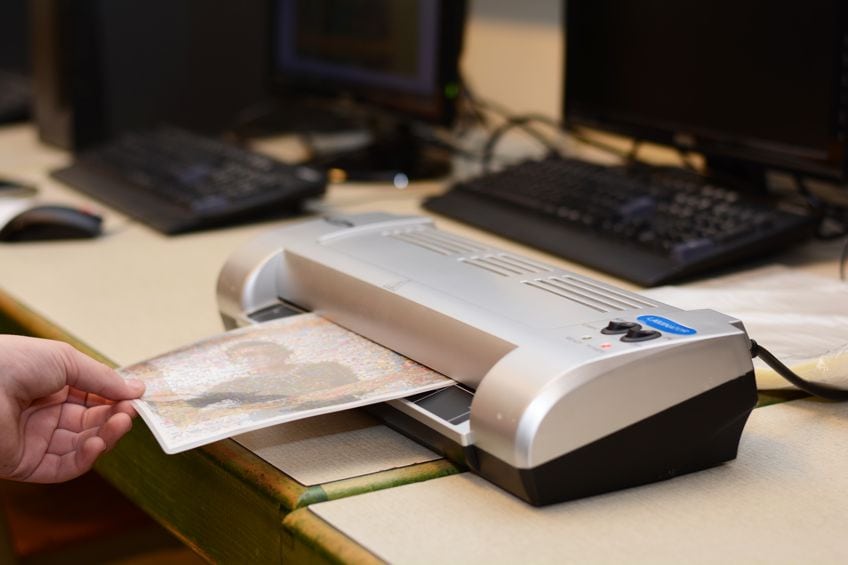
This is the easiest method to make a project last. However, it can only be used on projects that are flat and that are not too thick. Place your project between two lamination sheets and run it through a lamination machine. It is best to use sheets that are slightly larger than your project and trim them to size after they have been sealed.
Cool Cardboard Art Project Ideas
Know that you know how to paint on cardboard and the best product to use, here are some amazing cardboard art projects that you can make with that knowledge. These projects are both for beginners and for more knowledgeable artists.
From spray-painted cardboard boxes to complex 3D art pieces these are just the tip of the iceberg of what you can do with cardboard.
Abstract Art Piece
On a base piece of cardboard, glue pieces of different-sized cardboard. Then paint with different shades of the same color to create an interesting abstract art piece. Cut the base piece of cardboard into different shapes for an even more 3D effect.
Build and Paint a Box Fort
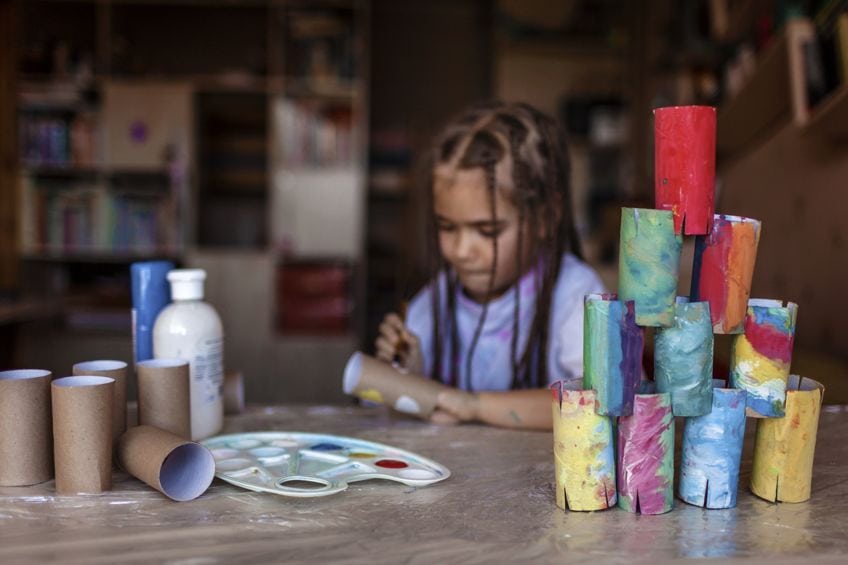
Collect a bunch of old boxes and turn them into the perfect box fort or even a princess castle. Once you have built the fort, decorate it using paint and any other craft supplies that you have.
Now you have the perfect setup for hours of fun.
Textured Landscapes
Much like the abstract art piece adding shaped bits of cardboard to a landscape painting will create a 3D aspect to the piece. Used correctly this will add different shadows to your piece depending on your light source.
Cardboard Construction Kit
This is a great project if you have kids that are at the age that like building things all day long. Cut up heavy-duty cardboard into squares of about 10cm by 10cm. Then cut v-shaped inserts into the corners or the sides of the squares so that they can be slotted together. Paint in bright primary colors.
Geometric 3D Cardboard Sculpture
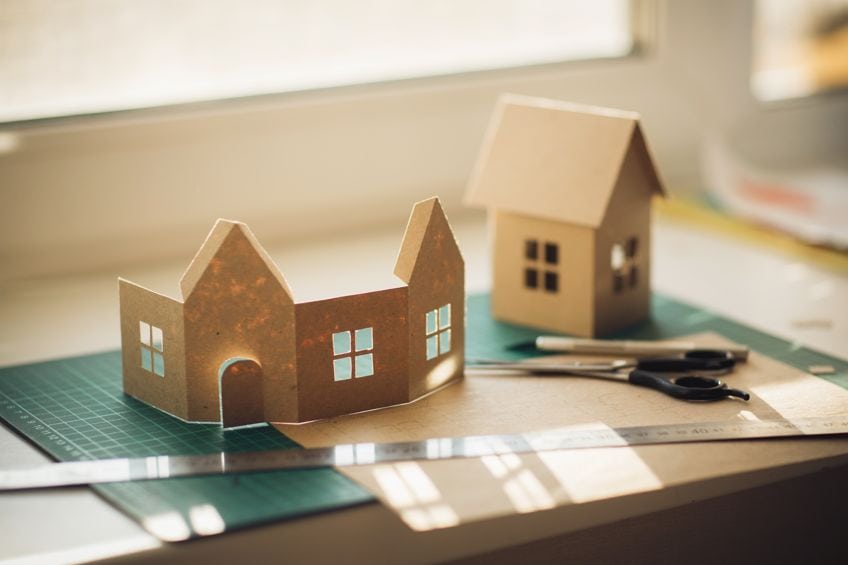
Making a 3D art sculpture is more an advanced art project however, if you put in the time it can turn into a lovely piece. There are many templates online for creating a 3D art piece or you can create your own. We suggest that you paint each piece separately, just do not paint the side that you are going to apply the glue to.
Flower Mirror Frame
Taking toilet roll inners, cut them into two and a half centimeters pieces. Shape the pieces into leaf shapes and then glue them in a flower pattern around the mirror. Cover the mirror and spray paint in your desired color.
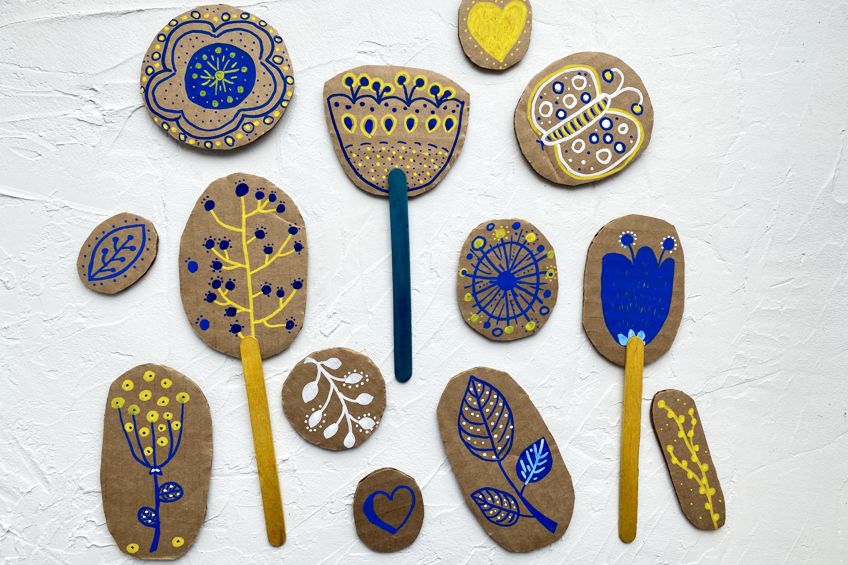
The great thing about cardboard as an art medium is that is extremely versatile. There are literally hundreds of exciting projects available online, ranging from easy ones that you can do with your kids through to more advanced ones for a more experienced artist. With a bit of effort, you can have a lot of fun.
Frequently Asked Questions
Can You Recycle Cardboard After You Have Painted on It?
Unfortunately not, once there is paint on the cardboard it cannot be processed by the recycling plants. It can in some cases be composted however if you have used no toxic paints. Soak cardboard in water and then add to your compost heap.
Is Painting Directly on Cardboard Recommended?
No, because cardboard is porous, painting on it directly will cause it to warp. Also, most recycled cardboard is carton boxes and are usually brown in color. This means that painting directly onto cardboard without priming it could cause your colors to not be as bright.
Can You Use White Acrylic Paint as a Primer?
Yes, you can. However, it will not work as well as gesso as it will not seal the cardboard against the moisture. Gesso will also make your project last longer.
Can You Make Your Own Gesso?
Yes, it is actually quite easy. You will need cornstarch, baking soda, glue, and acrylic paint. Mix three parts of cornstarch and baking soda with one part glue and acrylic paint. Slowly add water till you get the right consistency for your project.
What Other Art Uses Does Cardboard Have?
There are many other artistic uses for cardboard. Egg boxes can be used as paint cartons. You can turn boxes into portable easels and even cut them into temporary palettes. The ideas are endless.
Larissa Meyer is a 32-year-old mother from Michigan and creative spirit since childhood. Her passion for painting and drawing has led her to an education as an illustrator and a career as a freelance graphic designer. She has a Bachelor of Fine Arts in Illustration and a degree in Graphic Design. Larissa is a talented artist who is able to master a wide range of styles and techniques to bring her artistic vision to life. Her greatest passion is currently fluid painting and epoxy resin art. Larissa’s love for art and her knowledge and experience in illustration make her the perfect Creative Director for our fluid-painting.com team. She is the creative head of our team and shares her passion and knowledge with our community through articles and tutorials.
As a mother of a 2-year-old daughter, Larissa also understands the importance of fostering creativity in early childhood. She uses her experience and knowledge to help other parents inspire their children and develop their artistic skills as well.
Learn more about Larissa Meyer and about us.

