How to Paint Polymer Clay – A Guide to Painting Polymer Clay
This post may contain affiliate links. We may earn a small commission from purchases made through them, at no additional cost to you.
Before you can set about painting polymer clay, you need to know what you are working with. To start with, unlike the name implies, polymer clay does not contain any clay. Instead, it is made up of resins, fillers, polymers, and coloring agents. It is not a natural version of clay; it is made using plastic. Once molded, the clay can be baked to set. To give your creation an extra splash of color and a unique look, painting is your best option. We will discuss how to paint polymer clay in this article.
Table of Contents
Understanding Polymer Clay
As previously mentioned, polymer clay is a plastic, man-made clay. This art medium can easily be shaped, and once you are happy with the outcome, you can put it in the oven to bake without the risk of the color or shape changing as a result of heat exposure.
Most artists use polymer clay to create pottery, jewelry, décor, sculptures, and scrapbooking. The clay can be used on its own or wrapped around existing items for a unique twist. Most items are suitable for use with polymer clay, provided that they are able to withstand the heat of the oven.
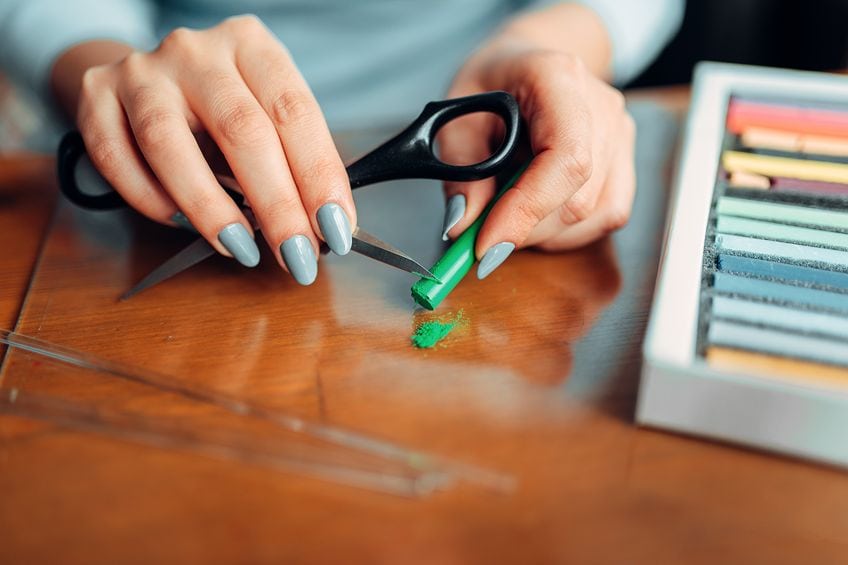
Once the polymer clay has been baked, you can sand, buff, glaze, or paint it. There are so many ways to use this innovative art material – all you need to do is let your imagination run wild. Another great way to work with polymer clay is to mix the colors.
It is worth mentioning that while an oven is used to bake the clay, you should not bake the clay on or with anything that will come into contact with food.
We recommend buying trays that will only be used for clay and storing it in your studio to prevent the risk of it being used for cooking. Anything that you use to work with the clay needs to be used for that purpose alone. The clay needs to be stored out of reach of children and stored as per the label.
Best Polymer Clay
To determine what really is the best polymer clay paint, you need to know what options are available. While there are many different brands, products, and kits on the market, they do not all offer the same quality. We prefer polymer clay sets as they come with everything you need to work with and shape polymer clay, and below, we have shared some of our favorite products with you.
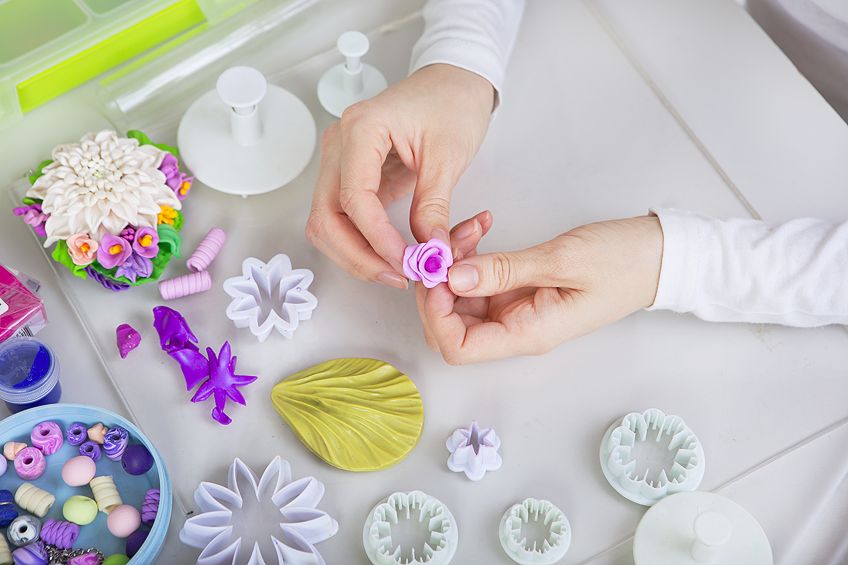
Budget-friendly Starter Kit: CIARAQ Polymer Clay Starter Kit
When first looking into painting clay, the last thing you want to do is break the bank only to discover that this activity is not really for you. So, to get started, we recommend this affordable kit from CiaraQ. It offers a wide variety of colors and all the tools you need to get started; it even comes with a storage case to keep it all safe.
- Safe, non-toxic, and environmentally friendly
- Non-hardening polymer clay is reusable and blendable
- Comes in a set of 36 bright colors as well as accesssories
PROS
- Non-toxic and eco-friendly
- Non-hardening clay is reusable and blendable
- Vibrant colors
- Non-sticky
CONS
- Has an oily residue
- Baking can be tricky
Best Professional Polymer Clay Set: ARTEZA Complete Polymer Clay Kit
This kit from Arteza is ideal for adults or more experienced artists, featuring 42 colors and all the supplies needed to craft your masterpieces. The clay itself is easy to mold and use and can easily be baked in your home oven.
- Complete set of non-toxic polymer clay supplies and accessories
- Enjoy 42 vibrant clay bars that retain their vibrancy after baking
- Clay is soft, pliable, easy to mold, and won’t stain your hands
PROS
- Wide range of vibrant colors
- Easy to blend and mold
- Non-toxic and safe to use
- Easy to condition
CONS
- Not food safe
- Cannot go in the dishwasher
How to Paint Polymer Clay
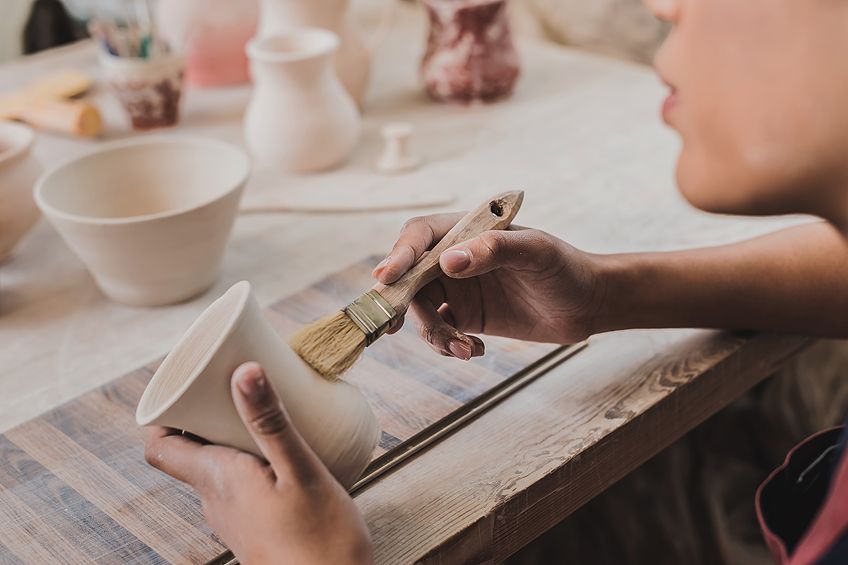
As soon as you have finished crafting your clay masterpiece, there are ways to give it an extra edge both before and after baking. In most cases, a quick coat of paint for polymer clay will give it the wow factor that you think may be needed. Ceramic materials such as slips, oxide stains, and underglazes are also often used when painting clay. They have been created to stick and fuse to the object during the baking process to ensure that the paint will hold and not flake off.
If your clay creation is to be used for its perceived function, we recommend using materials that require baking when it comes to polymer painting.
When it comes to painting polymer clay for purely decorative purposes, baked-on ceramic materials will work just fine. You can also use nail varnish or acrylic paints for these clay creations as they will not undergo as much wear and tear due to their decorative nature.

Apply an Underglaze
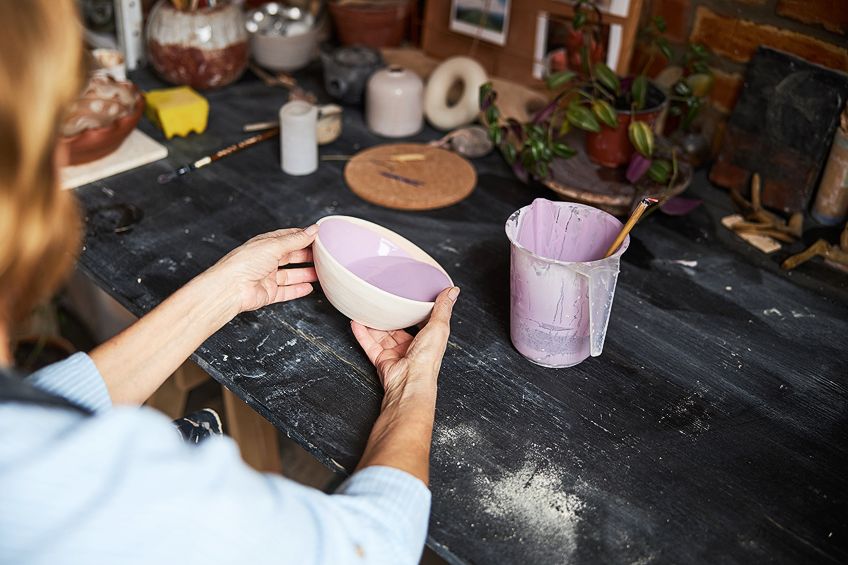
When it comes to polymer painting, an underglaze is a great way to go about it. The underglaze creates a watercolor-like effect and provides color that is resistant to fading. An underglaze is applied before baking the item and will not work as a glaze for something that has already been baked. As the name implies, it goes underneath a traditional glaze.
Traditional glazes are used to seal clay after painting.
Liquid glazes can be tricky to find but are well worth your while should you be able to get your hands on some. This form of glaze acts in a similar fashion to acrylic paints and will need a few layers for the color to be vibrant. Alternatively, a semi-moist glaze will work just fine.
Liquid Underglaze Starter Kit: SPEEDBALL Underglaze Set
This underglaze set features 12 colors and, although it is listed as a sample kit, it will keep you busy for quite some time. Speedball’s color set should be on your list of things to buy when looking at how to color polymer clay.
- Ideal for detailed painting, sgraffito, watercolor effects, and more
- Opaque colors will not move or bleed, allowing for consistent results
- All colors are dinnerware safe when used and fired as directed
PROS
- Lead-free
- Consistent results
- Good value for money
- Can be used for detailed work
CONS
- Temperature-sensitive – do not store in cold conditions
Create a Slip
To create a slip, you essentially need to create a liquified clay suspension. Simply put, this is a form of clay water that can be used to add or boost color on polymer clay. This is then used to cover the clay before you put it in the oven to bake. Slips are either white or colored with oxides, and work best on greenware. They are also easy to clean and can add more color to an underglaze, further amplifying the color. It can also be used to deepen the color of the clay.
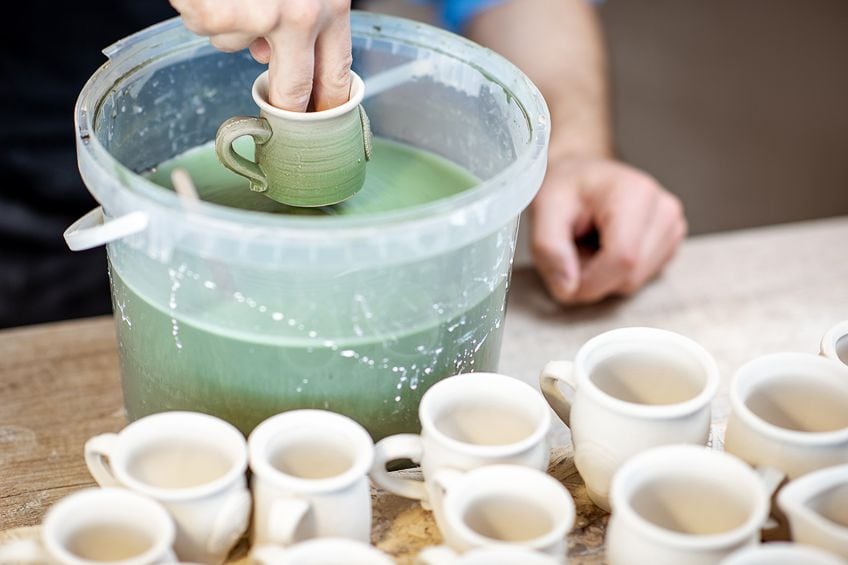
Best Slip Producer: PENGUIN POTTERY Stain Colorant for Clay
This recommendation is slightly different in that we are shining the spotlight on a producer and not a single product, and our reason for this is simple. Penguin Pottery has a wide range of clay slips available to paint polymer clay. As a personal favorite, we have linked to the turquoise color, but they have so much more available!
- Great for adding color to your clay, clay slip, glazes, and underglazes
- Stains can be fired at all temperatures (low fire, mid-fire, high fire)
- Combine stains to achieve a huge range of fascinating colors
PROS
- Easy way to add color
- Colors can be mixed
- Can be fired at all temperatures
CONS
- Clay needs to be white or off-white for best results
The Best Polymer Clay Paint
There are so many ways to add color to polymer clay, and while slips and underglazes can be sufficient, there are a few more options that offer a more obvious and vibrant color. Stains, oxides, and acrylic paints are all effective ways to paint polymer clay.
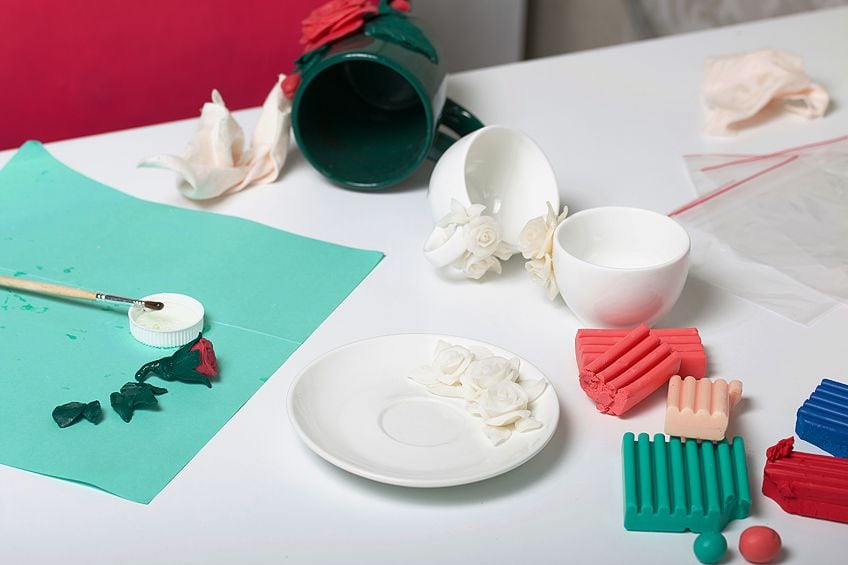
Oxide Stains
As the name implies, oxides are used to stain the clay and give it a different color. They offer deeper, more natural tones and result in a matte finish. You can make your own, but there are options readily available in-store and online.
Easy-to-use Oxide Stain: COLOR RARE The Oxide Collection
Oxide pigments offer deeper color, and if you are looking to experiment with this, the folks at Color Rare have got just the thing. While this is not necessarily a paint for polymer clay, it is a great way to add color to your polymer clay creations.
- Iron oxides yield deeper tones and a matte, opaque finish
- Pigments can be utilized for a multitude of coloring uses
- Pigments can be used for artistic and decorative painting
PROS
- Deep tones
- Matte finish
- High-quality pigments
CONS
- Determining the correct amount is difficult
Acrylic Paints
Using acrylic paint on polymer clay is fairly straightforward. You can use any type of acrylic paint on polymer clay, and it can be applied both before and after baking. It does not need to be sealed and is one of the simpler ways of painting polymer clay. We do, however, recommend using an acrylic ink if you have the option to. This is because they provide good coverage and will not easily scratch off.
Best Acrylic Paint on Polymer Clay: LIQUITEX Acrylic Ink Set
This set of six acrylic inks are made using artist-grade pigments. Liquitex offers a wide range of art materials and has become a household name as a result of its quality. This set of inks is a great starter kit and will give you the right start to your polymer painting journey.
- Includes six essential professional ink colors of artist quality
- Intermixable with professional acrylic paint colors and mediums
- Dry quickly, are permanent, water-resistant, and non-clogging
PROS
- Artist-quality
- Colors can be mixed
- Quick-drying
- Long-lasting
CONS
- Quick-drying nature makes it difficult to fix mistakes
How to Bake Polymer Clay
By this point, you are probably wondering how to bake polymer clay. Additionally, you may be asking yourself, do you paint polymer clay before or after baking? We will start by addressing the latter. The type of paint used will determine whether it needs to be done before baking. Oxides, stains, underglazes, and glazes all need to be baked on, while acrylic paints and nail polish can be applied after baking. When in doubt, read the product label!
Different clays and different brands will naturally have different baking times. This aside, the baking process remains the same. Preheat the oven to the necessary temperature and bake your clay on a ceramic tile, piece of foil, a baking tray, or even on index cards. Once the baking time is over, remove it from the oven to cool and finish the curing process.
To add shine to your project, sand it down under running water with wet-dry sandpaper. Once done, buff the surface using a clean cloth. A glaze or acrylic-based paint can then be applied to it if you deem it to be necessary.
Tips for Painting Polymer Clay
Now that we have got you on the right track with a list of things to get started on your next project, there may still be a few questions looking at how to color polymer clay. To try and round everything up, we have compiled a list of things to look out for when it comes to polymer painting.
Paint Choice Is Important
Once you have decided to take on the world of polymer clay painting, you need to start looking into high-quality paints and coloring agents. To do so, there are a few things that should be on your checklist when it comes to paint choice.
Opacity
This will depend on the look that you are going for, but in most cases, you want to find a paint that has a strong opacity. It will provide vibrant color and good coverage, making it possible to paint light colors on dark clay with minimal layers.
Fade Resistance
With time and age, colors may begin to fade. A high-quality paint will have your art last longer, so look into something that uses pigment instead of dyes. In addition to fading, some paints may flake off, so be careful when handling your creations.
Texture
A smooth texture will result in a smooth finish, so avoid lumpy paints and invest in something with a smooth texture. Smooth paints are easier you work with, can add a lot of detail, and, more importantly, provide a professional-looking finish.
A hard-bodied acrylic paint on polymer clay will provide good coverage and comes in a wide range of colors to bring your ideas to life.
The Right Set-Up
To be able to use the best polymer clay paint, you need tools that will assist you in making the most of your paint and polymer clay. The tools you use will be based on what you are painting, the size of the project, and the amount of detailed work going into it.
Paintbrushes
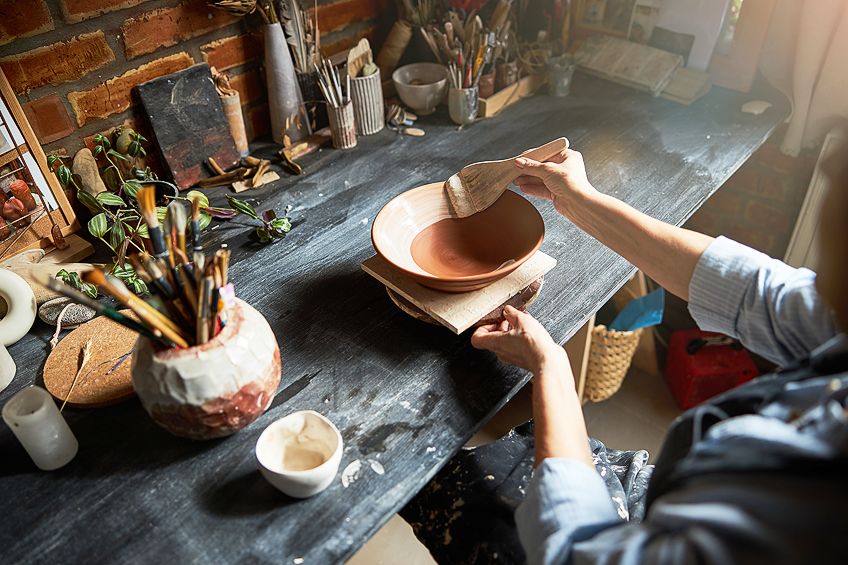
This is an obvious one as you need a device to apply the paint. Look for high-quality brushes that will not shed their bristles and are easy to use and control. Try finding a small brush with a fine tip for detailed work, and a larger brush that can be used on larger areas. Another painting tool worth investing in is a dotting tool.
Cooling Time Is Important
The clay needs time to cool and set after baking. In addition to this, you do not want to burn your fingers on hot ceramic while trying to apply paint. A properly cooled clay piece will also hold the paint better resulting in a longer-lasting finish.
Sand It Down
Some clay and paint varieties will not work well together once the clay has been cured. To remedy this, we recommend sanding it down to rough up the surface and give the paint something to adhere to. Be sure to wipe away any dust and residue from the surface before painting, as it will provide unnecessary texture.
Try Painting Before Baking
One of the benefits of using polymer clay is that it does not change shape while baking. This means that you can paint your clay before baking it. In some cases, applying paint to an unbaked clay will provide a better bond.
Something to be wary of, however, is the fact that the color of the paint could change during the baking process. Rather test out the paint on small pieces of clay to see how it reacts before starting on a bigger project.
When it comes to the actual baking process, use a baking sheet, oven-proof dish, ceramic tile, foil, or a silicone baking mat. Do not use items that you currently use for cooking, but rather buy goods that will specifically be used for baking clay and nothing more.
Sealing the Clay
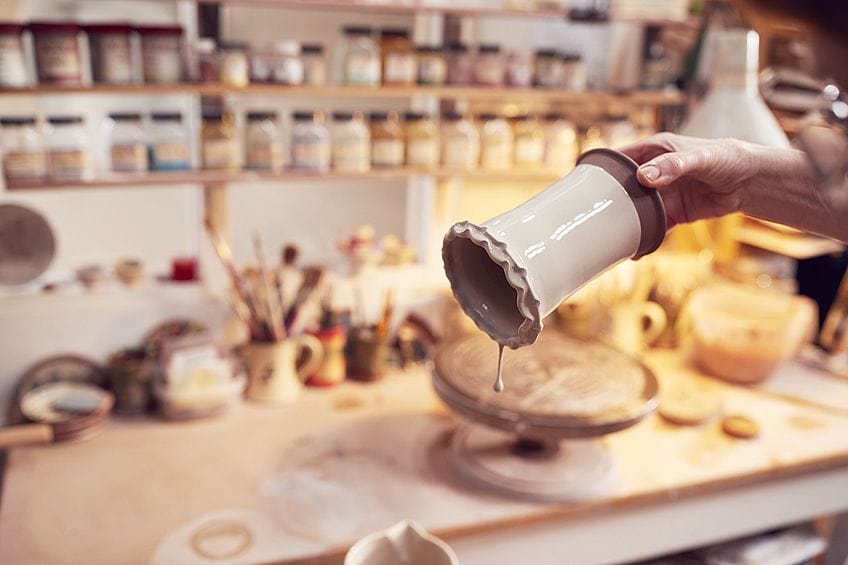
Some may argue that polymer clay does not need to be sealed, but there is no real reason not to. Once the paint has dried and the clay set, you can look into applying a glaze or spray-on varnish to give you a well-rounded finish and to ensure that the paint does not chip off.
Storing Polymer Clay
The clay needs to be stored in a cool place that will not be affected by the heat. Avoid leaving it in your car or on your workbench, especially on a hot day. If the packaging is open, wrap the remaining clay in wax paper and pop it into an airtight container. Once again, do not use items that are used for cooking. Buy yourself containers that will be used to store art supplies.
Given the cold storage conditions, the clay will need to be warmed up and kneaded to become workable. This process is known as conditioning. Kneading and stretching by hand are recommended, although you can also feed it through a pasta machine if the clay is very stiff.
Without a doubt, using acrylic paint is by far the best way to add color to your clay. It is quick-drying, easy to use, and comes in many different colors. Acrylic paint on polymer clay can also be applied both before and after baking, leaving the choice to you. At the end of the day, using polymer clay is all about expressing your creativity, and by adding paint to the equation, you are able to take it to the next level.
Frequently Asked Questions
Why Do People Use a Pasta Machine for Polymer Clay?
All clays need to be conditioned before they can be worked with and molded. Conditioning is the process of softening the clay, and sometimes the clay can be incredibly hard and difficult to try to condition. To start the softening process, a pasta machine can be used.
Can You Paint Polymer Clay?
Yes, in fact, you can paint all clay. Focusing on polymer clay specifically, there are so many ceramic materials that can be used to add color or designs to the piece. Oxides, stains, underglazes, glazes, acrylic paints, and even nail polish can all be used on polymer clay.
What Do I Need to Start Painting Clay?
To start with, we recommend buying good-quality clay. There are a lot of starter kits available that include a wide variety of colors and tools needed to get started with your new hobby. In addition to this, you may want to invest in paintbrushes and your preferred paint medium. While many things in the kitchen can be used to work with polymer clay, these items should not be used for preparing food and clay interchangeably.
What Can Polymer Clay Be Used for?
This versatile material can be used to make beads, jewelry, key chains, and other accessories. It can also be used for sculptures and other home décor projects. Polymer clay can also be used as a layer on existing objects to create unique-looking creations. Quite frankly, the options are endless – all you need to do is have the inspiration and creativity to bring it all to life.
Is a Seal Necessary After Painting Polymer Clay?
While polymer clay does not need a seal to finish the project, a good seal makes the world of difference when it comes to the end product. A seal will also be helpful when it comes to products that will experience daily wear and tear.
Do I Need to Bake My Creation After Painting Clay?
No, although this will depend on the clay that you buy. Some clay will not harden when exposed to air and will remain workable until baked. There are, of course, clay varieties that can dry when left out in the open. Make sure of the variety you have before using the product.
Larissa Meyer is a 32-year-old mother from Michigan and creative spirit since childhood. Her passion for painting and drawing has led her to an education as an illustrator and a career as a freelance graphic designer. She has a Bachelor of Fine Arts in Illustration and a degree in Graphic Design. Larissa is a talented artist who is able to master a wide range of styles and techniques to bring her artistic vision to life. Her greatest passion is currently fluid painting and epoxy resin art. Larissa’s love for art and her knowledge and experience in illustration make her the perfect Creative Director for our fluid-painting.com team. She is the creative head of our team and shares her passion and knowledge with our community through articles and tutorials.
As a mother of a 2-year-old daughter, Larissa also understands the importance of fostering creativity in early childhood. She uses her experience and knowledge to help other parents inspire their children and develop their artistic skills as well.
Learn more about Larissa Meyer and about us.

