Pressure Pot for Resin Casting – The Best Pressure Pot for Resin
This post may contain affiliate links. We may earn a small commission from purchases made through them, at no additional cost to you.
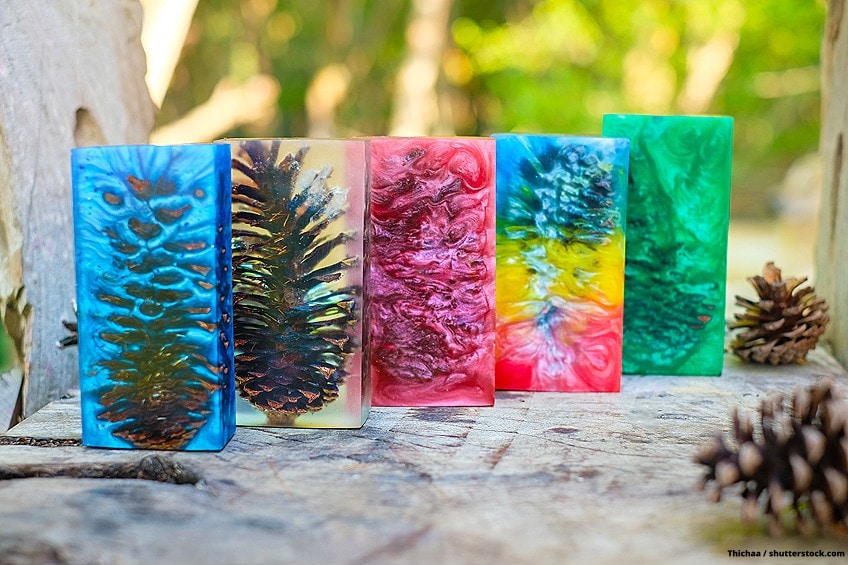
Anyone that has attempted a resin casting will know about the issue with bubbles. Whatever you are casting, no matter the size, you always want a crystal-clear, smooth finish. After all, that is the beauty of working with resin. In order to achieve this perfect effect every time, using a pressure pot is the only truly effective method. Let’s take a look at how you can use a pressure pot for casting resin, and what the best pressure pot for resin casting is.
What are Pressure Pots for Casting Resin?
The aim of using a pressure pot for resin is to achieve castings that are completely free from bubbles. A resin pressure pot is a special kind of pressure chamber that ensures that no air pockets form in the resin. They are available in various sizes and are well-loved by frequent resin casters.
The first size to consider is that of a 2 ¼ gallon, which has a diameter of 8 ¾ inches and a depth of 11.5 inches. This is the smaller size and will require a pressure of around 50 psi (pound per square inch) for effective castings. Another popular size is that of the 5-gallon pot. These have a diameter of 13 inches, and a depth of 14 ¾ inches. For this larger size, a pressure of 60 psi is recommended for castings. There are various other resin pressure pot sizes available, but we will just focus on these two.
Why Do You Need a Pressure Pot When Resin Casting?
No matter what kind of resin you are using, you will always get some kind of air bubbles forming during the mixing stage. If you are doing a smaller DIY casting or something simple, then removing the air bubbles is often quite an easy task. This can be done through tapping or vibrating the cast.
With more complex castings, however, getting rid of all the air bubbles can be a greater challenge. Using a pressure pot for resin casting provides the most accurate results in terms of air bubbles and achieving a clear finish. The resin will need to be fully cured inside the pressure pot.
Resin pressure pots do more than just get rid of bubbles. Sometimes, complicated mold shapes can have areas that are difficult for the resin to reach, creating thin patches. This will cause air pockets in these areas, which can be forced out through the use of pressure.
Pros
- The resin will be completely clear and free from bubbles or air pockets.
- It is a simple way of getting all air out of resin castings.
- It can be an affordable way of removing air from a number of smaller molds.
Cons
- If using a soft rubber mold, air bubbles can return after the resin has been removed from the pressure.
- Soft rubber molds can also collapse in areas where there is air.
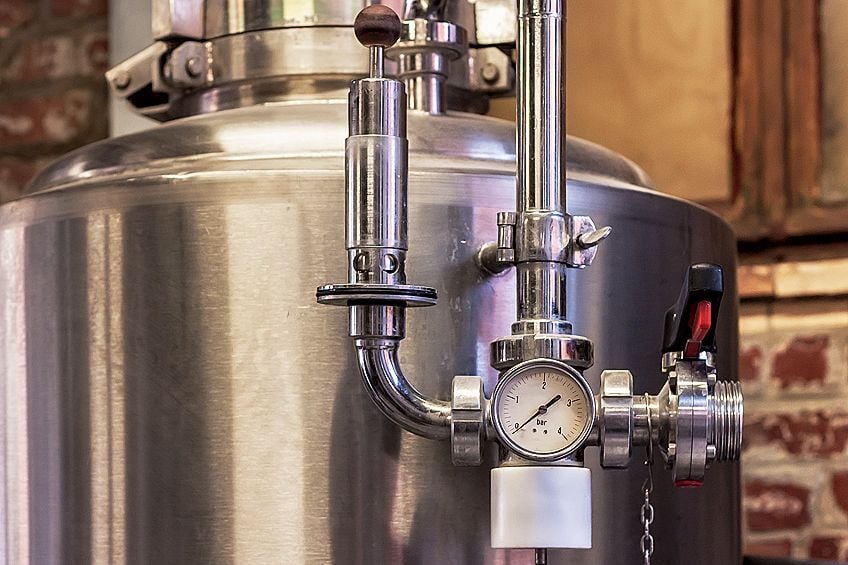
Equipment Needed for Using a Resin Pressure Pot
For using the best pressure pot for resin casting, a few bits of equipment and fittings are necessary. Here are all of the things you will need for getting started:
- In order to reach the desired air pressure, you will need a compressor. This should have a psi of 90 or less, and a minimum HP of 3.5.
- You will also require a connection air hose of ¼ inch,
- A safety release valve,
- A gauge for the pressure (must reach over 60 psi),
- An inlet connector of ¼ inch, and
- A gasket for sealing the lid.

The Best Pressure Pot for Resin Casting
Looking for the best pressure pot for resin casting? With so many great products available, finding the right one can be a challenge. We have chosen some of the top resin casting pressure pot options below, each in their own respective categories.
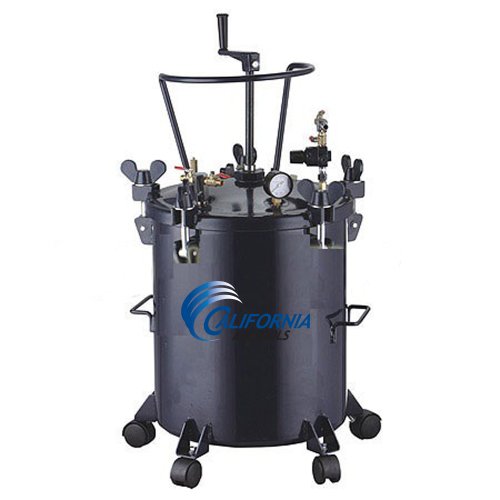
Overall Best Pressure Pot for Resin Casting: CALIFORNIA AIR TOOLS 10-Gallon Pressure Pot
This quality resin casting pressure pot is our top pick for professional performance.
- 10-gallon pressure pot
- Easy-to-use agitator
- Operating set pressure 60 psi
You can expect the following features from this model:
- A Teflon coated steel tank for easy cleaning;
- Removable casters for easy portability and convenience;
- A double output regulator;
- A pressure release valve;
- An on/off ball valve;
- The hand-operated agitator is built-in;
- A maximum pressure of 60 PSI;
- An internal diameter of 14 ¾ inches and a 17 ¾ inch depth.
This pressure pot has actually been designed for use in spray painting, which is the reason for the built-in hand agitator. However, it has all of the features to be the best pressure pot for casting resin. In order to do this conversion, two methods can be followed.
- First, remove the agitator and seal the hole left behind in the lid. This can be done with a ⅝ x 3 inch bolt alongside two steel washers and two neoprene washers for sealing. Using a hexagonal screw cap that is sealed with rubber washers is another option.
- The other method is to cut the agitator off just below the safety regulator. This allows for the conversion to a resin casting pressure pot. However, it may not be such an easy process.
So, if you are looking for the best pressure pot for resin casting, then be sure to consider this model by California Air Tools. The 10-gallon space makes it a great choice for anyone doing a large number of resin castings, or needing space for larger molds. This resin pressure pot is pretty easy to use, delivers good pressure, and can save plenty of time and money thanks to its convenient size.
Pros
- It is relatively easy and affordable to transform into a resin pressure pot.
- The pot has a large 10-gallon size, allowing for plenty of space.
- It is easy to clean thanks to its Teflon coating.
- The lid can be sealed easily with the wing nut.
- The operating pressure is 20-30 psi, but this device can still reach a maximum of 60 psi.
Cons
- Some cases have seen the pressure release valve and safety bracket causing issues at around 25 psi.
- This is an expensive product.
Best Smaller Resin Casting Pressure Pot: CALIFORNIA AIR TOOLS 5-Gallon Pressure Pot
If you are looking for the best pressure pot for resin casting at a smaller scale, then this option by California Air Tools is our top product. This pressure pot still features all the same great components as its 10-gallon counterpart, the only difference being that this one is half the size.

There is a Teflon coating for easy cleaning, removable casters for stability and easy portability, a double output regulator, and a large lid gasket. The internal dimensions are 13 inches wide, and 14 ¾ inches deep with the lid on.
One of the notable features of this pressure pot is that of its strong pressure. It has a maximum pressure of 80 psi and operating pressure of 60 psi, making it a great choice for mold castings. For smaller castings, this pressure pot works with great efficiency and results.
Pros
- The pot operates at a stronger pressure (60-80 psi).
- It has an easy-to-clean Teflon coating.
- The lid seals very effectively and handles pressure well.
Cons
- Although the maximum psi is between 60 and 80, the safety valve can start to seep at 50 psi.
Best Value Resin Pressure Pot: SHOP FOX 2 ¼-Gallon Pressure Pot
The Shop Fox pressure pot offers maximum performance for a lower price. This is a smaller pressure pot with a 2 ¼ gallon capacity – a good size for many home crafters and DIY enthusiasts.

- Maximum pressure is 45 psi
- Works with pressure feed HVLP or spray gun
- Hose not included
You will get a galvanized steel tank, a double output regulator, and a pressure/safety valve attached. The lid gasket and clamps are fixed, and they do a great job of keeping the lid closed under pressure. This pressure pot for casting runs at a maximum psi of 45, with a 25-30 psi working pressure.
This product was also designed as a paint pot, but it can be modified to meet the needs of pressure pots for casting resin. Simply cut off the part that feeds the paint into the tank, then change the fittings from a ¼ to a ½ inch compression.
For the best results as a casting pressure pot, the cut-off valve and regulator should be changed. This allows you to run the pot at a higher pressure which is great for resin castings.
If you are after the best pressure pot for resin casting at an affordable price tag, then this option comes highly recommended. It will take some work and conversions to get the product running as a pressure casting pot. However, once this is done, it will produce some excellent results and work at a good pressure.
Pros
- This is a very affordable pressure pot.
- You can achieve a high psi once the pot has been converted.
- It is of a good quality and produces excellent resin castings.
Cons
- The product requires converting and the changing of components before being used as a pressure pot.
- Tightening the lid bolts can be difficult.
How to Use Pressure Pots for Casting Resin
In order to achieve a guaranteed bubble-free and completely clear resin finish, using a pressure pot is the only way. Let us take a step-by-step look at how to use these pots for castings during the curing process.
Prepare the Mold/Casting
If you already have a mold for the casting, then simply pour in the resin as normal. If you need to make your own mold, then mix together the two parts of the mold-making kit, and pour this over the original item or master shape. You can also pour the mixed resin over any item that you would like to embed.

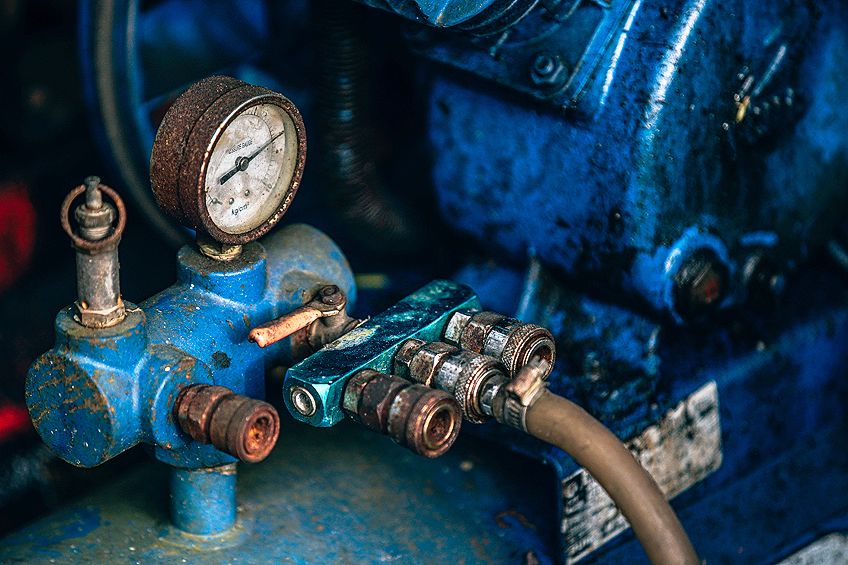
Prepare the Pressure Pot
Start by ensuring that you have the correctly sized pressure pot for your needs. It will need to be able to hold all your castings. You should also make sure that the compressor connected to the pot has a suitable psi. An 80-110 psi air compressor will do perfectly. Then, make sure that the fitting and connection hose for the pressure pot is correctly sized. The pressure gauge fitted to the pot also needs to correspond with the psi being delivered.
You will then need to place your mold castings into the resin pressure pot and securely seal the lid. Set the safety valve to the right psi and turn on the compressor. As soon as it reaches the right pressure, you can turn the compressor off, as it should be able to maintain this.
If the pressure drops, then there is likely a leak somewhere; just turn the compressor on again to reach the right pressure.
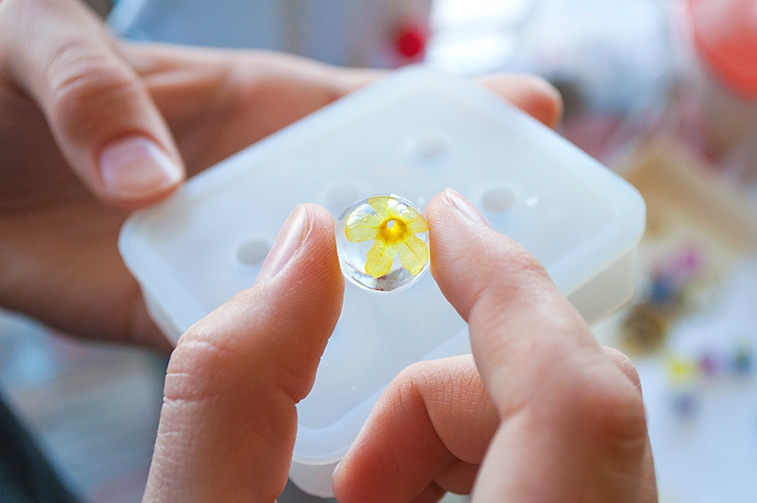
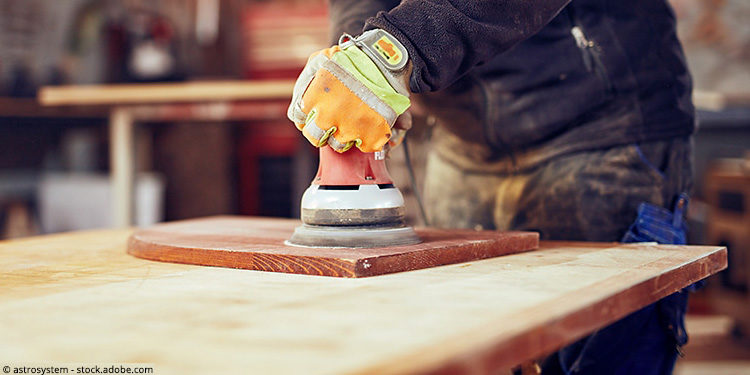
The resin will need to remain under pressure until fully cured. Once fully cured, release the pressure with the valve and take out the casting. All that is left are the finishing touches of de-molding, sanding, and polishing. The result should be a totally clear resin casting without any bubbles.
Safety Tips
- Always make sure that the psi on the pressure valve is set correctly.
- Every gauge on the product, including the regulator and relief valve, should have a higher psi than what you will be running.
- It is essential that the lid is securely closed and fastened down before pressurizing.
- Once the correct psi has been reached, remove the pressure input pipe from the pressure pot.
- Keep the resin inside the pressure pot for around 12 hours, or until it has set completely.
Vacuum Chamber vs. Pressure Pot: Which is Better for Resin Casting?
Both vacuum chambers and pressure pots produce great results for resin casting. The one that you choose should depend on the type of mold that you are using. As mentioned earlier, pressure pots don’t handle soft rubber molds well, so they are best used for mold making or solid castings. Vacuum chambers, on the other hand, work well for softer, rubber molds.
Vacuum chambers can also be used for removing air bubbles from solid-state resins. However, this does not work as well as in pressure pots, as the vacuum takes longer to work efficiently and may act slower than the actual curing time of the resin.
Using a Vacuum Chamber
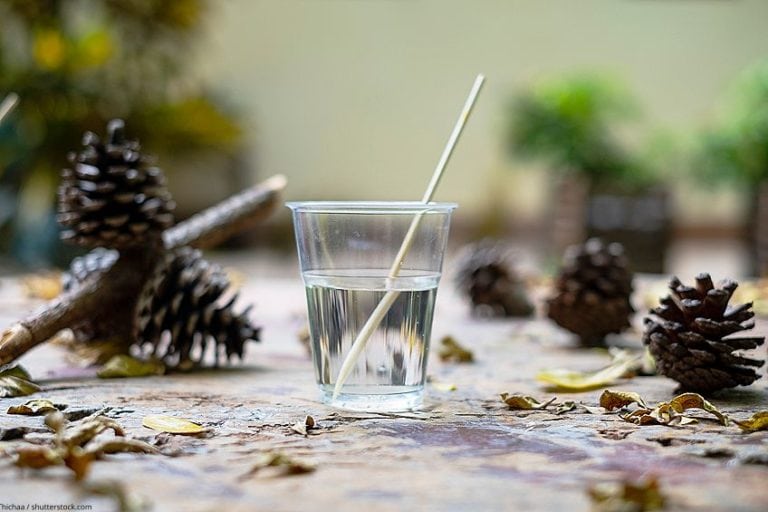
A vacuum pulls any air out of the casting. This method works well for high-viscosity materials, and working on materials with tension on the surface (like silicone rubber). The vacuum required depends on the exact type of resin used, but generally, a 26 inch Hg vacuum is good.An advantage to using the vacuum method is that the resin can be placed into the mold before it sets as all the air bubbles will have been removed already.
Using a Pressure Pot
Placing the resin under pressure also works to take out air bubbles. Instead of removing, or popping the air bubbles, the pressure actually just reduces them to a microscopic size – making them invisible to see and providing a completely clear finish. Pressure pots produce incredible results, but you have to wait until the casting is fully cured before removing it. Maintaining the correct pressure is also important in order to avoid deformities.
Making Your Own Pressure Pot
It is recommended that you purchase the best pressure pot for resin casting available on the market ratheer than creating your own. However, professionals and experienced DIYers can attempt to make their own pressure pot, which can be a highly rewarding project.
It is possible to turn an existing paint pot into a specialized resin casting pressure pot. Just be careful, as there are always dangers involved when working with pressure. Below are a few steps to follow if attempting this task.
Equipment Required
- A paint pot or paint tank,
- A pressure regulator,
- A pressure gauge,
- A safety valve,
- A suitable NTP cap, ball valve, and reducer,
- And a special tape for sealing (preferably Teflon thread).
Putting Together the Pressure Pot for Resin
- The first step is to take everything off the paint pot, only leaving behind the air diffuser. This is found inside the lid at the inlet hole.
- Once the pot is ready, you can put in the reducer and safety release valve. This is installed on the side of the outlet.
- On the side of the inlet, you put in the pressure regulator. The pressure gauge is then installed where you attach the compressor.
- It is essential that every thread is sealed properly. Teflon tape can be used to achieve this.
Setting Up the Pressure Pot
Before running the pressure pot, a few vital checks need to be made.
- Before placing on the lid, lubricate the rubber seal with some petroleum jelly. You can then fasten on the lid.
- You will now need to dial in the pressure regulator. Turning it to the left takes the pressure down, and turning it to the right brings the pressure back up. Start with the regulator right down on the left, and slowly bring it up until the maximum pressure is reached.
- Lastly, you will need to set the safety release valve and pressure regulator. Then, you will connect the compressor. Always check the pressure before turning the compressor on – it is best to run it just below the maximum pressure.
Once everything is connected and set, you can turn on the compressor and run it at the chosen pressure, guided by the regulator.
If you are concerned about air bubbles in your castings, using the best pressure pot for resin casting is the most reliable way of ensuring a clear resin finish. These devices can help to streamline the casting and curing process and will provide you with a more enhanced, crystal-clear resin finish every time. If done correctly, your pressure pot resin will come out perfectly.
Frequently Asked Questions
Do I Have to Use a Pressure Pot for Resin Casting?
While a pressure pot is certainly not compsulory in resin casting, it is a very useful means of creating resin that is bubble-free and crystal-clear. Those that frequently use resin are advised to invest in a pressure pot for their resin projects.
What is the Ideal Pressure for Casting Resin?
Generally, a pressure of 60-80 psi is ideal for removing bubbles from resin. The resin must remain securely inside the pressure pot until it has cured completely in order for the pressure to be effective, otherwise bubbles may still form.
How Long Should I Leave My Resin in the Pressure Pot?
While pressure will have very little impact on the overall curing duration of the resin, most clear resin pieces will need to remain in the pressure pot for 12 hours, but this can vary according to the brand.

Larissa Meyer is a 32-year-old mother from Michigan and creative spirit since childhood. Her passion for painting and drawing has led her to an education as an illustrator and a career as a freelance graphic designer. She has a Bachelor of Fine Arts in Illustration and a degree in Graphic Design. Larissa is a talented artist who is able to master a wide range of styles and techniques to bring her artistic vision to life. Her greatest passion is currently fluid painting and epoxy resin art. Larissa’s love for art and her knowledge and experience in illustration make her the perfect Creative Director for our fluid-painting.com team. She is the creative head of our team and shares her passion and knowledge with our community through articles and tutorials.
As a mother of a 2-year-old daughter, Larissa also understands the importance of fostering creativity in early childhood. She uses her experience and knowledge to help other parents inspire their children and develop their artistic skills as well.
Learn more about Larissa Meyer and about us.