UV Resin Guide – Mastering the Fast Curing Resin for Your Projects
This post may contain affiliate links. We may earn a commission from purchases made through them, at no additional cost to you.
Many users of epoxy resin will ask themselves what exactly UV resin is all about. For what kind of project should UV Resin be bought? In the following post we would like to offer you a comprehensive overview of interesting facts on this topic. In addition to a test of different UV resins and a detailed processing instruction with valuable advice, you will also find tips where you can buy good quality, UV curing resin.
What is UV Resin?
So-called UV resin is very similar to the usual epoxy resin, but there are some differences, especially with regard to processing:
- Unlike other epoxy resins, UV resins are ready mixed at the time of purchase and you can use them immediately
- The UV resin cures under the light of a UV lamp within a very short time (usually within a few minutes)
- Due to their specific properties, UV resins can only be processed in relatively thin layers
In the end, the question that arises is for which projects UV resin can bring you advantages or is the easier to process alternative to other epoxy resins.
The Advantages and Disadvantages of UV Resin
Pros
- Cures completely in a time-span of between a few seconds and a few minutes
- The time-consuming mixing of the components is completely eliminated
- No time stress during processing, because the material cannot cure without UV light
Cons
- UV resin is unfortunately only about 6 months durable
- UV resins are more expensive to purchase than normal epoxy resin
- With UV Resin you can only cast very thin layers, where a maximum of only 3 mm should be applied per casting and the procedure should be repeated several times if necessary
- In central Europe or the northern U.S., natural sunlight is usually not sufficient to trigger the curing process, so you need a special lamp with UV light
Possible Applications for UV Resin
Although the processing of UV resins offers specific advantages, certain disadvantages must also be taken into account. For certain applications, however, you should definitely consider using UV resin because of its unbeatable advantages:
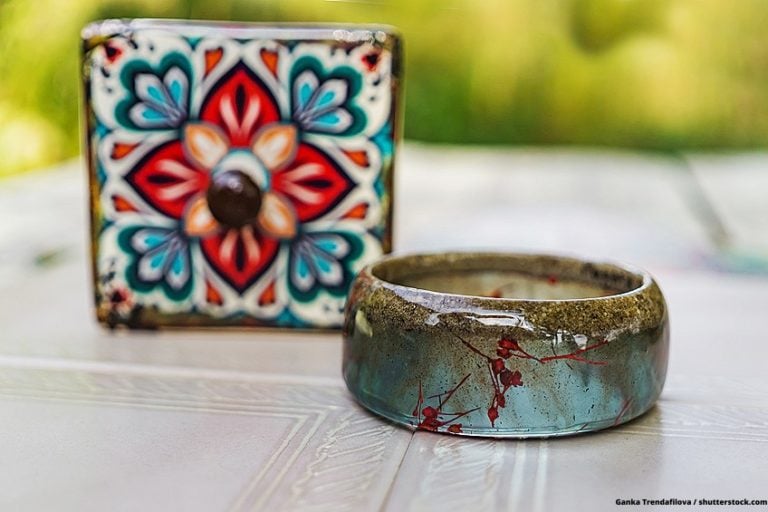
- UV resin is perfect for small area applications and smaller work pieces
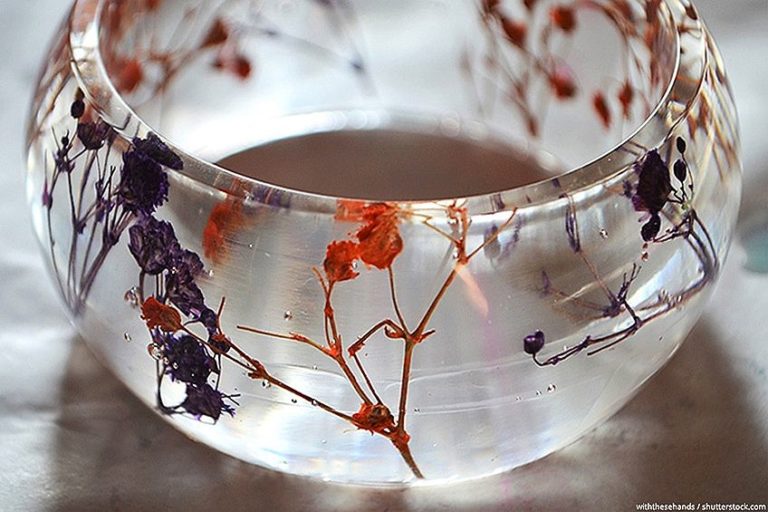
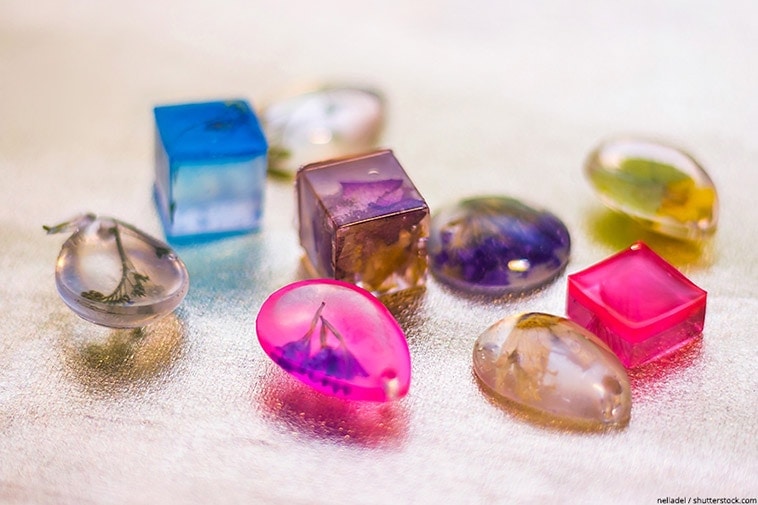
- Small castings and jewelry can be easily made from UV resin
- Due to the short curing phase you can use UV resin also as epoxy resin adhesive
UV Resins in Comparison: Which UV Resin to Buy?
Recommendation: DecorRom UV resin

- crystal clear curing, high gloss surface
- Really hard surface and very good resistance to yellowing
- Cures in 1-2 Minutes with a powerful UV lamp
The DecorRom UV resin offers you high quality and excellent material transparency. Under the light of a UV lamp this ready mixed resin hardens within a period of about 1 to 2 minutes. It is also characterized by a particularly low formation of air bubbles during processing. In the package size of 200 grams this UV resin is sufficient for the production of numerous jewelry elements and castings, and can also compete with other products in terms of price.
Other high quality UV resin products
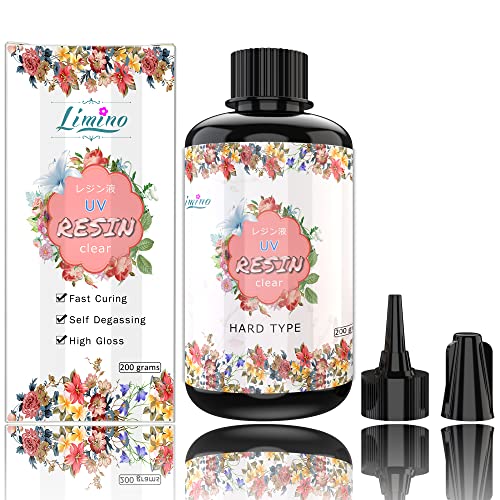
- Highest quality UV Resin from Japan
- Made with non-toxic materials
- Resistant to yellowing, very hard surface after curing
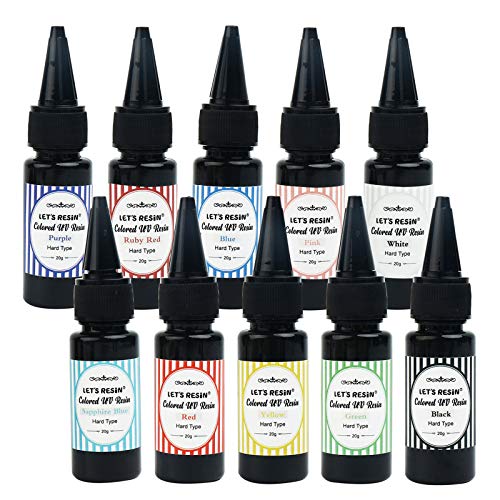
- A powerful set from Let's Resin with already colored UV Resin
- Ready out of the bottle - just pour it into the mold and place it under a UV lamp
- Suitable for all kinds of UV resin applications - jewelry and all other casting techniques
Get Started with a Practical UV Resin Kit
For a quick and easy introduction to the exciting hobby of UV resin molding you can also buy fully equipped kits.
For your first attempts with UV resin we would also like to recommend the practical UV resin set from Joligel. In a packaging unit of 500 ml you can buy this UV resin, at a great price, in a complete set which includes the required UV lamp. It is a rather low viscosity resin with a high product quality, which does not tend to yellow very much.
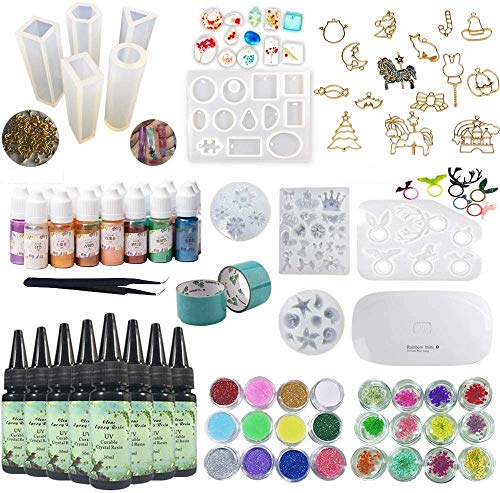
- Very good transparency and excellent hard glassy finish after curing.
- 15 colors,10 molds and 54 different shapes and back bezels
- UV lamp with USB cable included
Other Materials Required for Working with UV Resin
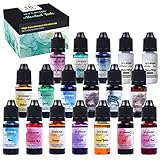
These materials are suitable for mixing UV resin with the right inks and other additives:


With these inks you can color your UV resin:


UV lamps and UV flashlights for curing:

Creative mold casting: Silicone molds in various sizes and shapes:


Tutorial: Mold Casting with UV Resin
- First of all, you should prepare your workplace by placing a plastic sheet or a large cardboard box as protection over the chosen surface, such as a table top. In addition, all the necessary materials should ideally be at your chosen workplace right from the beginning.
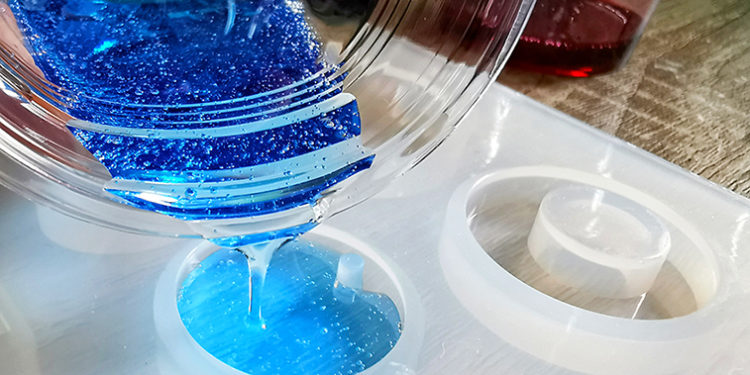
- If you want to cast a transparent jewelry pendant or cover a work piece with a transparent layer of UV resin, you can use the UV resin directly from the packaging and pour it straight into the mold.
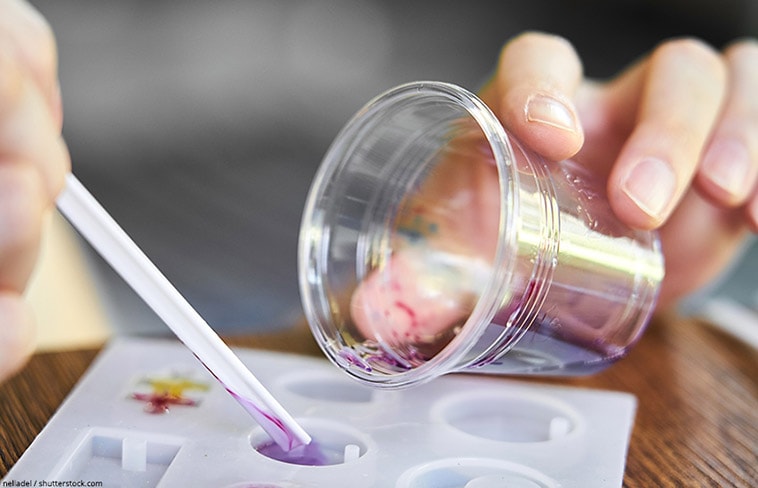
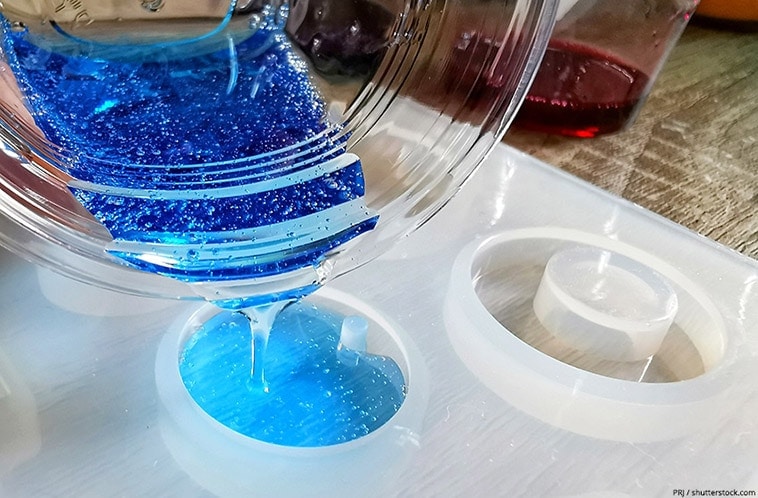
- To use the UV resin colored, you first fill it into a suitable mixing cup. Then you add the liquid paint or the powdery pigments in a carefully dosed amount and mix thoroughly with a stick.
- Then you pour an approximately 3 mm thin layer of the UV resin into your silicone mold.
- You can cast different things like materials collected in nature, such as shells or stones, in the resin. Ideally, these are positioned directly in or on a layer of the resin. If you like, you can also use additional materials such as luminous pigments or glitter powder for extra effects.
- The most important step is now the curing of the UV resin with the help of a UV lamp. There are various lamps and flashlights that are specially made to emit UV light. Hold the UV light source as close as possible to the UV resin surface you want to cure. Depending on the product, this can take different lengths of time, but it is usually quite quick. In the meantime, you can carefully check with a toothpick whether your UV-curing resin has already hardened.
- You can now repeat this step again and again with further layers of maximum 3 mm thickness and always carefully cure the UV resin with UV light. In this way you will gradually obtain your work piece in the desired material thickness.
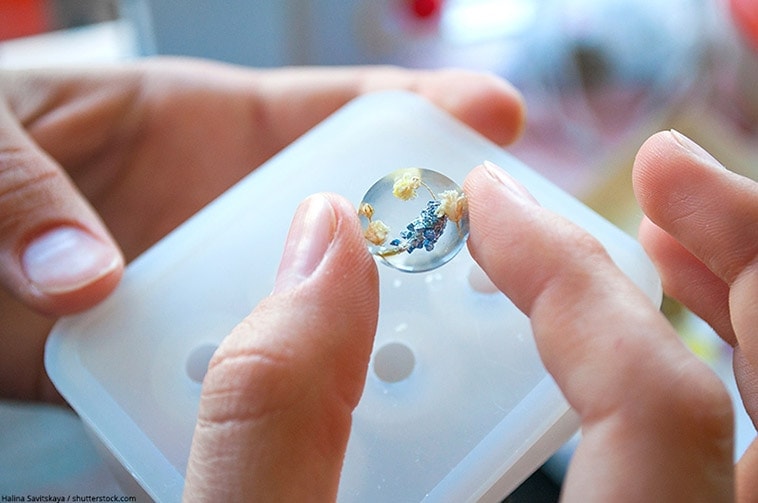
- After the last layer has cured, you can remove your casting directly from the silicone mold. However, be careful not to burn your fingers – as the chemical reaction of the material sometimes generates a lot of heat, your casting can get very hot.
Important Tips for Choosing a UV Lamp
In direct comparison, both stationary UV lamps and UV flashlights offer certain advantages and disadvantages. But you should in any case pay attention to the light output of such a lamp and the size of its interior. Especially if you use it more often, we would recommend you to invest some money in a high quality UV lamp. Sometimes you can also buy a perfectly suitable UV lamp in a set with the UV resin. Then you can simply hold your castings in the silicone mold with your hand under the UV lamp and do not always have to handle a torch. In addition, UV torches usually have a lower light output and you are more exposed to the vapors that may be produced when using them.
UV lamps are often housed in a case that is specially designed for curing nail polish. You should therefore make sure that the interior of your UV lamp is large enough. Ideally, you can put several molds in at the same time for curing and also place larger silicone molds in it without any problems. The power indicated on the device should be at least 4 watts, so that curing can be achieved in a reasonable time, even with larger work pieces.
For curing, simply place your UV resin castings directly under the lamp, as close as possible to the light. Then switch on the lamp for the period of time indicated in the manufacturer’s instructions for the product used, and in no time at all your small UV resin artwork will be ready.
How Long Does the Curing of UV Resin Take?
The exact duration of the curing process depends on various factors when working with UV resin. For example, the required time frame is also influenced by the type of embedded objects and their material thickness and size. For rather small pieces of jewelry made of UV resin, it should take about 2 to 3 minutes until each individual layer is cured.
On the other hand, if you are casting thicker layers for the production of large collage pieces, the curing time can be more like 4 to 6 minutes. However, the exact duration also depends on factors that you should also take into account, such as the humidity and room temperature at your workplace.
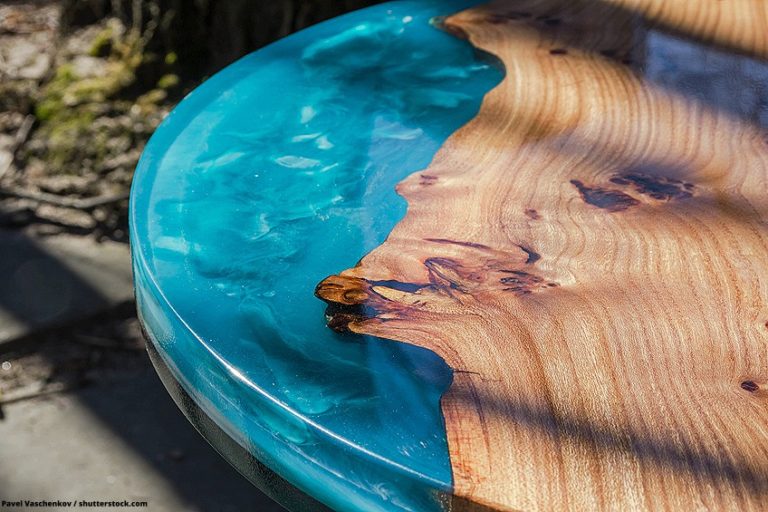
Is UV Resin also Suitable for Sealing Surfaces?
Smaller surfaces of materials such as paper can be easily sealed with a protective layer of UV resin.
Just make sure that you first apply a very thin layer of UV resin. This prevents the formation of irremovable voids and bubbles that can occur when applying a thicker layer. To apply a thin layer of resin to the desired surface, you can use a fine brush.
Important Notes for Using UV Resin
- Impatience is unfortunately all too often punished with unsatisfactory results when working with UV resin. So you should really only ever cast relatively thin layers. This way you can prevent the formation of annoying air bubbles in the material as far as possible. However, if unwanted air bubbles do appear, you can remove them by carefully warming the material with a hot air dryer.
- To remove the air bubbles with a hot air dryer, simply proceed as follows: Allow the hot air stream from the blow dryer to travel across the resin surface in rapid motions. You should never stand in the same place for more than about 1 to 2 seconds. As there may be some vapors that may be harmful to your health, you should work in a well-ventilated room and use protective clothing such as a face mask, gloves, and goggles for your own protection.
- Compared to normal epoxy resin, UV resin is more temperature sensitive: If it is heated too much, an unpleasant acrid smell can quickly develop in the room. The hot air dryer should therefore be set to the lowest possible temperature.
- Excessive heat can also lead to yellowing of the UV resin.
- You should always pay attention to the objects you have embedded in the UV resin. After all, depending on the material, they can also contribute to the formation of air bubbles in the UV resin. Therefore, you should place your objects as flat as possible and press them into the uncured UV resin as well as you can.
To avoid air bubbles, you can also seal the objects to be embedded with UV resin in advance.

Larissa Meyer is a 32-year-old mother from Michigan and creative spirit since childhood. Her passion for painting and drawing has led her to an education as an illustrator and a career as a freelance graphic designer. She has a Bachelor of Fine Arts in Illustration and a degree in Graphic Design. Larissa is a talented artist who is able to master a wide range of styles and techniques to bring her artistic vision to life. Her greatest passion is currently fluid painting and epoxy resin art. As a mom of two kids, Larissa also understands the importance of fostering creativity in early childhood. She uses her experience and knowledge to help other parents inspire their children and develop their artistic skills as well.
Learn all about Larissa Meyer and Fluid Painting.