Best Epoxy Resin for Tumblers and Step by Step Tutorial
This post may contain affiliate links. We may earn a small commission from purchases made through them, at no additional cost to you.
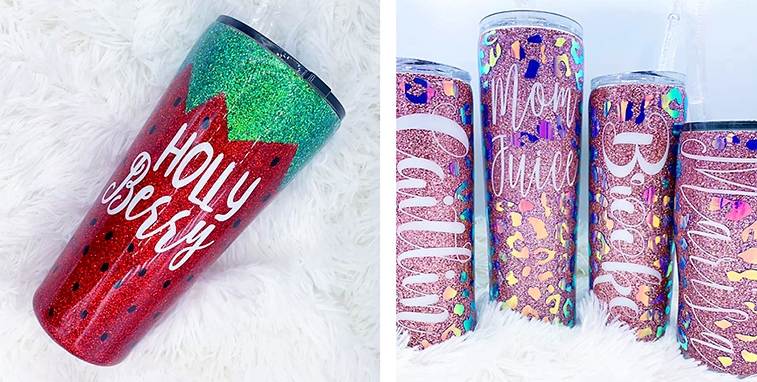
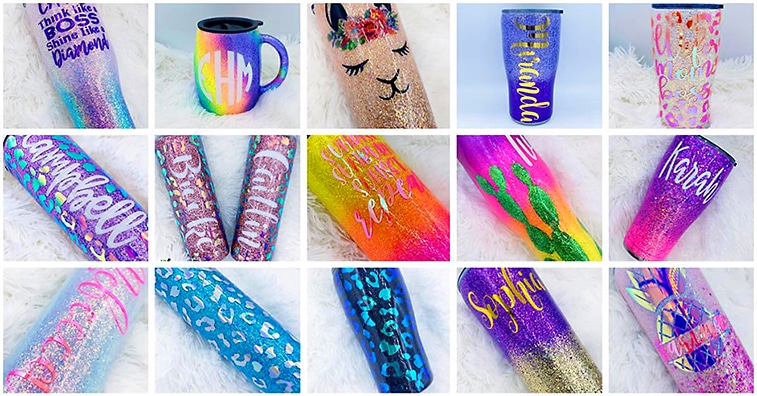
You can use epoxy for tumblers to create unique items. Instead of the old grey or plain tumbler, you can make your tumbler sparkle and give it new life. Read further to find out how you can do this. We will also provide you with information on the best epoxy resin to use.
Things to consider when choosing the best Epoxy Resin for your Tumbler
Below is a list of things to take into account when choosing your epoxy:
- Check to see if the resin is thin or if it is thick
- It is important to see if the resin is FDA compliant
- Does the resin have UV resistant properties?
- Can you work with the resin comfortably?
- Will the resin discolor or become yellow over time?
- Do a bit of research to see what other resin artists are using for their epoxy resin.
- Will the epoxy resin be heat resistant?
- Does the resin have a strong smell?
When looking at this list, it won’t be possible to find a resin that meets all the specifications you want. Fortunately, there are quite a few epoxy resins on the market that might meet the criteria of the best epoxy resins for your tumblers. We will show you which resins make the grade and why they are the best.
You should check the safety data sheet for the resin you are going to be using. Also, make sure you do a bit of investigation into resins, even if a seller says it meets FDA regulations for food safety. The reason being, you want to make sure the resin is food safe, as it will be in contact with your food and even your skin.
For this reason, it is recommended you leave the top rim of your tumbler free of epoxy resin. You will be sipping from this piece and want it free of epoxy resin. There are certain safety precautions you need to follow when working with epoxy resin, you can read the article “food safe epoxy” for more on this.
This are the Best Epoxy Resins for Tumblers
High Quality Epoxy Resin: Pro Marine ProArt Resin
To create a long-lasting and beautiful finish, high- gloss the Pro Marine ProArt is the product to choose. This epoxy product has been specially made for those creative ideas, providing you with a resin that is clear and easy to use.

- Specifically designed for art projects, excellent color stability
- Very easy to use with 1 : 1 mixing ratio, 100% solids, hard-shell finish
- High gloss and crystal clear, your all-seal solution, excellent air release
ProArt Resin has been designed to prevent any yellowing and should protect all the work you do. Some of the things you can use it:
- Resin Jewelry
- Wood projects
- Paintings / Resin Art
- Photos
Mix thoroughly and then pour the mixture over whatever you are working on. You will find that the topcoat levels itself out and is fully cured by 72 hours.
More advantages of working with Pro Marine ProArt include:
- The product is non-flammable
- Has little odor
- It has zero VOC’s and no fumes when used properly.
- Designed to be non-yellowing. Take note: over long periods all epoxy does eventually yellow.
- High-gloss and clear finish
- You won’t have to wonder what to do, as all epoxy kits contain clear instructions for you to follow.
- An excellent product for beginners
Customize your epoxy resin project by adding different color pigments or dyes.
IMPORTANT: Always do a sample test of your epoxy resin before and after adding the color. Then you can go ahead and apply your final product.
Review: Art N Glow Casting Resin
Easily use this product as a table-top resin or you can use as a casting resin. This product is extremely popular because when it has dried, you are left with a beautifully clear and smooth finish. The resin also levels out on its own, degasses itself and has no odor. As a safety precaution, even if there is no odor, it is recommended you use it in a well-ventilated space. Art N Glow is amazingly easy to work with as it has a 40-minute working window, time enough to do whatever you need to. This makes it an excellent resin to use if you are a beginner.
The product is UV resistant and will, therefore, yellow very slowly over time. This is wonderful news for those outside projects, which are exposed to the sun. Even though it can be in sunlight, epoxy should not be constantly exposed as it will begin to yellow. Art N Glow casting resin is easy to use, utilizing a simple 1:1 mixing ratio. Again, another product great for beginners.

- Use for all of your casting AND coating applications.
- Cures crystal clear and hard as a rock
- One to one mix ratio, 40 minute work time
You can purchase the resin in 16 oz (473.1 ml), 32 oz (946.3 ml) and 1-gallon (3785.1 ml) kits. To get the best results, try to keep your work area between 22°C (72°F) and 25°C (78°F). Try to get the temperature closer to 25°C, this will help the resin to cure better. Once done, the resin can handle temperatures up to 48.8°C (120°F). The resin can be manipulated according to the temperature. Cooler resin can be warmed up in some warm water, but this will make the resin cure faster. So, you will have about 30-minutes to complete what you want to do and not the usual 40-minutes. An advantage of warming resin up is that it helps to reduce the number of bubbles.
You can also prevent more bubbles by pouring the hardener so that it runs down the side of the mixing container. This will have to be done with a steady hand; the mixing should also be done slowly to reduce air bubbles. Using a blow torch is another method, which will help to reduce the number of bubbles.
When you have a project that requires you to pour multiple layers for thickness, it is advisable to wait 3-5 hours between each layer. This helps to prevent any cloudiness, stickiness, or other problems. After the time is over for each layer, you can then sand the layer down. Wipe the surface clean and then add another layer or coat.
Recommendable Epoxy Resin: Envirotex Lite
The Envirotex Lite Epoxy Resin is popular because it simply pours on and cures with a high-gloss finish. Once you have poured it, the resin cures in 8 hours at 21.1°C (70°C) and fully cures in 48 hours. You will be left with a thick high-gloss coat.
The Envirotex Lite epoxy resin is easy to work with and many epoxy tumbler creators started with using this product. The product is low odor according to the Envirotex USA Safety Data Sheet. The product label also states it complies with FDA 21 175.300, which means it can be used for coatings used for direct and indirect contact with food items. The resin must be correctly measured and mixed, as well as fully cured to be safe. When looking for food-safe resins, always check to see if the product is compliant.

- High Gloss 2 component polymer coating
- Solvent free formul, Waterproof, Heat and alcohol resistant
- 32-Ounce kit covers approximately 8 square feet
The Safety Data Sheet can be accessed via the Envirotex website. The data is simple and easy to follow. Whenever you are looking for the Data Sheet, it should be easy to locate on a website. There has been one grievance with the Envirotex Lite Epoxy, there have been complaints of it yellowing over time after UV exposure. But most who use it on their tumblers still love the product, as it is easy to work with. Remember, all epoxy yellows over time. What you want to take note of, is how much does it yellow and how long does it take to yellow.
How to Epoxy your first Tumbler
Following is a list of materials. You will need:
- Tumbler, preferably stainless steel
- Painters Tape
- Spray Paint
- Mod Podge
- Silicone brushes
- Glitter – fine
- Clear Coat Spray
- Disposable Gloves
- Small mixing Cup
- Epoxy (epoxy and hardener)
- Stirring stick
- Adhesive vinyl
- Something to turn the cup e.g. rotisserie
- 180/220 grit sandpaper
- Old Newspaper to catch any mess
How to Epoxy a Tumbler Basics – The Spinner
The first step is to set up your epoxy cup turning device. The most difficult part when it comes to making your epoxy tumbler is applying the epoxy. Get everything prepared before starting your project, make sure you have a good place to work. The area should be well ventilated, have access to electrical outlets and have enough room to move around in. The epoxy cup turner will have to remain working for about 6-8 hours. If the tumbler is placed incorrectly, it could mean more of a mess as well as an irregular application.
Note: Place some old newspapers underneath the cup turner, so you can catch any drips or mess.
What kind of Tumbler should you use?
The best tumbler to use is a double insulated one, the outside of the tumbler won’t be affected by heat. This is because if you use the tumbler for hot coffee or tea, the temperature of the tumbler can become quite hot. Resin can only handle 48°C-50 °C (120°F -122°F). Hot beverages may be hotter than this, which could then soften the epoxy. The lip of the tumbler should also be plastic, so the hot liquid won’t affect it.
Material choices for your Epoxy Tumbler
Following are a few examples of types of tumblers you can use.
Metal Tumblers
The stainless-steel tumbler remains the best option when it comes to using epoxy. The resin tends to adhere to the surface well and it does not need a coat of spray paint like other materials. To enhance your color, you can add a paint base coat. Again, if you are going to use the tumbler for hot liquids, it is best to get one with a double wall.
Plastic Tumblers
Plastic is not a good material to choose for this type of project. The resin will peel off as it does not adhere properly to the plastic surface. If the tumbler has a piece of plastic on it, you can spray it with some compatible paint. This will give the resin a surface to cling to.
Glass & Ceramic Tumblers
These tumblers can be used but should only be used for cold liquids. The glass or ceramic will absorb any heat, which will cause the epoxy resin to go soft. If you can find a tumbler that has glass inside and is stainless-steel on the outside, this would be the best option.
How to Epoxy Tumblers by yourself
Follow these steps to epoxy your very own tumblers.
Preparation is Key
Prepare your workspace, surface as well as the tumbler itself. Get yourself a plastic sheet, which you can place on your work surface. This will help to catch any drips and prevent a further mess to clean up. Take your cup turning device (rotisserie machine) and place it on the work surface. You want to tape off the sections of the tumbler you don’t want the resin getting on. This would be the lip area and sometimes the base.
Next, if you want, spray paint the tumbler. Take the rod from the rotisserie and push the pointed end into some foam. Many use a foam ball you can get at most toy stores; it should be just the right size to fit inside and keep the tumbler stable. Then place into the tumbler, pushing the foam down to the bottom. Connect the rod to the motor of your turning device. Make sure your tumbler is positioned straight. You can add some of the painters tape to the rod, which prevents any resin drops from getting onto it.
Mixing and applying the Epoxy to your Tumbler
One of the questions most beginners ask is, what kind of epoxy to use on tumblers. One brand that you can use is the Amazing Clear Cast epoxy, you will find it comes in a 2-part clear coating and casting resin. There is also an entire epoxy tumbler kit available in this brand.
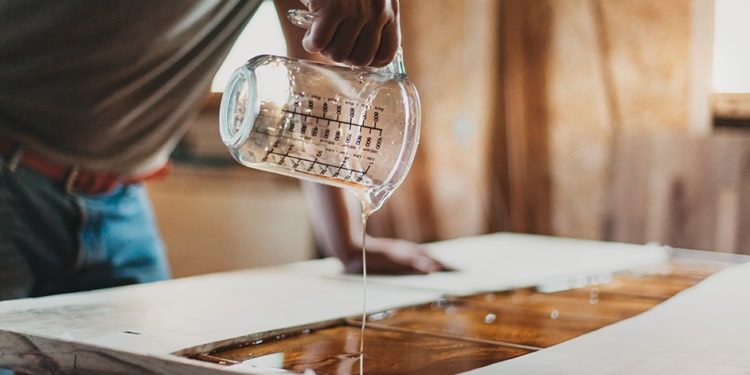
Always follow safety precautions by wearing gloves and working in a room or space that is ventilated. When applying epoxy to a 20 oz (591.4 ml) tumbler, you can use 10 ml epoxy for each layer you apply. Add 5 ml of part-one of your epoxy mix to a small measuring medicine cup and then add part-two to another 5 ml measuring cup. Take the part-one mix and pour into your mixing cup, try to get all of it out by scraping it with something like a popsicle stick. Next, pour part-two into the mixing cup. This part of the mix is runnier and should be added slowly. Mix the two ingredients slowly, to avoid the formation of bubbles. Thoroughly stir until the mixture is clear.
Switch your cup turner on, set to slow. You can then start by applying the epoxy along the length of the tumbler. When applying the epoxy, you can use your gloved fingers or a silicone brush.
Note: Ensure you have taped what you want on the tumbler before applying the epoxy.
Keep applying the epoxy and smooth it out while the epoxy cup is turning. Continue until the whole cup has been covered. When the epoxy has covered the entire cup, the cup turner should keep on turning. Take off the tape you applied at the lip and base, only after you have waited for at least 10 minutes. Remove the tape very slowly and carefully and make sure you still have your gloves on. The tape will become sealed to the cup if you don’t take it off at this point.
Allow the cup turner to continue turning slowly for the next 6 to 8 hours. Once this time has passed, remove your epoxy tumbler, and set it aside for another seven hours to cure completely.
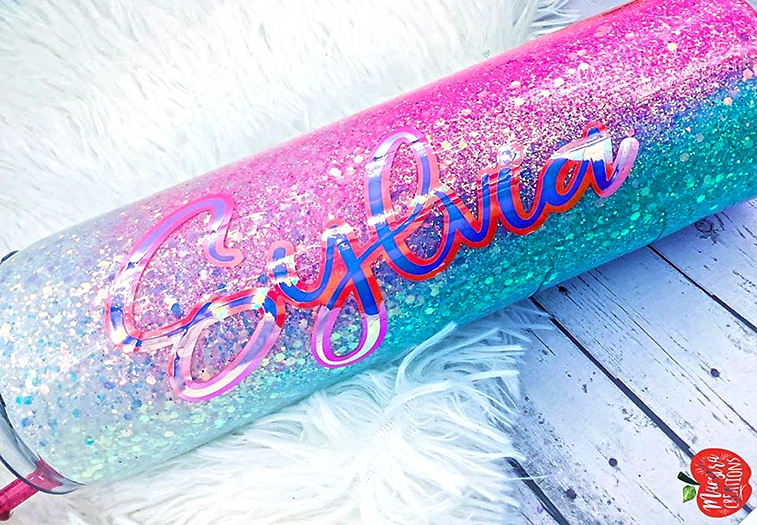
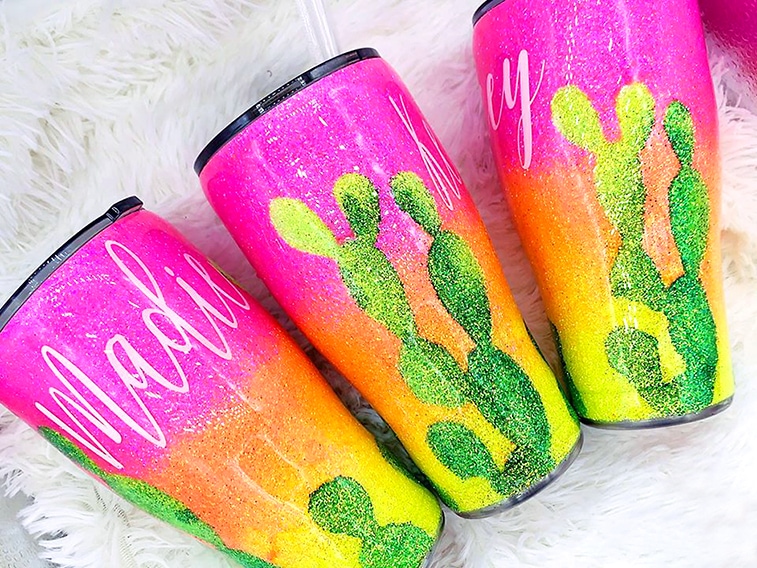
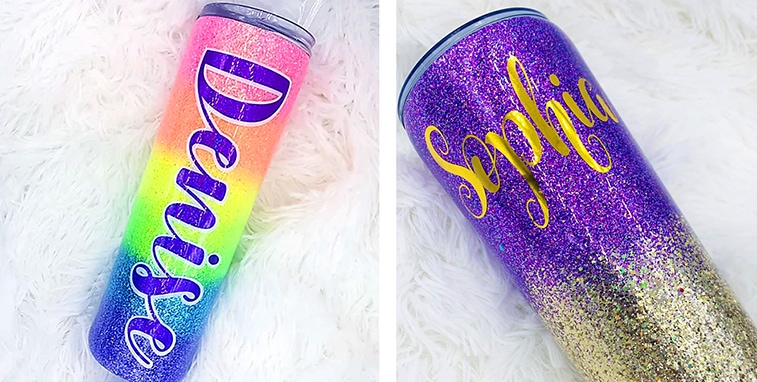
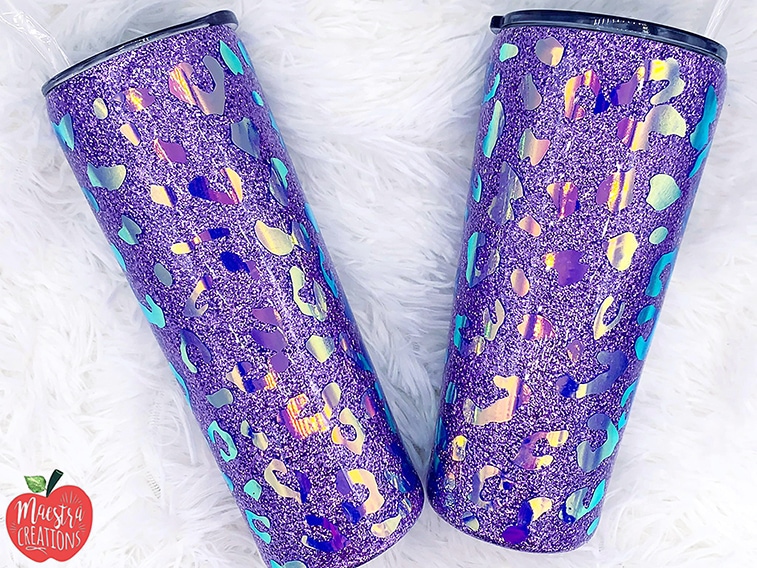
Making your Glitter Tumbler
Once the tumbler is on the turner and you have taped the lip and base, it is a good time to add your glitter. The tumbler is nice and horizontal, and the glitter should be easy to apply.
How to apply Glitter
There are two ways you can add glitter:
- Using acrylic glitter paint: Using a brush, apply the paint onto the tumbler and let it dry.
- Loose glitter: First apply a layer of the spray adhesive to the tumbler surface and then sprinkle the glitter over the entire cup. Place a piece of paper underneath to catch the glitter that falls off. Let everything dry.
When applying a base paint to your tumbler, try to use a color that is the same or almost the same color as your glitter. When applying an epoxy layer, you do not need a lot. Too much can cause distinguishable spots, where the color of the glitter is changed. Instead of covering up anything, the epoxy accentuates the problem.
Applying your Resin Coat
So, you have applied your glitter coat and let it dry. The tumbler should now be attached to your cup turner and ready for the epoxy. Put on your gloves and then measure out your ArtResin and mix. Turn on your cup turner (rotisserie), now pour the ArtResin over the tumbler while it is turning. Apply slowly and smooth out with your gloved hand. Make sure the epoxy has been applied evenly and let the cup turner keep turning until dry. This should take about 10 to 24 hours. When it is dry, you can take the tape off and let the epoxy tumbler cure completely. The epoxy cup should be fully cured after 72 hours.
 Images: © Ivette Moreno / www.maestracreations.com
How to finish off your Epoxy Tumbler
Having let your epoxy tumbler cure, it is then time to finish up everything. Make sure you check inside the tumbler for any residue. Also, if you find some epoxy residue on the lip of your tumbler, simply remove this with an Exacto knife. You must heat the blade for it to be effective, it must glide across the surface. By not heating the blade properly, you can accidentally break the epoxy seal. Water and moisture can then get in between the steel and epoxy and the epoxy will then slowly peel off. The tumbler will not be safe to use if the seal is broken, because the moisture can cause mold and bacteria to grow inside. Once you have trimmed off any access epoxy on the lip or inside the cup, check your base. When placing the tumbler upright on a surface, it should be stable and should not rock.
An unlevel epoxy layer on the base can be caused by the cup turner being switched off too soon. If this happens, the epoxy may gather at the bottom causing an unlevel layer. The tumbler could have also been placed on the turner skew or at an angle and not horizontal. This means the cup was not level when turning, causing uneven distribution of the epoxy. When cleaning up, using alcohol is only recommended when removing any of the spray paint used. Finally, wash with some warm soapy water and allow to dry.
Tips and advice when making your epoxy tumbler
- Once fully cured, the maximum temperature you should expose the epoxy to is 48.8°C (120°F) to 50 °C (122°F). This is why you should only hand wash your tumbler in warm water. Remember, do not leave the tumbler in a hot car, and do not use it for hot liquids unless it is insulated.
- Do not use your tumbler unless it has completely cured.
- Remove all epoxy residue left on the lip of the tumbler. Some epoxy may have slipped under your tape, but this can be removed by using a sharp knife or sandpaper. If using sandpaper, remove the dust using a damp cloth. Before you use your tumbler, it is a good idea to give it a wash with some warm water and soap.

Larissa Meyer is a 32-year-old mother from Michigan and creative spirit since childhood. Her passion for painting and drawing has led her to an education as an illustrator and a career as a freelance graphic designer. She has a Bachelor of Fine Arts in Illustration and a degree in Graphic Design. Larissa is a talented artist who is able to master a wide range of styles and techniques to bring her artistic vision to life. Her greatest passion is currently fluid painting and epoxy resin art. Larissa’s love for art and her knowledge and experience in illustration make her the perfect Creative Director for our fluid-painting.com team. She is the creative head of our team and shares her passion and knowledge with our community through articles and tutorials.
As a mother of a 2-year-old daughter, Larissa also understands the importance of fostering creativity in early childhood. She uses her experience and knowledge to help other parents inspire their children and develop their artistic skills as well.
Learn more about Larissa Meyer and about us.