Watercolor Painting Tips – Watercolor Techniques for Beginners
This post may contain affiliate links. We may earn a small commission from purchases made through them, at no additional cost to you.
We have all dabbled a bit with watercolors at some point in our lives, mainly during our kindergarten years. Even though it is one of the most common paints that are given to children to pass their time constructively or creatively, that does not mean it is the easiest painting technique to earn, and learning some watercolor painting techniques might have helped us understand how to master the art, and not soak the paper we are working with, ending up with a muddy brown, soggy creature instead of a masterpiece. This is a tutorial that will teach you how to paint with watercolors for beginners. We will include everything there is to learn, including our watercolor tips for painting the various watercolor techniques for beginners.
Table of Contents
Painting With Watercolor for Beginners
Learning to paint with watercolor techniques for beginners might have you thinking this will be the easiest task. For some of you, it might be, but others might need to become accustomed to how the medium works. You do not need an elaborate amount of tools and materials for this type of art style, simply a piece of thick paper, or canvas that is suitable for watercolors. If you are wanting to learn how to paint with watercolors for beginners then keep reading our watercolor tips for the preparation of the painting process.
Workspace Preparation
Make sure that the space you are working in is nice and clean to start with. The mess will be inevitable, as painting is often a messy job, but starting with fresh energy is helpful to your creative flow.
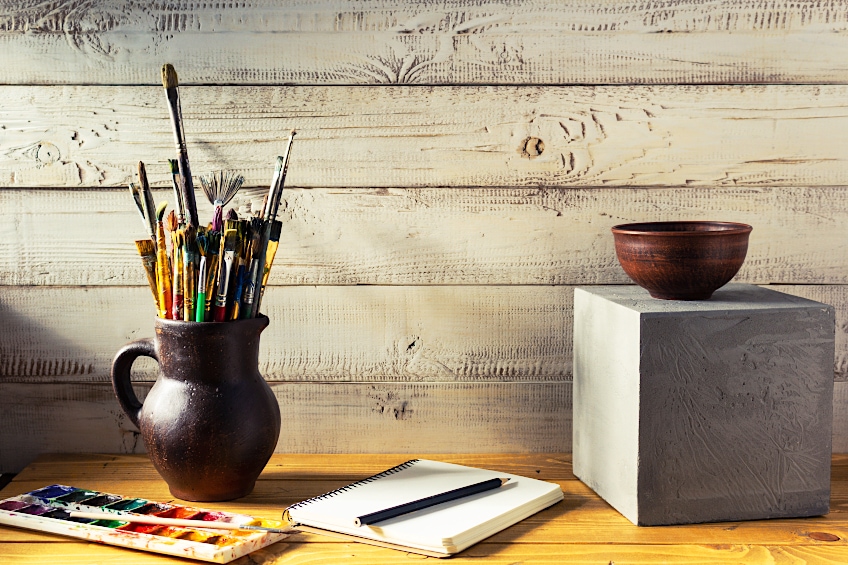
Clear a table or set up a space for your easel, get out some cups filled with water, and fill more than one so that you avoid getting up to get fresh water so often. If it is possible, find a space where you will not be disturbed, unless of course, you have children present, then they should just paint with you!
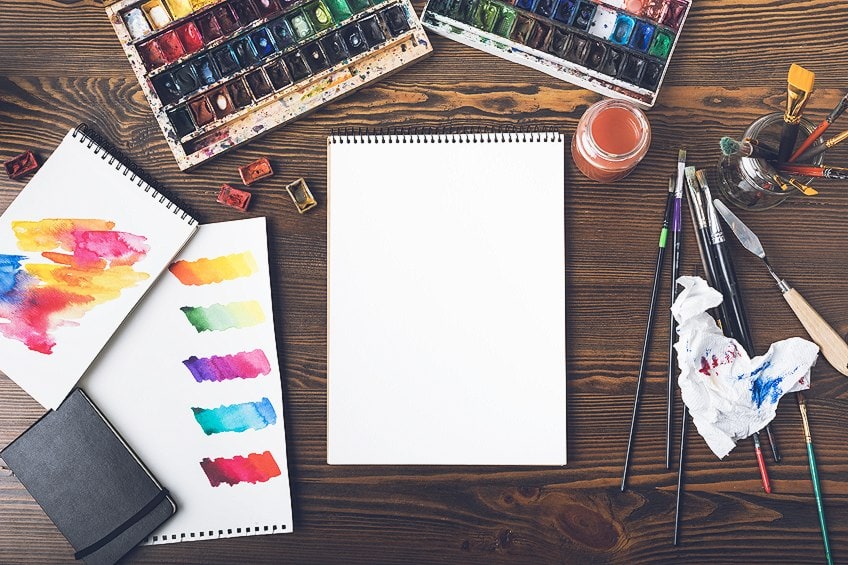
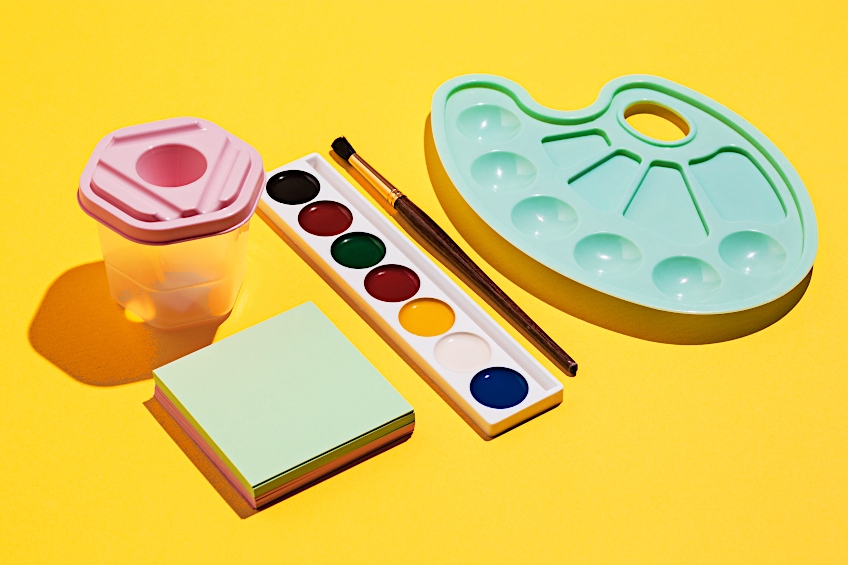
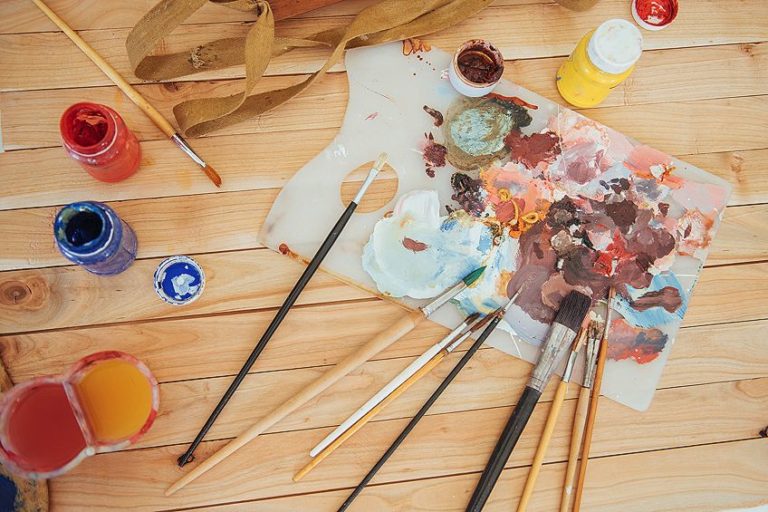
Test out any paint colors on extra paper before using them, and mark off any painting areas with masking tape or masking fluid. Here is a list of the rest of the equipment you might need to start your watercolor painting project.
- Spare paper to try out the colors
- Napkins or paper towels
- Two or more cups with water for brush rinsing
- Paintbrushes
- Newspaper or protective covering
- Paint mixing palette
- Painter’s tape
- Watercolor paints of your choice
Watercolor Paper
It is certainly possible to paint on ordinary printing paper, but the results will not be the same. For the watercolor paper not to distort, curl, and crease, you need to buy high-quality watercolor paper. When the fibers in the paper start to break down, we refer to it as the “pill” of the paper. The best watercolor paper to choose is a heavy paper that has a sizing coating that helps the paper absorb the water. This helps to keep the paper you are painting on as firm as possible, to avoid wrinkles forming.
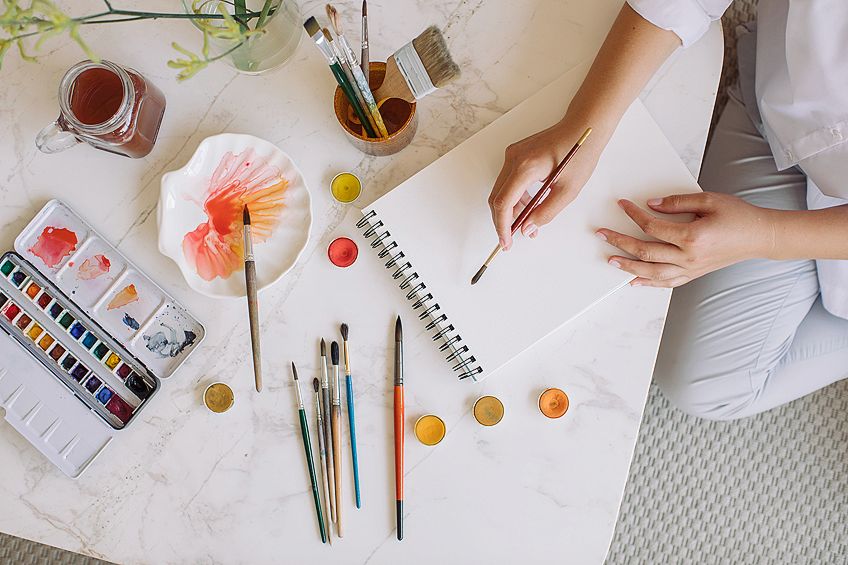
Watercolor papers are ideal when they weigh 300 grams or more, and when they are cold-pressed, which provides a better surface texture. However, the paper which has been heat-pressed, which is less rough in texture or has a less “toothy” surface, is also popular because of its smoother surface. The most effective way to determine what kind of paper you prefer is to try out a few different kinds. Furthermore, the brightness of the color will be influenced by your choice of paper so it is an important decision.
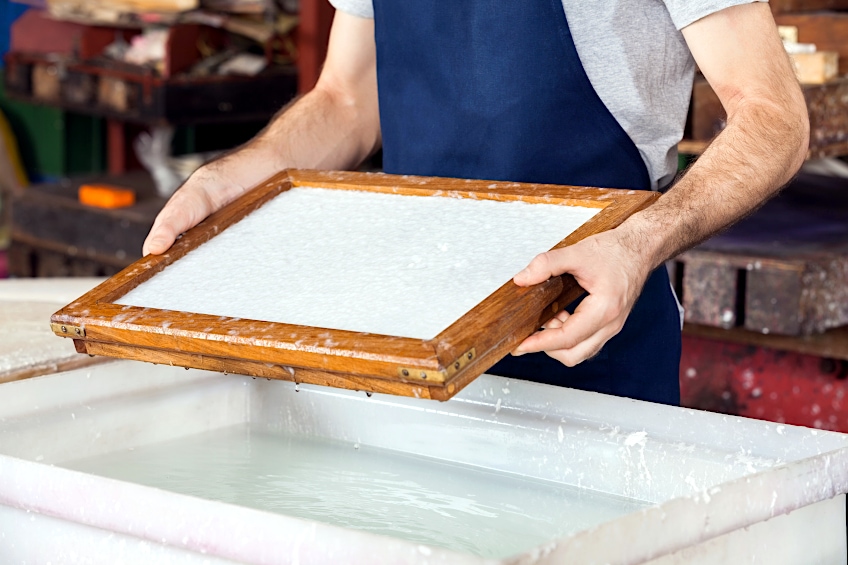
Another watercolor painting tip would be to stretch the paper you are painting on. This will give the paper more absorbent qualities, and it will be able to take more watercolor washes. This can be accomplished in several ways, including the use of tape or hardboard, the use of a frame, or the use of a special stretcher for watercolor paper. This is done by soaking the paper in water, allowing it to soak for a while, then allowing it to dry. During the drying process, the paper will become smaller, leaving a flush surface that will not buckle even when a lot of water is used.
Paint Brushes for Watercolors
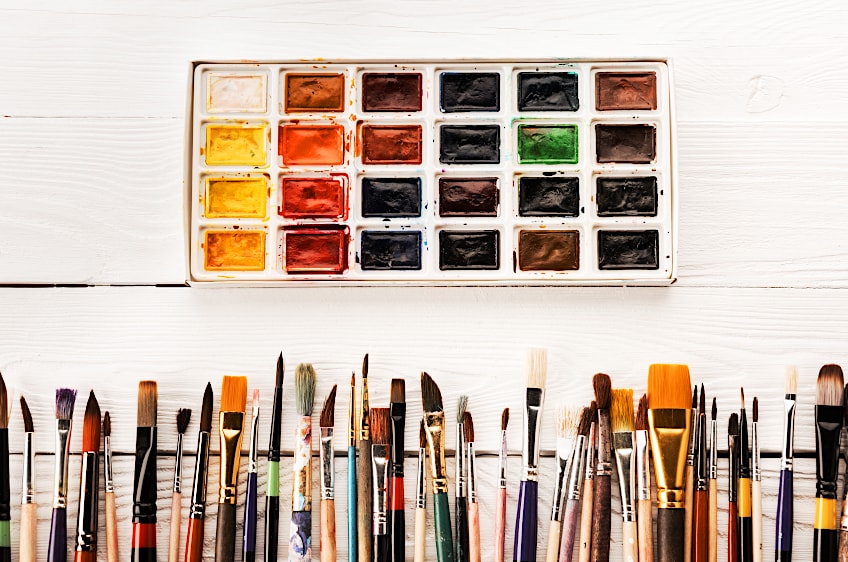
Learning how to paint with watercolor for beginners starts with understanding the various paintbrushes that are suitable for the medium. There Are different brands and each one has various shapes and sizes that will enable you to achieve the various techniques. Our watercolor tips for paintbrushes would be to start with a “mop brush” as well as a flat brush, and of course, a large, medium, and small round paintbrush.
The cups of water that you prepared at the beginning are for washing the paint off the bristles of your brush. This Is either done when you are changing from one color to another or when you are finished painting, it is the first step in cleaning the brush. If you avoid rinsing your brush before you start with a different color, you will saturate the color with the first one, and it will result in over mixing and that mud appearance will happen.
You should consider that textured paper can be somewhat harsh for your brush if you are using it a lot. It is recommended to work more on the side of the brush to ensure you are prolonging the life of the brush tip. A synthetic brush is often preferred by artists as it tends to hold more water, and the softer bristles offer greater control. In addition to being more affordable, synthetic brushes are more resistant to breaking than their natural counterparts. Most people do not use stiffer brushes unless they want to apply a specific technique, such as adding a textured effect to their artwork.
How to Get Started
If you are ready to start your watercolor artwork, the more you read about the subject, the better you will understand the medium and what to do when problems happen, or when you want to achieve a certain effect.
Sketching and Layout
The majority of artists prefer sketching their images on paper rather than painting them immediately afterward. Some people do not mind the pencil or graphite lines appearing through the paint, but some people are not interested in seeing the drawing underneath. To prevent this from happening, make sure you use a soft pencil and draw with a soft hand. Even if you use a graphite pencil, you can lift the darker lines by using an eraser, but you will need to do this before you can paint the picture.
The Correct Amount of Water
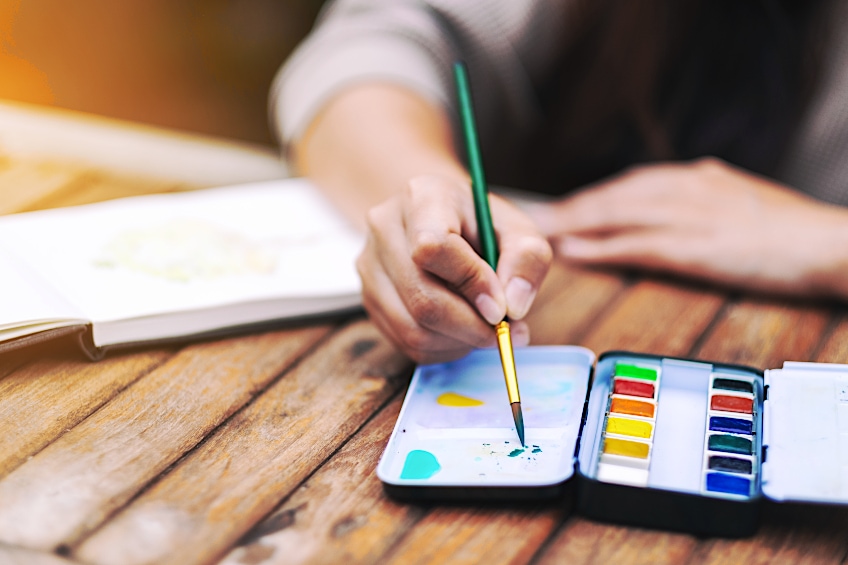
Is it possible to use too much water when using watercolor paints? Well, that is reliant on what you want out of your artwork. Too much water can result in the paints becoming too light where you do not intend them to be. Too much water is also a hindrance because the paint runs all over the place even if you are holding it tightly. The paint can also mix with other colors and become muddy. But, if you do not see enough water, your artwork will have a scratchy look to it because the paint will not flow as well. The use of more water is needed if you are making a large wash, whereas less water is required for small details. Ultimately, a lot of water is needed throughout the painting process, so keep plenty handy.
Painting From Light to Dark
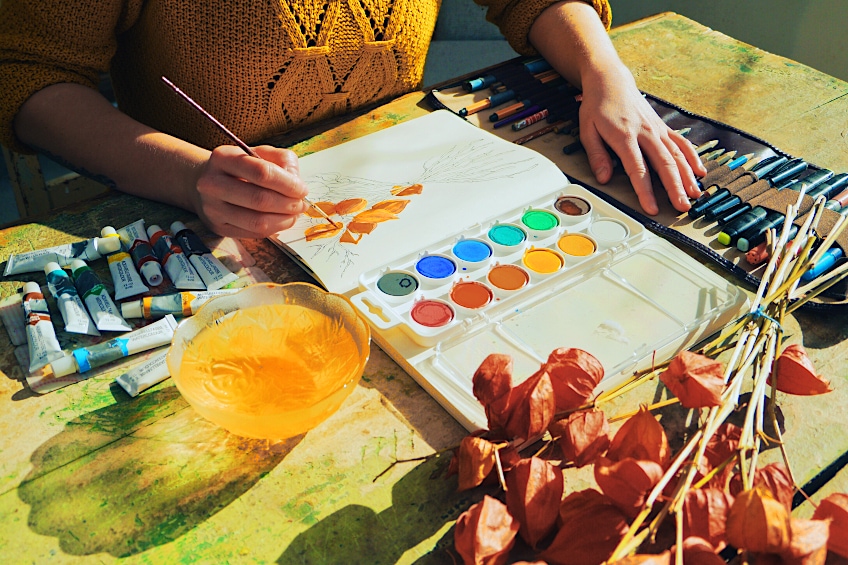
If you start with a dark color, the lighter colors that need to be added in later will not be visible through them. You must work in ascending order of colors, going from the lightest one and ending with the rest. That way, the colors will not block each other out. The intensity of the color you paint can also be layered up to increase it. work with one layer at a time and wait for each one to dry first before you add the next one.
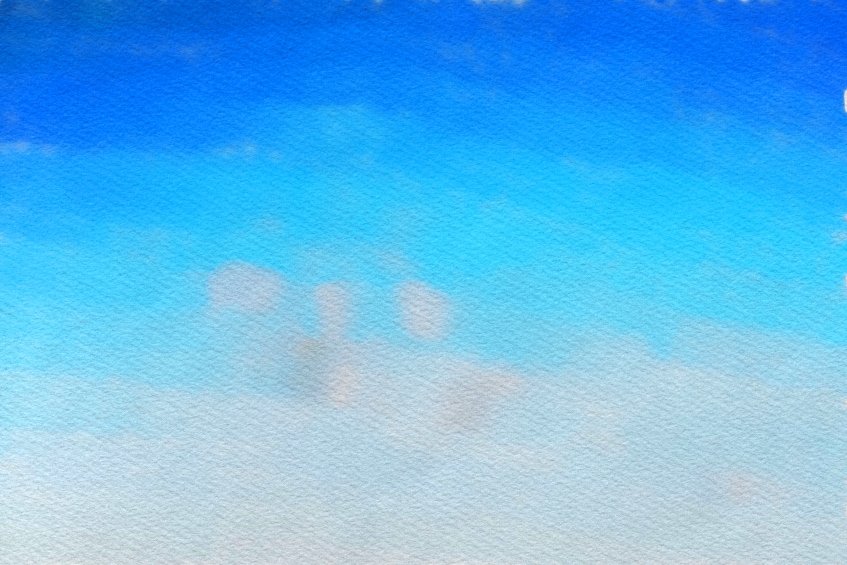
Watercolor paintings need to be planned, so it may be a good idea to do some rough sketches that layout your work. It will give you an estimation of where to place the various tones to keep the composition proportionate.
Some Things You Should Know About Watercolor Paint
- Watercolor paints are predominantly water and a binding agent that is water-soluble, and, of course, the pigment which gives it its beautiful hues. When you activate the paint by adding water to it, it makes a watery paint consistency. When you apply it to your canvas, or sheet of paper, the water will eventually evaporate and only the pigment will be left on the surface you painted.
- Choosing the right quality paint for your project makes all the difference. There are many brands to choose from. In contrast, cheaper watercolor paints are milky and grainy, whereas higher-quality paint should provide a smooth, even color. Quality paint can be more expensive, but it will be worth it in the end.
- If you are earning watercolor painting tips as a beginner, you might want to purchase a set that is suitable for your skill-set to start with. As you become more skilled, you can work your way towards a more professional-grade watercolor set.
- Washing with watercolor paint creates a background you can build up layers of paint on top of, and with this technique, it may also be possible to incorporate a mistake into the painting.
- A piece of extra paper to test the color before using it is a good idea when using watercolors, as they tend to turn a lighter shade when dry. In any case, you can easily fix watercolor mistakes by dabbing the paint while it is still wet with a paper towel or sponge with a technique called “blotting”, or by applying a wash over the mistake.
- You might have difficulty re-creating your favorite color mix if you run out. Mix a little bit more than you need when mixing paint. Moreover, you need to avoid mixing paint repeatedly during a busy time in order not to waste time.
- Mixing more than two colors can produce a muddy mess, so make sure that you stick to mixing two colors.
Watercolor Techniques for Beginners
Many watercolor techniques help you blend, create texture, and create other effects when painting with watercolors. Watercolor painting is an enjoyable art form, so take your time in learning the various techniques.
Using Wet-on-Wet
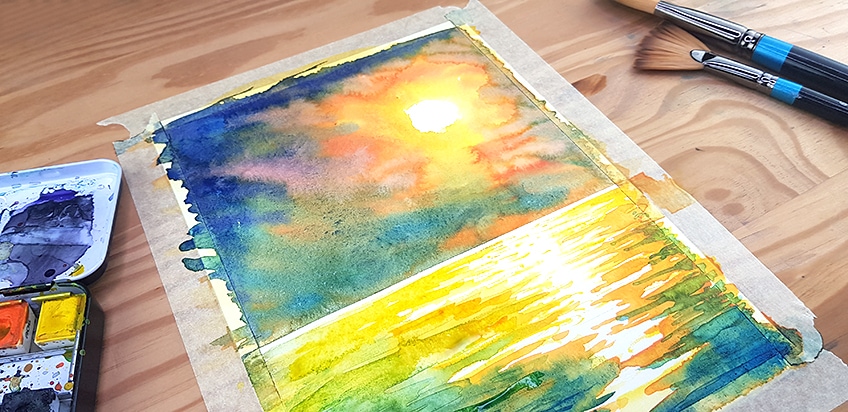
This technique is simple enough, and it consists of painting your wet paint onto a wet surface or paper. The wet surface will help the paint that you apply to flow more fluidly, providing some unique effects.
Splattering
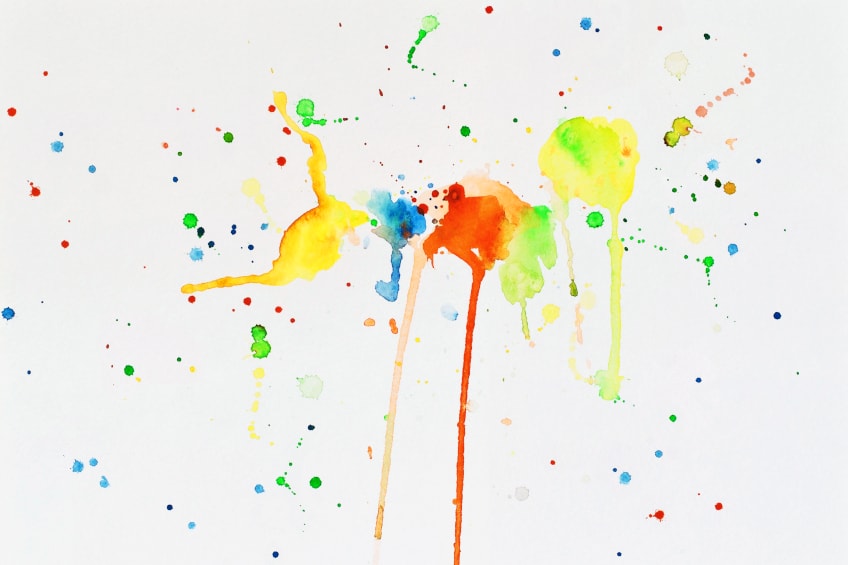
Paintings with patterns that have waves, rain, or dust benefit from this method of producing a water spray effect. Depending on the type of brush you have, you may either tap the bristles to spray the paint on the surface, or you may use your fingers to do so.
Texturing
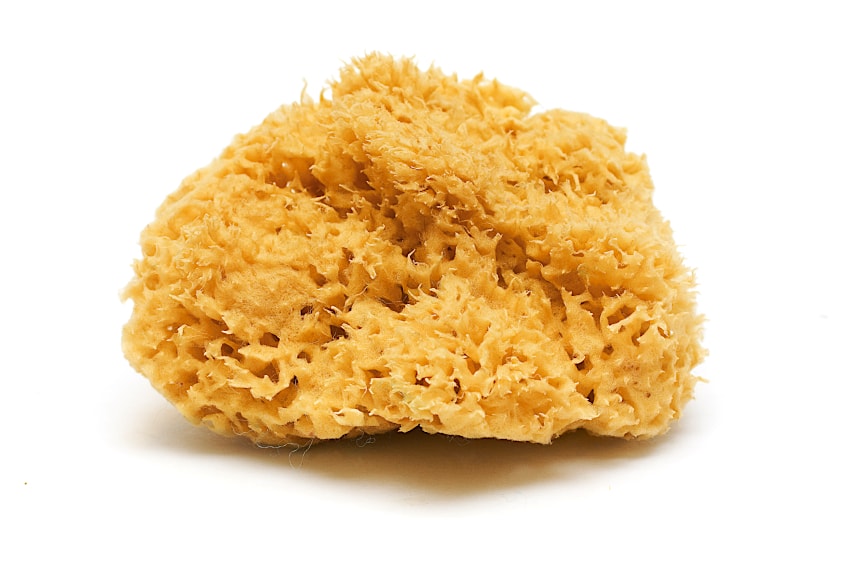
You can create unusual textures with watercolor paintings by following these two tips. If you want to add texture to watercolor paint, you can sprinkle salt over the paint while it’s wet. the salt will absorb some of the paint, including its pigments so that when you wipe it all away once dried, there are some unique effects left behind.
If you are looking for a relatively easy way to create some texture, one solution is to use a sponge to apply the watercolor paint.
Color Lifting
This technique can be easier to achieve if you do it whilst the paint is wet. If you wish to use a brush, make sure you first blot the brush with your hands to remove excess water. After that, rub the brush over the wet paint, and the wet paint should be taken up by the brush. The areas that are not as fragile can be rubbed over with a paper towel or a napkin. As soon as the watercolor paint has dried, it will be slightly more difficult to remove it from the surface. If this does not work, you can always try an eraser out.
Making Watercolor Blooms
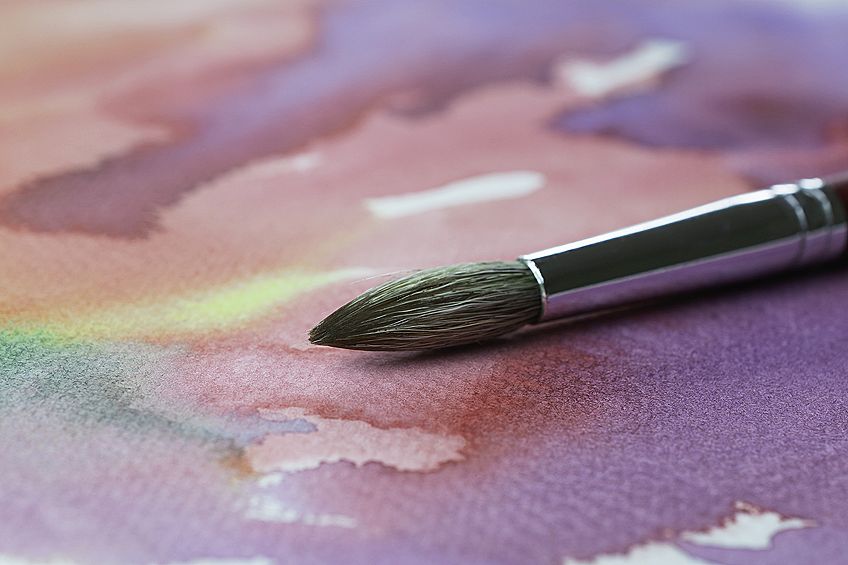
It is possible to use two different colors for an even more colorful effect. You can achieve this technique by applying a color wash and letting it dry just a little is enough to create beautiful blossoms of color. Dip a clean brush into some water and rest the brush on the paint you just painted. After some time has passed and the water has evaporated, you should notice some form of bloom-forming in the paper. Other than these techniques, there are so many additional ones that you start to learn. These different techniques will help to boost the quality of your artwork, as well as your skill. Here are a few examples of the additional techniques that you can learn:
| Technique Name | Description |
| Stippling | This effect can be done with a sponge or a pointed brush. Lightly dap or tap the paper for desired results |
| Feathering | This can be done with dry or wet paint, and it helps to give edges that appear softer |
| Underpainting | This is the layer of paint that creates the foundation |
| Dry-brushing | The name explains this technique. Using a dry brush, paint over your work to make it rougher in appearance |
| Color Layering | This is also known as “glazing”. It is done by adding colors on top of colors |
| Blending | This is the blending of colors together |
| Scumbling | Painting (over a dried layer of paint) a thin layer of paint, using a dry brush, adding depth to the painting |
Now that you have read all of our tips and tricks for achieving the best watercolor techniques for beginners, you can start to practice the skill until you become an expert in this art medium. Just remember to work in ascending order from light to dark colors, and to use a variety of paintbrushes in various shapes and sizes.
Frequently Asked Questions
How Hard Is It to Paint With Watercolors?
People who are just starting with watercolors might say that it is quite tricky to learn the medium, but once you get the hang of how it works, it will become easier and easier for you.
Is It Necessary to Sketch Before Painting in Watercolor?
It is very important to have a painting plan and to keep the process of painting on track with the help of sketches. The process of drawing beforehand is not an absolute necessity, some people prefer drawing beforehand, whereas others do not.
What Are the Contents of a Basic Watercolor Palette?
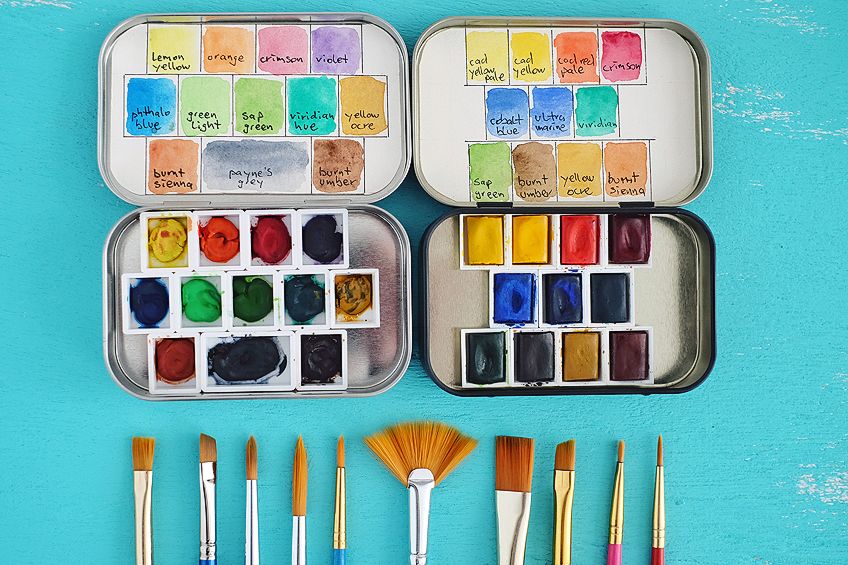
A basic watercolor palette is limited in color options. This is better for beginners because they will not be tempted to over-mix their colors. They usually come equipped with 12 different colors, including the primary colors.
Is a Watercolor Background Necessary?
There is no doubt that a watercolor piece is incomplete without a background, which is why it is often speculated whether you should paint the background before or after you have painted the subject matter. It has been recommended that artists separate painting aspects by masking the subject with masking fluid, painting the background first, then removing the masking fluid and continuing to paint the subject.
Larissa Meyer is a 32-year-old mother from Michigan and creative spirit since childhood. Her passion for painting and drawing has led her to an education as an illustrator and a career as a freelance graphic designer. She has a Bachelor of Fine Arts in Illustration and a degree in Graphic Design. Larissa is a talented artist who is able to master a wide range of styles and techniques to bring her artistic vision to life. Her greatest passion is currently fluid painting and epoxy resin art. Larissa’s love for art and her knowledge and experience in illustration make her the perfect Creative Director for our fluid-painting.com team. She is the creative head of our team and shares her passion and knowledge with our community through articles and tutorials.
As a mother of a 2-year-old daughter, Larissa also understands the importance of fostering creativity in early childhood. She uses her experience and knowledge to help other parents inspire their children and develop their artistic skills as well.
Learn more about Larissa Meyer and about us.

