Painting on Resin – How to Paint Resin Models and Other Pieces
This post may contain affiliate links. We may earn a commission from purchases made through them, at no additional cost to you.
Epoxy resin is very different to canvas when it comes to painting. A resin surface is much smoother than that of canvas, which can prevent the paint from adhering fully. In this article, we will lead you through the basics of painting on resin and give you our top tips and tricks to help you achieve the perfect finish.
Painting on Resin
Painting on epoxy resin presents several challenges, but the surface also offers new and exciting techniques. One great thing about painting on resin is that you can easily wipe off wet paint or scrape off dried paint. You can experiment a lot with resin painting, so see where your imagination takes you!
Step-by-Step Guide to Painting on Resin
There are several important steps to follow when painting resin for the first time. To get the best results, you need to prepare your resin surface by cleaning, sanding, filling holes, and applying a primer. Once you have prepared your surface, you can use good quality acrylic paint to finish your artwork.
Step One: Clean Your Surface Properly
The first step in painting on resin is to clean the surface, as this will remove any residue left over from the casting process. The best way to clean your surface is to use warm water and soap. If you have any nooks and crannies that are difficult to clean, you can use a toothbrush.
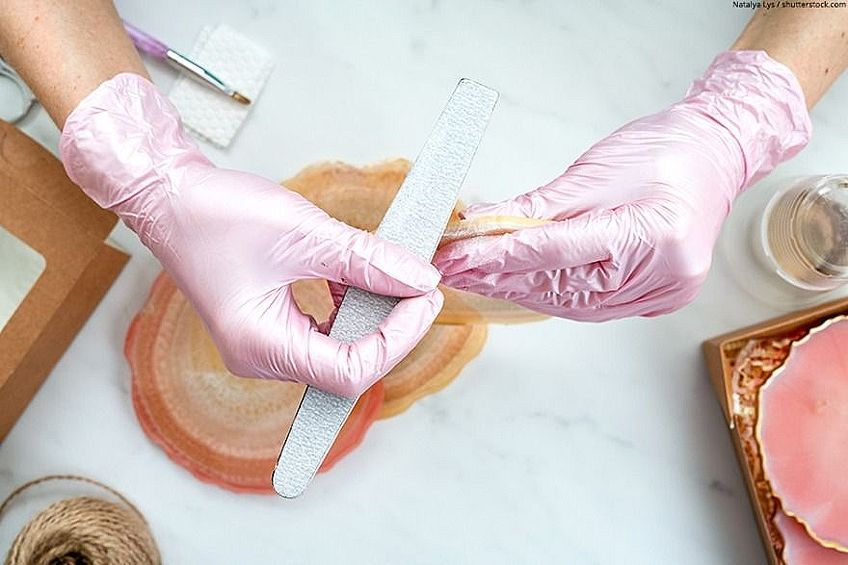
Step Two: Sanding Down Your Resin Surface
The smoother your surface, the easier it will be to paint. During the casting process with resin, bits of dried resin between the two halves of a mold can occur, which is called flash. Sometimes bits of flash will not be obvious to the naked eye, but once you add paint, it can become visible. You need to remove any flash from the resin surface, which you can do with a craft knife. Once you have removed any large pieces of flash, you can use an 800-grit sandpaper to ensure that your whole surface is smooth.
Step Three: Fill Up Any Holes
Sometimes the casting process can also result in some air bubbles or other surface imperfections. You will need to fill up these holes, or you will struggle to achieve a perfect finish. The easiest way to fill in holes is to use epoxy putty. Once your putty has dried, sand down the surface with 600-grit paper.
Step Four: Always Use a Primer
Due to the very smooth surface of epoxy resin, it is essential to use a primer before applying your paint. Using a primer will improve the grip on the resin surface, which will make it easier for the paint to adhere. Typically, primers are available in three different colors: black, white, and grey. The one you choose depends a lot on the paint shades you want to use. If you are planning on using light colors, then a white primer is best. For darker colors, a black primer would work better. Grey primers are the best choice if you want to mix paint colors.
You can generally find primers in two different forms: paint-on primers and spray-on primers. We recommend a spray-on primer because you have more control over the amount of primer you apply. Spray primers also offer a smoother application without brush strokes.
When you use a primer, try to work in a place with a lot of air flow. It may be necessary to apply a few layers of primer to get the smoothest coverage. Always let each coat of primer dry before you apply the next. Some artists suggest sanding the surface with 400-grit paper between each coat of primer, but this is not necessary if you do not have the time.
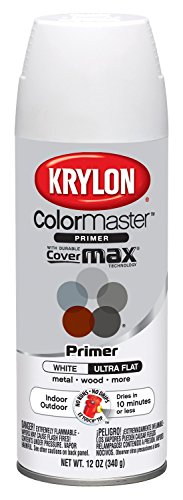
Our Recommended Primer: KRYLON ColorMaster Paint and Primer
The Krylon ColorMaster paint and primer is our recommendation for the best primer for painting on resin surfaces. The primer comes in a number of colors, making it ideal for any project. This Krylon primer is spray-on, so it is easy to use.
- Increases paint adhesion
- Ensures true paint color is achieved
- Smooths uneven surfaces
The Krylon ColorMaster primer dries in only ten minutes and is fantastic for increasing paint adhesion. An additional benefit to using this primer is that it actually smoothes any uneven surfaces.
Step Five: Time to Paint
The first question people may ask now is what kind of paint to use on resin surfaces. We will always recommend using acrylic paint for resin surfaces because acrylic is the most versatile paint. One of the problems with painting on resin surfaces is that it can be hard to get a solid opaque color. Depending on the thickness of your acrylic paint, you may need to apply several layers to get your desired opacity.
It is important to leave each layer to dry completely, and then complete the next. The paint can be quite fragile at this stage, so be careful with scratching or chipping your paint.
Our Recommended Acrylic Paint: WINSOR & NEWTON Galeria Acrylic Paint Set
We recommend this brand of acrylic paint for the thick consistency and strong pigmentation. As a student grade paint, these acrylics have the same pigmentation as artist grade paints, which will help you get the best coverage on the resin surface. This set of paints is also relatively affordable, which is ideal for beginner artists.

- Get professional-looking results
- Includes 10- to 20-milliliter tubes of acrylic paints
- Conforms to ASTM d4236
Step Six: Seal It All Up
The acrylic paint can be quite fragile when painted onto a resin surface. To keep your creation looking fresh and clean, it is a good idea to use a lacquer sealant over your final layer of paint. A layer of sealant will protect your paint from chipping, scratches, and UV light.
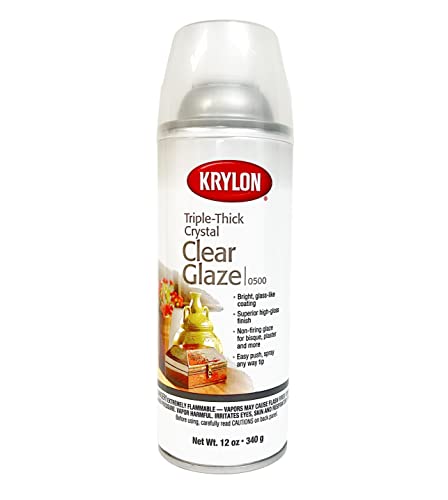
Recommended Sealant: KRYLON Triple-Thick Clear Glaze Aerosol Spray
The great thing about our recommendation for varnish is that it is highly versatile. This sealant can be used not only on resin, but also on metal, plastic, wood, and even paper. One coat of this glaze has the same effect as three coats of other brands. The varnish is fast-drying and produces a clear coating that can help to create an illusion of depth.
- Quick-drying and crack-resistant
- Permanent finish with extra high gloss
- Gives illusion of depth
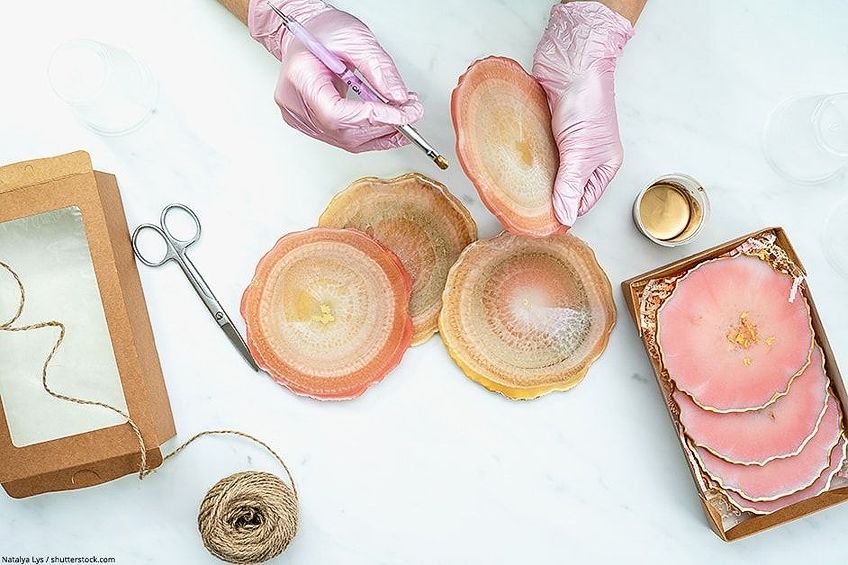
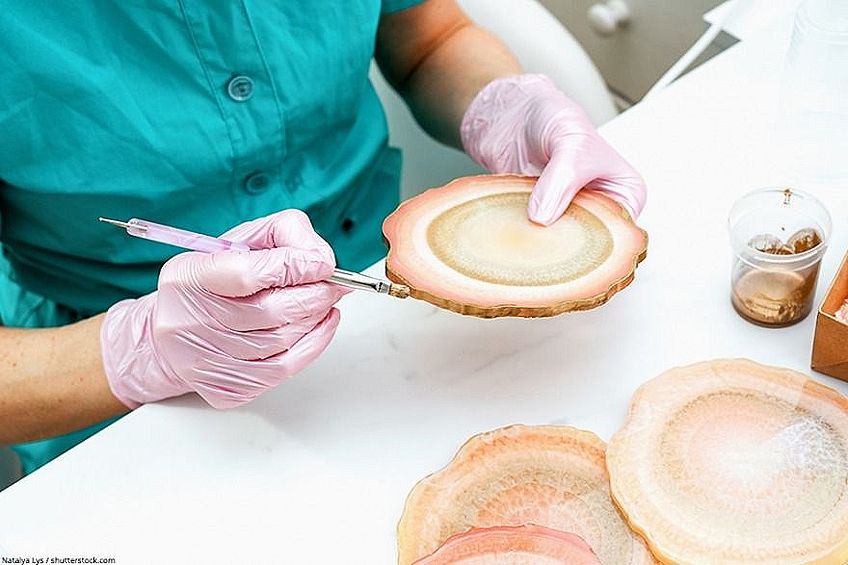
How to Paint Resin Models
Resin models are a little different from flat resin surfaces because of all the nooks and crannies. All the preparation steps are the same: clean the flash, wash with soap and warm water, sand down the surfaces as much as you can, and apply a primer. When it comes to applying the acrylic paint, we have a few tips to help you out so you can easily paint resin models.
- Start with the biggest surfaces. As with all painting, it is always best to start with the largest surfaces and then move to the smallest ones. Be sure to choose a small, flat brush so that you can reach into smaller corners. A flat brush will also help you avoid leaving any brush marks in your paint.
- It is always a good idea to paint the lightest colors first and then move towards your dark shades. It is much easier to darken a particular area than to try to lighten it. Start with your highlights, and then add the shadow color. Typically, your darker colors will go in the nooks of your model because this helps to define the three-dimensional shape.
- You can use a very small round brush to paint in the smallest details and define the outlines. Dark colors and thin lines can help to define the shape of your model.
- Now, you can apply your finishing touches. As with other resin projects, it is best to use a varnish or lacquer sealant to finish your piece and protect it from damage. A spray-on sealant like the Krylon one we mentioned earlier is easiest for painting on resin models.
Our Top Tips and Tricks for Painting Resin
Even with a step-by-step outline like the one we provided above, painting on resin surfaces can be a tricky business. Here are some troubleshooting tips to help you with your resin painting project.
Choosing the Right Paintbrush for Resin Painting
The size of the paintbrush you choose depends on the amount of detail you want. It is best to have a range of different brushes, including a small flat brush, a small round brush, and a slightly larger flat and round brush. We will always recommend using synthetic brushes because they are of great quality and last for a long time.
Patience is Key
Painting on resin surfaces can be a time-consuming process. Each layer of paint needs to dry fully before you can move onto the next. To get a nice opaque color, you may have to add several thin layers of paint. You can avoid leaving streaks of paint by using many thin layers rather than a single thick one.
Although the painting may take a while, have fun and enjoy it, as the outcome is definitely worth the time.
Use Primers and Varnishes with Caution
Both primers and varnishes are essential components of your final piece, but you need to use them with caution, particularly if they are aerosols. The ideal place to work is somewhere outside with plenty of ventilation.
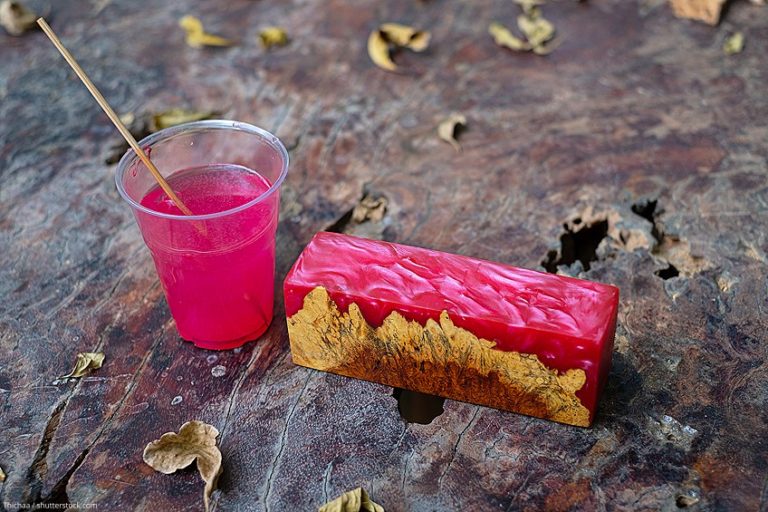
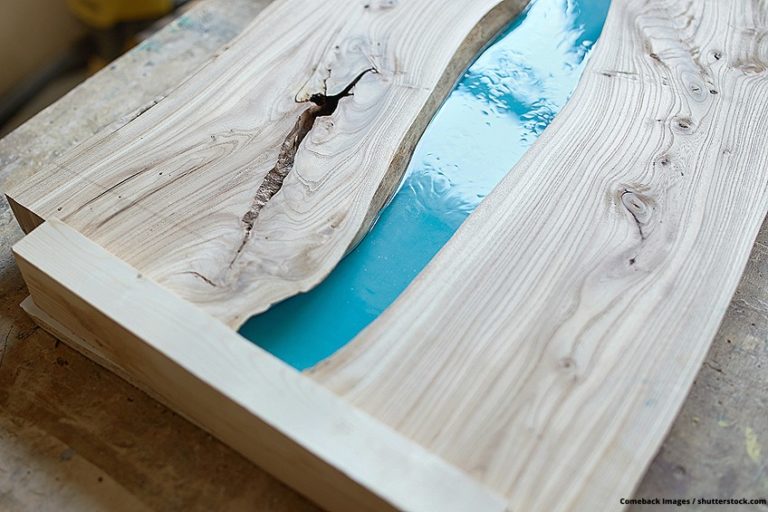
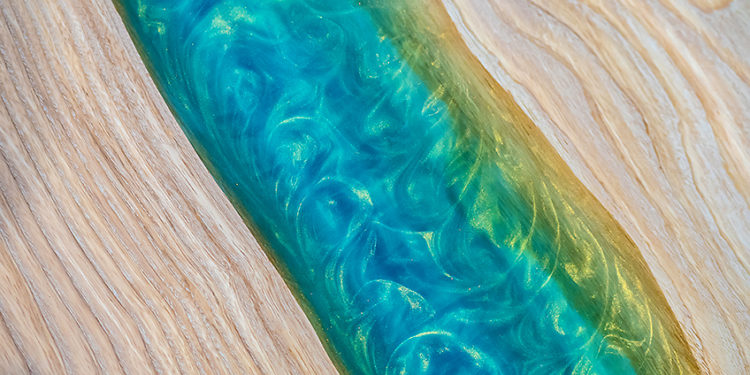
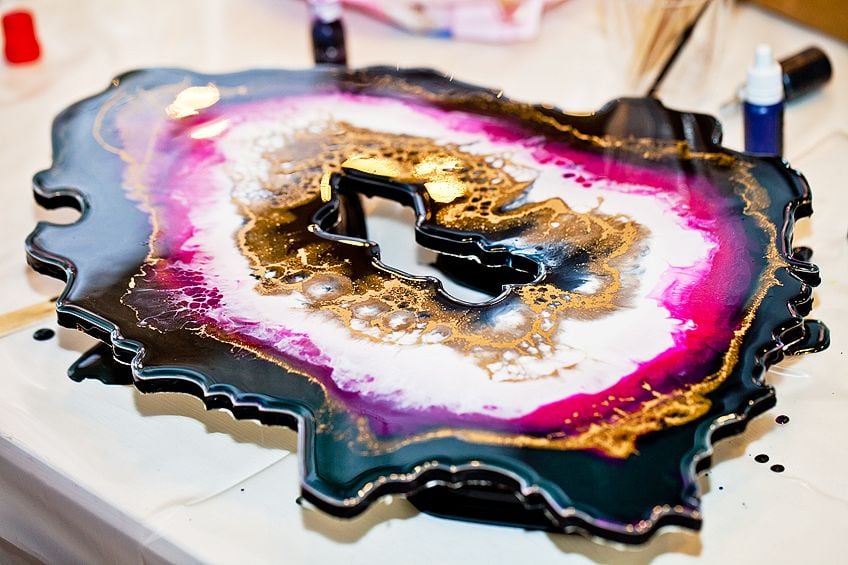
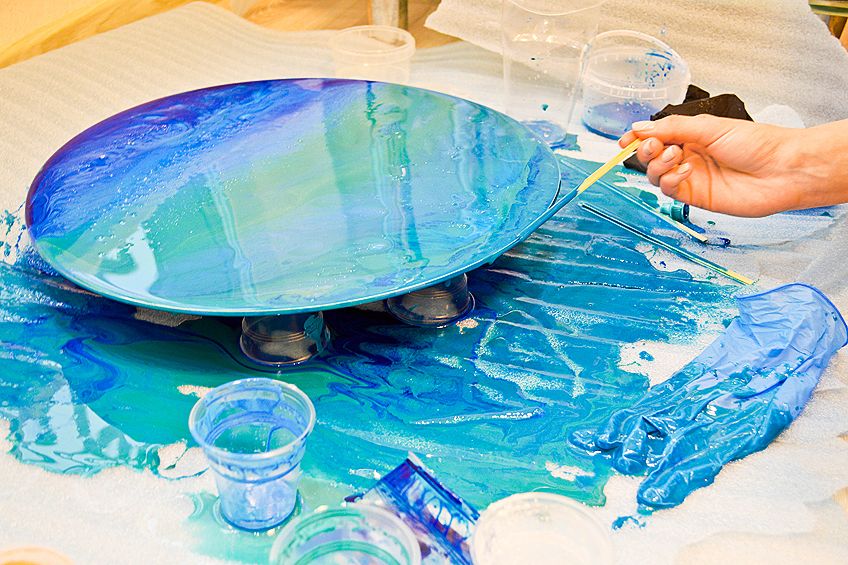
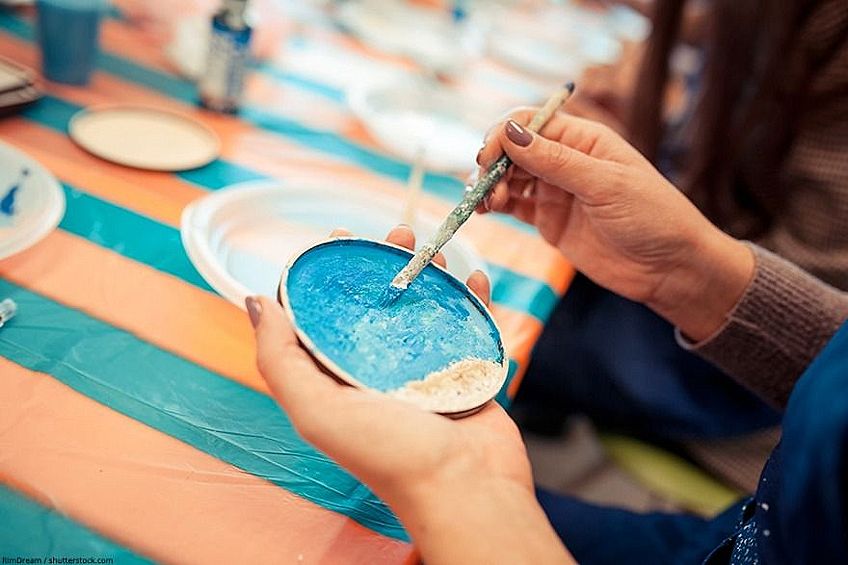
Painting Between Layers of Resin
There are so many different ways you can paint resin, and adding paint between layers can produce some stunning effects. For the best outcome, try to let your paint dry for at least 20 minutes before adding the next layer of resin. A good rule of thumb is that once you can touch the paint without smudging it, you are good to go!
At this point, you can experiment with adding other textures to your resin, including glitter, small flowers, or anything else that takes your fancy.
Paint on Resin is Fairly Forgiving
A wonderful part about painting on resin with acrylic paint is that there is quite a lot of room for error. You can easily wipe off paint that is still wet, and you can remove dried paint or residue with a wet paper towel. The take-home message is not to be scared to try new things and see where your imagination takes you.
Try Playing with Empty Space
While the precise application of stunning shades of paint will create a beautiful piece, there is something to be said for experimenting with empty space. Leaving areas paint-free can add a lot of depth to your work, especially if you are painting between resin layers.
Frequently Asked Questions
What Kind of Paint Will Stick to Epoxy?
Acrylic paint is the most affordable and effective paint to use on epoxy resin. You can also try using latex paints. We do not recommend using oil-based paints, however, as the epoxy will not stick, and this paint takes a long time to dry.
Can You Mix Resin with Acrylic Paints?
We do not recommend that you try to mix acrylic paint with the epoxy resin. Acrylic paints are water-based and do not mix well with the resin, often producing lumps and causing a strange film to develop on your final product. We recommend rather using specially designed colorants for epoxy resin.
Can You Paint Resin?
You absolutely can. Acrylic or latex paints work best. You do need to use a primer before using the acrylic paints, however, as the resin surface is very smooth, and the paint can struggle to adhere.
Can You Put Resin Over Paint?
Yes, pouring resin over a painted surface can create a smooth and glossy finish, and it is surprisingly simple. Firstly, make sure that the painted surface is clean. Secondly, pour the resin over the painted surface, ensure that the epoxy resin is even, and then leave it to dry for several hours.
What Can You Use to Color Resin?
Luckily for the beginner, there are several cheap and easily available options for coloring your resin. Eye shadow powder, watercolor paint powder, chalk, alcohol-based colors, and glitters are wonderful options for coloring resin.

Larissa Meyer is a 32-year-old mother from Michigan and creative spirit since childhood. Her passion for painting and drawing has led her to an education as an illustrator and a career as a freelance graphic designer. She has a Bachelor of Fine Arts in Illustration and a degree in Graphic Design. Larissa is a talented artist who is able to master a wide range of styles and techniques to bring her artistic vision to life. Her greatest passion is currently fluid painting and epoxy resin art. As a mom of two kids, Larissa also understands the importance of fostering creativity in early childhood. She uses her experience and knowledge to help other parents inspire their children and develop their artistic skills as well.
Learn all about Larissa Meyer and Fluid Painting.