How to Harden Sticky Resin – Fixing Sticky Resin
This post may contain affiliate links. We may earn a commission from purchases made through them, at no additional cost to you.
Often, when you are working with epoxy resin, you will find that despite leaving the resin to cure for the required amount of time, you are still left with a sticky surface. This sticky resin is a result of the fact that when you initially mixed your hardener and your resin, the chemical reaction that was meant to take place did not occur proprerly. The lack of chemical reaction is linked to you not correctly measuring your two ingredients or to you not mixing them thoroughly. While this may be of concern, do not worry! There are ways to correct this problem.
Tacky Resin
Resin is described as tacky if it does not completely set during the curing process, leaving the resin feeling tacky to the touch.
Possible Reasons for Tacky Resin
There are several reasons that can contribute to resin not curing sufficiently and giving you a tacky texture.

Under Mixing
Even if you have measured out your hardener and resin to the correct ratio, if you don’t mix and combine the two parts correctly, they may not catalyze adequately. We suggest that you mix the parts for at least 3-4 minutes, ensuring you are scraping the sides as you mix so as to combine everything equally.
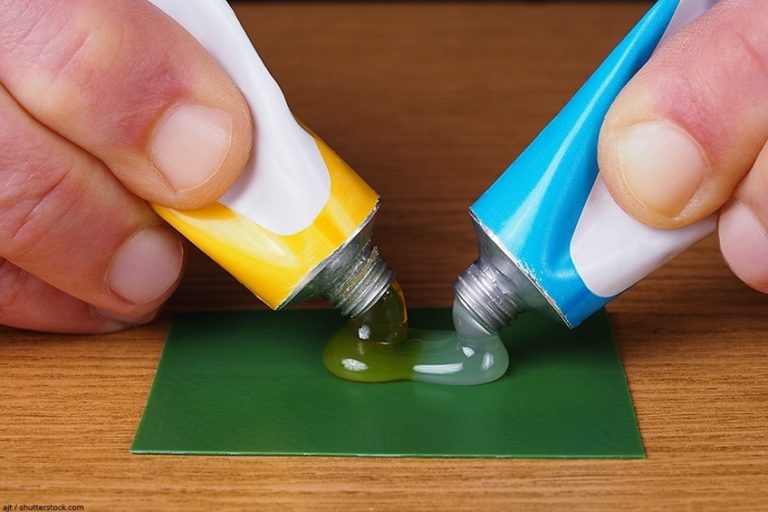
Not Measuring Accurately
You must stick to the manufacturer’s recommended ratio when portioning hardener and resin. Most resins will have a mixing ratio of 1:1, but this can change depending on the product. Adding additional hardener will not decrease the curing time; instead, it will cause the product to set improperly, giving you the tacky texture. The two parts need to be equal to ensure that they catalyze accordingly.
Temperature
When mixing your resin and hardener, you will require an ideal environment with the correct temperature. If the temperature is too cold, the resin will not cure properly. The perfect temperature is when a room is between 70 and 75 degrees Fahrenheit, as this is the ideal temperature to aid the resin in curing correctly.
Dirty or Wet Utensils
Unfortunately, water does not work well with resin before it has cured, as even the smallest amount of water can cause a variety of problems such as bubbles, cloudiness, and even improper curing. All your utensils must be completely clean and dry before you being working with the resin.
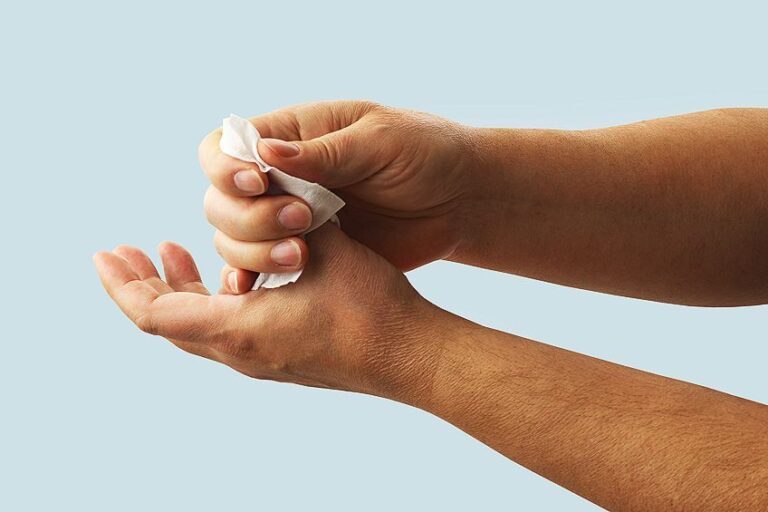
How to Fix Tacky Resin
Unfortunately, tacky resin cannot simply be left, and it has to be fixed accordingly. There are an assortment of ways to address this problem, which include the following:
- Try moving your piece to a warmer location (if you can move it). Leave it for 24 hours and let it dry.
- If there are only small spots of the surface which are tacky and not the whole surface, you can try using resin spray. Resin spray dries very quickly and leaves a glossy, clear finish. It is also very easy to use and is ideal for smaller projects.
- You can sand down the tacky surface using 80-grit sandpaper and repour another coat of resin.
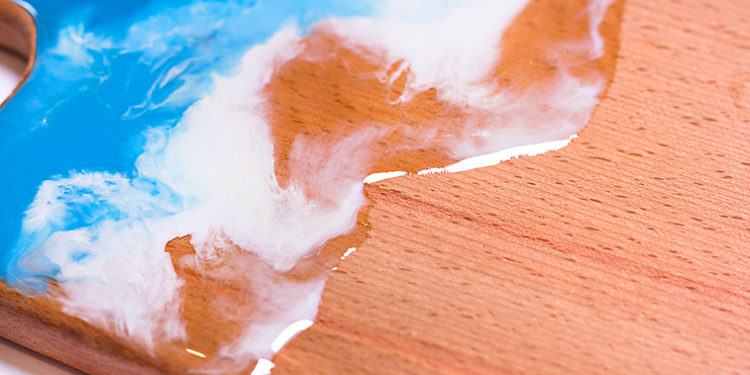
Runny Resin
Runny resin is another problem you could face when working with resin. If your resin is still in a liquid form despite allowing time for curing, you may have a runny resin.
Possible Reasons for Runny Resin
- In adding colorant, you run the risk of impacting the curing process. Adding too much colorant can lead to your resin being runny. If you are choosing to add colorant to your resin, make sure that you don’t add more than 6% of the total volume of your mixture.
- Be sure when you are measuring your components that you always measure using volume as opposed to weight. The ratio should be 1:1 for resin and hardener, by volume.
- Don’t try adding more hardener than resin with the hopes of speeding up the hardening process, as this can lead to runny resin.
How to fix Runny Resin
Unfortunately, there is only one way to fix runny resin, and that is to scrape the resin off and begin again. You are not able to simply add another layer on top of the runny resin, as it will not set, and the issue will just become worst.
When removing the runny resin, ensure that you get it all off, otherwise any leftovers may mix in with the new resin you apply. If you are sure that you have removed all of the runny resin, you can then start to pour the new layer, but make sure that the new layer you are pouring has been mixed correctly, so as to not sit with the same problem again.
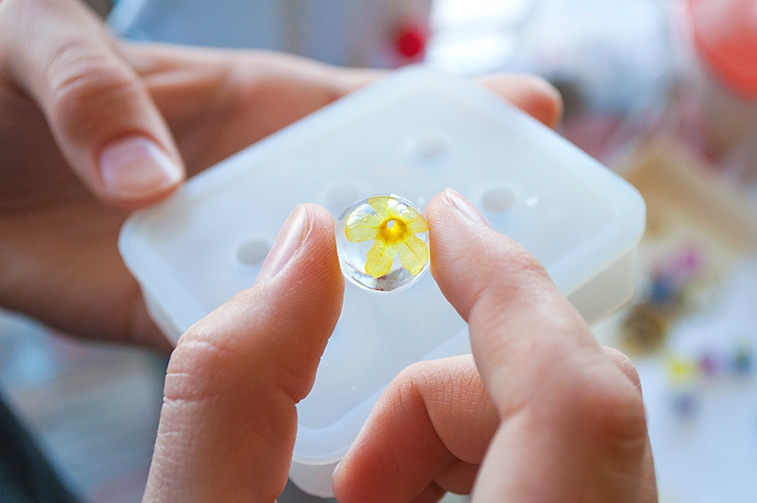
Soft Spots
Sometimes you will notice that once your resin has cured, there are spots that remain wet and soft.
Possible Reasons for Soft Spots of Resin
It is imperative that when you combine your chosen epoxy resin and hardener, you ensure the two are mixed thoroughly. While mixing, make sure you scrape the sides and the bottom to ensure the two parts are combined sufficiently. That being said, do not scrap the sides of your container when you are pouring. The reason for this is if there are any parts that are not mixed properly, you will scrape them out, and they will be poured on the surface. It is these parts that result in soft spots of resin.
How to Fix Soft Resin
The only way to fix soft spots of resin is to sand down the cured resin and then clean off the surface. You can use 80-grit sandpaper to sand down the resin. Ensure you remove all the soft, runny resin you can. Once you have completed sanding and cleaning down the surface (ensuring that there is no runny resin or dust remaining), you will then be able to pour on a new layer of resin.
Tricks and Tips
- The temperature of the area you are working in will have a huge impact on the curing of your resin. Ensure you are working in an environment with temperatures of 75 to 85 degrees Fahrenheit.
- When you are applying a new layer of resin over the sticky spots, ensure you apply the resin across the whole surface, and not just to the sticky spots. This will ensure that you do not end up with a seam line between the initial layer and the new layer.
- If you are a beginner when it comes to using resin, we highly recommend you do a few practice rounds before you tackle your main project.
- If your resin is sticky or tacky, you can leave it and apply new resin over it. However, if you are dealing with runny or gooey resin, ensure you remove all of it before applying a new layer.
- The most important rule is to always ensure you use the 1:1 ratio when combining your epoxy resin and hardener. You should also always make sure that you follow that instructions included with your epoxy package or kit.
- It is extremely important to mix the resin sufficiently. A good rule of thumb is to mix it for at least 3 minutes. You need to ensure you scrape the bottom and sides of the container when mixing, but never scrape the container when pouring your resin.
- Once you have allowed your resin to cure for 24 hours, and you find it is still tacky, you can try spraying on some polyurethane and then leave it to dry for at least 30 minutes. You can then spray on a second layer. Be careful not to cloud the surface by spraying it on too thickly.
- If you choose to add color, ensure that the colorant isn’t more than 6% to your resin mixture. Aim for pigments with high concentrations of color to affect the resin mixing ratio as little as possible.

Larissa Meyer is a 32-year-old mother from Michigan and creative spirit since childhood. Her passion for painting and drawing has led her to an education as an illustrator and a career as a freelance graphic designer. She has a Bachelor of Fine Arts in Illustration and a degree in Graphic Design. Larissa is a talented artist who is able to master a wide range of styles and techniques to bring her artistic vision to life. Her greatest passion is currently fluid painting and epoxy resin art. As a mom of two kids, Larissa also understands the importance of fostering creativity in early childhood. She uses her experience and knowledge to help other parents inspire their children and develop their artistic skills as well.
Learn all about Larissa Meyer and Fluid Painting.