How to Make Resin Jewelry and Find the Best Jewelry Resin
This post may contain affiliate links. We may earn a small commission from purchases made through them, at no additional cost to you.
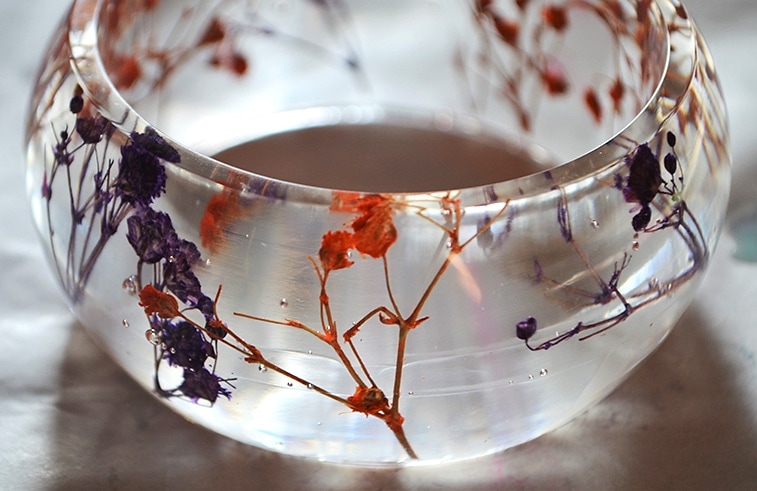
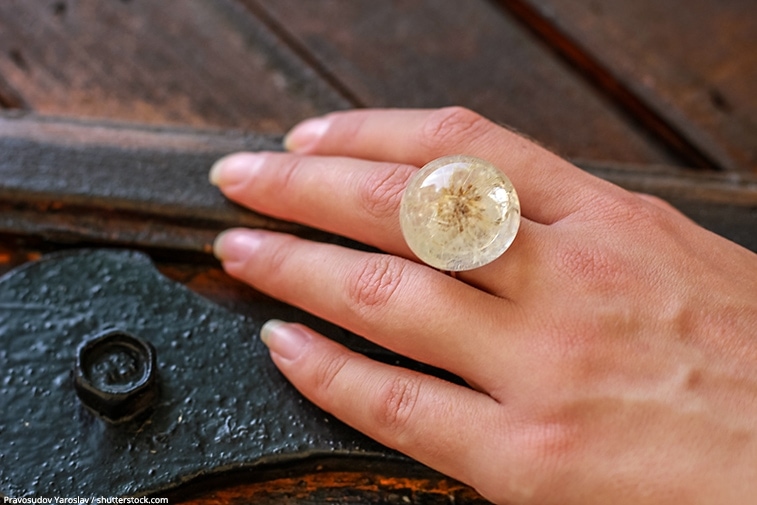
Making fascinating Resin jewelry yourself is a matter close to the hearts of many creative people. With epoxy resin, there are practically infinite possibilities to create special pieces of jewelry. Epoxy resin jewelry also impresses with its crystal clear appearance and mirror-smooth surface. Incorporated materials such as flowers, pearls, or glitter particles provide an additional wow effect.
What is Epoxy Resin Jewelry?
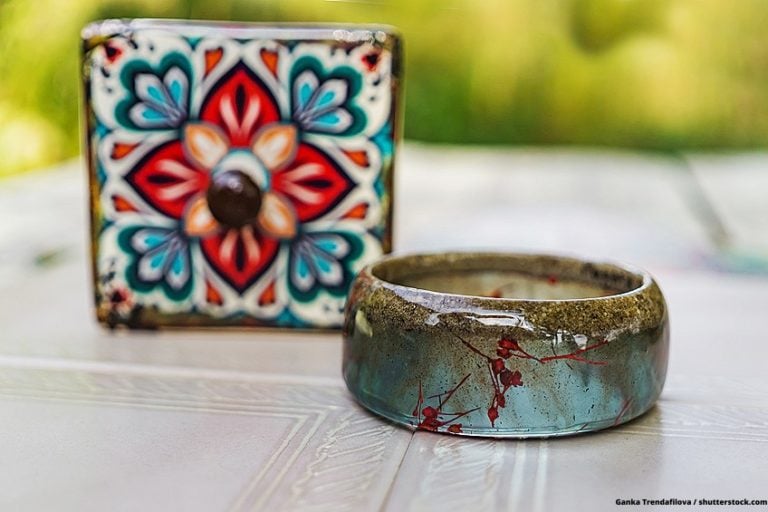
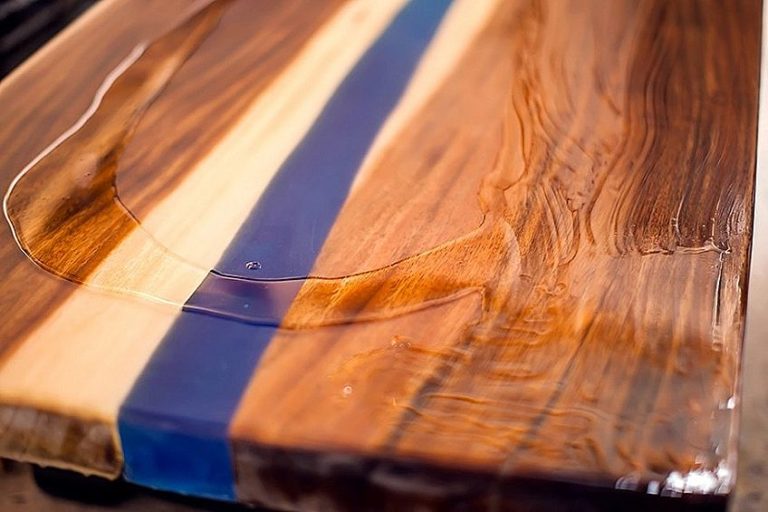
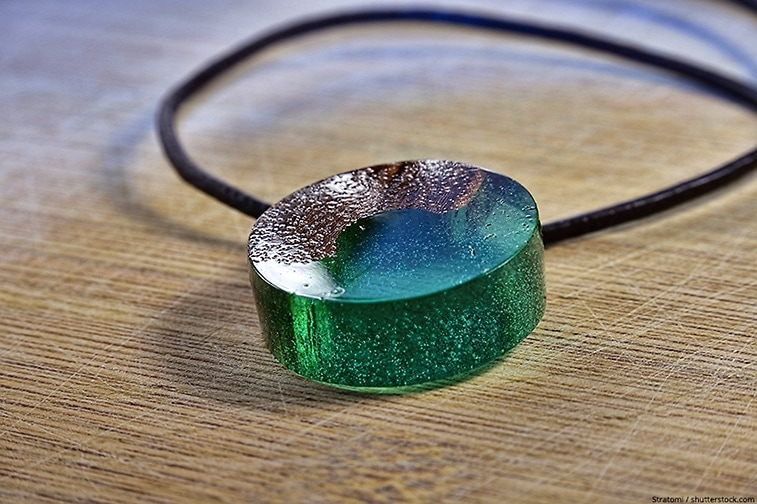
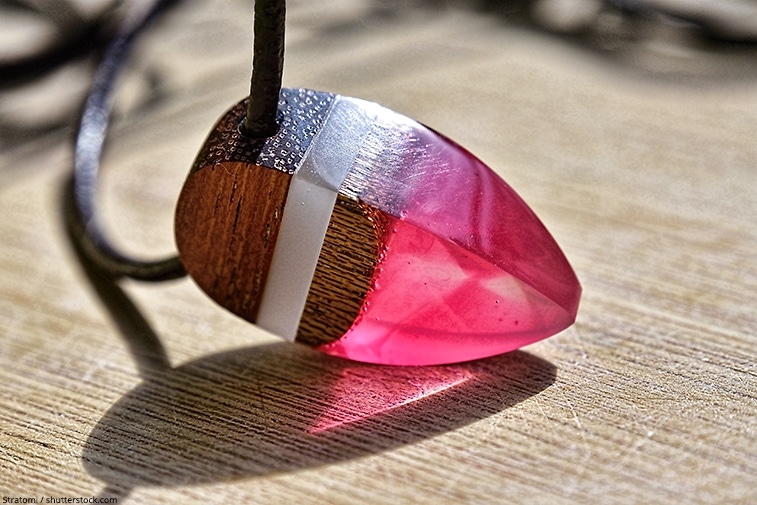
Epoxy resin jewelry, or just resin jewelry, are decorative pieces of jewelry that are made of Epoxy Resin. Resin is a material that works by means of a two-component system. Resin and hardener are mixed together and solidifies afterward to a very hard and crystal clear plastic. By the optional coloring of the resin and by adding various elements such as stones, pearls, glitter particles, or natural materials, fantastic and unique pieces are created. The supreme discipline in resin jewelry making is the combination of epoxy resin and wood – this exciting and unique mix of materials creates extremely precious, rare pieces.
Which Jewelry can You Craft with Resin?
The art of resin jewelry casting allows you to create almost any type of jewelry:
- Bracelets
- Pendants for chains and bracelets
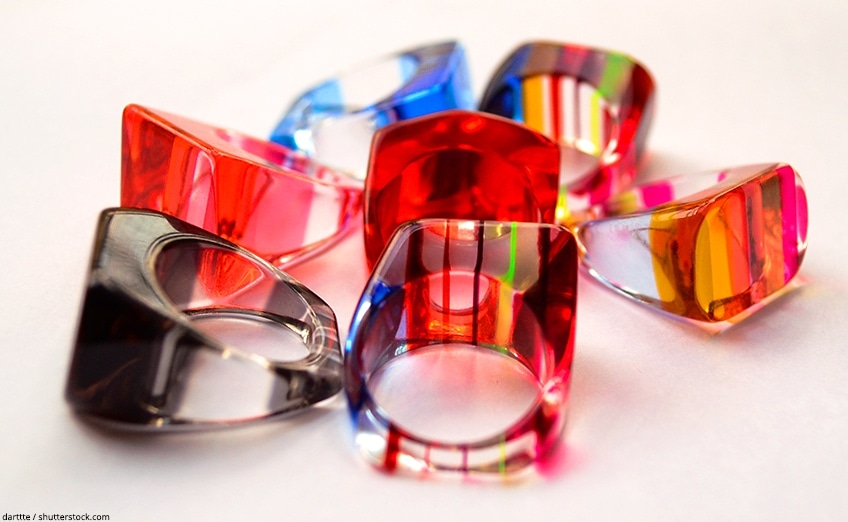
- Finger rings
- Earrings
- Brooches
- Cuff links
- Tiepins
- Key fob
The Best Jewelry Resin for Your Projects
To make beautiful epoxy jewelry out of resin you should, first of all, choose the most suitable material. There are primarily three different types of resin that you can buy in the craft shop, hardware store, or of course online.
The difference between the different types of resin lies in their composition. This has an effect on the processing method, curing time, and last but not least, on the appearance of your unique specimen. Here we present you the resins which are suitable for resin jewelry:
Casting Resin
Casting resin has become very popular in the DIY scene and among DIY enthusiasts. Casting Resin is a two-component resin and is ideal for the production of resin jewelry, among other things. Although it is somewhat more expensive than other resins, it is odorless, crystal clear, and 100% non-toxic after curing. Casting resin is a low-viscosity (very fluid) resin which therefore has a relatively long curing time. On the other hand, relatively thick layers of up to 10 cm can be cast with this resin. It is therefore also suitable for larger objects and is often used to make furniture such as epoxy tables.
Our recommendation:

- Thick pours, low viscosity, and long working time
- Clear results and compatible with pigments and dyes
- 2:1 mixing ratio by volume
Countertop Resin / Laminating Resin
Laminating resin is the classic and most widely used epoxy resin on the art scene. Laminating resin is somewhat similar to casting resin and also always consists of two components. The difference to casting resin is mainly in the viscosity: Laminating resin is more viscous (medium to high viscosity) and only suitable for rather thin layer thicknesses and for sealing surfaces. The reason for this is that, due to its chemical composition, i.e. the fast drying time during curing, this resin can become very hot and therefore cloudy and brittle if the layers are too thick. Therefore, several layers must usually be poured (except in small objects).
Epoxy resin for artistic purposes is mainly used for Resin Art (i.e. paintings), but can also be used for resin casting to a limited extent. However, it can only be used for small-format castings. In contrast to casting resin, it is somewhat better suited for embedding objects, as the higher viscosity of the resin means that objects cannot sink so easily. When casting light objects such as flowers or glitter, this advantage can, therefore, be put to good use. Laminating resin is also very often used for the production of Resin Petri Dishes to achieve the typical effect in combination with alcohol inks.
Our recommendation:

- Specifically designed for art projects, excellent color stability
- Very easy to use with 1 : 1 mixing ratio, 100% solids, hard-shell finish
- High gloss and crystal clear, your all-seal solution, excellent air release
UV Resin
UV Resin is the perfect alternative for jewelry designers. It cures under a UV lamp within a few minutes, is odorless, and offers a crystal clear surface after curing. The only disadvantage is that only very thin layers of up to 4 millimeters can be cast with this material. However, this should not be a limitation for the production of jewelry, as these are usually smaller objects anyway. And because of the extremely fast curing by means of a UV lamp, the long curing times are also avoided here – which is therefore a great advantage for multi-layer casting. UV resin is also perfect for embedding small objects in your jewelry.
Our recommendation:
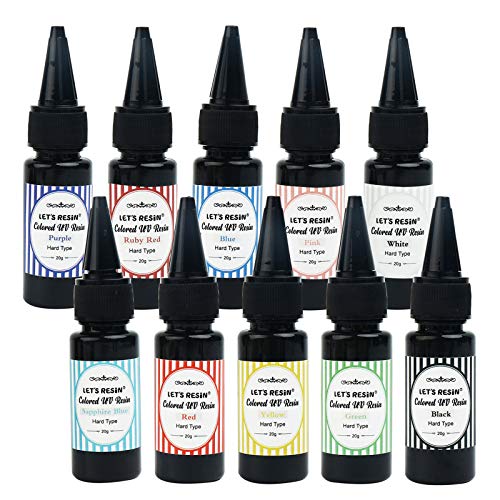
- A powerful set from Let's Resin with already colored UV Resin
- Ready out of the bottle - just pour it into the mold and place it under a UV lamp
- Suitable for all kinds of UV resin applications - jewelry and all other casting techniques
Perfect Silicone Molds for Resin Jewelry
You will find a large selection of high-quality, polished silicone molds for sale. So the production of resin jewelry is super easy! The options are extensive, and all forms of silicone forms imaginable are available: From pendants, brooches, and earrings, to fancy forms for finger rings – there is something for every taste.
Our favorite polished Silicone Molds for beautiful Epoxy Resin Jewelry:


How to Make Resin Jewelry
So, now that we’ve introduced you to the basics of casting jewelry with resin, we would like to show you step by step how to make your first piece of epoxy resin jewelry.
Preparation
- The first step is to consider which resin jewelry you want to make and which objects you want to cast.
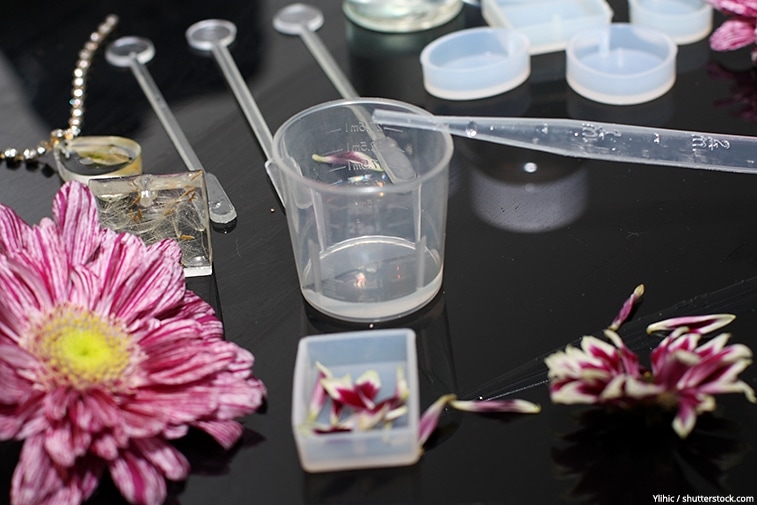
- Lay out your materials and/or the colors to be incorporated and find a suitable silicone mold for your own resin jewelry.
- Furthermore, you will need fine-grained sandpaper, polishing paste, or gloss varnish. Consider also a bowl of water, a sanding block, and an absorbent cloth or paper as a base.
- If you are using UV resin you will of course also need a UV lamp to cure the resin.
- If you want to make a piece of jewelry that requires a drill hole, you will need a fine drill, possibly a drill stand, and a toothpick.
- When working with epoxy resin, we ALWAYS recommend that you wear gloves, safety glasses, and respiratory protection. Of course, the surroundings should also be sufficiently protected with plastic sheeting.
DIY Resin Jewelry – Mixing and Coloring Epoxy Resin
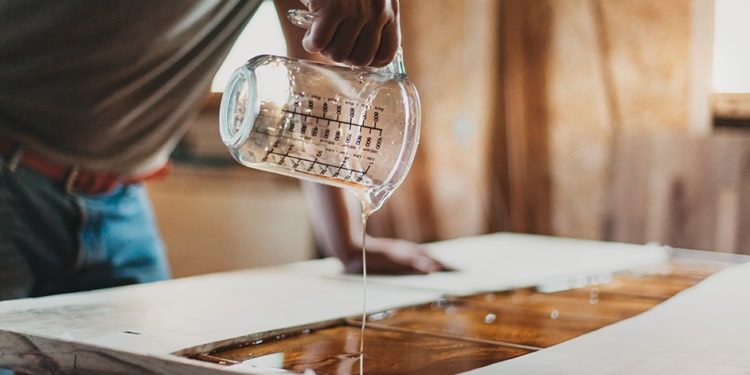
- Mix about half of the required Epoxy resin. Epoxy resin and polyester resin must be carefully mixed with a suitable hardener in an exact ratio. To achieve an optimum result, use a measuring vessel with milliliter precision and possibly a kitchen scale.
- Easier to mix is casting resin, as this is simply mixed in a 1:1 ratio.
- If you want to use a UV-resin, you don’t mix in a hardener. This resin is already mixed and ready for immediate use, and only cures under UV light
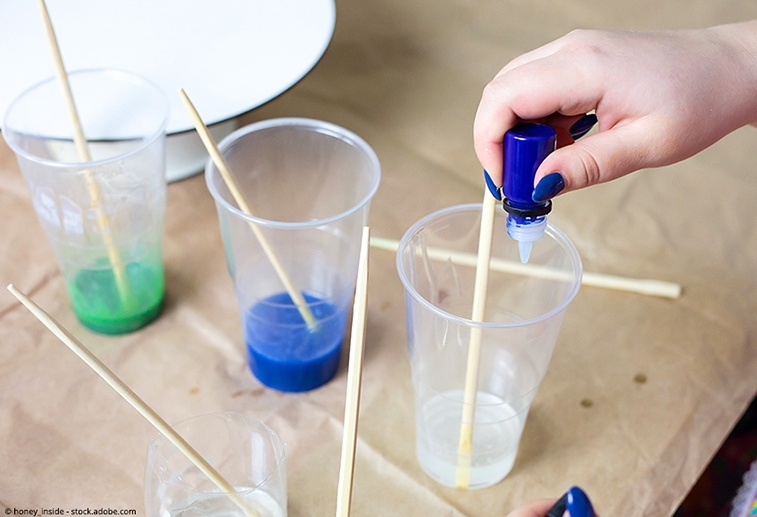
- For colored resin jewelry, you can already mix the color with the resin. In the next step fill half of your prepared resin jewelry mold with the finished epoxy resin.
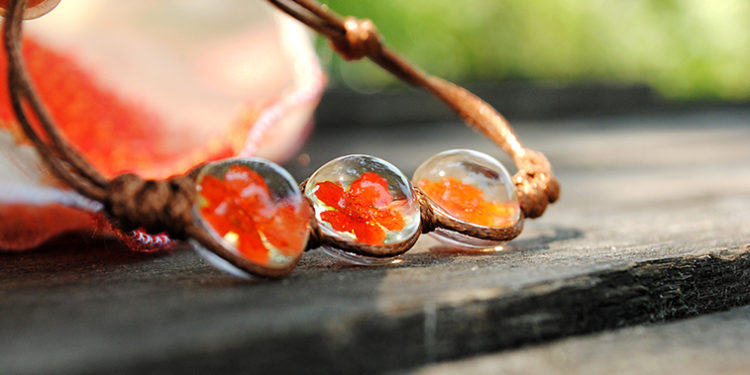
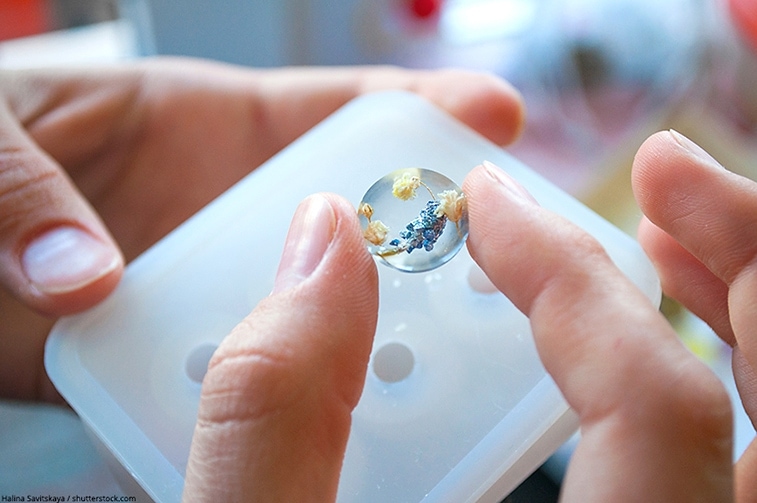
- If you want to make your resin jewelry an eye-catcher with light materials like flowers, leaves, or glitter particles, you can already position them in the liquid resin.
- Now you have to wait up to 24 hours, depending on the resin used, to let the first layer harden. Once this layer has hardened, you can now place heavier objects like pearls, shells, or stones in your resin jewelry. To prevent unintentional slipping, a small amount of resin can help to fix the element.
- After the resin has hardened, the silicone mold can be filled completely with the resin.
- If air pockets are already formed when pouring the resin, remove them with a slight application of the Bunsen burner or a hot air dryer.
- Leave the piece of jewelry to harden for as long as the manufacturer’s instructions specify.
Removing Epoxy Jewelry from the Mold
As already mentioned, the curing time of epoxy resin jewelry can vary. It ranges from a few minutes under the UV lamp for UV resin to 48 hours for classic epoxy resin, or even several days for some casting resins. Please pay attention to the manufacturer’s instructions.
Once your resin jewelry has hardened, it can be removed from the silicone mold. After releasing it, there may still be sharp edges or borders on the casting. Also, the piece may still look a little dull. You can fix this in the next step.
Resin Jewelry Sanding and Polishing
First of all, we recommend that you work on the sharp casting edges. These are simply removed with fine-grained sandpaper until the jewelry is free of edges. Once all air pockets have been filled and all edges and protrusions have been sanded down, your unique resin piece is ready to be finished.
If you have used an ordinary (and not a polished) silicone mold, your object will look a bit dull. You can eliminate this by either polishing your work with polishing paste or by applying a gloss varnish. You can save yourself from polishing and sanding if you use polished silicone molds. These molds have a very smooth surface, creating a perfectly smooth and shiny casting.
If you want to cover your resin jewelry with epoxy resin instead of lacquer, you should first sand the jewelry completely so that the last finishing layer really sticks and does not run together to form unsightly stains. Use fine-grained sandpaper and some water. For this step, you need the above-mentioned sanding block on which you can place your object and the absorbent cloth as a base. Moisten the sandpaper and work your piece of jewelry around it until there are no shiny spots. Then cover the object with a thin layer of epoxy resin using a brush and let it harden.
Drill the Hole into Your Epoxy Jewelry
Your piece of jewelry is now almost finished! For pendants, earrings or brooches, all you need now is the hole to attach the piece of jewelry to the chain or a key ring. So now it is time to drill a hole into the jewelry. Before you follow this step of our instructions, please make sure that your piece of jewelry is really completely hardened.
It is best to use a twist drill in small size for the hole, because you can always drill a hole larger but it is much more difficult to make a hole smaller. Before you start drilling, it is best to practice on a sample piece to get a feeling for the material and the drilling speed.
Since jewelry is usually small, and the highest precision is required, a drill stand is certainly helpful. You should also mark the drill hole with a waterproof felt pen.
Drill at the lowest possible drilling speed, because the drill and resin can easily heat up and the piece of jewelry could melt. If the piece of jewelry is to be drilled through, make sure you pay attention to the background! In order to protect it, it is recommended to place a wooden plank underneath. Possible burrs are best removed with a fingernail or a slightly larger drill which you move by hand in the drill hole until the burr is removed.
The drilling hole will become dull due to the drilling action, and polishing is usually impossible. To reduce the matting effect, we recommend applying some epoxy resin very thinly in the drill hole with a toothpick.
Instructions for Wooden Jewelry with Epoxy Resin
A piece of jewelry that stands out due to its combination of resin and wood is a little more complex to make, but it is also possible for beginners. However, it requires some craftsmanship.
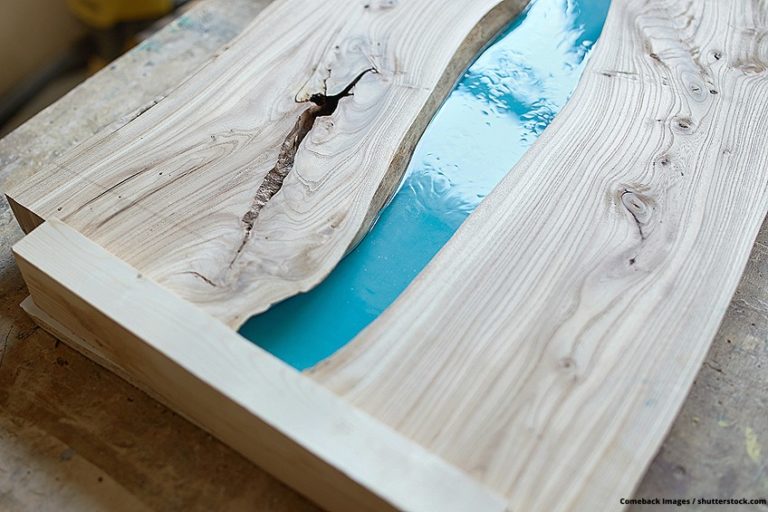
For this technique, it is best to use a rectangular mold in which you first place the wood to be worked into. Then you fill the mold with Epoxy Resin.
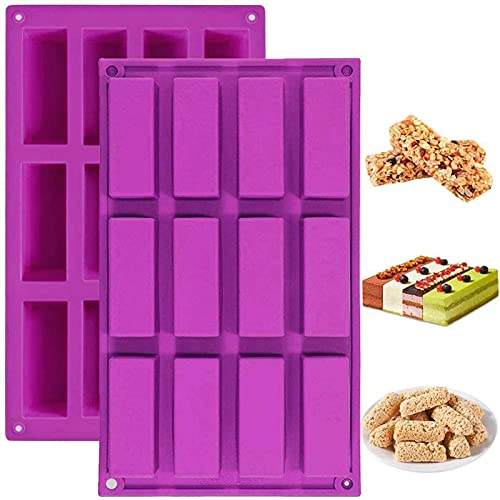
- Each mold cavity size is 3"( L ) X 0.98"(W) X 1.18"(H)
- Temperature safe from -40 to +446 degrees Fahrenheit
- Flexible, non-stick, and 100% pure professional quality silicone
To give the piece of jewelry with wood that special look you can also use colored resin. In this way, you will achieve a unique effect.
After complete hardening, the object is released from its mold. It can now be sawn into shape and polished. For the finish, the epoxy resin wood jewelry is also sanded, polished, and optionally gets its finish by gloss varnish or a thin layer of epoxy resin.
The production of jewelry from epoxy resin and wood is a little more complicated, but the jewelry is all the more luxurious.
Ideas for Embedded Objects
With Epoxy Resin you can embed just about anything that is close to your heart, pleases your eye, or just looks crazy. There are no limits to creativity and individuality.
For example, these objects are very suitable for embedding in epoxy resin jewelry.
- Glitter and Mica Flakes
- Pearls and Stones
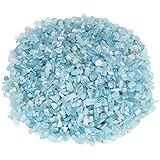
- Decorative Pebbles and Real Crystals
- Glass Nuggets and Decorative Diamonds
- Dried Flowers and Leaves
- Small Sea Shells and Starfish
Our recommendations on objects for embedding in Resin Jewelry:
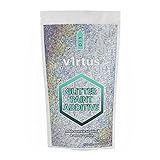


Conjure up Color Effects
To add color effects to your epoxy resin jewelry, you work with colored resin. This is partly already available for purchase. However, we recommend that you color your resin yourself with suitable high-quality pigments or pastes, because this way you are sure about the quality of the coloring agents. In already dyed resin it is possible that the resin has been mixed with inferior pigments. So it would be a great pity if the color of your resin jewelry would fade after a few months. Therefore it is better to dye it yourself!
Coloring
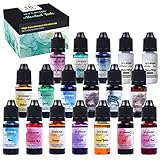
Resin can be colored in a wide variety of ways. With pigments, color pastes, special resin coloring agents, or alcohol inks, you can achieve the desired coloring of your resin.
Resin colors or color pastes color the resin very evenly. Pigments tend to be more suitable for creating great effects or gradients. It should also be noted that different resins can produce different coloring despite the addition of the same color.
Our recommendations to high-quality colorants for epoxy resin jewelry:

Create Gradients and Effects
To create effects and color gradients, it is necessary to add pigments to the resin before casting. A color effect looks beautiful but is often not one hundred percent reproducible. This is because in the production of resin jewelry with a color gradient, it depends on many different factors to achieve a beautiful result. Particularly spectacular and characteristic effects in the resin can be achieved with the use of Alcohol Inks. This special effect is also often used for the Resin Petri Art. With alcohol inks, however, you should be aware that they are not 100% lightfast and will fade over time.
Anything else you should know:
- The slower the resin hardens, the softer the color gradients become
- The shorter the curing time of the resin (e.g. UV resin), the more clearly the colors will be distinguished from each other
Casting Technique
Here, every move is really decisive. Even a small change can lead to a completely new result. Pouring, dabbing, trickling… everything is on the table, so to speak, and should be tried out.
Curing Time
There are basically two methods to create color effects:
- With the one-casting method, the different colors are cast into each other without intermediate hardening times.
- In the multi-layer method, you work in several steps and let the layers of paint harden in between.
As already mentioned above, the latter procedure produces more effective coloring or clearer color separations. The single-casting method, on the other hand, gives you smoother color gradients.
Patterns
- Full-surface coloring: here you work with opaque or transparent pigments in a one-shot process
Lines: it is important to arrange the colors attractively and to allow time for the production. You work with this pattern in a multi-layer process. That means: you let your object harden after each layer. Lines are one of the few patterns that are easier to create in portrait format. - Marbling: here two or more colors run gently together. Fast hardening resin gives you particularly strong marbling. The different colored resins are poured into the mold one after the other in a thin stream or drop by drop using the one-casting method.
- Clouds: here you drip the liquid color onto a still liquid resin layer. Direct mixing does not take place.
- Camouflage: clear lines and demarcated color areas without any mixing are the focus of this pattern. You work in a two-layer filling process. In the first layer, you fill the resin into the mold in drops or streaks. Here it is important to use a viscous resin that does not run but rather clumps. You let it harden and fill it later with a contrasting resin.
- Tortoise-sheet effect: a very elaborate effect that combines clear lines and defined color areas with marbled surfaces. You use the multi-layer method and work over several days. You alternately pour, drip and blot and use resins with different hardening times and flow properties. Basically, you combine camouflage and marbling techniques.
We wish you a lot of fun and success with the production of your first epoxy resin jewelry!
Title image: Svitla / shutterstock.com

Larissa Meyer is a 32-year-old mother from Michigan and creative spirit since childhood. Her passion for painting and drawing has led her to an education as an illustrator and a career as a freelance graphic designer. She has a Bachelor of Fine Arts in Illustration and a degree in Graphic Design. Larissa is a talented artist who is able to master a wide range of styles and techniques to bring her artistic vision to life. Her greatest passion is currently fluid painting and epoxy resin art. Larissa’s love for art and her knowledge and experience in illustration make her the perfect Creative Director for our fluid-painting.com team. She is the creative head of our team and shares her passion and knowledge with our community through articles and tutorials.
As a mother of a 2-year-old daughter, Larissa also understands the importance of fostering creativity in early childhood. She uses her experience and knowledge to help other parents inspire their children and develop their artistic skills as well.
Learn more about Larissa Meyer and about us.