Watercolor Flowers – How to Paint Watercolor Flowers
This post may contain affiliate links. We may earn a small commission from purchases made through them, at no additional cost to you.
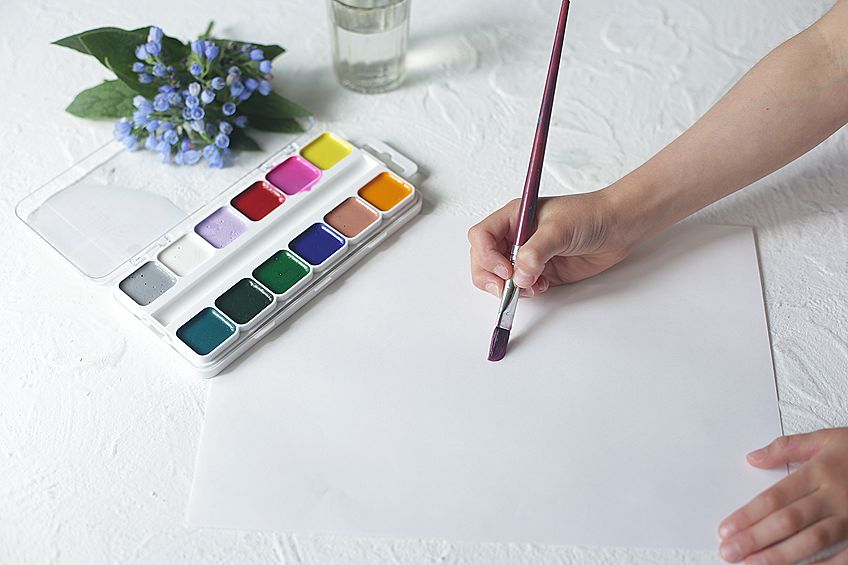
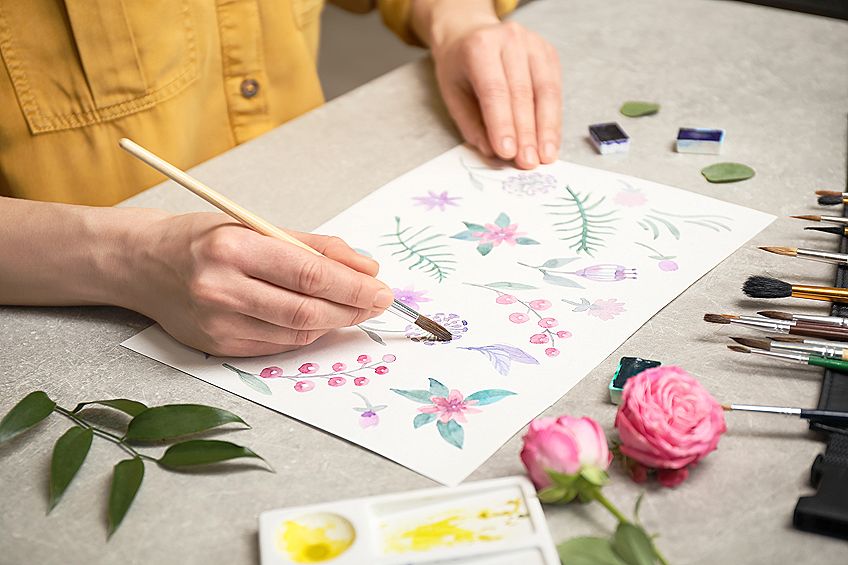
Watercolor painting artwork is typically associated with our days as children when we would play around with watercolor paint. This is a technique that is used in painting, while also being very therapeutic and relaxing. If at first you find it a bit daunting, do not despair, as all it takes is time to learn how to apply the technique. Soon, you will be well on your way to creating your very own masterpiece. Here are a few basic steps to help you get started.
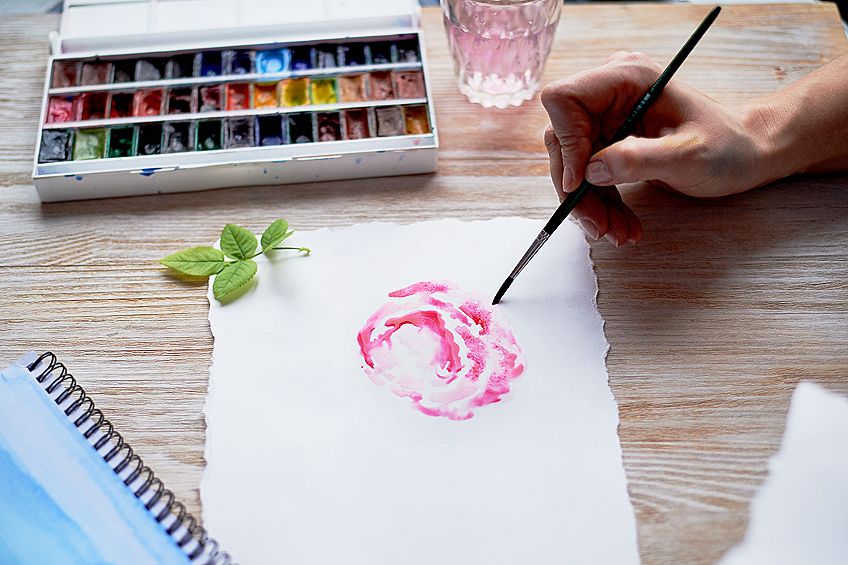
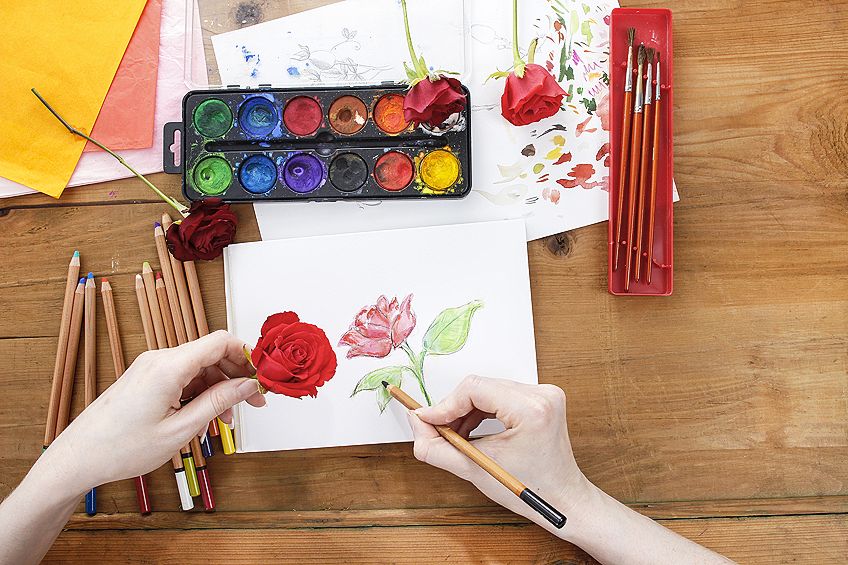
How to Paint Watercolor Roses
If you are wondering what flower you should start painting first, roses are a good place to start, as they are simple to do and beautiful to look at. Roses have a simple shape, making them easy to paint. You can experiment with different colors and the thickness of the paint to achieve various effects. You will need:
- A round paint brush (size 6),
- Watercolor paper,
- Paint,
- Paint palette, and
- A cup of water.
Step 1: Mix Water Into Your Watercolor Pigments
Watercolor paints are thick in consistency and will require the addition of water to create the colors you are looking for. If you want an area to mix your paint in, the middle of the paint palette is the best place to do so.
Mix red and white if you want the color to be pink. For an even paler shade of pink, you can add a little bit of water to your pink mixture in a separate space on your palette. If you want a rich shade of green for your rose leaves, all you need to do is mix ordinary green with some black paint.
Step 2: Paint the Center of the Rose
Start by painting the center of the rose first with fine strokes. You can achieve this look by pressing very lightly and painting ‘C’ shapes. Start with the lightest pigment first; the darker layers can be added on afterward.
Step 3: Painting Larger Petals
Work your way out from the center of the rose to create larger petals. The larger petals of the rose will require you to press down more firmly with the brush whilst making a ‘C’ shape; this will ensure that the petals have a thicker shape to it. We recommend painting two layers of medium-to-thick petals.

Step 4: Finishing Your Rose
Finish your watercolor rose by adding a final row of thick petals. Remember, for thicker petals, you have to press more firmly down on the paper holding the paintbrush at a 45- degree angle to create bigger “C” shaped petals.
Step 5: Adding Darker Color Accents
Watercolor painting is a beautiful technique that allows you to adjust the tone of your colors to be a bit darker. If you think that your watercolor paint looks a bit too faint, or if you wish to make your picture look more life-like, simply add a bit of a darker, complementary color to the top of the petal and allow it to spread and blend into the picture with ease. You can add in these darkly shaded petals to fill up any empty white spaces on the sheet.
Step 6: Painting Leaves
Paint leaves by painting two parallel lines with a firm pressure to the paper. Add darker paint to create depth in the painting or to add more layers.
Step 7: Allow to Dry
Let your watercolor painting dry completely before use.
Add your personal touch to any gift by adding a watercolor flower card or note to complement a bouquet of flowers or similar; it will be a memorable gift that will last for ages.
Best Tips for Painting Watercolor Flowers
Now that you know how to create your own watercolor rose, it is important for you to note some important tips and tricks that will help you with all of your future watercolor pieces.
Work in Layers
For a more realistic painting, painting multiple layers is what will achieve this look. The same rule applies for painting flowers, where two to three layers should be sufficient. Watercolor painting is a bit different from other types of paint in that it dries a lot faster. You may find that, when you revisit your painting at a later stage, it looks a bit different from when you originally left it and requires a touch-up.
Use Proper Watercolor Paper
The proper paper is important when you use watercolor paints. This paper is a better fit for watercolor painting as it is thicker, thus allowing for extra absorption. The paint would otherwise form a puddle on the surface of thinner paper.
Other types of paper will not hold up if too much water or too many layers of paint are applied to the surface, as the paper will start to tear and disintegrate from it.
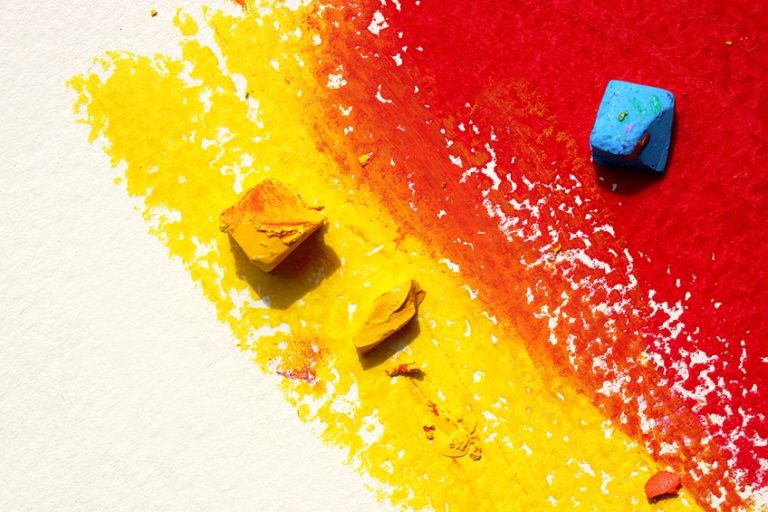
Limited Color Palette
A limited color palette can be great as there are fewer colors to work with, which means that the colors will blend and meld together quite nicely. But this is not a hard and fast rule; if you feel like extra color here and there, then you are most certainly free to do so.
Generally, we suggest working with around three to five colors and mixing them together to get several color combinations. Try to stick to these colors, integrating them into the painting as desired. You can also vary the color combinations by making them slightly darker or lighter.
Work from Light to Dark
Most artists use a watered-down effect when they first begin to paint, and then gradually reduce the amount of water they use as they progress with their paintings. Watercolor painting is unique in that you cannot apply additional layers to the painting so as to lighten the overall effect after the fact; it usually requires you to start off by adding paint bit-by-bit.
Remember, if you add too much color or paint, you cannot undo it. Rather start off with a lighter look first, as this will give you more time to plan ahead and figure out what darker colors you wish to incorporate into your painting.
Experiment
Experimentation is fun as it gives you room to express your creativity. Watercolor painting can best be learned through practice and not instruction. Water plays a big factor when it comes to the end result of the color you are aiming for, so try to experiment with it by adding it bit-by-bit to see how it affects the shade and spreadability of your watercolor paint. The quantity of water that you use will be based on how you like to paint, the paper you choose to use, as well as your personal taste.
Practice on both sides of the paper and let loose. It will be the start of something great! If you just have fun with it and practice in the beginning, you will develop your own painting style before you know it. Never let the pressure of technique or the thought of wasting paper get to you – it just is not worth it.
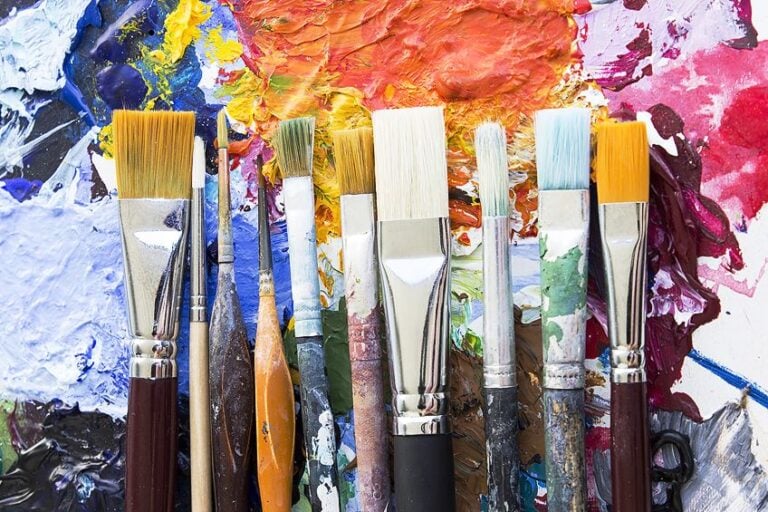
Use a Variety of Brushes
You may require a variety of brushes at your disposal to achieve different shapes and sizes. Common brush shapes include:
- Round – The round brush can be used for a myriad of painting projects, and is used for finer and thicker strokes.
- Flat – This is used for more defined strokes, and is suitable for applying an opaque wash to paper.
- Detailed – This brush is used for more intricate details.
- Wash – These brushes have a much wider surface area and can be used to apply large quantities of color to paper.
There are many options of watercolor brushes available. However, cheaper brushes will be less effective at achieving a true watercolor result and may actually end up ruining your painting in the end. This is because the bristles of cheap brushes come out easily, leaving unnecessary paint streaks on your watercolor painting.
Practice the Thickness of Your Stroke
Practice makes perfect when it comes to perfecting your brush strokes. Apply more pressure for thicker strokes and vice versa. The size of your brush stroke will also depend on the brush you are using and the quantity of water that you add to your paint mixture.
Take a Break
Don’t try to tackle everything at once. It is best to assume that you will always have to touch up your painting, so have this in mind when you start and finish the painting. After taking a break, you will often come back and notice that you need to make additional changes to your painting.
In all likelihood, you will need to revisit your painting at a later stage to rework it, as there is almost always something you may wish to touch up or add afterward. This is because watercolor paintings tend to dry much lighter than when first applied, thus needing to be reotoutched by going over the outlines and adding more paint.

Larissa Meyer is a 32-year-old mother from Michigan and creative spirit since childhood. Her passion for painting and drawing has led her to an education as an illustrator and a career as a freelance graphic designer. She has a Bachelor of Fine Arts in Illustration and a degree in Graphic Design. Larissa is a talented artist who is able to master a wide range of styles and techniques to bring her artistic vision to life. Her greatest passion is currently fluid painting and epoxy resin art. Larissa’s love for art and her knowledge and experience in illustration make her the perfect Creative Director for our fluid-painting.com team. She is the creative head of our team and shares her passion and knowledge with our community through articles and tutorials.
As a mother of a 2-year-old daughter, Larissa also understands the importance of fostering creativity in early childhood. She uses her experience and knowledge to help other parents inspire their children and develop their artistic skills as well.
Learn more about Larissa Meyer and about us.