Alcohol Ink Art – Learn Everything about Alcohol Inks
This post may contain affiliate links. We may earn a commission from purchases made through them, at no additional cost to you.
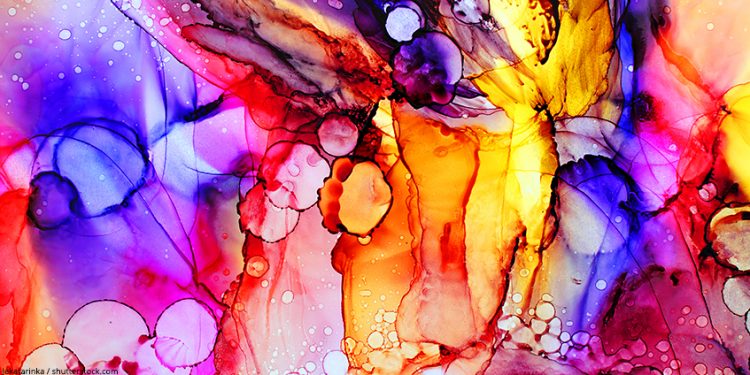
Alcohol Ink is an absolute trend among creative people. In the following article we explain what this hip technique is all about. We explain the most important terms and basics, show you which materials you need for a successful painting made with alcohol ink and where you can get them. Furthermore we will accompany you with a step by step tutorial to your first Alcohol Ink Painting.
What is Alcohol Ink?
The term Alcohol Ink has several meanings. On the one hand, it stands for the painting material used, i.e. the alcohol ink itself. On the other hand, it is also a term for the fluid painting technique used. Like so many other trends, this one originated in America. While this method is still relatively unknown, Alcohol Ink is already experiencing a real hype in America. As the name suggests, Alcohol Ink inks consist of a very large part of alcohol mixed with color pigments.
Alcohol has the property to evaporate very quickly, which has some advantages with this painting technique. The colors dry very quickly due to the evaporation of the alcohol. However, even dried ink can be “revived”, so to speak, if pure alcohol or fresh ink is added. In this way, the painting can be changed at a later date, for example by adding new colors. This possibility is not available with acrylic paints, for example.
Required Materials for Alcohol Ink Technique
Alcohol Inks and Markers
First of all, of course, you need the alcohol paint itself. The best way to get them is via the Internet. The colors of the company Tim Holtz Ranger are the most well-known and probably most frequently used. Besides 60 different colors, this manufacturer offers additionally some metallic tones. Other great brands would be Let’s Resin and Piñata from Jacquard. For the first time of testing and experimenting, there are also very cheap sets available from this brand.
As an economical alternative, practical refill bottles for Copic Marker are also available. You can use this refill ink in the same way as the special Alcohol Inks. For later decorations and ornaments on the dried painting, the so-called Sharpie markers are super suitable.
Isopropyl Alcohol / Blending Solution
When working with Alcohol Ink it is always advisable to work with a so-called blending solution. On the one hand, you can save a lot of ink. On the other hand, using this solution opens up many more technical possibilities. Blending Solution consists of isopropyl alcohol and glycerine which ensure that the colors are brightened and can be mixed. As a much cheaper alternative, you can get pure isopropyl alcohol online, which has an alcohol content of 99.99%, in 1 l bottles.
The alcohol is practically the Alcohol Ink – the counterpart to water in watercolor painting. Together with the substrate, it forms the basis on which the alcohol ink can be used. Therefore these large quantities are necessary. The quality of the isopropyl has a clear effect on the quality of the later Alcohol Ink painting. Very negative effects on the final result can be caused by too much oil or water, for example. Therefore you should take care to use isopropyl alcohol with an alcohol content of at least 90% if possible.
Optimal Painting Surface for Alcohol Ink Painting
When choosing the perfect substrate for the Alcohol Ink technique some basic things should be considered. Normal paper, as used for example for painting with acrylic, oil, or watercolors, is not suitable for working with Alcohol Ink. Because of its porous structure the ink would immediately draw into the sheet. The optimal surface should be as smooth as possible. This is the only way the colors can be mixed in alcohol, swiveled, and applied in different ways.
Metal, glass, or ceramic tiles as well as special Yupo Paper and Stone Paper are particularly suitable. This is manufactured synthetically from polypropylene and has an extremely waterproof and tear-resistant structure. However, working with this paper is not easy. As it has a very repellent effect on oil, it is recommended to wear rubber gloves. This way you touch the paper with your fingers as little as possible, which would involuntarily leave skin grease on the paper. Yupo paper is available from Frisk, among others, which produces it in sheets of 85 g/m² (absolutely sufficient for a start) and 110 g/m². We also recommend the Lanavanguard universal painting ground from Hahnemühle.
Supplies You Need for Art with Alcohol Ink
High Quality Alcohol Inks
- Intense Alcohol Inks from Let's Resin
- High concentrated, very vibrant colors
- Suitable for Resin and for all Alcohol Ink Techniques
Blending Solution / Isopropyl Alcohol
Suitable Paper / Painting Grounds
Other Required Materials
How to Use Alcohol Ink – Artwork Tutorial
- First prepare all the necessary materials (Paper, alcohol ink, and alcohol or blending solution). Now you can start experimenting.
- Start with smaller paintings – The A4 sheets can be cut in half and if necessary the back of the sheet can be used as well. This way you don’t waste too much material for experiments with which you might not be completely satisfied yet.
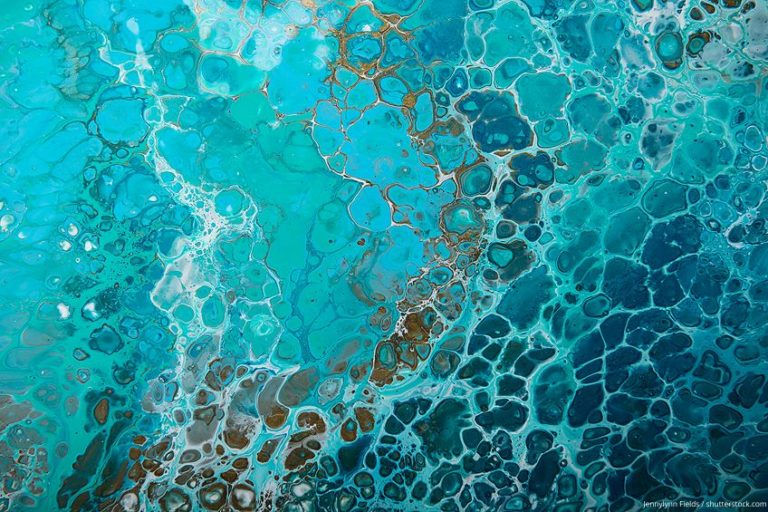
- Now put a drop of ink in the color of your choice on the sheet and watch what happens. The first, single drop will spread out very quickly in a circle on the surface.
- Now choose another color and put a drop of it into the first circle. The new color will also spread out and displace the first color. Alternatively, you can also place the drop next to the first color so that the circles move into each other.
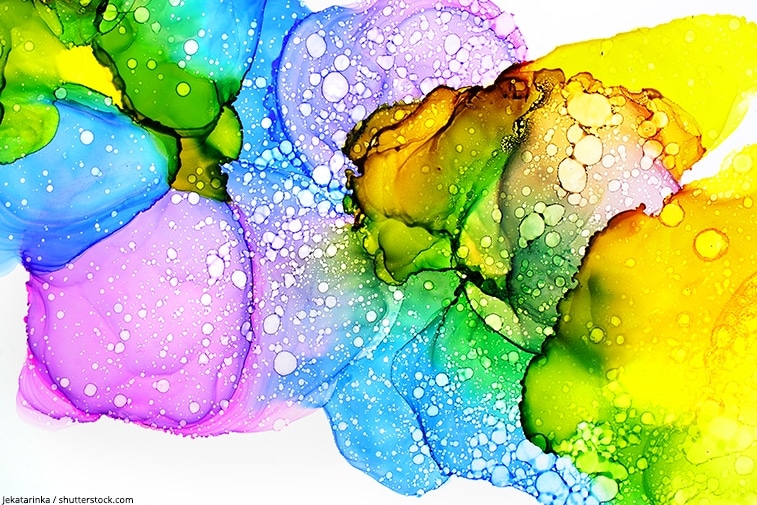
- With a drop of alcohol or blending solution, you get a colorless circle that spreads out and displaces the other colors just like the alcohol ink. This technique often creates fascinating contrasts with partially shiny, dark edges.
- If you are satisfied with your painting, you can now apply tasteful decorations with a brush, cotton swabs or wooden sticks dipped in alcohol.
- Alternatively or additionally, you can apply ornaments and decorations with a marker on the dried Alcohol Ink Painting.
Alcohol Ink Tutorial – Creation of Gradients
If you put a drop of paint on your surface, which you have previously covered with alcohol, you can wave the colors or create individual color gradients with the help of a straw. If you use this technique more often, you should eventually resort to a so-called borehole blower. This is practically a tube with a pump balloon. Compared to a simple straw, it has the big advantage that no moisture is formed by blowing into it, which could drip onto the Alcohol Ink painting.
Alternatively, you can use a hairdryer with cold air stage for the technique. Here, however, some things should be considered: Remember that you are working with highly flammable alcohol. Therefore the hairdryer should only be set to the coldest setting. This procedure also prevents the plastic paper from getting ripples that cannot be removed later. Move the hairdryer slowly towards the paper. Start at a distance of about one arms length. The lowest possible airflow ensures that neither the alcohol is blown off the paper nor that unintentional ink splashes are spread over the entire sheet.
How to make your own Alcohol Inks
You can make your own alcohol inks by mixing printer ink with isopropanol. You can do this by mixing 1 part isopropanol with 2 parts of printer ink – et voilà, your own alcohol ink is ready to be used for your own ink art. You can also use alcohol markers to make your own alcohol inks. Before we get more into detail, have a look at Allison Murray’s fantastic website dreamalittlebigger.com to read more about making your own inks.
Further Design Inspirations
Felt Stamps
The above mentioned manufacturer Tim Holtz offers so-called felt stamps for further creative design. Here, a piece of felt is attached to the surface on which alcohol ink in various colors, as well as blending solution can be applied. Afterwards, decorative backgrounds can be stamped on cards or similar.
Tip: By using a brush or cotton swab moistened with alcohol, beautiful, individual decorations can be worked in at the end.
Tools for Creative Designs
Besides abstract art, the Alcohol Ink technique can also be used to create realistic paintings of animals or landscapes. The possibilities are practically unlimited. It will take a while of trying and experimenting until you really get to know the properties of alcohol ink. Be curious and test how different inks spread and react with each other. Discover the different shades and brightness levels of colors that are similar. You will also need various tools such as wooden sticks, straws or hair dryers, brushes, or cotton pads. It is also exciting to experiment with different tools, or to mix different colors on a color palette. Discover the possibilities that working with alcohol ink offers!
Priority when Working with Alcohol Inks: Your Health
- Ideally, you should only work with alcohol ink in a room that you can ventilate very well. If you do not have this possibility, the use of a breathing mask with filter is indispensable. This prevents you from accidentally inhaling small amounts of the color pigments contained in the ink when the alcohol evaporates. A breathing mask is also particularly important when using an atomizer.
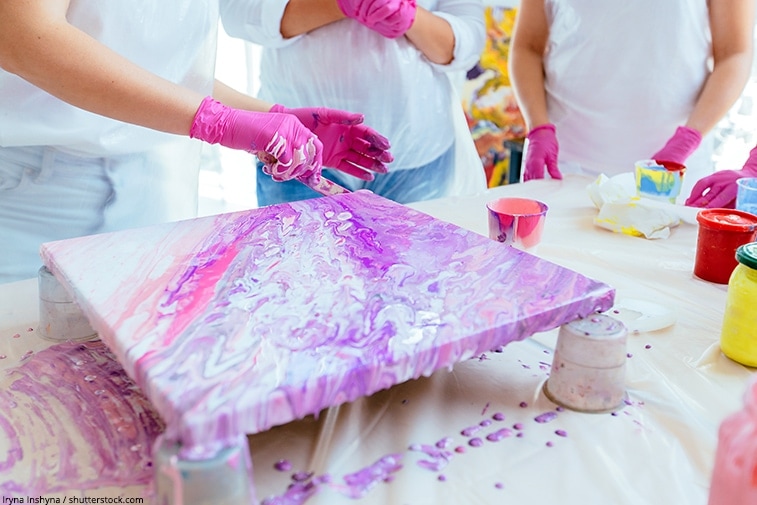
- Rubber gloves are also recommended for working with Alcohol Ink. One reason for this is that it is extremely difficult to get the ink off your fingers once it is there. Also, the gloves prevent skin grease from your fingers getting onto the painting surface and thus influence the reaction of the ink.
Finish: Your Painting Also Wants to be Protected
To protect against UV light (alcohol ink is extremely light sensitive) you should seal your Alcohol Ink paintings after completion. A so-called spray varnish is very easy to apply and protects your artwork not only from UV-rays but also from mechanical influences. Especially the Schmincke Universal Varnish or the painting varnish of the company Solo Goya have proven to be very effective.
Larissa Meyer is a 32-year-old mother from Michigan and creative spirit since childhood. Her passion for painting and drawing has led her to an education as an illustrator and a career as a freelance graphic designer. She has a Bachelor of Fine Arts in Illustration and a degree in Graphic Design. Larissa is a talented artist who is able to master a wide range of styles and techniques to bring her artistic vision to life. Her greatest passion is currently fluid painting and epoxy resin art. As a mom of two kids, Larissa also understands the importance of fostering creativity in early childhood. She uses her experience and knowledge to help other parents inspire their children and develop their artistic skills as well.
Learn all about Larissa Meyer and Fluid Painting.

