What Does Epoxy Not Stick To? – Full Material Guide
This post may contain affiliate links. We may earn a small commission from purchases made through them, at no additional cost to you.
When you are beginning a project where you plan to use epoxy resin, it is imperative to know which materials it will not stick to. Epoxy adheres to many kinds of surfaces, but there are a select few that will not bond to epoxy resin at all. These surfaces are therefore ideal for use as molds and other epoxy-related functions. Each type of material has their own advantages and disadvantages linked to it.
Table of Contents
The Most Popular Materials That Epoxy Resin Will Not Stick To
- Sheathing tape
- Most plastic containers
- Hot glue
- Vinyl, silicone, or rubber
- Polyethylene plastics
- Plastic sandwich bags
- Parchment or wax paper
There are definitely even more options for non-sticking surfaces that are perfect for use with epoxy, but this list is a great starting point. With each of the options given, you will have to consider the pros and cons and take into account the impact each has on how the epoxy sets.
Sheathing Tape
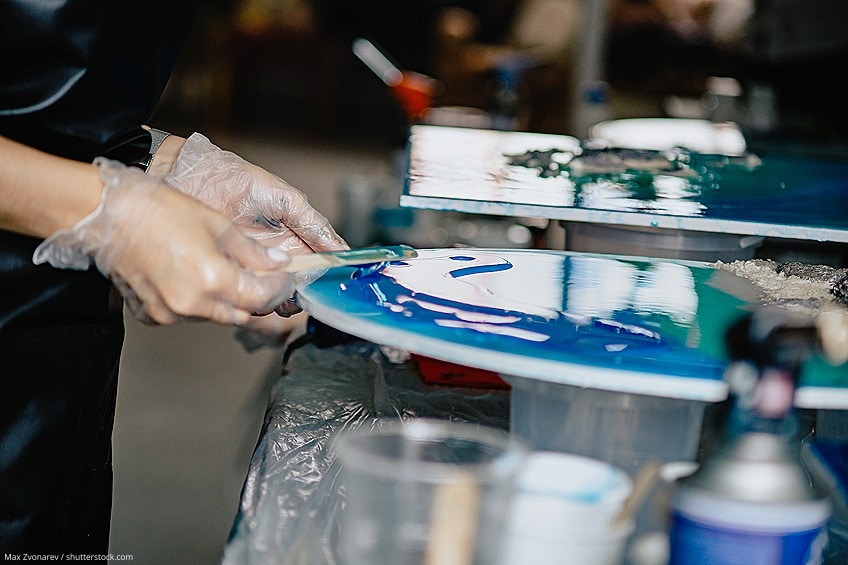
This type of material can be made as large as required depending on the product itself. It is a very affordable material and works well. What is great is that you can actually use this more than once as long as it has been made properly. It allows the user to make a variety of shapes and angels and leaves a shine.
However, this material also leaves a lot of seams. This problem can be rectified, but you will need to buff and sand it after. Sheathing tape can only be as flat as the surface you layer it on. It will also take you longer to make a bigger mold.
Most Plastic Containers
Examples of plastic containers include bowls, Tupperwares, and plastic cups. Plastic containers are very cheap and you can find them around the house. You can use them as paperweights or as a mold for if you require a unique shape.
If you have an idea of what you require, and a standard plastic container fits your desires, then you are sorted. A plastic container is wonderful for making a large bowl to use for woodturning.
While there are a variety of plastic containers available, you are not able to customize them. You therefore cannot use them for large pieces such as a table.
Hot Glue
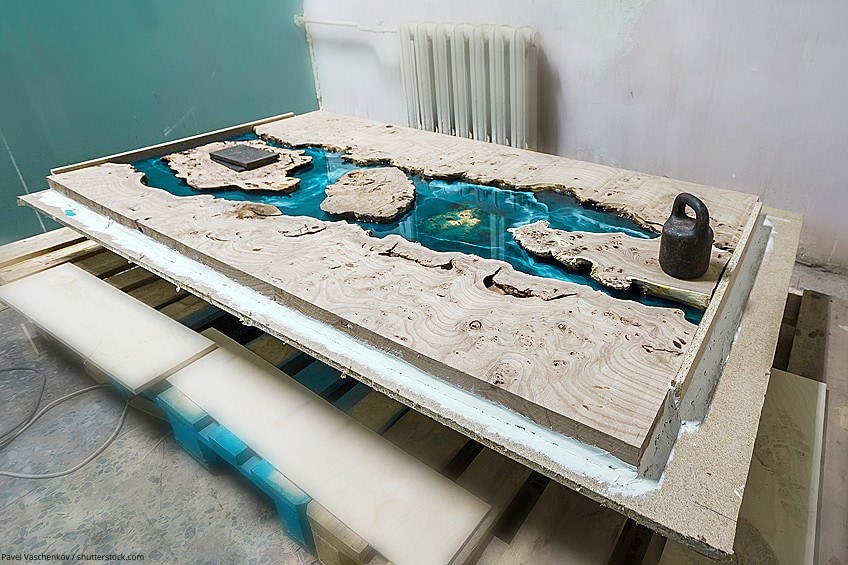
You are able to use hot glue on top of river tables to assist in preventing overflow near the area you are pouring. Hot glue is perfect for sealing any forms of cracks and for making molds.
When using hot glue on rough wood, it can be a little hard to remove and often can leave a mark. In addition, you are not able to use only hot glue, as you will have to use it in addition to other materials.
Vinyl, Silicone, and Rubber
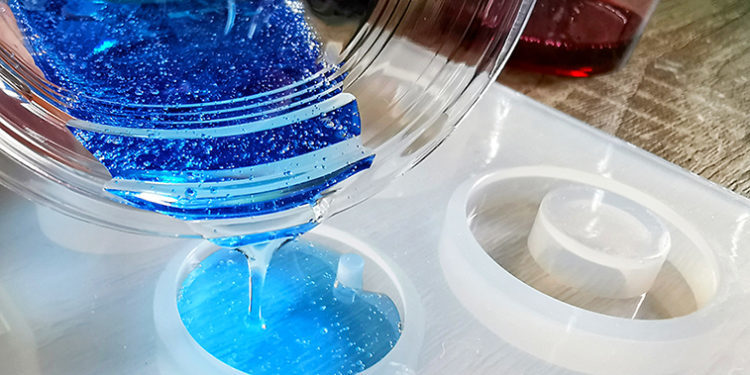
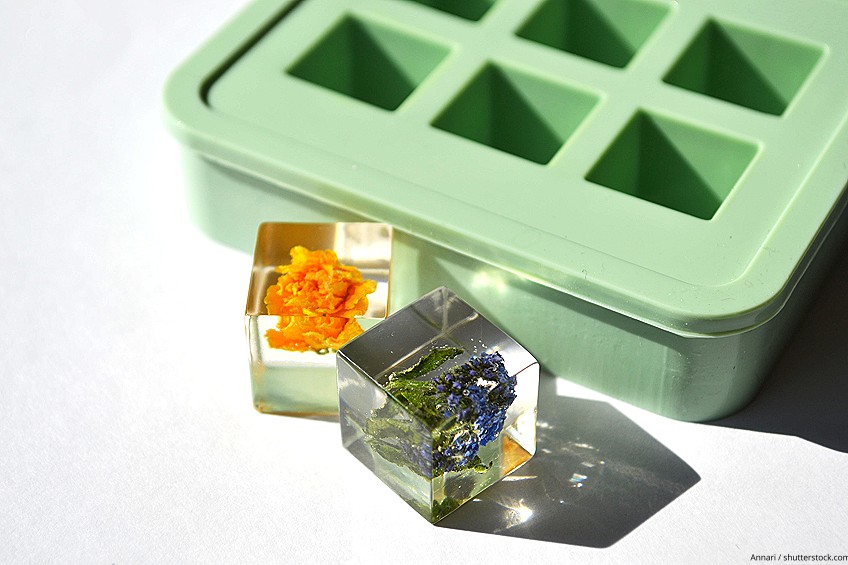
Silicone molds are often used by people who are looking to make smaller items such as jewelry, coasters or unique shaped items. Using this type of material allows you to make any shape or form you desire. You are even able to create your own mold.
These materials are well priced and are also resistant to heat. Molds are great for smaller pours and special items; they are correctly shaped and require very little correcting or fixing once set, making them a very efficient option.
There are some cons, however. For example, you will not be able to get a silicone mold for bigger items such as furniture. Also, always read reviews of molds and aim to use polished molds with a shiny coat. The actual purpose of a lot of molds is as an ice tray or for baking, which means that you should try to get a mold that has been made especially for use with epoxy resin, as these will be polished. You can still use normal types of molds, but more often than not, you will only be able to use the mold once.
Polyethylene Plastics
This is a great option, as it is usually of a high-quality, making it sturdy and reusable. If you are doing a table mold, this is the perfect option. Polyethylene plastic is considered to be the most “high-end” option and is used by a number of professionals, particularly those who do epoxy river tables. This material can be ordered with the desired overall strength required and the size you may need. Polyethylene plastic is often used to make cutting boards.
Polyethylene plastic is unfortunately the priciest option. It also takes a little experience to determine the correct density and size that you will require.
Plastic Sandwich Bag
If you do not have any other option, this is a great alternative. You can use a standard gallon bag. While this option does work, it is only something you should use if you have to.
Parchment and Wax Paper
This is a great option as it is very affordable. You can make a simple mold for the likes of a smaller table or use it as a covering under a live edge pour.
While it may be affordable, paper made out of parchment or wax does have its flaws. When you remove the epoxy, you will often see that it is not as clear as one would get with an alternative method. This can be a result of some of the wax coming off the paper and getting into the epoxy, thus making it foggy. It also does not stay in place as securely. Often, the wax paper may move during setting, and this can cause problems.
Table Tops and Work Surfaces
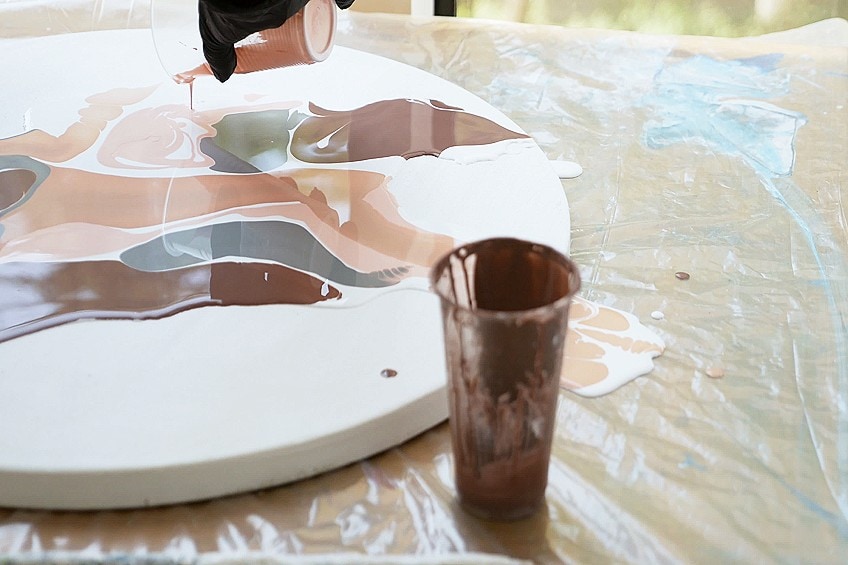
When working with epoxy resin, we recommend covering your work surface or work bench with a heavy plastic sheeting. This type of sheeting is very affordable and the thickness makes it tear-resistant. The plastic sheeting can easily be taped to the work surface, and what is great is that the set epoxy will simply peel off of it. An even more cost-effective option is to cut open a garbage bag or plastic storage bag. Please remember, however, that plastic sheeting may melt if a container of mixed epoxy sits on it and then overheats.
Melamine board is another option you can use. This material is readily available from Costco, Lowes or Home Depot. When you apply two to three coats of good quality automotive paste wax, which includes carnauba, it will then create a good, non-stick surface. This surface is hard, making it great for exacting work or clamping, as plastic would get in the way. It is a great option should you wish to mark guidelines without having the hassle of movement.
As you can see, it is important to evaluate each material individually. With every piece, there are different application techniques required. The list above is an ideal starting point, but we also suggest that you read other articles on how to make specific pieces or on exact types of molds. This is a great place for you to search for free tutorials and step-by-step guides!
Frequently Asked Questions
Will Epoxy Stick To Already-Cured Epoxy?
Unfortunately, you will have to sand down the set epoxy in order for the new layer to bond. Even then, while it will stick to the other epoxy, it will not be as strong and will not give you a long-lasting end result. If you wish to do this, you will need to take a sander and run it over the surface with 180-grit sandpaper. It is important that you then clean off the surface. You will now be able to allow a chemical bond to form between the two epoxy surfaces, and will therefore have a seamless epoxy project.
How Can I Keep My Resin From Sticking to the Mold?
Resin generates heat as it cures, and if it heats too much, it can end up sticking to your mold. You can prevent this by applying a mold release spray or wax to cover your mold’s surface before pouring the resin. This will make it easy to remove the epoxy once it has cured.
Does Resin Stick to Aluminium Foil?
Resin will adhere quite effectively to foil surfaces.
Larissa Meyer is a 32-year-old mother from Michigan and creative spirit since childhood. Her passion for painting and drawing has led her to an education as an illustrator and a career as a freelance graphic designer. She has a Bachelor of Fine Arts in Illustration and a degree in Graphic Design. Larissa is a talented artist who is able to master a wide range of styles and techniques to bring her artistic vision to life. Her greatest passion is currently fluid painting and epoxy resin art. Larissa’s love for art and her knowledge and experience in illustration make her the perfect Creative Director for our fluid-painting.com team. She is the creative head of our team and shares her passion and knowledge with our community through articles and tutorials.
As a mother of a 2-year-old daughter, Larissa also understands the importance of fostering creativity in early childhood. She uses her experience and knowledge to help other parents inspire their children and develop their artistic skills as well.
Learn more about Larissa Meyer and about us.

