How to Get Bubbles Out of Resin – Best Epoxy Bubble Busters
This post may contain affiliate links. We may earn a commission from purchases made through them, at no additional cost to you.
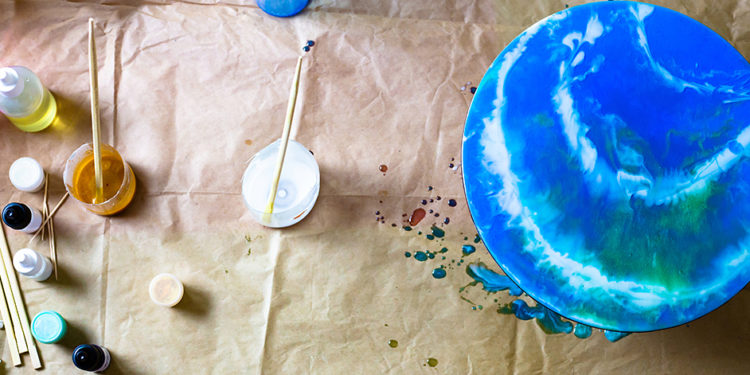
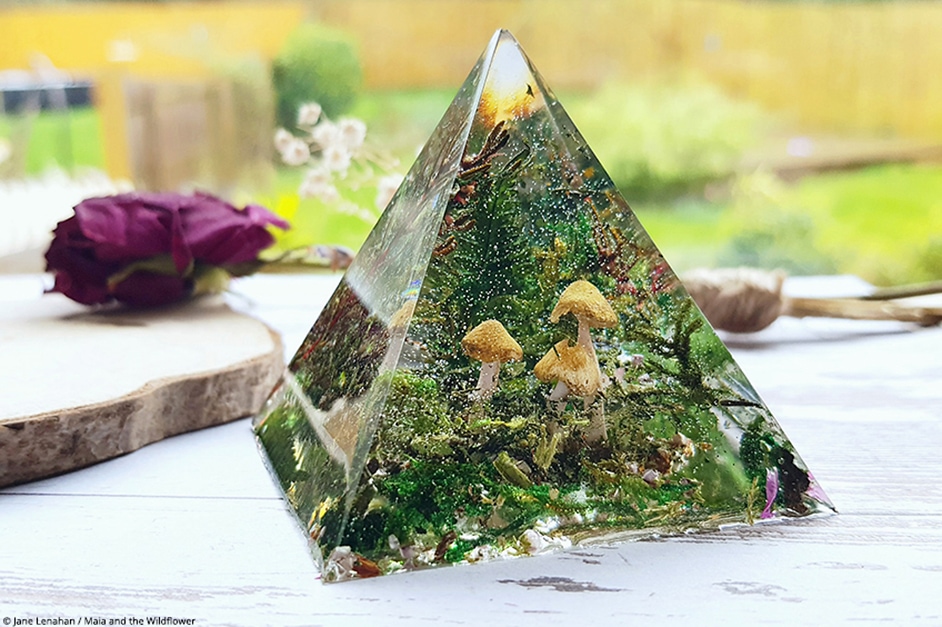
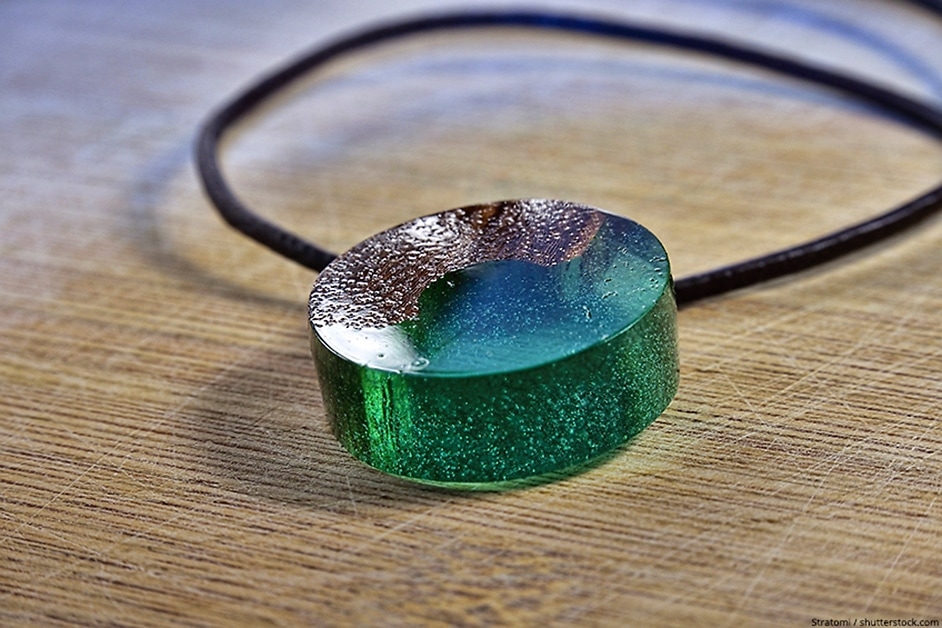
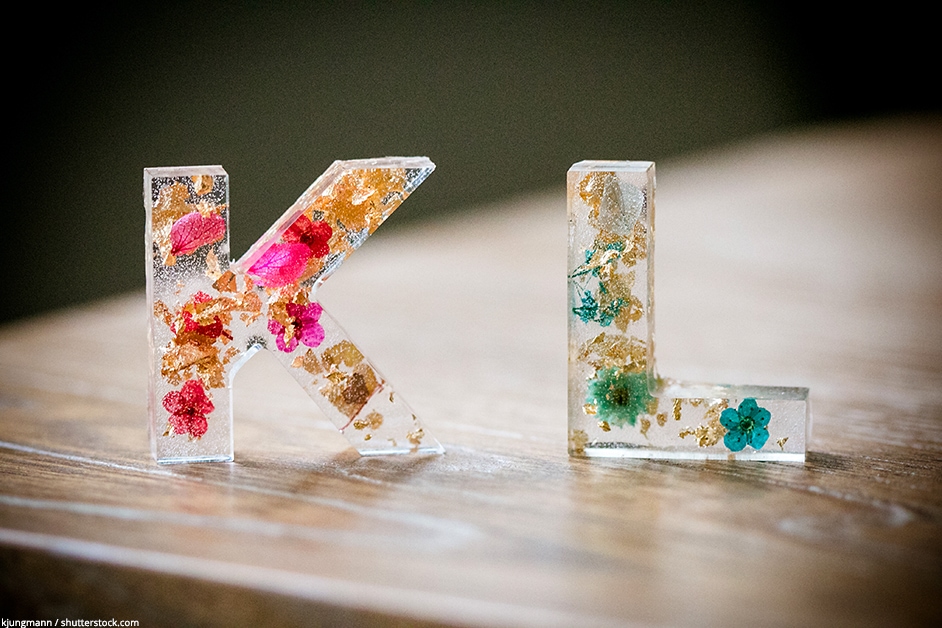
Working with resin is very exciting, and the options on what to do are limitless as you can create exquisite pieces of jewelry, coasters, pen holders, flower pots, various shapes and forms like hearts, Halloween shapes, river tables, and even tabletops to name but a few. Unfortunately, after you have worked very hard stirring, mixing, and pouring, you may find air bubbles rising in your masterpiece. This can leave a cloudy appearance, and it might seem like all your hard work is spoiled. Do not worry, as in this article, we will be dealing with how to get bubbles out of resin and your workpiece.
How to Fix Epoxy Bubbles
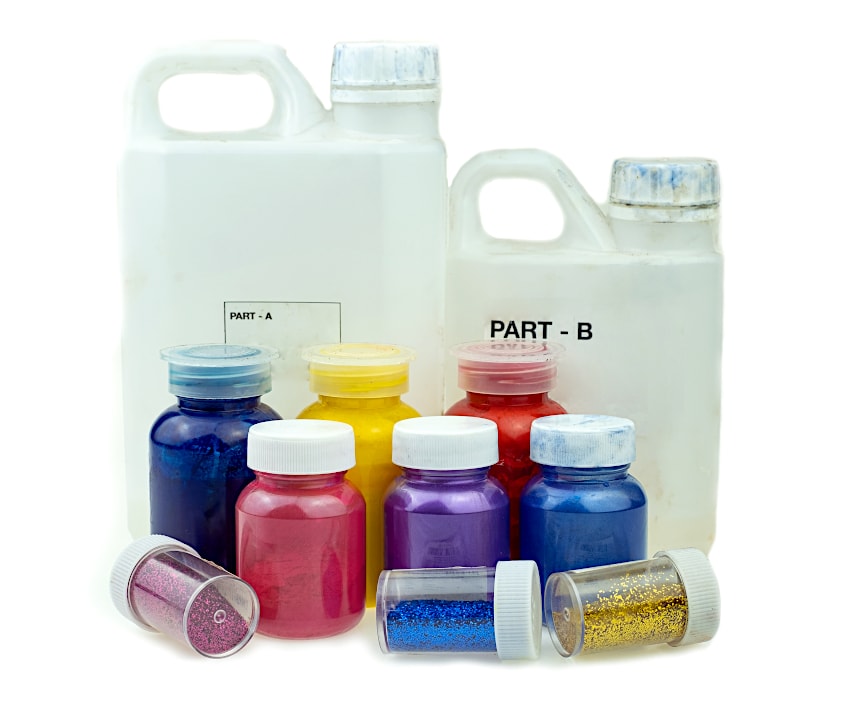
Resin is a form of epoxy glue that consists of a resin and a hardener, and when combined, forms a hard solid substance when completely cured. It is used to protect and seal all kinds of surfaces, and can also be poured into molds to create jewelry or other objects. Not only that but it can also be used on furniture or sculptures.
However, when you find bubbles in your resin, it can be a concern as it may ruin your project. Thankfully, there are simple and safe epoxy bubble buster methods that can easily get rid of bubbles. We will now be guiding you through and helping you overcome this problem, by dividing it into two solutions. First, how to prevent the bubbles from forming in the first place, and then how to get rid of bubbles after you have finished your casting.
How to Prevent Bubbles Forming in Your Resin
Bubbles forming in resin, when poured, is a very common issue, and everyone that has worked with resin has experienced it at some time. However, it is far better to prevent them from forming in the first place than trying to remove them afterward. Let us now consider the main methods to prevent these bubbles from forming.
Choose the Correct Type of Resin
The very first thing you need to consider is if you have bought the correct type of resin for your project. There are two basic types of resins, doming or coating resins, and casting resins. Seeing we are dealing with casting resin into molds, you need to be sure you have a casting resin to use. Doming or coating resins have a lot thicker consistency, which is why you need to use a casting resin as the thinner consistency allows for fewer bubbles when poured.
The Effect of Temperature on Your Resin
Resin loves warm temperatures, so before you start to cast your resin, you should warm the room or area where you are working to just above room temperature (75 to 85 degrees Fahrenheit or 24 to 30 degrees Celsius). Using a heater may be very expensive, so we suggest you work in a smaller room like a bathroom, where you can keep the temperature constant for the entire time that it takes for your resin to harden. If you are working on small projects, having a hot box for casting small molds is very effective and efficient.
Not only is it important to warm the room where you are working, but it is also necessary for you to warm the resin. This will make your resin mixture more viscous, allowing you to pour and spread it a lot easier. Also, this will result in fewer bubbles forming and needs to be done before you mix the resin with the hardener, as heat causes the resin to cure faster.
Take the bottles of resin and hardener and place them in a plastic bag, then submerge the plastic bag in a bowl of warm, but not hot water, and leave to warm up for about five to ten minutes. Be careful not to overheat them as this will shorten their curing time. Also, be very careful to keep the cap on the bottles as water entering into your resin can prevent it from curing properly. The use of the plastic bag is not only for heating the resin, but it will also prevent the labels and safety information from washing off.
Mixing and Stirring Your Resin
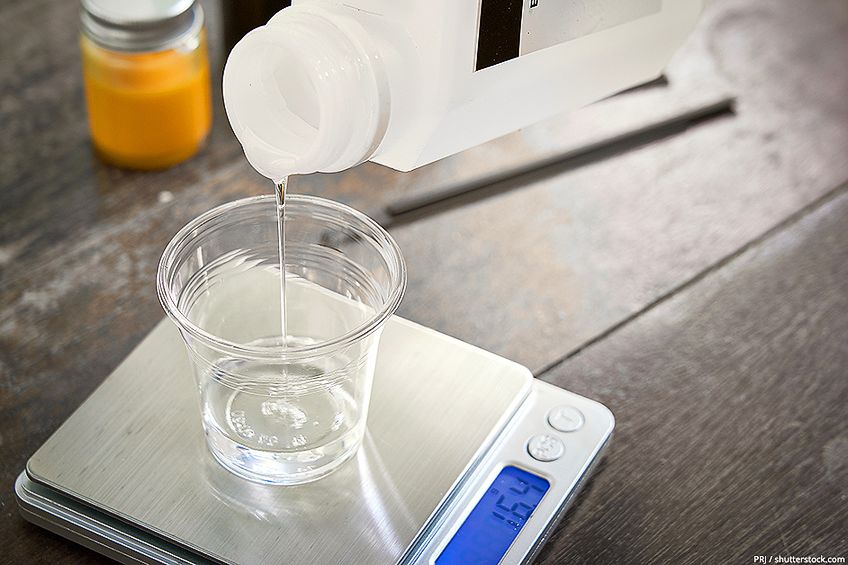
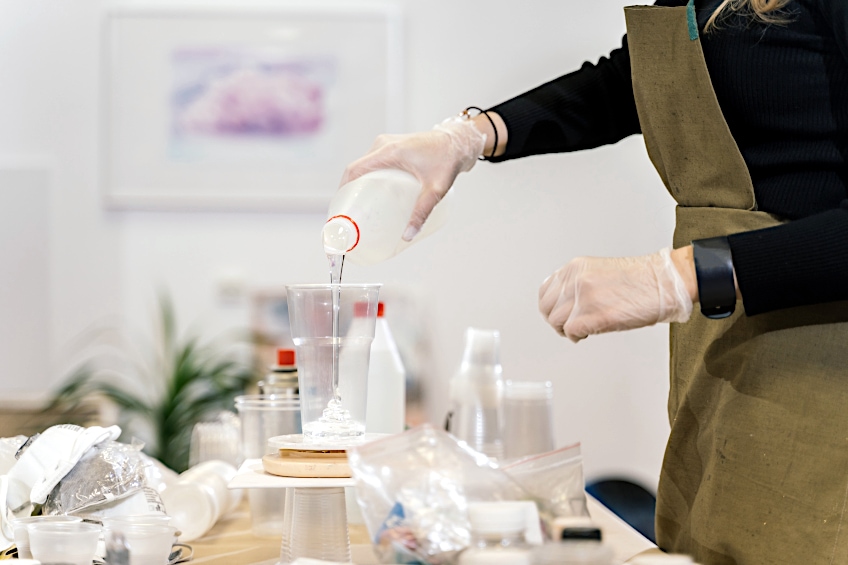
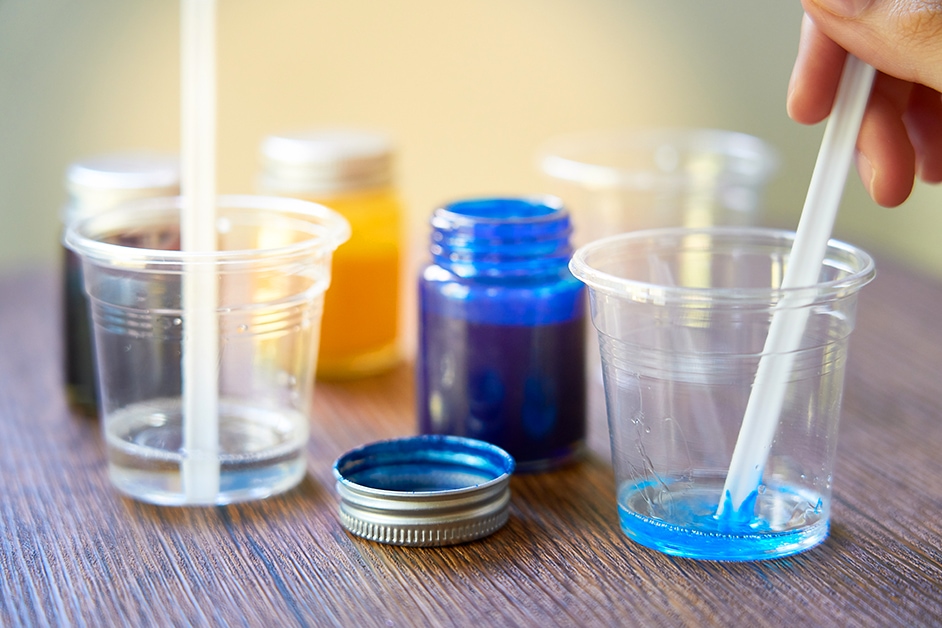
Before you start to mix your resin with the hardener ensure that your mixing cup has also been warmed. Take the resin bottle and remove the cap and slowly begin to pour it into the mixing cup making sure you hold the mixing cup at a 45-degree angle so that the resin runs slowly down the side of the cup. This process ensures that the resin does not catch air bubbles as you pour it out. Follow the same process with the hardener ensuring you mix to a ratio of 1:1, or following the manufacturer’s instructions.
Now it is time to mix the resin with the hardener. Make sure you mix them very slowly and smoothly; do not rush this process even if it takes three to five minutes. You need to make sure it is properly mixed by pressing the stirring utensil to the sides and bottom of the cup; this will prevent adding air bubbles.
This process of mixing your resin is where the magic happens, as a chemical reaction now takes place and you will start to see your liquid mixture turning into a solid. When mixing, try not to whip the mixture like you whip egg whites or cream, as this will cause air bubbles to form in your resin mixture.
It is almost impossible not to have any air bubbles forming in your resin mixture, but after you have completed the mixing process, let the resin mixture stand for three to five minutes, depending on the type of resin you use. This process is important as it gives the resin mixture a chance to de-gas, which means that the bubbles will rise to the top and pop on their own. Take care at this stage for the longer you let the resin stand you are reducing the working time that you have before it begins to harden and cure.
Pouring Your Resin Effectively
The same process applies for pouring your resin, you need to make sure your mold is also warm before you pour in your resin mixture as a difference in temperature can produce surface tension, which will result in bubbles being trapped in your resin when you pour it. You can do this by using a heat gun or a hairdryer, or if your molds are oven-safe, just pop them into the oven at 150 degrees Fahrenheit (65 degrees Celsius), for a few minutes.

Another way to decrease the surface tension of your mold, and reduce the possibility of forming bubbles, is to dust the mold surface with some powder. You can use baby powder for this purpose, simply apply the powder with a soft paintbrush, then shake the remaining powder out of your mold.
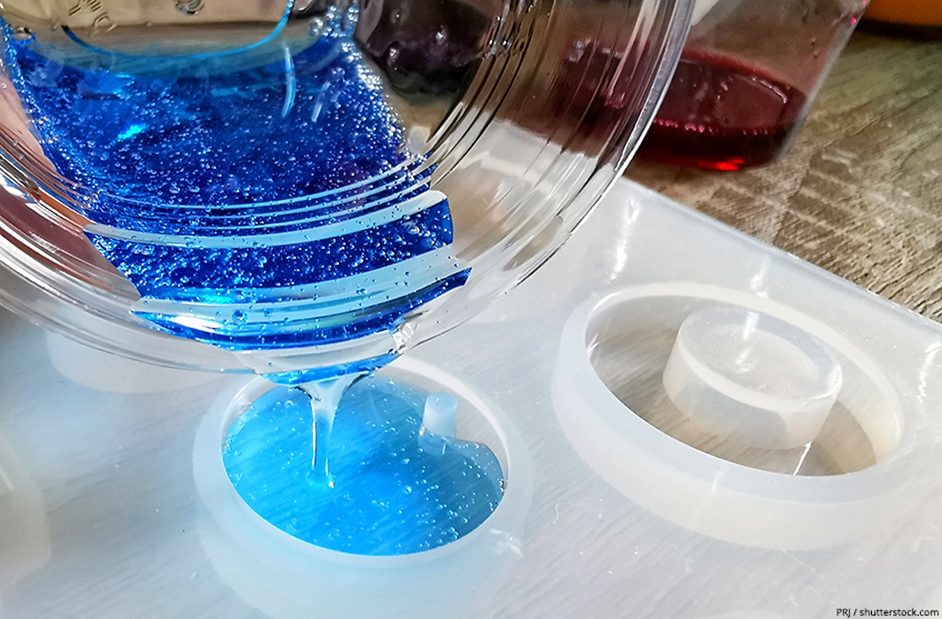
When pouring your resin into your mold, it needs to be done slowly to avoid any air bubbles forming. Hold your pouring container about two to four inches away from the surface of the mold. If it is a big mold, then start by pouring it in the center of the mold and move carefully across the mold to ensure an even layer of resin. If you have mixed about 30 ml of resin, it should take you roughly 30 to 45 seconds to pour it all out.
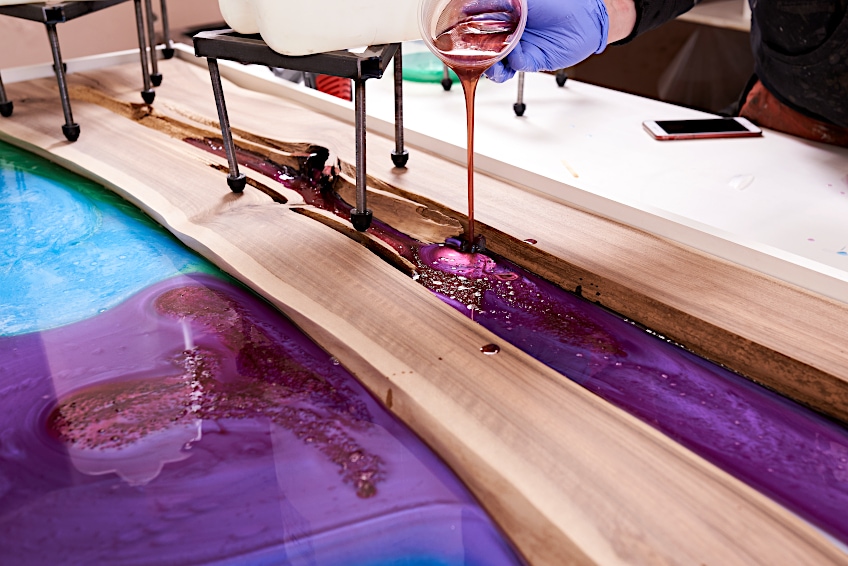
Try pouring the resin in a slow, smooth, and circular motion forming a pattern, and always move in a clockwise or anticlockwise direction to avoid overlapping the resin you have just poured, which will help to keep air bubbles from forming.
Pour the resin into thin layers, about one-eighth of an inch, as thinner layers of resin make it a lot easier for any bubbles to escape. Thick layers are more challenging to work with and it is also much more difficult to remove bubbles. After you have finished pouring a thin layer of resin into your mold that covers the entire surface of the mold, you need to ensure there are no air bubbles trapped in the resin.
This is important as bubbles trapped in the first layer will remain there, and you will not be able to remove them when you are finished casting. Now you can continue the process with the next layers until your whole mold is filled with the resin.
How to Remove Bubbles From Your Resin Before it Hardens
We have just discussed various ways that will prevent bubbles from forming in your resin, but air bubbles can occur at any stage during the pouring process, even after it starts to cure. No worries, as your project can still be saved. However, the bubbles do need to be removed, which often happens on their own while the resin is curing, but if not, we will be showing you exactly how to fix epoxy bubbles before the resin hardens.
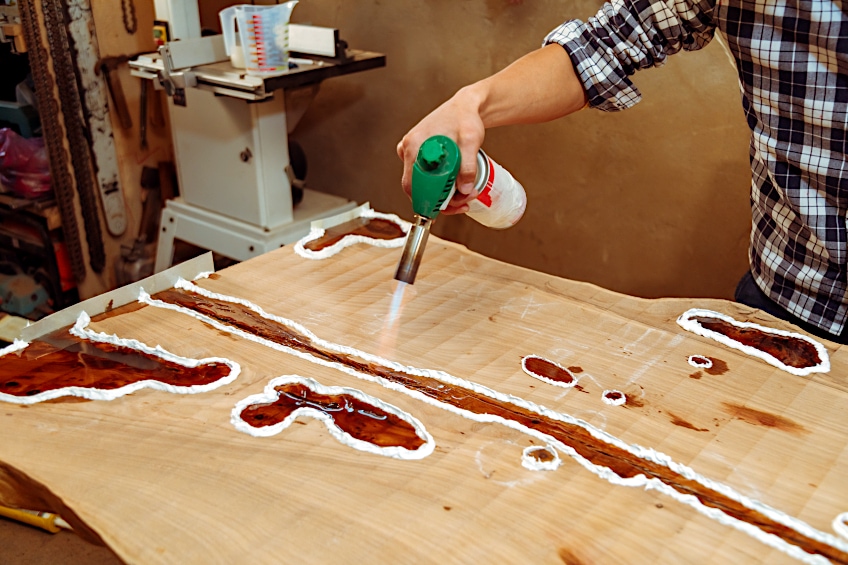
Using a Propane Torch or Heat Gun
This is the most effective way to remove bubbles from your resin, and you can use a small culinary torch for smaller projects or a larger propane torch for projects like countertops, large art pieces, or tabletops. Be sure to read the label of your resin before you start with the torch, as some resins are flammable and could catch alight with the flame from the torch. However, if you are careful and do not let the flame come into direct contact with the resin, you should be perfectly safe.

The flame from the torch will heat the surface of the resin, which in turn will allow the air bubbles to rise to the top and escape. Turn on your torch, making sure it is pointing away from your resin surface. Next, turn the torch to its lowest setting, and pull the trigger to start the flame, and then allow the torch three to four minutes to reach the required temperature.
Ensure you hold the torch about 6 to 12 inches away from the resin surface and move the torch from side to side on a small section of the resin surface for around 10 to 15 seconds. Then proceed to the next section. The shallow bubbles should pop from the surface after about three to four seconds, but deeper bubbles may take a little longer.
You can repeat this process until all the bubbles have been successfully removed from your resin surface. Do not heat the resin surface for longer than 30 seconds, as this will change the consistency of the resin. After all, this, if you still have a bubble, then you need to concede that you are stuck with it.
Take note that this process must be done before the resin begins to cure, otherwise, the bubbles will set in the resin and will become more difficult to remove. You can apply the same process by using a heat gun, but this will only work for smaller resin projects, or when trying to remove air bubbles from silicone molds as the heat from the torch will damage the mold.
Some Tips to Follow When Using a Propane Torch
Many people are afraid when it comes to using a propane torch, they fear that they may set something alight or even damage their project. However, if handled correctly, and by following a few basic rules, the process is safe. Here are a few of these safety rules to follow:
- Do not leave your flaming torch unattended
- Do not bring the flame near any flammable objects or substances
- No not hold the flame for a long time in one spot
- Do not over torch the resin, as it may damage the surface of your project
- Always work in an area or space that is properly ventilated
- Move the torch from side to side over the surface of the resin
- Keep your torch about eight inches away from the surface of the resin
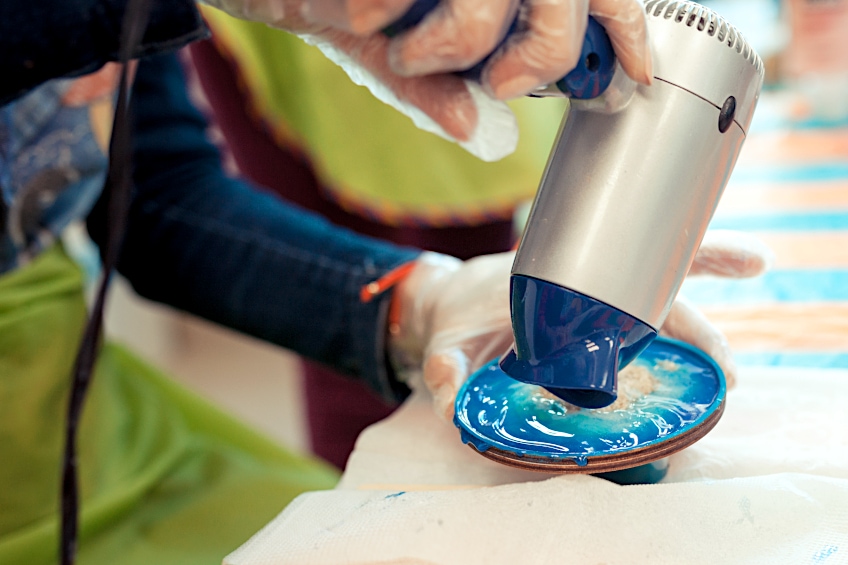
Using a Hair Dryer as an Epoxy Bubble Buster
Although a hairdryer is not as effective as a propane torch or heat gun, it can still work to remove surface bubbles from your resin. The same process can be applied as with the torch, but you need to be careful not to blow dust onto the resin surface while you are busy as this will ruin your glass-like finish.
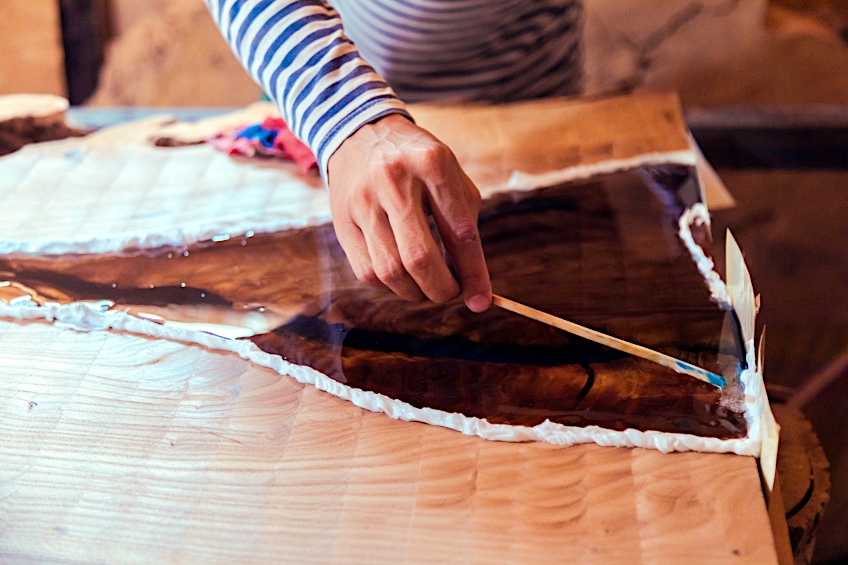
How to Get Bubbles Out of Resin Using a Toothpick or Pin
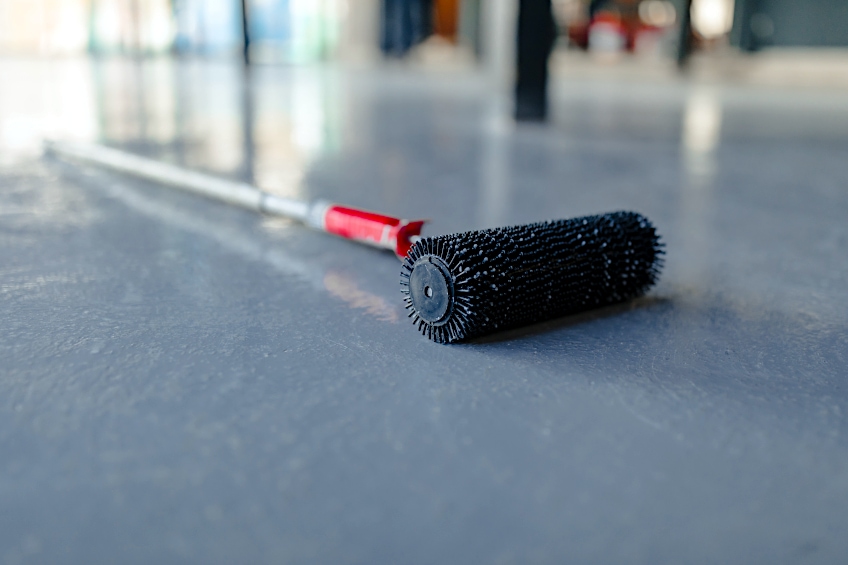
This is a method that will only be effective on very small projects and will take time and a lot of patience. Take your toothpick and insert it into the bubble and begin to swirl the resin slightly. This action will force the bubble out of the resin, or using the toothpick, try coaxing the bubbles away from the edges making it easier to pop. Epoxy floor installers use specialist needle rollers to perform this exact function.
How to Fix Epoxy Bubbles Using a Drinking Straw
Again, this method is preferred for smaller projects like jewelry, small molds, and small river boards. Insert the drinking straw into the bubble and blow very carefully and slowly. The force of the air should pop the bubble, but just remember that it must be done before the resin begins to cure.
Using a Vacuum Chamber
This method can also be very effective as an epoxy bubble buster, but again, mainly for smaller molds and projects. The vacuum chamber degasses the resin and removes all of the bubbles. This is also a method that is not used by the ordinary do-it-yourself enthusiast, as the vacuum chambers are fairly expensive, and it is not a piece of equipment that is common in everybody’s home.
How to Remove Bubbles From Dried Epoxy
If you have followed all the above and were very careful when pouring your resin, but still have a few bubbles after the resin has cured. Is it possible to remove bubbles from your resin, even after the resin has been cured?
This situation occurs quite frequently, especially when you have used charms or other types of embellishments and embedded them into your resin, and the surrounding air is slightly cool. The bubble should be too deep in the resin. Do not worry, as the bubbles can be removed even after the resin has cured, and this is how you do it.
In a case where there are only one or two bubbles, take a sharp knife and cut the resin around the bubble, removing it from the resin and making an open hole, much like a small mold. Now you need to mix a small batch of resin about three quarters to 1 ounce, which should be enough to fill the hole in your resin.
Place the casting on a rack so that it is off the flat surface, ensuring that any resin you add does not go over the edge and spoil the bottom of your casting. Take your stirring stick and fill the hole where the bubble was with the resin mix, which will bond and should cause the hole to disappear. You can now coat the entire resin surface with a thin layer of resin, which will serve as a glaze. When there are quite a few bubbles, you might need to sand the entire surface down until they have been removed. Again, these bubbles should only be on the surface of the resin. If you have done several layers of resin, and then only notice bubbles within the first layer, you will have a problem removing these. These should have been removed before you add more resin layers.
When casting epoxy resin, it can seem inevitable that some air bubbles will form in the resin. However, if you follow all the right processes, and avoid forming bubbles as much as you can, you should end up with a perfect bubble-free project. We hope this guide on how to get bubbles out of resin has been a help to you for future projects.
Frequently Asked Questions
How Can You Fix Epoxy Bubbles?
If your project is fairly large, then the best method to use is a propane torch. A heat gun is better for smaller projects, such as if you are casting jewelry items. You can use a heat gun for resin or even a hairdryer, you may also have success using a toothpick or pin, or even blowing through a straw. Whatever technique you use, you must make sure you do it before the resin cures.
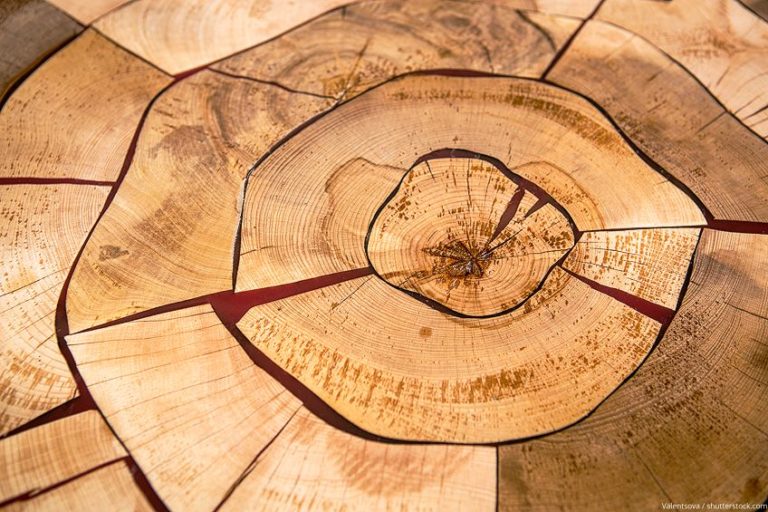
How to Prevent Bubbles When Casting Resin on a Porous Surface?
When casting resin on a porous surface like wood or any other surface that contains air pockets, you need to first seal the surface with a waterproof varnish or spray sealant. You can then safely cast your resin. This will prevent air bubbles from forming on the surface when the resin is cast.
Is a Vacuum Chamber Necessary for Casting Resin?
If you want to create a resin casting that is completely free from air bubbles, then you need to use a vacuum chamber. However, for a do-it-yourself project, there are many other cheaper methods you can use for preventing air bubbles.
Can a Hair Dryer Get Rid of Bubbles From Resin?
A hairdryer or heat gun for resin does generate enough heat to remove bubbles from your resin if the casting is not too large. You do need to take care not to blow dust onto the resin, which will damage the mirror finish of the resin.
How to Remove Bubbles From Dried Epoxy?
First, you need to sand down the entire resin surface, making sure that you remove all the surface bubbles. Then wipe the area clean with a damp cloth and apply a fresh layer of resin over the entire surface. Allow it to cure and your resin artwork will be perfect.

Larissa Meyer is a 32-year-old mother from Michigan and creative spirit since childhood. Her passion for painting and drawing has led her to an education as an illustrator and a career as a freelance graphic designer. She has a Bachelor of Fine Arts in Illustration and a degree in Graphic Design. Larissa is a talented artist who is able to master a wide range of styles and techniques to bring her artistic vision to life. Her greatest passion is currently fluid painting and epoxy resin art. As a mom of two kids, Larissa also understands the importance of fostering creativity in early childhood. She uses her experience and knowledge to help other parents inspire their children and develop their artistic skills as well.
Learn all about Larissa Meyer and Fluid Painting.