Resin Crafting Projects – Our Selection of Epoxy Resin Art Ideas
This post may contain affiliate links. We may earn a commission from purchases made through them, at no additional cost to you.
There are a lot of fun and creative ways to express yourself, and DIY resin is one of them. There are thousands of resin art ideas, from projects that are easy enough for beginners to more complex epoxy resin crafts. You can easily make some unique gifts for family and friends or try your hand out at creating items to sell. Whatever your reasons, we are here to help inspire you and provide you with some amazing resin craft ideas.
Understanding the Basics of Resin
There are many different types of resins, each with its own uses. However, we are going to be dealing with resin epoxy for crafts as it is the one most used for do-it-yourself art and craft projects. So, before we get into some of the interesting resin craft ideas, let us first cover the basics of epoxy resin.
What Is Epoxy Resin?
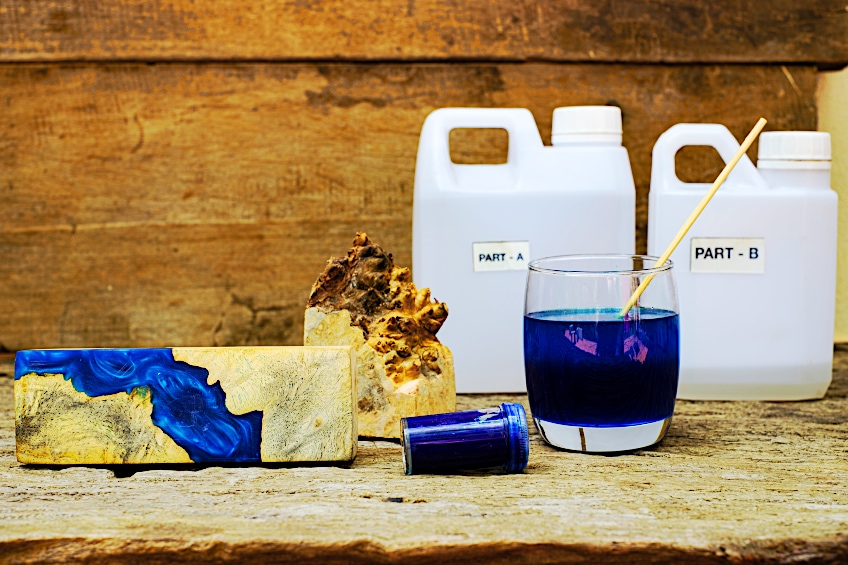
There is a more complex scientific explanation to this question, however, we will keep it simple. Epoxy resin comes in two liquid forms, your hardener or curing agent, and your resin. When purchasing epoxy resin, these will come in two separate containers. These two liquids then have to be mixed and used on whatever project you are working on.
The general mixing rule is a 1:1 ratio of both liquids, however, each brand and product can differ, so always read, and follow the directions of a specific product. Once done, the mixture will harden and cure to a clear, strong, and solid surface. Epoxy resin is great for adhesion and filling purposes, and also forms a strong waterproof layer over whatever surface it is applied to. DIY resin is perfect because it is a liquid that can be poured and used to form all kinds of shapes that become hard once cured. So, it is great for fixing leaks and repairs around the home, but also for amazing resin craft ideas.
Types of Resin
There are diverse types of resin, each possessing specific properties that you might need for your project. So, what you use is determined by what you wish to achieve. Some of the various resins besides epoxy include the following:
| Resin | Description |
| Polyurethane | Provides a superb gloss finish that is extremely durable and hard. Popular flooring product |
| Polyester Resins | Used in industrial and household applications including coatings, however, it is not as strong as epoxy, is difficult to mix, and produces fumes |
| Polyethylene Resins | Commonly used in the plastic packaging industry |
| Acrylic Resins | Thermoplastic, extremely difficult to work with, and toxic. |
| Phenolic Resins | Found in a variety of industrial applications as coatings and adhesive, for example, electrical components |
| Alkyd Resins | Thermoplastic polyester resin can be used as a special coating for various applications |
There are quite a few more resins that are used for industrial purposes including polycarbonate resins, polyamide resins, silicone resins, polystyrene resins, and polypropylene resins. However, there is another resin that is popular for art and craft projects, known as UV resin.
UV Resin
UV resin is much faster to work with, as it only takes a few minutes to cure when exposed to UV light. You do not have to wait hours for your resin project to cure, and it is easier to work with. This is perfect for smaller projects; all you need is a UV light source to cure the resin. Although this sounds good, the product is usually quite expensive. Below is a basic comparison table for both the epoxy and UV resin.
| Resin Features | Epoxy Resin | UV Resin |
| Preparation | Comes as a two-part system you have to mix in exact measurements | No mixing required |
| How Does it Cure? | Cures naturally | UV light source is needed |
| Curing Time | Can take up to several days | 15 to 20 minutes with a UV lamp and a few hours in sunlight |
| Coverage | Can be for small epoxy resin projects and larger projects | Only for smaller areas and projects |
| Durability | Long-lasting, durable results | Limited |
| Maximum Thickness | 5 cm | 1 mm |
| Cost | More affordable | Expensive and requires additional tools like a UV lamp |
| Quantities | Comes in smaller and larger volumes | Only comes in smaller volumes |
Epoxy Resin
Epoxy resin is the most popular resin, as it is versatile and can be used in a variety of projects. There are two kinds of epoxy resins and selecting the right one depends on the project. Both consist of almost the same material; however, they have different properties. Many of the different brand manufacturers also provide various product features like faster curing times, non-toxic products, has no odor, and epoxy that is self-leveling amongst others.
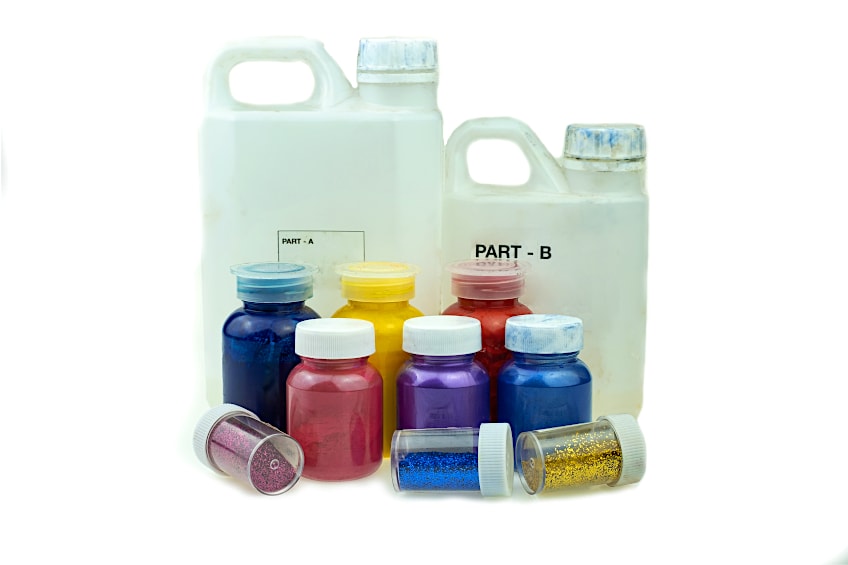
This type of epoxy resin is more fluid, which makes it great for using with molds and casting jewelry, figurines, and other items. The casting resin is also helpful in filling cracks in wood items. So, the epoxy casting resin is perfect for small epoxy resin projects.
Laminating or Coating Resin
As the name suggests, you use laminating resin to coat surfaces. Once the surface has been coated and the resin has fully cured, it forms a durable and hard, protective finish. This type of resin is popular for floor coatings as well as tabletop coatings.
| Features | Casting Resin | Laminating Resin |
| Mixing Ratios | Mixing ratios can differ | Simpler mixing ratios |
| Consistency | Thin, low viscosity | Thicker, higher viscosity |
| Curing Times | On average 72 hours | Several to 30 days to fully cure |
| Pouring Depth | Thin to thick layers | Multiple thin layers |
Epoxy Resin Safety
All resins should be handled with care, including your epoxy resin. The reason is that when you mix the two elements, there is a chemical reaction. When this happens, there is the release of toxic fumes. There is nothing you can visually see, however, there are some products that give off an unpleasant odor.

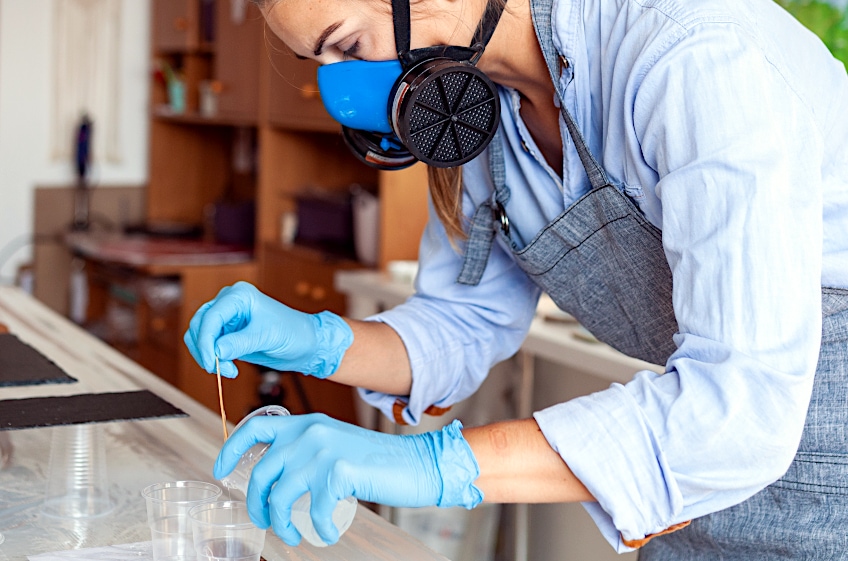
These fumes can cause health issues if you breathe them in, so it is best to use protective gear. This includes the use of gloves, a respirator mask, and special eyewear. You can also consider wearing an apron or coveralls, so you do not get any of the resin on your clothes. Since epoxy resin can also cause skin irritation, gloves, as well as wearing long sleeves are recommended. If it does get onto the skin, you should remove it immediately with some soapy water, vinegar, or hand sanitizer. Only once the epoxy resin has cured fully, is it non-toxic.
One other crucial step to take is to work in an area where there is proper air circulation. So, the use of fans or open windows is a good idea. There are epoxy resin products that say they are non-toxic and have low or no odors. However, it is always best to be cautious and keep following the safety recommendations.

Products that have been deemed safe to use and conform to certain requirements, and are certified, are always a better option. Only use products that say they are food-safe and are FDA approved if items are going to come into contact with food. Any manufacturer should provide safety data sheets on their websites and should be willing to help you if you are uncertain about using their products.
Selecting the Correct Resin for Your Project
As we have mentioned, you can get different types of epoxy resin products that have various properties. Some are better suited for specific projects, so you should look out for certain things that suit your needs best.
Does the Resin Need to Manage Heat?
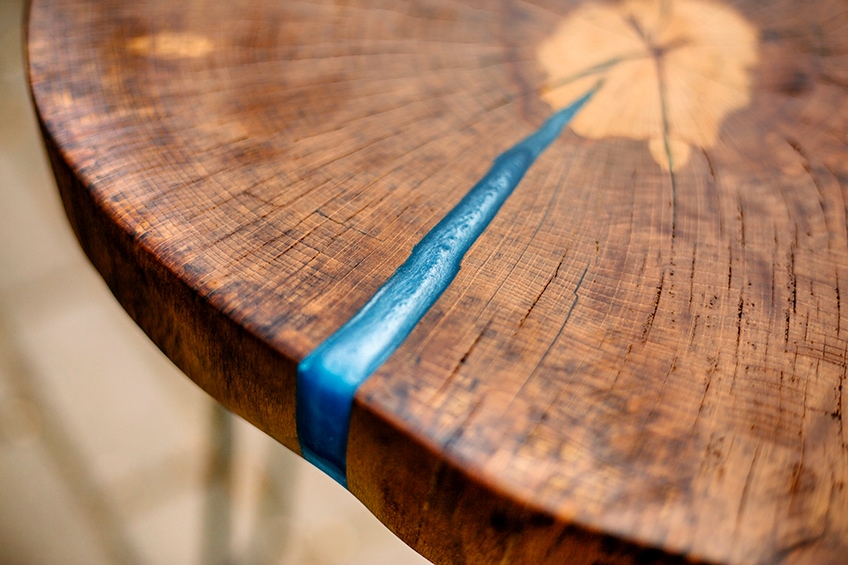
Certain projects may expose the resin to heat, for example, coasters. You will need to make sure that the resin is heat resistant, so it will not be affected by the hot cups placed on it daily. In many cases, the heat-resistant resin products can take longer to completely cure. Always follow the manufacturer’s directions on curing times.
What Viscosity Is Best?
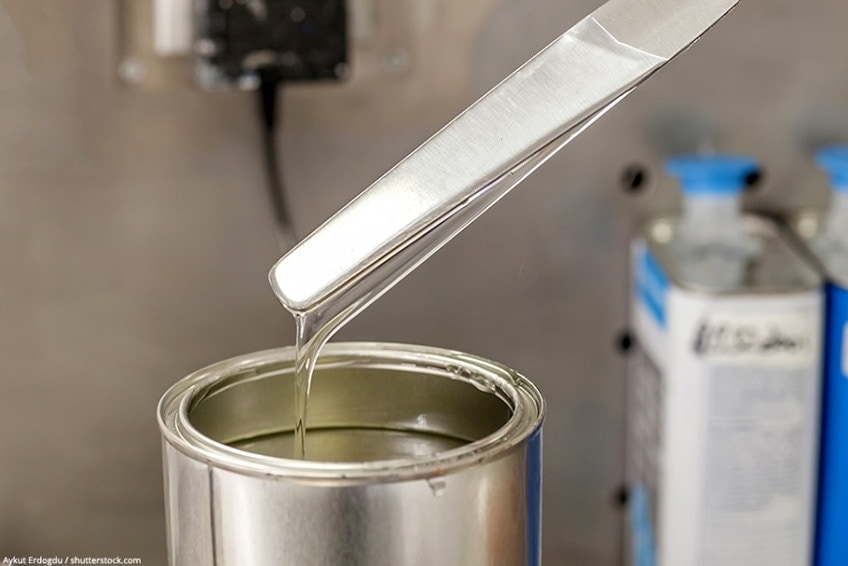
Viscosity is a term that describes how thick or thin in consistency a substance is. The viscosity has a significant role to play in determining what projects you can use. For example, if you are using a small mold that contains quite a few details, then a thinner or less viscous resin is needed.
The thin epoxy can easily cover and get into all the corners and details of the mold. These types of resin will take a bit longer to cure than the thicker varieties, so you will have to wait longer to demold and cast the item. So, if you use a high viscosity resin and put this into a detailed mold, the casting will not come out with all the finer details.
Does It Take Long to Harden?
There are many brands and epoxy resin products available, and each brand can be slightly different, so the curing times can vary. This is the reason you should always follow the product direction provided. The environment also plays a role in curing times. Epoxy resin will cure faster in higher temperatures and cures more slowly in cooler temperatures. So, you can place a heater or a lamp nearby for the epoxy to cure faster. You can also warm up both the resin as well as the hardener before you mix them, in some hot water. Many products will also say fast curing on the label.
Pouring Thickness
There is a maximum depth you can pour certain resins, and this will affect the type of project you are working on. You can find specific brands that offer various resin products for different pour depths, and this information should be provided in either millimeters or centimeters. If you use the wrong resin, for example, you pour a thicker layer of resin than recommended, it will not cure properly and could remain tacky. This also comes into play if you are looking for a casting resin or coating resin.
Is It Resistant to Yellowing?
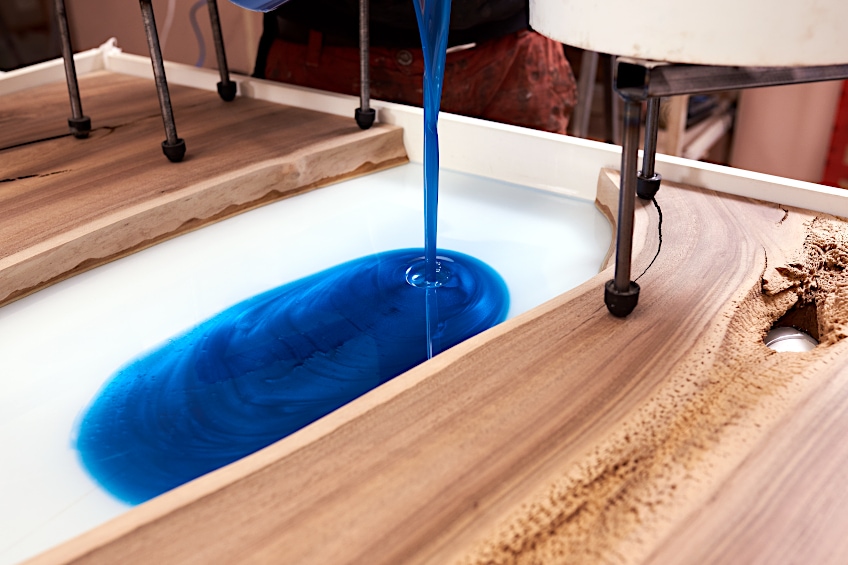
Many of the epoxy resin products can discolor and turn yellow over time, due to exposure to light and other elements. This will be more noticeable in resins that are left clear and do not contain any pigments. You can get products that state they are non-yellowing, and you can help prevent yellowing by keeping resin objects from direct sunlight.
Safety and Toxicity
Today, you can easily purchase resin products that are non-toxic and produce with low or no odors. However, it is best to keep to all safety requirements when working with all types of resins. There are always instructions that come with each resin product, read, and follow these instructions. Many of the resins are not food-safe, again, check the label and instructions. The food-safe products should have certification, and this must be clearly stated on the product.
Basic Guide for Using Epoxy for Crafts
Before we go into sharing some resin art ideas, let us have a quick look at a basic guide on how to use epoxy resin for crafts. First, what surfaces can you use resin on? Epoxy resin is quite versatile, it can be applied to most surfaces.
- Metal
- Wood
- Concrete
- Stone
- Canvas
- Silicone molds
- Paper
Once you have decided on what you want to do and have all your tools ready and created a well-ventilated space to work in, you can begin with your resin project. The first step would be to read the product instructions, as each brand can differ in this area. Following the directions given will play a part in producing a successful resin project.
General Supplies Needed for Epoxy Resin Crafts
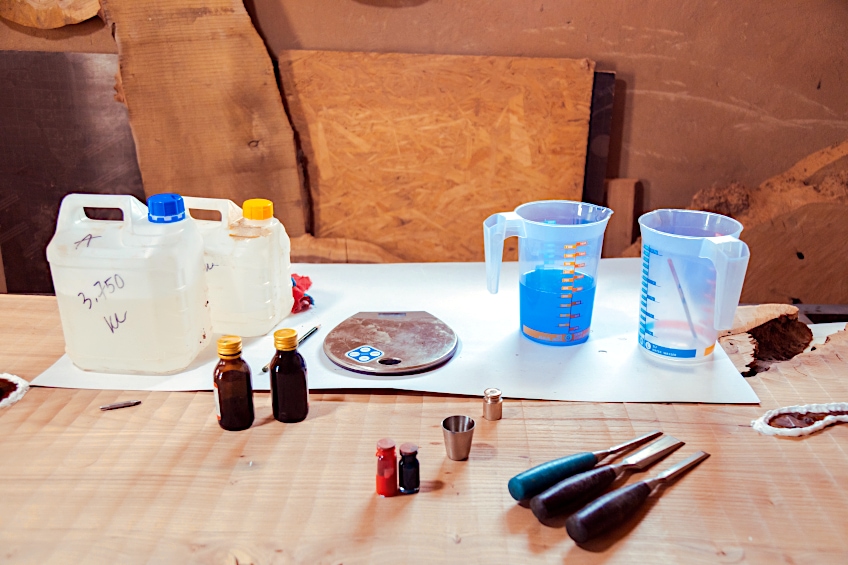
Okay, now that you have chosen your epoxy resin, what other tools and equipment are necessary. We have already mentioned the safety gear, including a mask, nitrile gloves as well as protective eyewear. Let us now have a look at other items you will need.
- Mixing cups, which can be plastic or silicone
- Silicone mat or other covering to protect the surface you are working on; the resin simply peels off once cured
- A stirring tool, for example, a popsicle stick for mixing the resin
- Toothpicks for removing bubbles
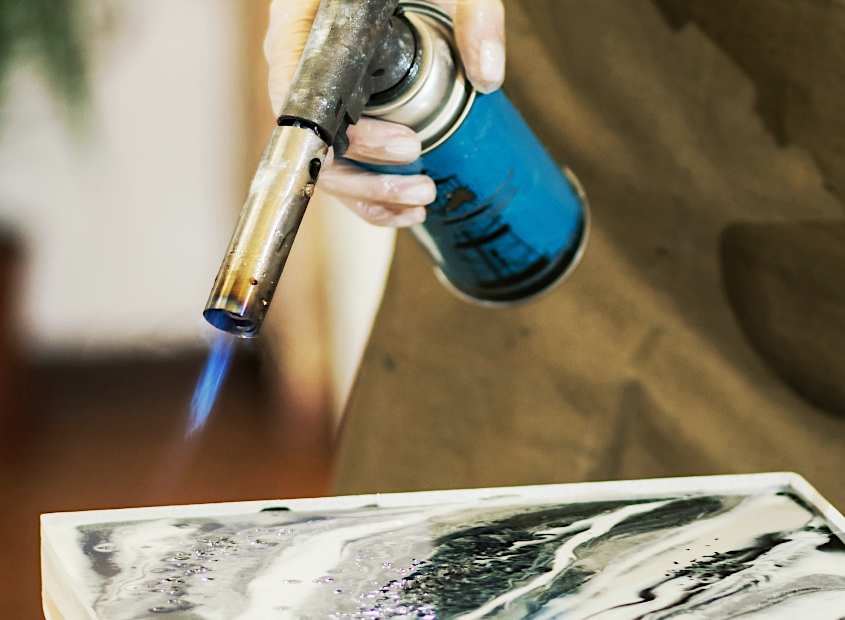
- Heat gun or tool, which also helps to remove bubbles
- Chosen silicone molds
- Selected epoxy colors or pigments, which are made and work best for resin
- Embellishments you can include, which can be a variety of items from glitter, artificial flowers to gold leaf, foil, stickers, and all types of beads
Working in a Prepared Space
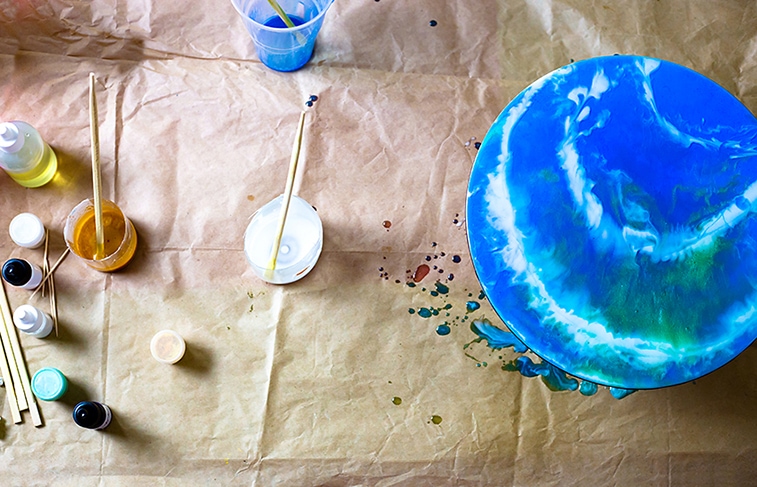
Not only is a well-ventilated space important, but the area should be warm and have a low humidity so that the epoxy can cure properly. Moisture and cooler temperatures will slow down the curing time and could cause problems like an amine blush. This is a surface defect that occurs while the epoxy is curing. A warm and consistent temperature is preferred when using resin. You can also consider using a heat mat or propagation mat, which can keep your workspace warm. These mats are generally used to help with growing seeds and use constant, gentle heat to achieve this. The workspace should also be clean, with minimal dust and no dirt to get into the resin while you are working.
Preparing Your Resin and Molds
To help with the curing process, you can warm the epoxy resin and your mold in some warm water. Not only does this help with the curing process, but it also helps prevent bubbles in the resin. Make sure to dry everything properly before you begin. Also, check and make sure that your molds or surface are clean and free from dirt and dust.
![]()
Dust can be annoying and cause problems while you are busy. Try using a spray bottle with some water and spray the room lightly before you start working, this should help to lower the floating dust levels a little. Do not let any water get near the resin or hardener while you are working.
Measuring the Resin
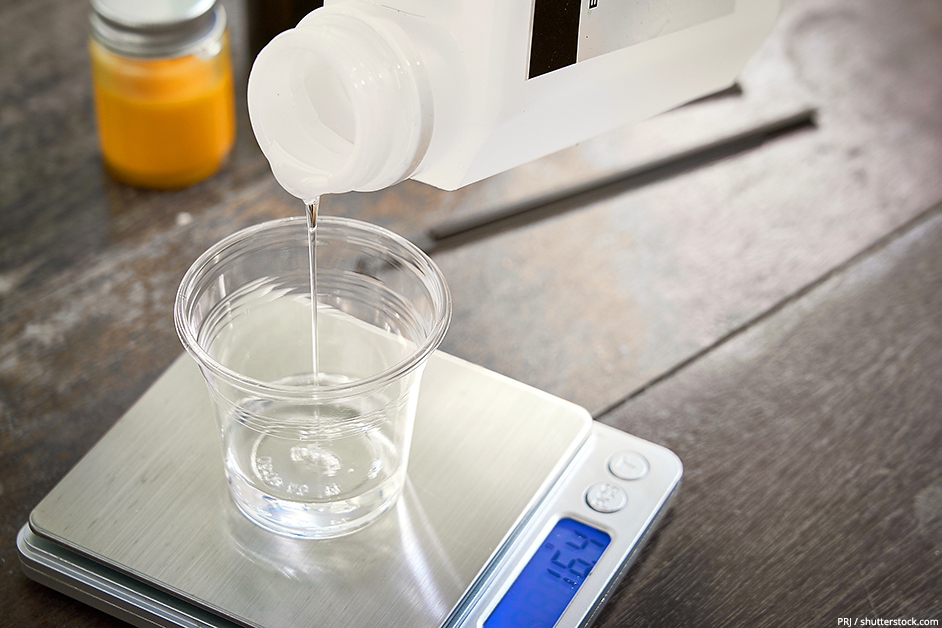
Most epoxy resin products can be mixed in a 1:1 ratio, however, you should always take note of the product instructions for this part. Remember, before you begin to put on your gloves and other protective gear. Measure out the resin and hardener into your measuring cups, making sure to replace the container caps as you go. Even deviating a little with the amounts can ruin a resin project. Calculating how much resin you need can seem complicated, so if you are not sure how much resin you need, there are many resin calculators you can use online to determine the amounts.
Mixing the Resin
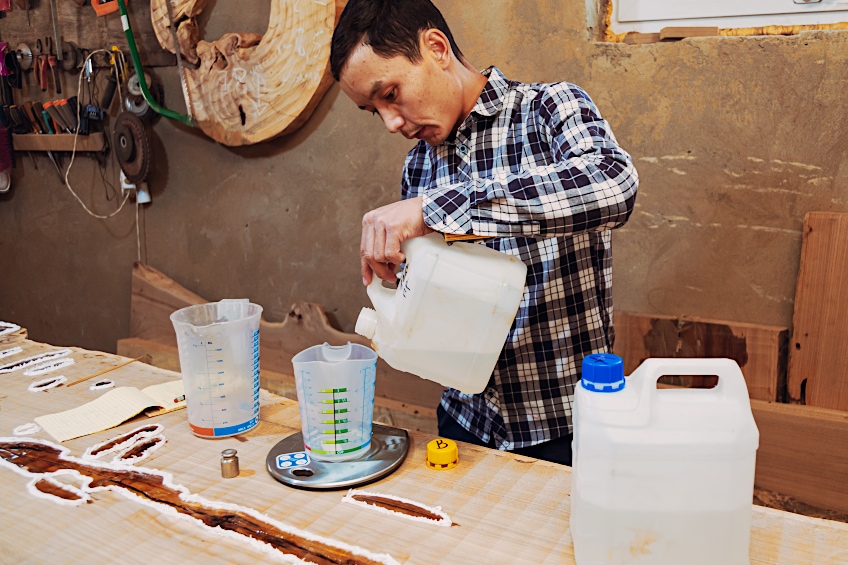
Now you can pour both cups into one mixing container. Again, follow any instructions provided for this step. Generally, you need to mix for about three minutes, thoroughly mixing both materials. You can use a timer for this, as mixing too little can cause problems. Take your mixing tool and use slow movements, to avoid any added air from entering the mixture, which can help prevent bubbles. Scrape down the sides and the bottom, ensuring everything is mixed well.
Once thoroughly mixed, leave for a minute to let any bubbles come to the surface. These you can get rid of before pouring into the mold. If you use a silicone mold, a mold release agent is not required but is recommended. Pour the resin into your mold, each product can have varying working and curing times, so make sure you have enough time to work with the resin before it begins to thicken and harden.
Adding Color and Embellishments
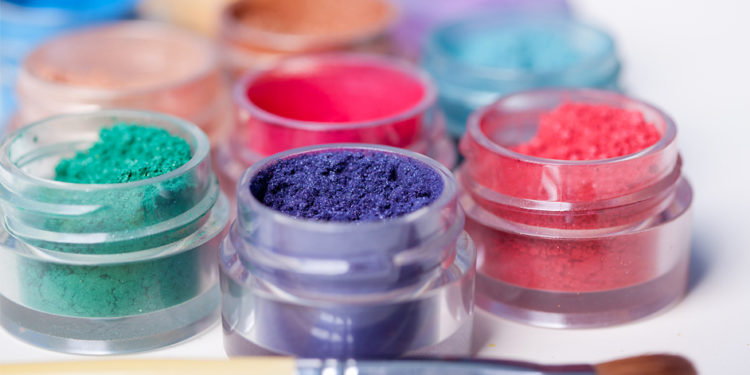
This is optional, but before you begin to pour, you can mix in things like glitter or color pigment. The glitter or solid item will sink to the bottom once poured, so if you want it to appear in the center of a cured piece, you are going to have to do multiple layers. When it comes to adding color, you can use resin pigments, mica powders, or even alcohol inks. However, resin pigments are best as they are made for this purpose.
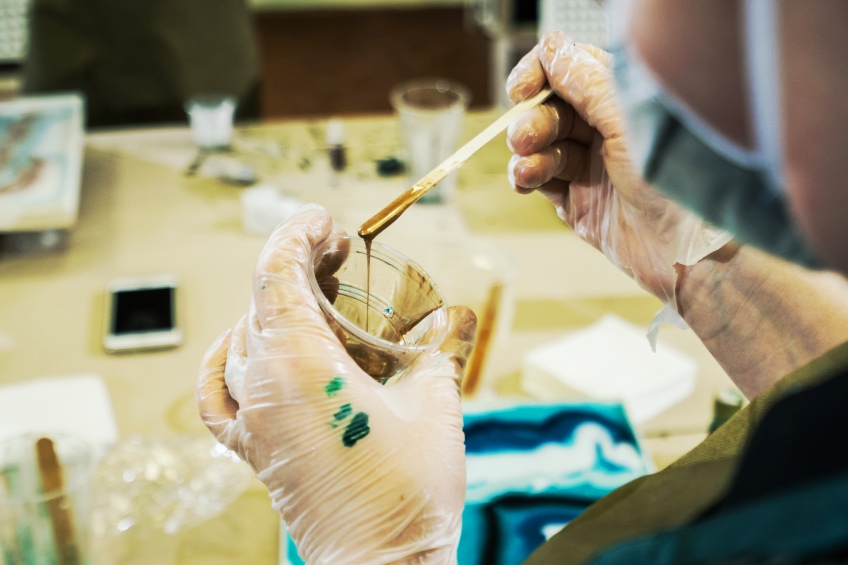
Once you have poured your resin, you can add your embellishments. You can use a long pointed tweezer for this, and make sure you go slowly and look out for any bubbles that may form. Porous items like paper need to be sealed before adding into the epoxy resin.
Getting Rid of Bubbles
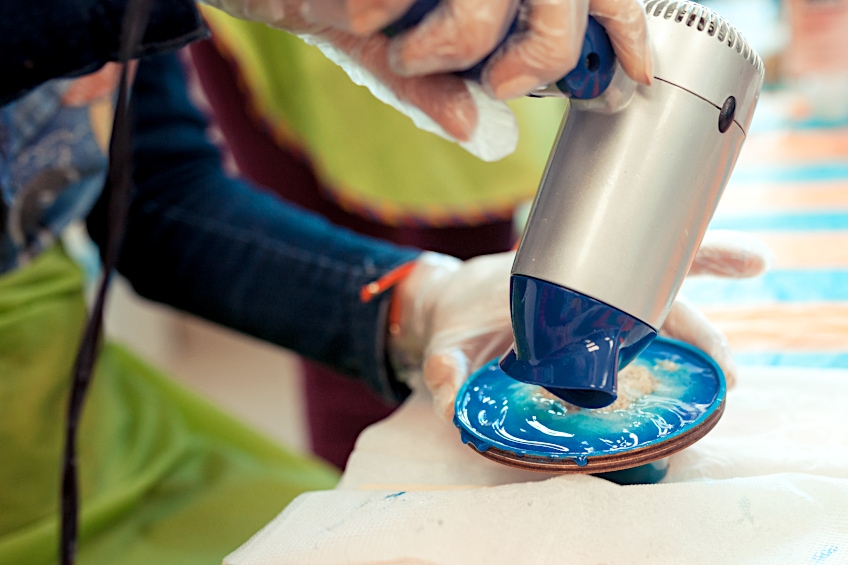
You can use the toothpicks to pop any bubbles as they rise. Most bubbles will naturally rise to the surface, so you can easily get to them. To encourage bubbles to the surface, you can use a lighter or heat gun. Make sure not to hold the heat source too close and move over the surface. Do not keep the heat gun in the same area for too long.
Allow to Cure and Demold
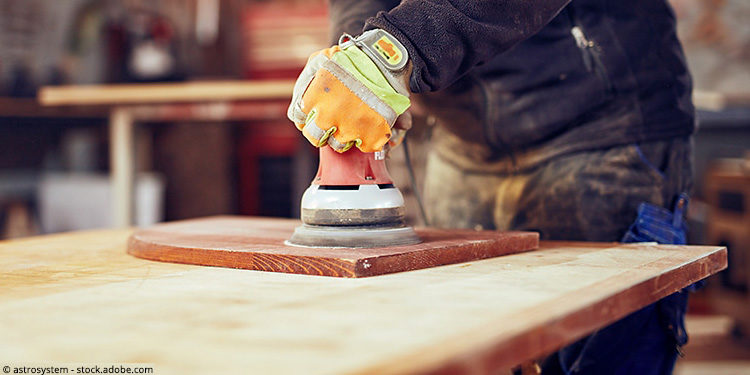
Make sure to leave your resin mold or item in a place where it will not be disturbed, lightly covering it if you can. The area should still be well ventilated as fumes are still released during the curing process. There are different curing times, but generally, it should be left for about 12 to 72 hours. Before demolding, have patience and wait the allotted time for curing to occur properly. Once you have removed the resin item from the mold, you can then sand and finish by applying some resin polish for added shine.
![]()
Resin Crafting Projects
Now that we have the basics of epoxy resin and how to use it, we can start looking at epoxy for crafts and the numerous amazing ideas out there. The most commonly used DIY resin idea is resin jewelry because it is easy to do and is customizable. You can add color and all types of embellishments to make fun and unique items. For example, bookmarks, charms, keyrings, coasters, decorative pieces, lamps, and even on flooring and countertops, and lots more.

Beginner Resin Crafts
Working with epoxy resin might sound difficult, but there are many great ideas for beginner resin crafts. Simple ideas that are easy and affordable to do. Epoxy resin is versatile and can be used on many different surfaces, or simply use a mold to create any number of shapes.
Not only that, but some products are non-toxic, odorless, and self-leveling. By simply following some basic instructions, somebody who has never worked with resin can create some wonderful pieces. And once hooked, you will want to try out even more resin crafting ideas.
Resin Jewelry
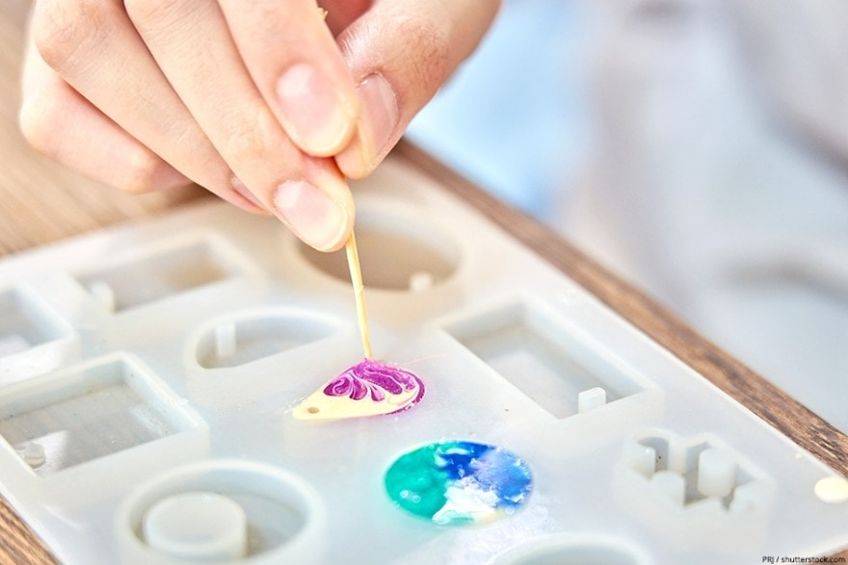
DIY resin jewelry is an extremely popular craft idea. This is because it is quite easy to do, as there are mold shapes for almost any kind of jewelry design. Epoxy resin is ideal for pouring into silicone molds. Some of the molds also provide multiple shapes for you to work with. The silicone molds can also last a long time and can be used over and over again if taken care of properly. You can easily add assorted colors or embellishments to your resin jewelry design. Some popular resin jewelry ideas include the following.
- Earrings: there are all kinds of shapes and sizes of resin earring molds
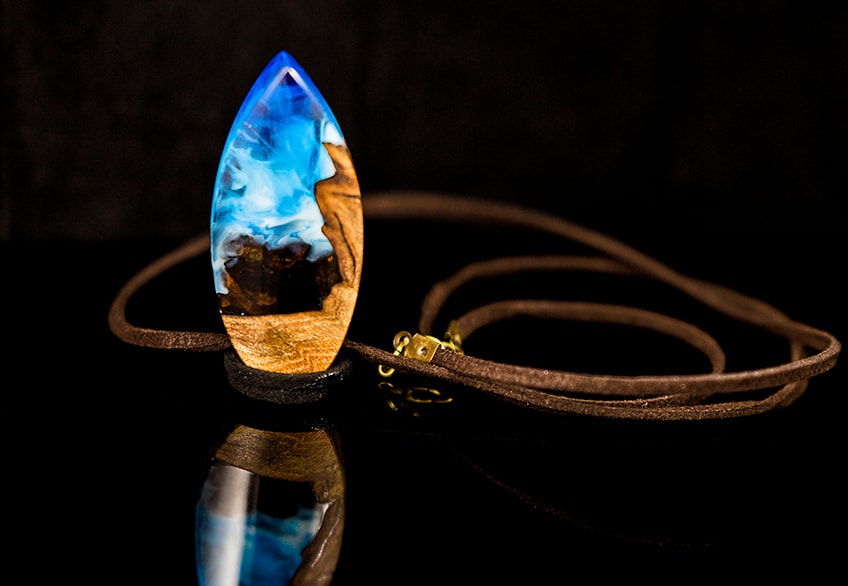
- Pendants: from round and square shapes to gemstone resin molds
- Rings: create unique beautiful resin rings that usually come in different mold sizes
- Bracelets: the resin bracelets are also available in many sizes
- Beads: make unique resin beads
- Keyrings: you can make different shapes, letters, and designs for beautiful resin keychains
- Hair clips and combs: make a variety of resin hair clip styles, or why not try making an exclusive style resin comb
- Pet Tags: resin pet tags is a unique gift idea for friends and family with pets
Jewelry Without a Mold
You can also use resin to make jewelry without a mold. Another idea is to make resin jewelry using jewelry blanks as well as open or closed bezels. These are metal frame pieces the size of a pendant or ring. You can also get different sizes, and if the bezel is quite thick, you will have to consider laying down several layers and waiting for each layer to cure before moving on to the next one.
Since an open bezel is open on both sides, you will also have to seal one side while working. You can use some wide packing tape for this. Place this sticky side up onto a flat working surface, like an acrylic block. Place the bezel firmly in the center of the tape. Make sure there are no creases, and the tape is flat, you can also tape down the sides so that the piece the bezel is attached to does not move around.
This entire process will help prevent the resin from oozing out and creating a mess while you work. Of course, there is also no demolding required, as the resin remains within the bezel once cured. You can pour in a very small amount of resin for your first layer and allow this to cure. You can then gently remove the tape. If any residue remains, wipe off with some soapy water and allow to dry. This will then form the base; at this stage, you can add some embellishments before adding another layer of resin.
Jewelry Boxes and Ring Holders
Now that you have all these amazing jewelry pieces, you need a jewelry box to store all of them in. Instead of the usual wooden jewelry box, why not stick with the resin theme and create an epoxy resin jewelry box. You can get different shapes from square to heart and even hexagon-shaped molds for resin. To make the jewelry box even more eye-catching, consider adding flowers, glitter, color, or metallic foil.
You can also use a wooden box and attempt a resin pour over the top of the box on the lid. You will need to tape off the sides of the box to prevent any of the resin from getting onto the wood. You can use assorted colors and experiment with opacity and shimmering colors. Try building up multiple thin layers for an illusion effect. Once a resin layer has dried, you can add some artwork using paint markers or leaving objects between layers.
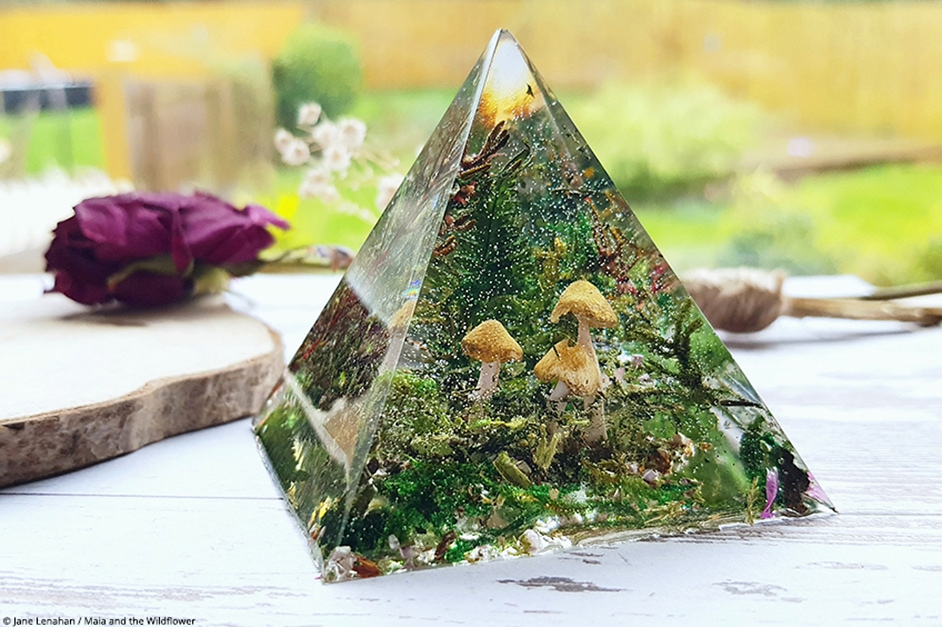
Sometimes, you need a place to put your rings while you work or wash dishes. Instead of placing it somewhere you will forget, place it on a ring holder. One of the best resin craft ideas for this is a resin cone or pyramid. These are not only great as ring holders, but can also be used as stylish paperweights, or simply as a unique décor piece.
Pen holders
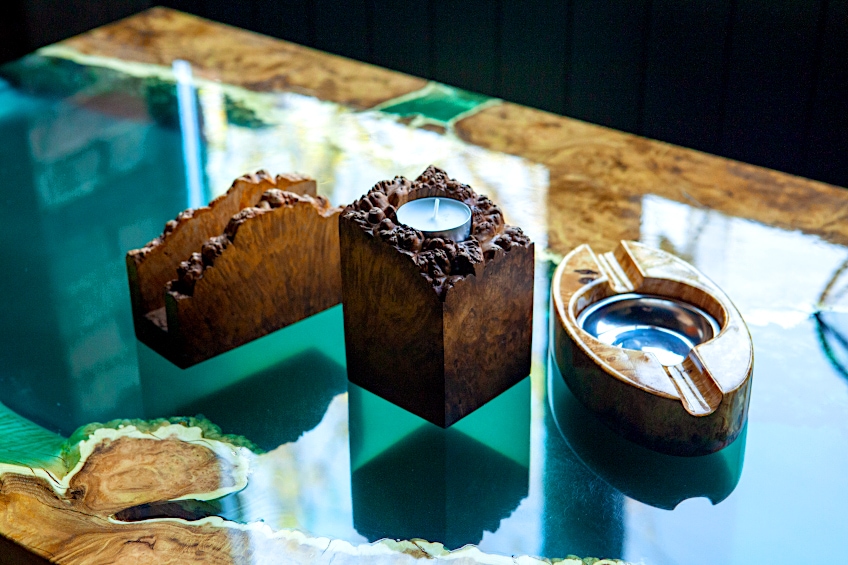
Not only can these resin molds be used as pen holders, but you can also use them as holders for make-up brushes and candles. You can also purchase mold sets that provide shapes for resin ashtrays, and resin pot plant holders.
DIY Resin Coasters
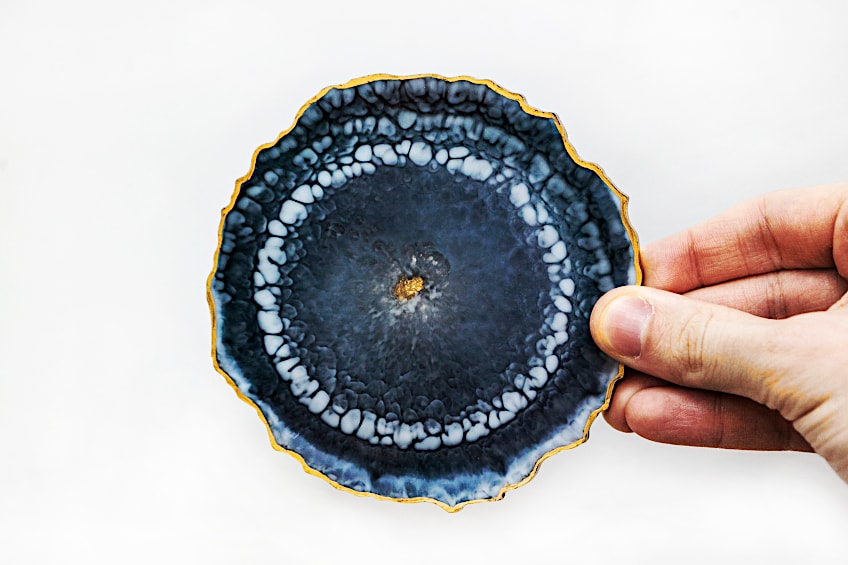
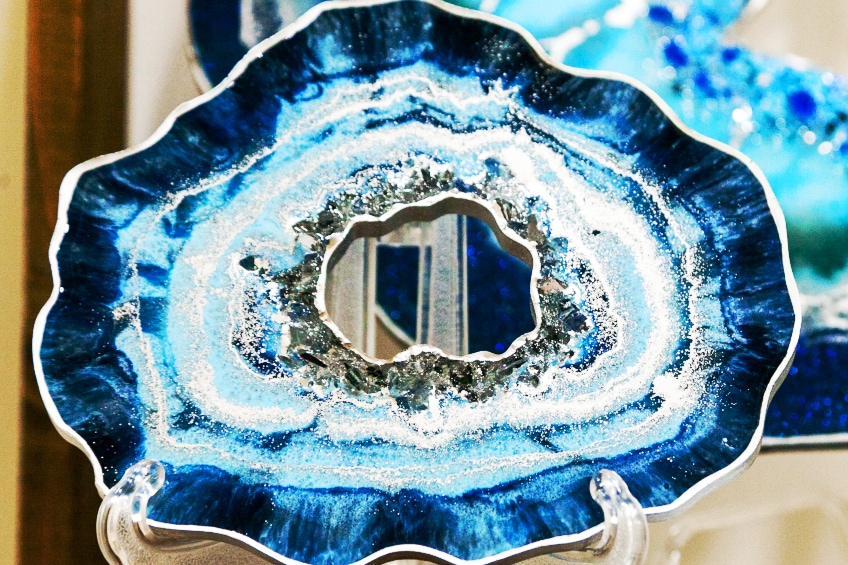
Another popular idea for beginner resin crafts is a resin coaster. One idea is to make a geode coaster, where you can imitate colorful rock formations like agate. You can create these coasters by either using coaster resin molds or wood circle pieces. You will also need some glitter, metal flakes, and resin pigments. Alcohol inks can also add a beautiful effect, adding color but still creating a transparent look. You can easily create patterns when adding the alcohol ink, swirling the ink around with toothpicks. This creates an amazing stained glass-like look that many artists love.
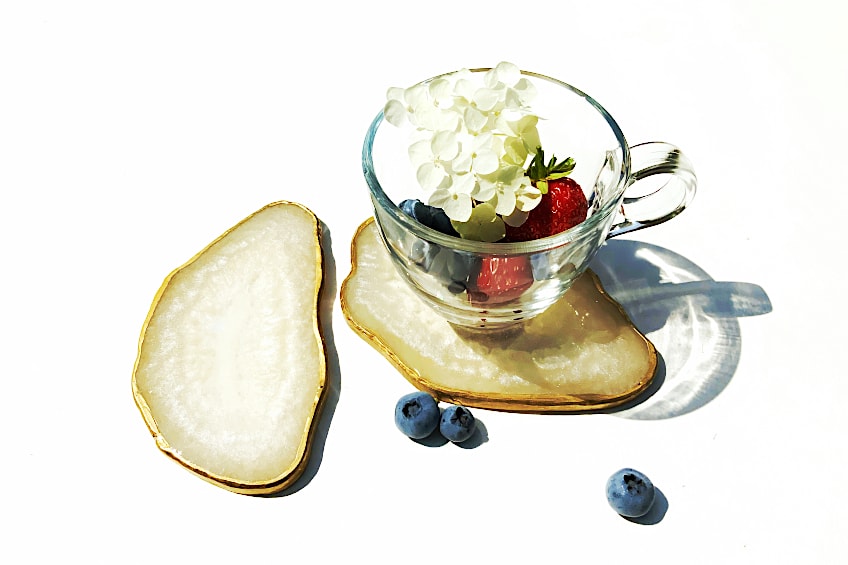
Another resin coaster idea is to use colors and resin to create a marble effect. Of course, you can also use clear resin and add embellishments like flowers or other objects to the coasters. Faux resin river coasters are also a beautiful and unique idea. However, this requires a bit more effort, as you will have to cut and sand your pieces of wood before placing them into a round mold. A gap should be left in the middle, running from one side of the mold to the other. This is where the resin will be poured to form the resin river. The pieces of wood can be cut to form either a round or square coaster.
Resin Bookmarks
This might not be the first DIY resin idea you think of, but you can make some lovely resin bookmarks that are great gifts for family and friends. Simple and easy to make when using the ready-made molds for this purpose. Make the bookmarks unique by adding color and your chosen embellishments.

Resin Photo Frames
Most people love photo frames that display family pictures and fond memories. Creating resin frames can add a more personalized touch to these pictures or photos. There are resin frame molds that come as a normal frame, where the picture is fitted in the frame. Then there are resin molds, where you can customize and embed the photo or image within the resin. You will need to print your photo to size on glossy paper, which does not usually require a sealant. However, if you use other types of paper, a spray sealant is recommended, so the resin does not sink into the paper.
Resin Letter and Words
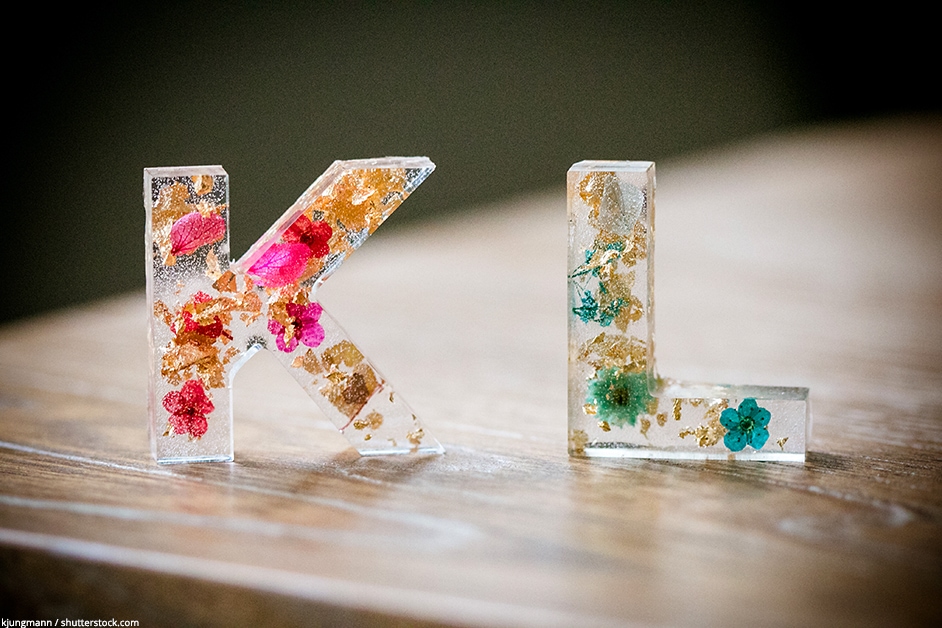
These can be smaller letters used to create things like keyrings, jewelry, or magnets. Then you have the larger resin mold letters or words that can be used as a wedding centerpiece, as a display for events, or simply as a décor item in the home.
Resin Stickers
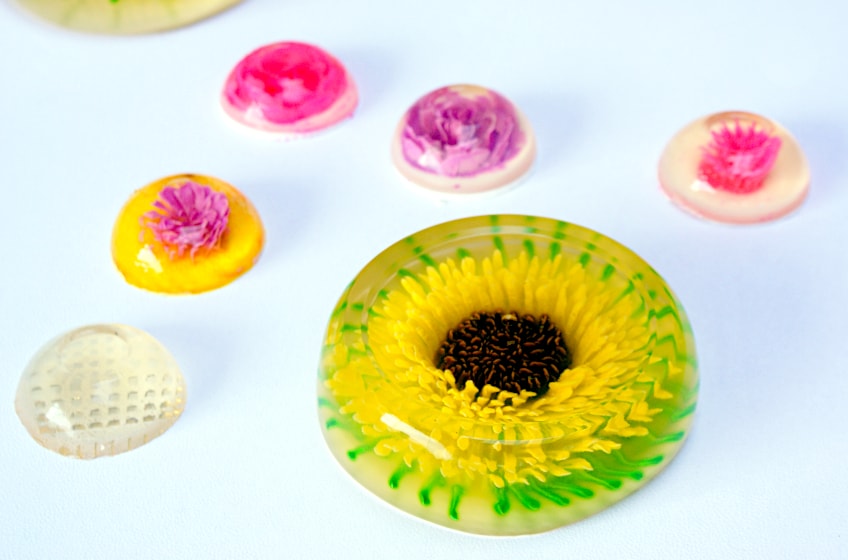
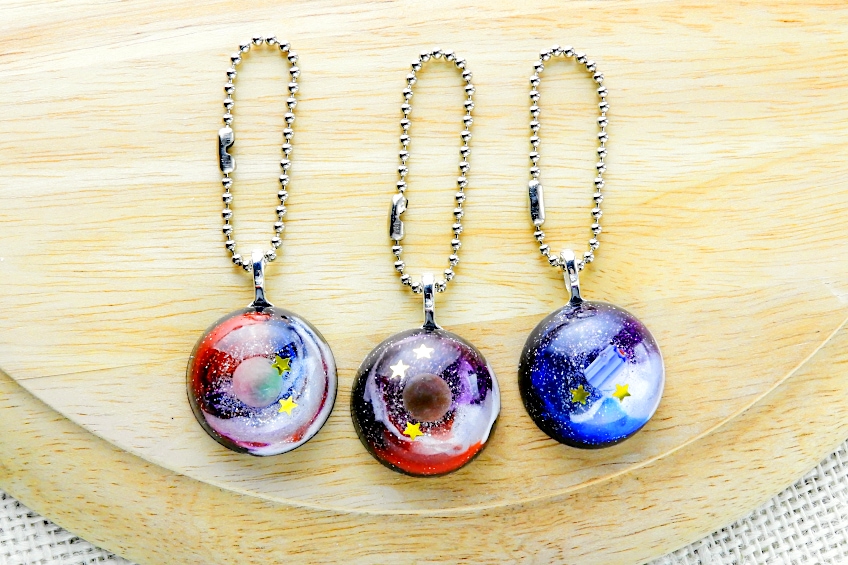
This resin craft idea does not require a mold but uses cut-out paper images, for example, scrapbook paper with flowers. You will have to cut the images out of the paper, then you will have to seal the paper with a sealant like mod podge. You then mix the resin and coat the resin onto the sealed paper. A bit of overflow is okay, as long as you are working on a non-stick surface like a silicone mat. You can add a little more resin to create a domed effect, and then leave them to cure. These are waterproof and durable and can be used for jewelry pieces, magnets, or embellishments.
Resin Serving Trays
This is another great gift idea and is easy to create. You can do any number of unique designs by adding colors, glitter, or covering a printed image. Remember to seal any paper you want to place in the resin. You can then glue the paper to the bottom of the tray. Mix your resin and then pour it onto the surface of the tray. Make sure you work on a flat surface and remove any bubbles once you have poured the resin, and then leave it to cure. You can also make an entire tray from resin if you wish.
Resin Christmas Decorations
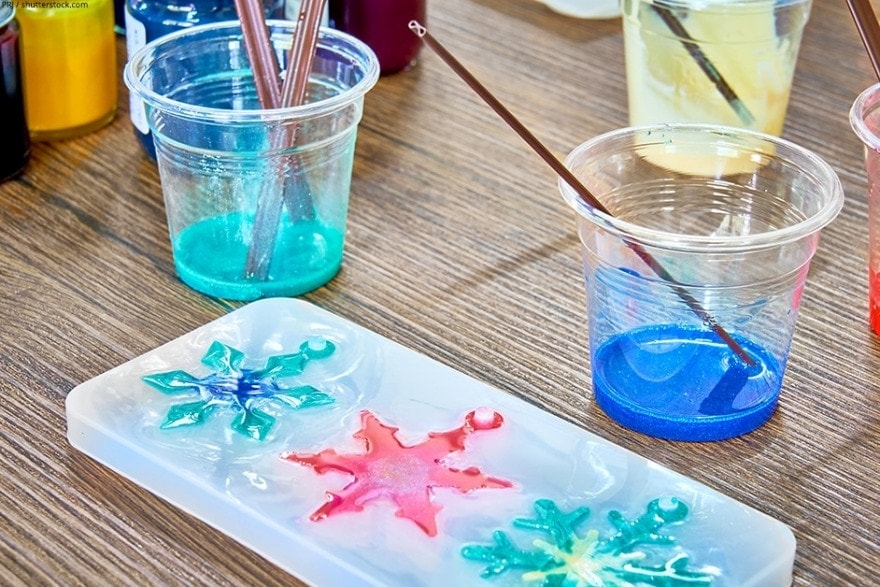
You can use various molds that create beautiful resin Christmas tree decorations, or you can make coasters with a Christmas theme. You can also use any other shape mold, and then add a Christmas look by including festive embellishments, colors, and glitter. You can also do this for other holidays like Halloween, Easter, and Valentine’s day.
Resin Door Handles
An effortless way to change the look of a room is to change the door handles, whether they are in the bedroom or kitchen. Get a cabinet knob mold and fill it with resin. You can customize it by adding distinct colors or embellishments. You can then embed part of a screw in the resin, or glue onto the cured resin specially made knob bases you can purchase.
Resin Notebook Cover
You can make a beautiful notebook or book covers from resin. All you need is a book cover mold and your supplies for working with resin. You can get kits with this that include your mold and binder rings to make a notebook.
Resin Paperweights
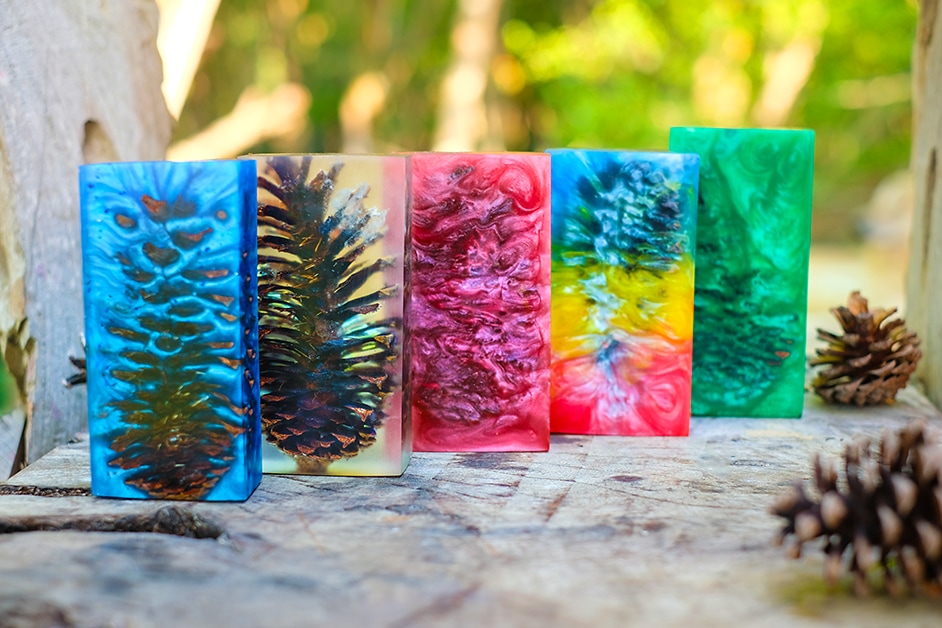
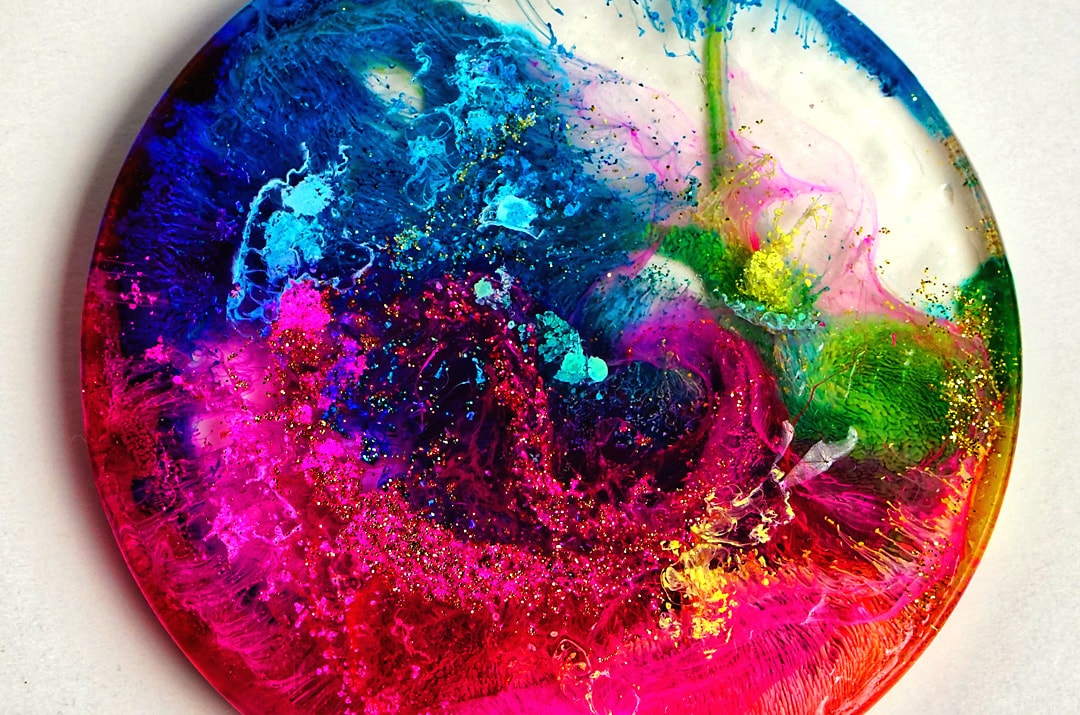
These can be sphere-shaped molds, square, or even pyramid-shaped. You can create different looks by adding different colors, alcohol inks, and embellishments. You can do a clear cast with an embedded item like dried flowers, shells, or any other object. Customize it by adding in a personal object, item, or photo.
Resin Wine Charms
This is a simple and easy gift idea. All you need is a small round or another shape mold you can use for your resin charm. Once cured, you might have to drill a small hole through the resin so you can attach some thread or wire to create the wine charm.
Resin Games
Yes, there are even resin games you can make. These include ideas for dominoes, jigsaw puzzles, chess boards, tic tac toe, resin Jenga, checkers, and Scrabble. Customize each game by including your favorite color, glitter, and other embellishments.
More Challenging Resin Craft Ideas
There is a learning curve when it comes to working with resin, and there are a lot of problems you might face. So, starting simple is a good idea, and work your way towards more challenging resin craft ideas. This way you will gain experience and face fewer issues with more difficult projects. Here are a few more interesting epoxy resin crafts and ideas.
Epoxy Tumblers
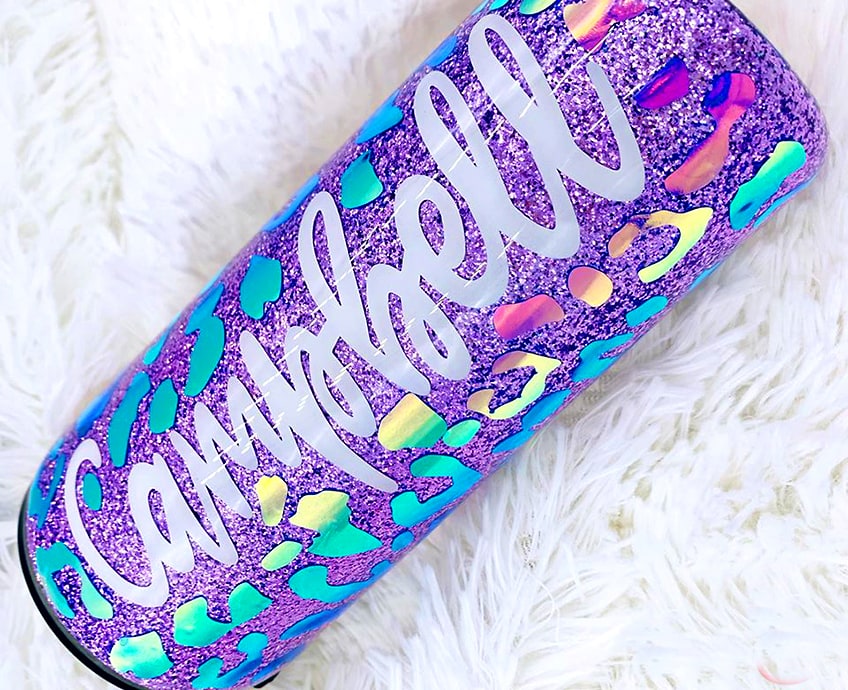
Making epoxy tumblers is a bit more of a process than simply pouring resin into molds. You will first need your stainless steel tumbler, a handmade cup turner, and other supplies, or you can purchase an entire tumbler kit with a cup turner, and everything needed for the project. You will need a bit of patience and experience to follow the instructions to make epoxy tumblers. However, the results are quite stunning when compared to your original stainless steel tumbler.
Resin and Wood items
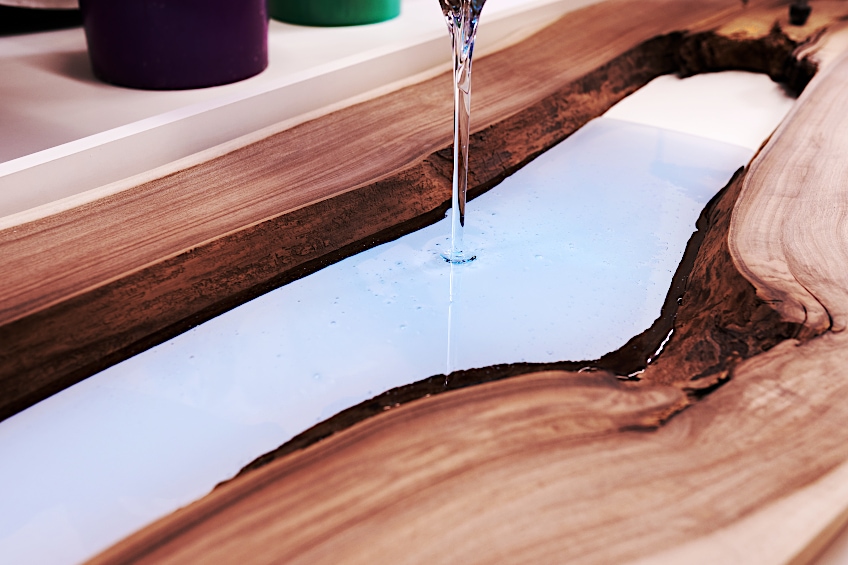
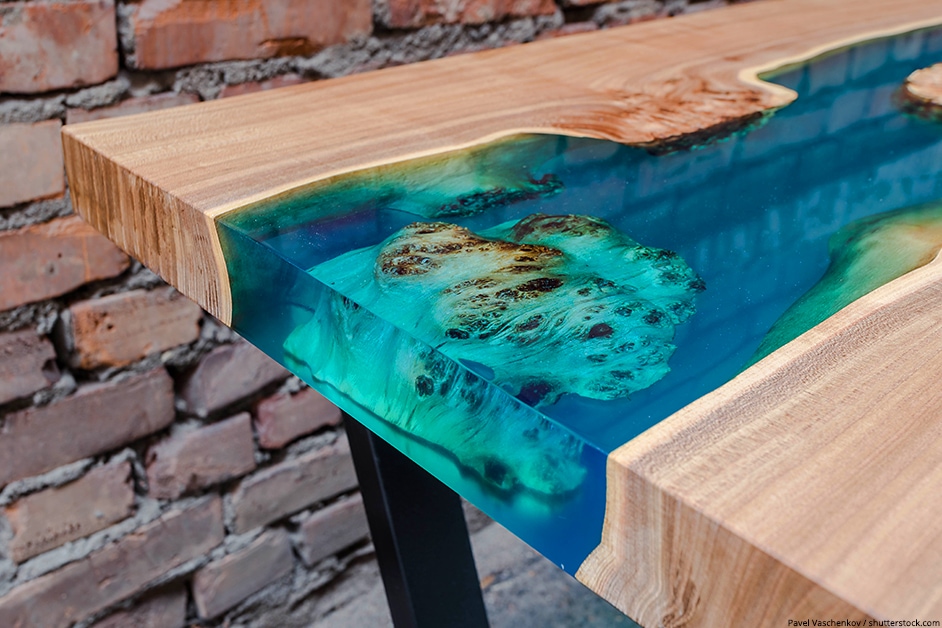
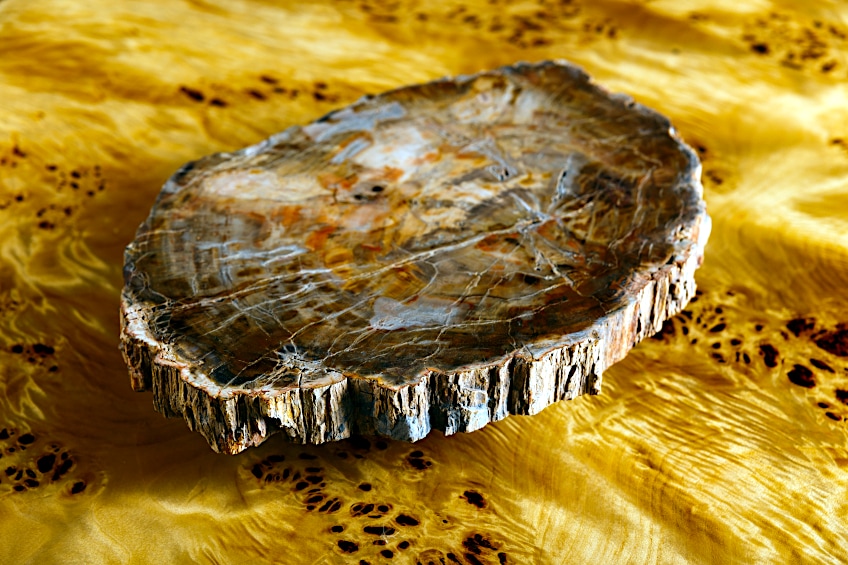
These DIY resin ideas all involve a combination of wood and resin. This can be in the form of coasters, trays, bowls, tables, resin lamps, wall art, and even jewelry pendants. A popular project is the resin river tables. The resin lamps with LED lights are also an eye-catching and beautiful way to add a touch of style to any room.
Resin Countertops
Help to restore your old and dull countertops by applying an epoxy coating. This coating can withstand scratches and most cleaning materials, and should last several years. The epoxy can be challenging to handle, as it hardens quickly and can be messy. This means it should probably be done by a professional or a seasoned epoxy resin hobbyist.

Resin Art Ideas
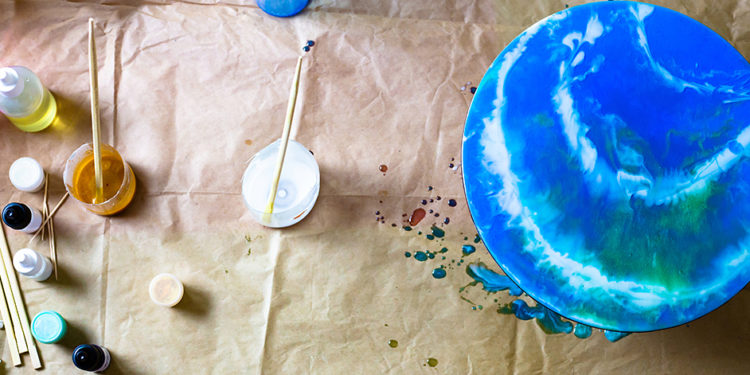
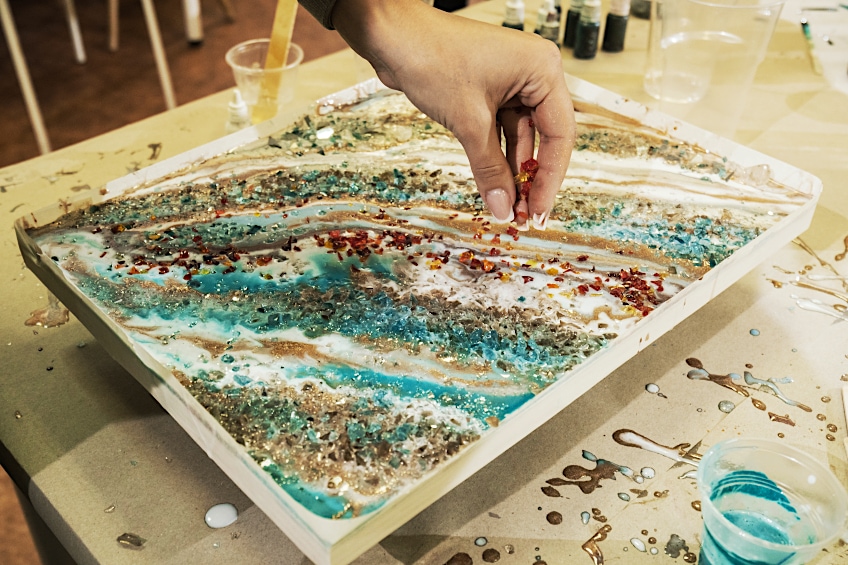
This can be an addictive form of resin art and can surprisingly work on a variety of surfaces, some of which have to be primed before you pour your resin. You can use all kinds of colors, glitter, pearlescent and metallic powders when pouring your resin. Although this is not difficult and beginners can try it, it may take a few attempts to get the look you want. Many find these types of art projects therapeutic, and there are quite a few surfaces you can use as your base.
- Pre-primed canvas
- Wooden panels, which may need to be primed
- Medium-density fiberboard
- Vinyl records can be primed for a better surface to work on, as some colors do not show well on a black background
- Tiles, which can be glazed or unglazed and do not need to be primed

Making Resin Molds
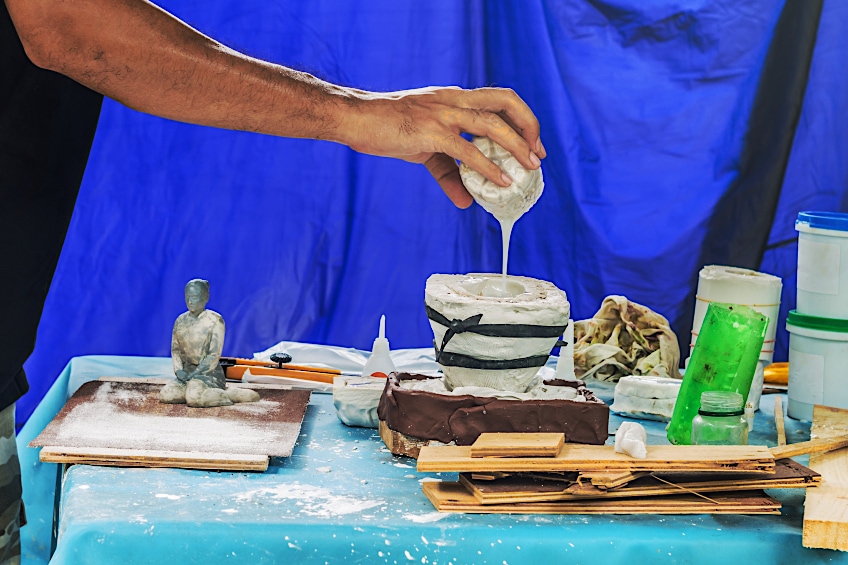
Most of the beginner resin crafts use premade molds you can purchase. However, if you want to make something more unique, you can take it a step further and create your own resin molds. There are many resin mold product kits you can choose from, which will make the process easy.
Filling Gaps in Wood
You can fill gaps or cracks in wood with simple common fillers, however, you can also use epoxy. Not only does it flow easily into gaps, but it also goes deeper and forms a stronger bond. This might sound simple but can become quite an undertaking if the wood piece has a fairly large gap. The process can be lengthy and not something you can simply do over the weekend. There is a whole lot of preparation and can use up quite a lot of resin, depending on the gap you wish to fill. However, the results of what is also known as void filling, are quite beautiful.
Tips for Your Resin Crafting Projects
There is almost a limitless amount of resin crafting projects you can try. When you get to work with epoxy resin, over time, you will learn what to do and what not to do. However, here are a few basic tips that everybody should be aware of before using epoxy resin.
- Always read the directions supplied by each product, as these may not be the same for all brands.
- If using wood, make sure to seal the surface first. When you do not do this, you run a considerable risk of a lot of bubbles forming in the resin.
- Once cured, the resin can withstand warm temperatures. However, it cannot handle hot temperatures.
- Remember to work in an area that has good air movement and make sure to wear protective gear.
- Never change the ratio of resin to hardener, as this will affect the resin’s ability to cure properly.
- When mixing the two components, always mix thoroughly. Make sure to get down the sides and bottom of your container
- Try to work in a warm and dry environment.
- Consider covering your resin project while curing to protect from dust, dirt, and insects
- To help prevent bubbles, warm up your resin components in warm water before using. Make sure the caps are well fastened, as you do not want water to get in.
- Rather use dried flowers, as anything that contains moisture when embedded in the resin can cause problems.
- Seal porous items, like paper, that you wish to embed in resin.
- Many recommend using mold release spray in all cases, even when using silicone molds. This helps prolong the life of the mold.
Epoxy for crafts is an amazing and nifty product that can be used to make numerous wonderful items. Not only is it fun, but you can amaze your family and friends with unique gifts. We hope you have gotten some great resin craft ideas from this article.
Frequently Asked Questions
Are There Easy Epoxy Resin Crafts?
Yes, working with epoxy can be easy and there are some great beginner resin crafts. However, you do need to follow directions properly and keep to safety rules. The best thing would be to begin with small epoxy resin projects and work your way from there.
How Much Resin is Required for Resin Projects?
This all depends on what your project is. You will need to find out the measurements of what you wish to coat or fill. You can guess by working out the area, volume, and depth. However, if the item is flat, you can use the length times the width to get an estimate. To avoid all these difficult calculations, you simply use a resin calculator, which can be found online.
How Can You Prevent Resin From Sticking to a Mold?
The most common way of preventing this is to use a mold release spray. You can purchase these at most craft stores and online. You can also try using alternative methods like wax paper, baby powder, silicone, and painter’s tape.
Is Epoxy Resin Toxic?
Epoxy resin is a chemical substance and produces a chemical reaction when the two elements are combined. Always use protective gear and work in an area that has enough air circulating. Products should also conform to specific standards and have certification. Make sure you use food-safe epoxy if the item is going to be in contact with food.
What Can You Embed in DIY Resin?
You can embed almost anything in resin from fabric, metal, and plastic, to paper, and wood. Some items can be porous like paper or wood, and these should be sealed before placing in the resin. Since moisture can cause problems, it would be best to think of using dried instead of fresh flowers.
Larissa Meyer is a 32-year-old mother from Michigan and creative spirit since childhood. Her passion for painting and drawing has led her to an education as an illustrator and a career as a freelance graphic designer. She has a Bachelor of Fine Arts in Illustration and a degree in Graphic Design. Larissa is a talented artist who is able to master a wide range of styles and techniques to bring her artistic vision to life. Her greatest passion is currently fluid painting and epoxy resin art. As a mom of two kids, Larissa also understands the importance of fostering creativity in early childhood. She uses her experience and knowledge to help other parents inspire their children and develop their artistic skills as well.
Learn all about Larissa Meyer and Fluid Painting.


