How to Polish Resin – Learn Everything about Polishing Epoxy Resin
This post may contain affiliate links. We may earn a commission from purchases made through them, at no additional cost to you.
If you have ever worked with resin before, you will probably have noticed after removing your work from the mold that the surface does not automatically look perfectly smooth and crystal clear after casting and curing. In fact, in a further step, most work-pieces have to be freed from their dull-looking grey haze or even slight unevenness of the surface. You can polish the epoxy resin to achieve a truly overall gloss. Polishing resin does not require much skill or technical equipment. With comparatively little effort you can make your epoxy resin shine. Simply follow our step-by-step instructions, in which we explain the resin polishing process clearly and comprehensibly.
Can all Objects Made of Epoxy Resin be Polished?
In principle, it is possible to carefully polish the surface of almost any type of work-piece or resin sealant for a great shine. Of course, this works easier with a corresponding size of the work-piece or a larger area of the sealant than it might be the case with very small work-pieces with many edges. Epoxy polishing usually works without any problems for the following applications:
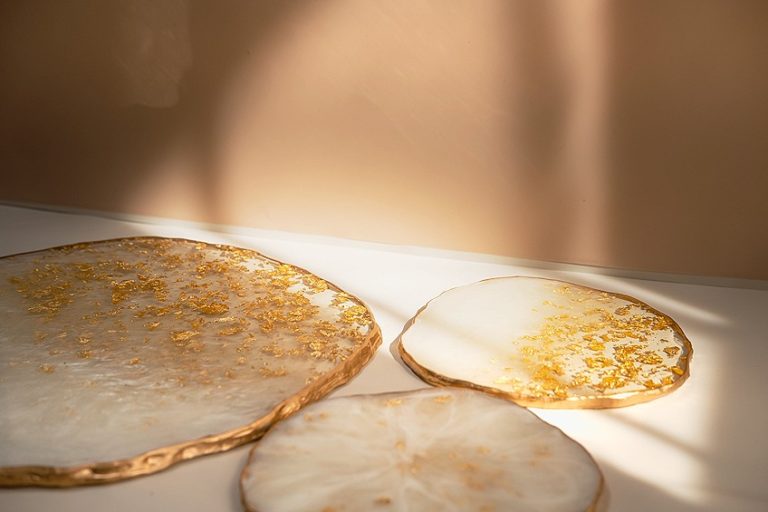
- Polishing resin casting objects
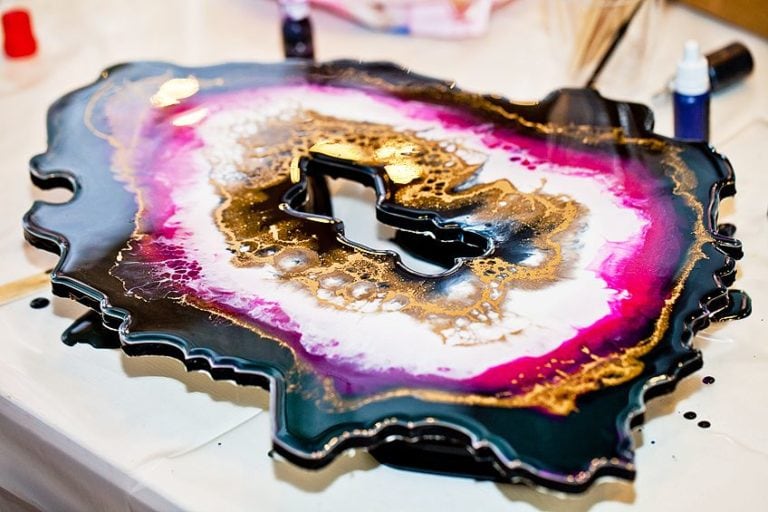
- Resin art really shines
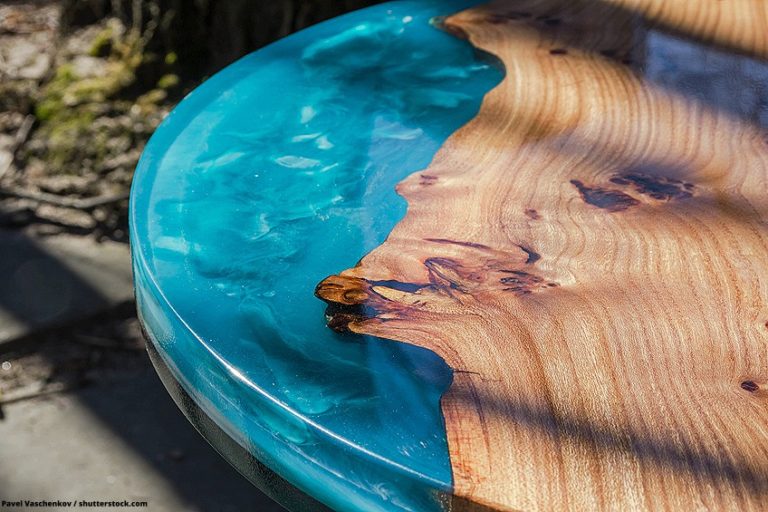
- Perfectly polish the surfaces of large tables made of epoxy resin
- Polish the combination of wood and epoxy
- Put the finishing touches to floors with a resin sealant
- Fine sanding of areas that have been repaired/replaced with epoxy resin
In our instructions, we want to show you concrete steps for the procedure when polishing flat surfaces made of epoxy resin such as table tops. We also want to explain how you can polish epoxy resin molds in a straightforward manner.
Preparing the Epoxy Resin: Wet Sanding
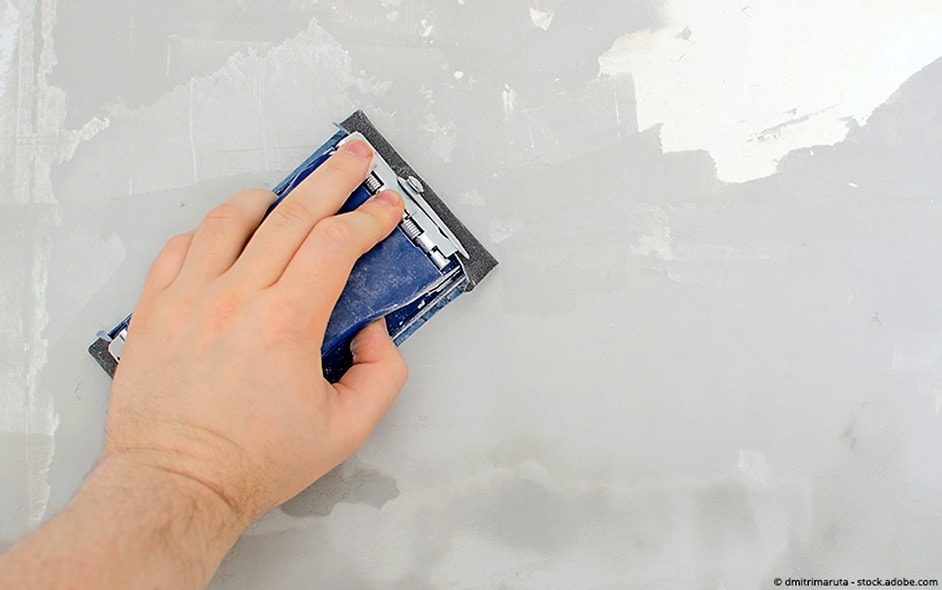
In this first step, you start with the sanding of epoxy resin through the so-called wet sanding. First of all, you need ordinary tap water and special sandpaper that is suitable for use in wet conditions. The decisive criterion for this is the application of the abrasive grains on a waterproof fabric that cannot tear when wet under mechanical stress.
When sanding, you start with a coarse 120 grit and work your way carefully in circular movements to a fine 3000 grit. You can do the wet sanding by hand without any mechanical assistance. Alternatively, you can also use a random orbital sander. When you have finished wet sanding, the surfaces of your epoxy resin work-piece should be even and smooth. After that, however, the actual epoxy polishing will only begin.
Step by Step: How Wet Sanding Works
- Use a spray bottle or bowl to ensure a sufficient amount of clean water at your workplace.
- Moisten your special sanding paper with the water and start sanding the surfaces of your work-piece in circular movements.
- You can also work the other way round and moisten the surfaces of the resin with water so that you can start sanding directly afterward with the sandpaper.
- Usually, the water on the surface will be milky cloudy after a short time during sanding. Wipe off this water with a cloth between each sanding pass and moisten the surface again before continuing with the next grain.
- With each further (finer) grain, the sanding effect on your work-piece will become less and less. Remember: If scratches are leftover during a sanding operation, they will be almost impossible to remove in the following sanding process.
- On the edges of your work-piece, you should take care not to exert too much pressure. Work particularly carefully in these areas to avoid accidentally sanding the edges too tightly.
Finally, you can simply dab off any remaining water from the surfaces with a soft cloth.
In some cases, your work-piece may already have largely smooth surfaces after casting. This is a huge benefit when using silicone molds in particular. In such a case, you can shorten the sanding process easily and sometimes you only need to use a relatively fine grain of sanding paper for wet sanding. Sometimes you can even dispense with wet sanding altogether and continue your work directly with the epoxy resin polish.
Polish Epoxy Resin with the Perfect Polishing Compound
When choosing a suitable polishing compound, you may be spoilt for choice given the wide range of different products on the market. The number of different product variants reflects the multitude of possible areas of application. However, there are also polishing pastes with very different coarse or fine polishing grains. In most cases, the simple rule of thumb applies: With polishing pastes for use on wooden surfaces, you can also make epoxy resin shine.
- Specially Formulated for Epoxy Resin for High-Gloss finishes
- Polish and cleaner restore that glossy, mirror like finish with a simple 2 step kit
- No need for an additional topcoat for gorgeous results
Resin Polishing – Step by Step Guide
Actually, there are not many pitfalls lurking in cast resin polishing. Nevertheless, you should always work very carefully and thoughtfully during this step in order to get a nice shiny surface in the end. With the right polishing paste, for example, epoxy resin can be made to shine very well. Further factors for an optimal result are the choice of the polishing sponge used and the set speed of the polishing machine used.
Use a Drill or is a Polishing Machine the Better Choice?
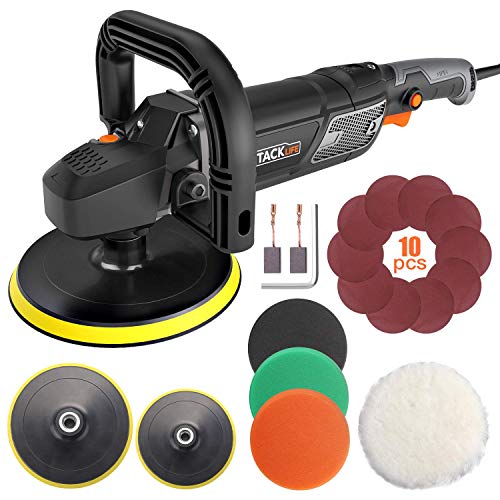
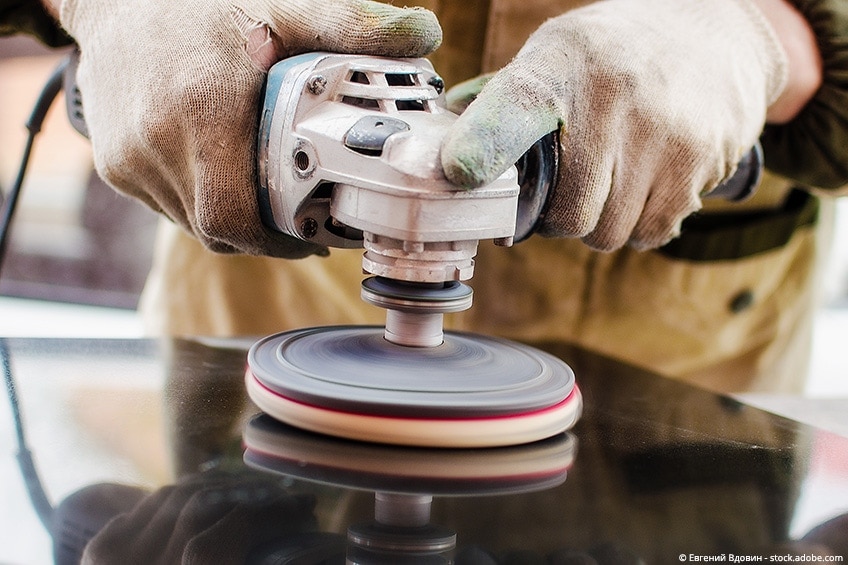
If you want to regularly polish larger areas of epoxy, then the purchase of a polishing machine specially designed for this purpose will certainly pay off. With such a machine you can use different polishing sponges for polishing the resin. Also, the speed of the polishing machine can be adjusted in such a way that an optimal polishing result is possible. With a reduced number of revolutions, you make sure that the surface of your work-piece does not get too hot due to the frictional heat.
We do not recommend using an angle sander for resin polishing, as these machines are not usually equipped with a controller for flexible speed adjustment. If you work with an angle sander, the often very high number of revolutions can lead to overheating of the processed surfaces.
If only smaller objects or shapes made of resin are to be polished, it is sufficient to use an ordinary power drill with a polishing attachment suitable for this purpose. Usually, you can choose between polishing discs and polishing sponges in different sizes in the corresponding assortment. With a small polishing ball head, you can even polish very small workpieces mechanically.
Tutorial for Polishing small Workpieces with a Power Drill
Use the drill to polish small workpieces made of cast resin. This is how you proceed step by step when polishing with a power drill:
- First of all, you attach the flannel polishing attachment to the drill bit of your drill.
- Then you set up the fibers of the polishing attachment by pressing the polishing disc against any angular object during rotation.
- You can now apply a small amount of your chosen polishing paste to the polishing wheel and then hold the resin workpiece to be polished against the rotating wheel lightly and carefully.
- Now perform as smooth and controlled movements as possible during polishing. Continue to work carefully until your workpiece has reached the desired shine.
- Less is sometimes more: you should never exert excessive pressure on edges when polishing with cast resin. Otherwise, it can quickly happen that, especially when using relatively coarse-grained polishing paste, a higher material removal than originally planned occurs.
- Finally, you can repeat the polishing with an extra-fine flannel attachment if necessary.
Manage Larger Areas Effortlessly with the Polishing Machine
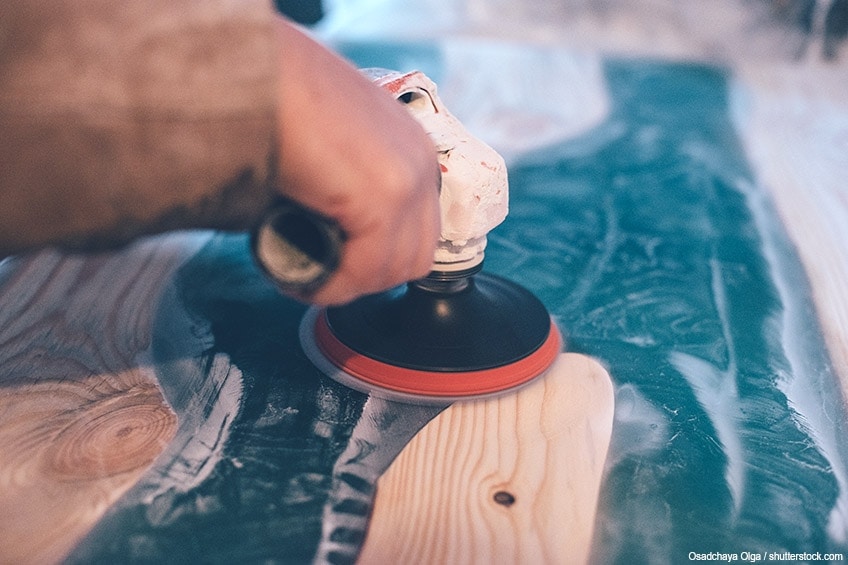
For polishing larger epoxy resin surfaces, such as sealed floor surfaces or extravagantly designed tabletops, you should use a suitable polishing machine if possible. The difference between a drill and a polishing machine is easy to explain (apart from the possibility of controlling the rotational speed): While the drilling machine rotates only rigidly around an axis, the polishing attachment on a polishing machine moves in elliptical or eccentric movements. This has a positive effect on the result of the polishing process. Especially as a beginner, you can achieve particularly brilliant results when polishing epoxy with a polishing machine.
- Powerful buffer polisher, all ball - bearing construction for long life and performance
- Variable Speed & Memory Function
- Set includes different Sponge wheels and Polishing Discs
The Manual Polishing of Casting Resin
For smaller objects, it may be useful to carry out the polishing process by hand. After all, this way you can work with more feeling and have perfect control over the intensity of the polishing at all times.
For that you need the following things:
- Clean water
- Cloth of linen or cotton
- Some colorless polishing paste
- A rectangular object made of a hard material such as wood
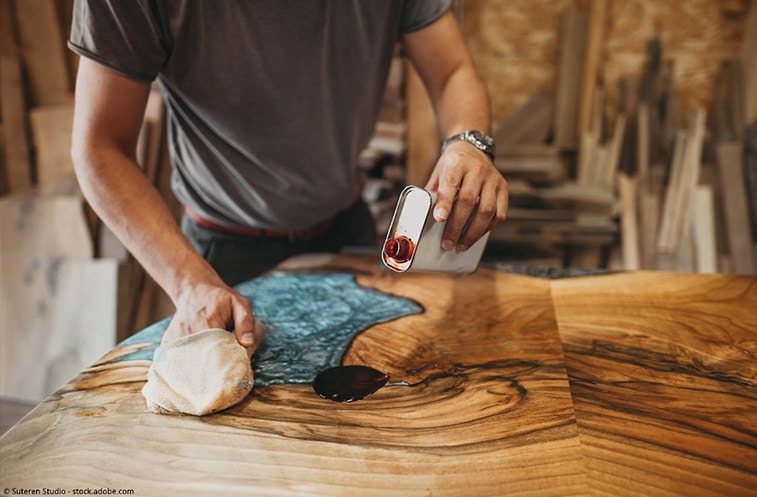
Instructions for Resin Polishing by Hand
- Put a small portion of the colorless polishing paste on your linen or cotton cloth. Then moisten the cloth slightly with clear water.
- Rub with the cloth in careful circular movements over the surfaces of your resin work-piece to be polished. You should apply light pressure. But don’t be surprised if you notice a visible effect only after some time. It may take a little longer until the surface you are working on finally reaches the desired gloss.
- You will need a wooden block or a similarly hard and angular object for polishing straight surfaces or edges: Wrap the cloth around the wooden block and polish every corner to a high gloss.
Tip 1: After a few minutes of patient polishing, doubts often arise as to whether the surface will ever have the desired shine. It is not uncommon, however, that the matt appearance of an epoxy resin surface is actually only due to residues of the polishing paste on the epoxy resin. If, on the other hand, you regularly wipe off these polishing residues with a soft, clean cloth, you will always be able to keep a close eye on the progress of polishing.
Tip 2: Make absolutely sure that only colourless polishing paste is used for polishing cast resin workpieces. Other products may leave coloured deposits on the surfaces, which are very difficult and time-consuming to remove.
Our Conclusion:
Polishing epoxy resin, like all other steps, is actually an indispensable part of working with epoxy resin in various projects. Only with careful polishing can the shine be created that turns a nice craft idea into a true work of art. But this only works if you lay the foundation for a perfectly polished resin surface by sanding (with different degrees of grain size) before the actual polishing. If unsightly sanding marks are not removed carefully enough during this initial step, even the final polishing cannot produce the desired surface quality.
Larissa Meyer is a 32-year-old mother from Michigan and creative spirit since childhood. Her passion for painting and drawing has led her to an education as an illustrator and a career as a freelance graphic designer. She has a Bachelor of Fine Arts in Illustration and a degree in Graphic Design. Larissa is a talented artist who is able to master a wide range of styles and techniques to bring her artistic vision to life. Her greatest passion is currently fluid painting and epoxy resin art. As a mom of two kids, Larissa also understands the importance of fostering creativity in early childhood. She uses her experience and knowledge to help other parents inspire their children and develop their artistic skills as well.
Learn all about Larissa Meyer and Fluid Painting.


