Oil Painting for Beginners – An Introductory Oil Painting Tutorial
This post may contain affiliate links. We may earn a small commission from purchases made through them, at no additional cost to you.
This article will be helpful to anyone who is starting their oil painting journey. You will get a handful of suggestions and reviews on the best oil painting brands as well as some useful techniques and rules to follow when oil painting. So, how do you get started with oil painting?
Table of Contents
Oil Painting Basics
Oil paintings are more like acrylics in terms of texture and consistency. They are well known for their incredible color options and brilliant hues. Moreover, oil paints have a certain texture and technique that is compared to none.
However, because of the oil base, these paints take a long time to dry. This means that when layering your paints, which is a fundamental part of oil painting, you will need to wait for each layer to dry before working on the next one.
They also require the use of toxic and harsh chemicals to create effects for various painting techniques. They are quite different from acrylic paints, which are water-based and safe to use. The following are some paint basics that will help you get started with oil paints.
Organize Your Space
Organizing your place is important because it will help you in ensuring that you have the right materials and tools for the job. Do not underestimate the importance of organizing your work area properly. Not only do you need the right tools and materials, but you also need the right environment and space. The right environment can be a well-lit room or a shady space under a tree outside.
Always opt for a well-ventilated area when dealing with oil paints and solvents. You should also set a drop cloth to cover your floor from the paint mess, as oil can be hard to remove from other surfaces, especially on fabrics.
Start Small
It is advisable to start small if you are starting a paint project for the first time. Resist the urge to go big because of too much excitement. This is because a big start can be too overwhelming on your first try. Do your painting projects step by step until you are comfortable and familiar with the process.
Use a small canvas to get started, and try working on different surfaces to get a feel of the right techniques, paints, and surfaces that work best for you. Once you have the best technique and method, you can then go big and try out different things with a little experience.
Choosing Your Oil Painting Surface
Oil paints have various uses and are suitable for a variety of surfaces such as wood, canvas, and so on. Some canvases are already primed to be suitable for oils, but you can also opt for a primer or gesso that can be bought from stores. When you buy one, you will need to do the priming yourself. A primer is quite important because it prevents chemicals and toxic substances in the paints from damaging your surface. It can provide adhesion properties that will enable your paints to effectively stick to a surface.
It is advisable to use thicker paper when you begin oil painting. When you gain more experience and become comfortable, you can then move on to surfaces such as wood or canvas.
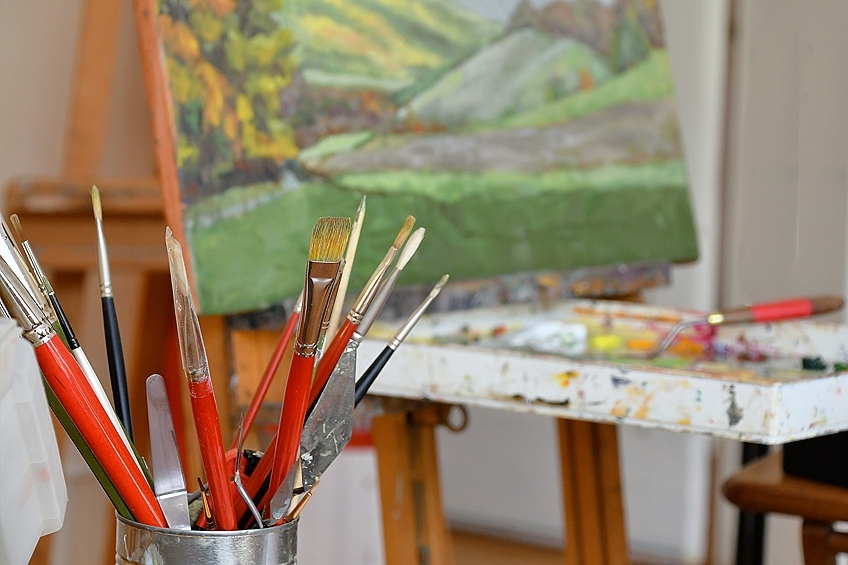
The Right Oil Painting Tools
Beginners to oil painting may not realize the number of additional tools that are needed in order to complete a painting. Along with your oil paints, you will also need some top-quality paintbrushes, an easel, and a palette.

Paintbrushes
You should invest in quality paint brushes when dealing with oil paints. However, you do not have to purchase the most expensive set as a means of getting the best quality. It is better to get at least three or five paintbrushes of different shapes and sizes when you are starting. It is also a good idea to purchase single brushes so that you can easily replace one at a time when it gets damaged. This will save you the costs of replacing a whole new set.
Hog brushes are the most common oil painting brushes. Natural brushes can also be an option, but they are a bit expensive.
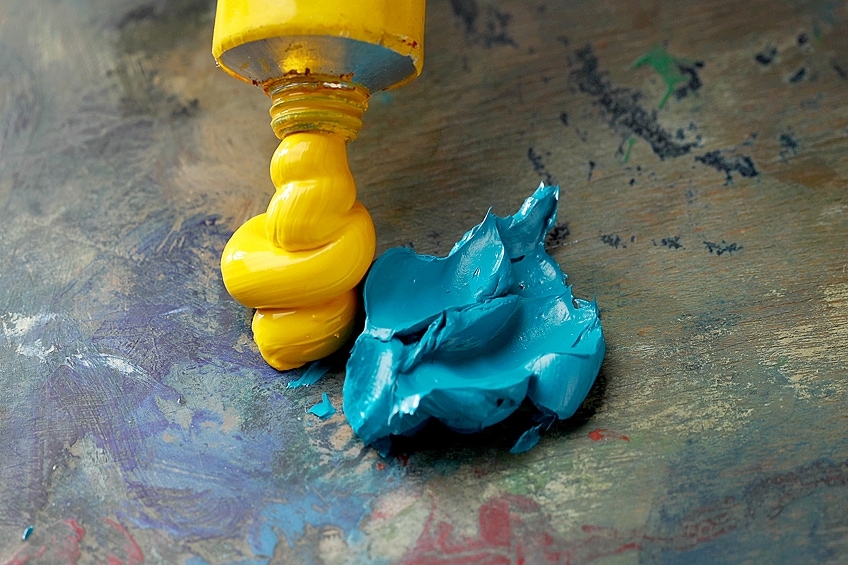
Oil Paints
Oil paints can be quite expensive, especially if they are from reputable and popular brands. However, you can also get cheaper options that can give you excellent results. These paints are also suitable for beginners. Paints also come in single tubes or sets of tubes.
If you are a beginner, it is especially advisable to purchase a full set of paints. Moreover, it is a cheaper and more affordable option to get all the painting supplies in one go. This can also be cheaper when you want to top up or replace one or two colors in the long run.
Easel and Palette
Easels and palettes, while not completely necessary, certainly come in handy if you are dealing with long-drying paints. An easel will make your work easier as you stand and paint in a comfortable spot. Moreover, this will enable your painting to rest and dry properly between layers. Small easels are also beneficial if you would like to carry your art around with you.
The paint palette will help you in mixing and blending colors and different shades. These palettes are usually made from wood and plastic, although yu can also opt for the ceramic type, which is quite easy to clean after use.
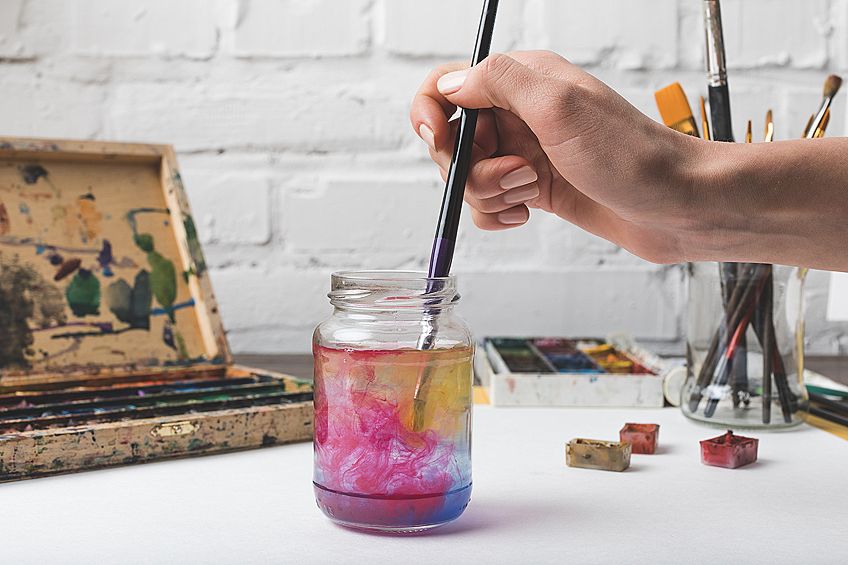
Cleaning Your Brush
It is essential to clean your brushes after every art job. It is also beneficial to clean your brushes in-between painting sessions when using oil paints. This will add more durability to your bristles and more sheen to your painting. You can use an artist soap or mixing medium to clean your brushes. Solvents can also be effective in cleaning your brushes, but they may damage them in the process. This is because solvents tend to eat away at the casings and bristles of the paintbrushes.
While you are doing your oil painting, you can also keep the solvent and water in two cups or containers. Every time you dip your brush in the solvent or medium, use a paper towel to wipe the paint off. You can then mix it in the water cup, use the soap to rub it, and then rinse it and leave it to dry. This procedure will enhance the durability of your paint brushes.
Working with Oils, Solvents, and Chemicals
Oil cannot be mixed with water; this also goes for oil paints. If you want to thin your paint, you should thoroughly clean your brushes and apply certain techniques. You will need to get an oil mixing medium. These mixing mediums are mostly used with oil paints such as linseed, safflower, walnut oil, and so on. These are the safest and most natural options for adding a glossy and soft sheen to your work.
Other artists prefer stronger mediums such as paint turpentine and thinners. These are quite dangerous, and you should be cautious when handling them. Thus, you should wear protective gloves and clothes when working with these solvents. You should also monitor the solvent usage so that you can avoid over-applying, because this can either cause bubbles or your surfaces can start to eat away.
Framing Your Oil Painting
Framing your oil paintings is a personal choice. However, using a frame is quite beneficial in protecting your work from damages. A frame with a glass piece is a better option because it will keep your paintings safe. You can also opt for a sealant or fixative spray if you do not want to use a frame with glass. This will also prevent your art from getting smudged or being damaged in the long run.
However, oil paintings can be tricky sometimes because they can take up to six months for certain layers to dry. So, you will have to keep your artwork in a safe place so that it does not rub on anything until it is ready for another coat or the next step. The following are some of the oil painting basics you will need to get started:
- Always work in a well-ventilated and lit room.
- Use a drop cloth to prevent any spills or messes.
- Keep an easel for easy painting, whether sitting or standing.
- Use quality oil paints.
- Use 3 to 5 differently sized paintbrushes.
- Work on a pre-primed surface area (or a surface that you can prime).
- Use a chemical solvent or oil mixer to mix your colors and paints and for cleaning your brushes.
- Keep a container for the mixer medium and a separate water container.
- Keep a paint palette for a better coloring and mixing experience.
- Use a frame or fixative to preserve and store your work.
Best Oil Painting Tools for Beginners
We have covered the tips and steps you can use to get started with oil painting; we will now focus on the products that you can use for oil painting. We will look at the best products based on popular recommendations.
Complete Oil Painting Set for Beginners: OHUHU Oil Paint Set for Beginners and Students
The OHUHU Oil Paint Set offers a comprehensive selection of colors and tools for oil painting enthusiasts. Ideal for both beginners and experienced artists, this set provides vibrant pigments and essential accessories, ensuring versatility and quality in artistic expression.
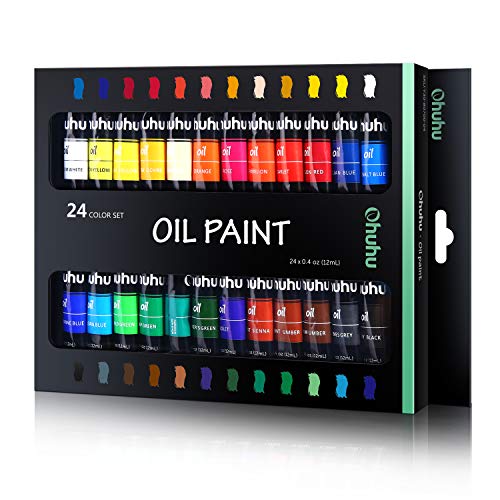
- The set includes 24 of the best and most vibrant oil paints
- High-quality oil paints are suitable for beginners and professionals
- Oil paints glide smoothly onto canvases and other surfaces
PROS
- Comprehensive Set
- wide range of vibrant oil paint colors
- Includes essential tools like brushes and a palette
- Versatility
- Quality Pigments
CONS
- Tube Size
- Odor
- Cleanup
The Simplest Oil Painting Guide for Beginners: The Oil Painting Course You’ve Always Wanted by Kathleen Lochen Staiger
This book written by Kathleen Staiger is available on kindle and in paperback versions. This book can help you with various oil painting techniques for beginners, complete with tutorials and tips, painting portraits and landscapes, brush control techniques, and so on.
Each topic in the book is explained in an easy-to-read format that includes diagrams, demonstrations, and illustrations. She has taught oil painting classes for over 35 years and most of her students have managed to open and own galleries and exhibitions of their own. So, you can open one too!

- A guide to everything you always wanted to know about oil painting
- Author Kathleen Staiger presents crystal clear, step-by-step lessons
- Learn about brush control, color mixing, painting methods, and more
PROS
- Book is short and straightforward
- Contains an easy-to-use guide
- Has detailed demonstrations and illustrations
- Author has three decades of experience
- Book is in kindle and paperback format
- Includes exercises and diagrams
CONS
- Not available in hardcover
Oil Painting Techniques for Beginners
Now that we have covered some of the best oil painting products, we will now look at the oil painting techniques that are suitable for beginners. Certain techniques are required for oil painting, just like with any other paint medium. The following are some of the most popular oil painting techniques.
Underpainting
This is when one fine base coat is layered on the canvas in one color. This method brings out the background, shadows, and outlines. It is used to provide a foundation for the oils to be built upon and for the use of shadows and depth.
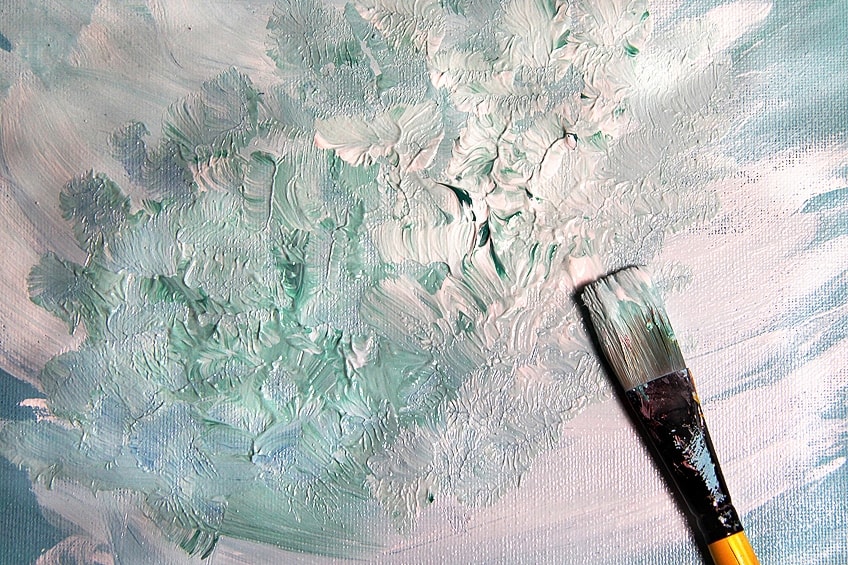
Scumbling
This technique is also referred to as the dry brushing technique. It uses a small but thick application of paint in quick and short strokes to add texture. You must not use a thinning agent or medium when doing scumbling. This is because the paint must be thick enough for the scumbling technique to work. You can also use this technique for softening edges and adding detail to your oil painting.
Alla Prima
You can use this technique to do your entire oil painting without leaving the layers to dry in-between coats. It is also referred to as a wet-on-wet technique of oil painting. This method is used by most artists because it speeds up the process and reduces the time required for oil painting. This means that a week’s work of oil painting can be completed in a day. However, you may require certain mediums for this technique to work effectively.
Glazing
This is more like the Alla Prima technique because it uses a similar technique. The only difference is that you must wait for every single layer to dry first before moving on to the next one. You will achieve a textured and glossy layer, thus adding more sheen to your artwork.
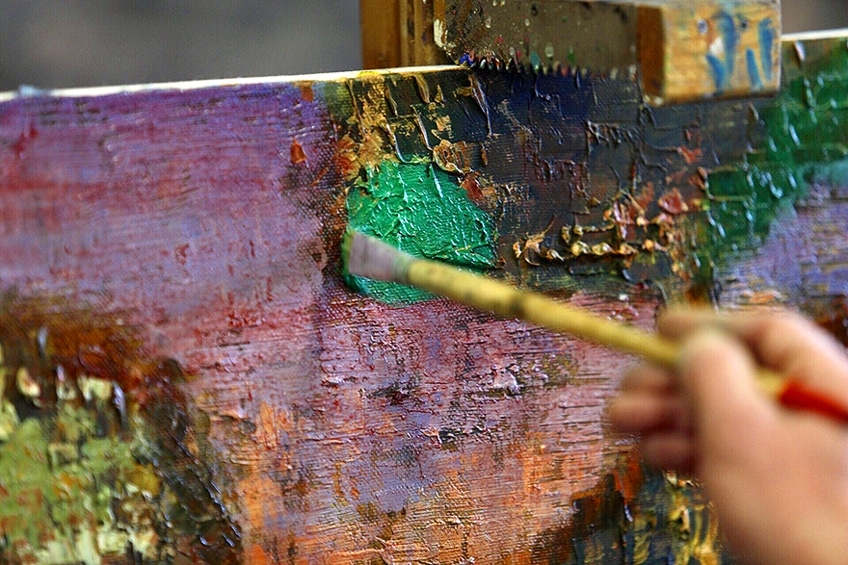
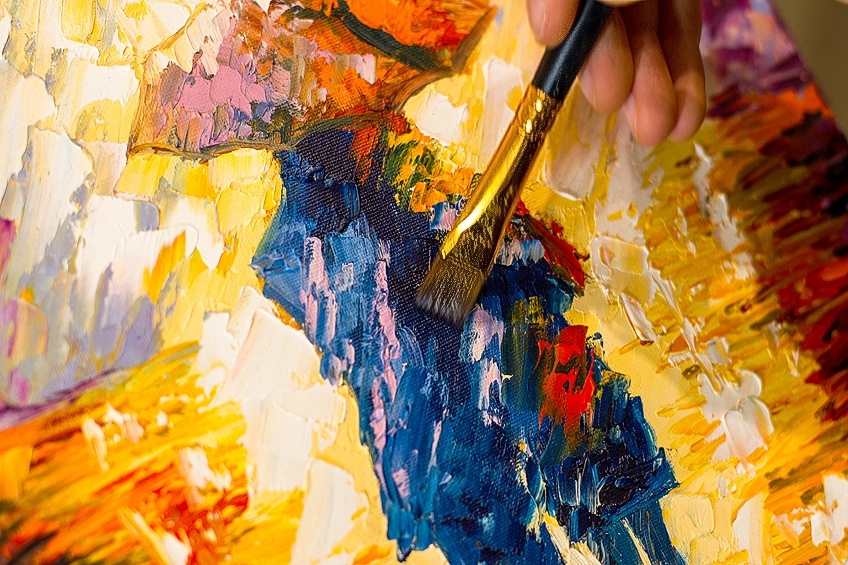
Impasto
This technique produces a delicate and more defined piece of art. You must make broad and quick brush strokes. It is the best technique that you can use to make shadows and add highlights and depth. You must use palette knives and other painting tools to obtain the best results when using this impasto technique.
Sfumato
This technique is quite the opposite of impasto, where instead you must use a soft and gentle approach. It is the perfect method used for smoothing sharp and harsh outlines. Always remember to use a clean, soft brush whenever you add a new color and layer of oil onto your canvas.
Knowing the variety of oil painting techniques will help you in using the best method that will not prove to be tiring and overwhelming, especially if you are a beginner in oil painting. You can also follow the tutorial below to get started.
Oil Painting Tutorial
This tutorial will enlighten you on the materials that you need for oil painting, as well as how to go about creating your masterpiece. This tutorial will provide a step-by-step guide on how to oil paint a still life. You will require the following materials:
- Canvas
- Roller towel
- Brushes
- Oil paints
- Pencil or an acrylic marker
- Palette knives and tools
- Two containers (one with water and one for the mixer medium or solvent)
- Paint palette
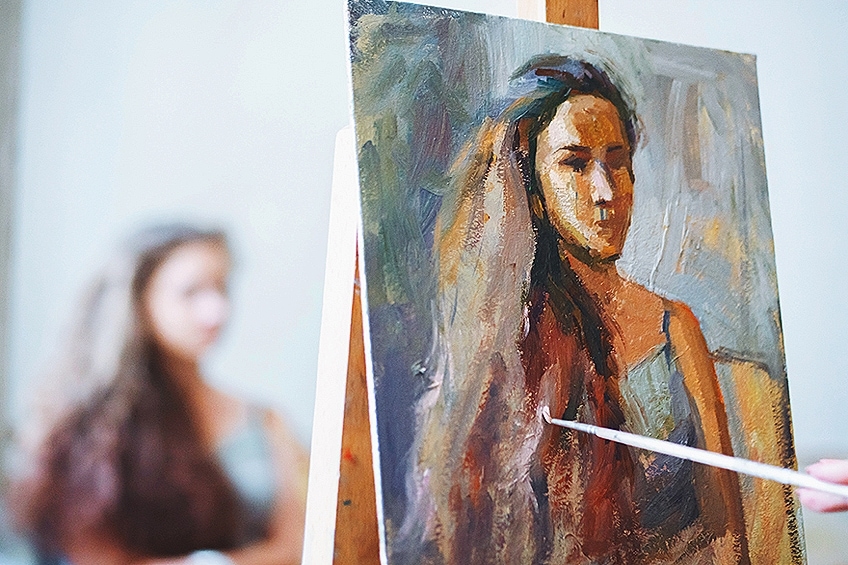
How to Oil Paint
- If you are a beginner in oil painting, you must decide on the subject matter that you want to work on. Start with something easy like a still life. Take a photo of the object that you want to work on and simply begin – do not try to go overboard with the most complicated stuff. You can also use a photo to trace outlines onto the canvas using a grid or tracing paper.
- Doing a rough sketch of your drawing before working on the piece will eliminate errors and misjudged shapes and lines. You can use a light pencil for the sketches, diluted acrylic oils, and charcoal. You must use a fixative medium before going through the drawing with your paint. This will prevent the problem of smudging and thus protect your colors. You can also use an acrylic marker to do the sketching.
- Go for colors and different shapes that can tie in and bring together all the various components of your painting artwork into one. If you are starting, choose a theme that you can use with different hints and elements. You must try your ideas on paper before you do the real work on canvas. The paper will give you a feeling of how the colors, shapes, and elements will blend into one object on the canvas.
- When you are done with the sketching, you can focus on the background of your oil painting. The base or background layer is the foundation of your painting. The absorbent layer prevents the painting from drying or cracking. You must apply this background base coat in a thin layer using oil or acrylic paint. You should allow this layer to dry before you continue with your project.
- You should decide whether you want a black, white, or colored layer. Are you aiming for a warm or cool tone? It all depends on the theme of your painting. Use a dark or cool color if you want to achieve a cooler and darker undertone and shadow. On the other hand, a white layer will brighten up the colors in your painting, thus adding warmer tones and highlights.
- If you want to add colors to your painting, then you should do this in layers so that you can achieve your desired texture and realism. You can start by adding light to your shadows, you can then move on to the areas that must be filled with colors. Do more layers until you have achieved your desired and expected results.
- Always remember the “thick-on-thin” method when doing oil painting. Your next layer should always be thicker than the previous one. Dilute the initial layers for effective results. Continue making them less diluted as you add more layers. If you do your painting without following this rule, the painting will flake or peel.
- Allow enough drying time; this is the most important rule. This is essential especially in-between layers and when you are done with your painting before framing or sealing it. This is because oils can get damaged if they are still wet. If you prefer not to wait for longer periods, you should opt for the Alla Prima oil painting technique.
Frequently Asked Questions
What Are the Basics of Oil Painting?
There are at least five rules to remember when it comes to oil painting basics. Oils take quite a long time to dry; you can mix them with other mediums; you must clean your brushes regularly when using oil paints; oil paints require solvents or certain chemicals to work effectively; and you also need to protect your oil paintings.
How Do You Get Started with Oil Painting?
You need to perfect the art of painting like any other form of artistry. You can also review online videos and tutorials on the basics of oil painting, as they will show you the step-by-step instructions on how to get started.
Is There a Best Oil Paint for Beginners?
There are various brands to choose from when you begin the process of oil painting. These are Gamblin, VanGogh, and Winsor & Newton. You can also opt for these paints if you are a beginner, but most of them can be expensive.
What Are the Requirements for Oil Painting?
You do not need a lot of items or tools when you begin oil painting. It is advisable to start small, and then build up your tools as you go. You only need a few items to get started, such as paper, oil paints, canvas, different sized brushes, and a solvent. You can also opt for an easel or paint palette, since these will be beneficial in the process.
We have covered all the necessary painting techniques that can be used by a beginner in oil painting. You can also review the best painting tools so that you purchase the right products. While you are at it, remember the oil painting rules and keep them at your fingertips. Do not forget to have fun!

Larissa Meyer is a 32-year-old mother from Michigan and creative spirit since childhood. Her passion for painting and drawing has led her to an education as an illustrator and a career as a freelance graphic designer. She has a Bachelor of Fine Arts in Illustration and a degree in Graphic Design. Larissa is a talented artist who is able to master a wide range of styles and techniques to bring her artistic vision to life. Her greatest passion is currently fluid painting and epoxy resin art. Larissa’s love for art and her knowledge and experience in illustration make her the perfect Creative Director for our fluid-painting.com team. She is the creative head of our team and shares her passion and knowledge with our community through articles and tutorials.
As a mother of a 2-year-old daughter, Larissa also understands the importance of fostering creativity in early childhood. She uses her experience and knowledge to help other parents inspire their children and develop their artistic skills as well.
Learn more about Larissa Meyer and about us.